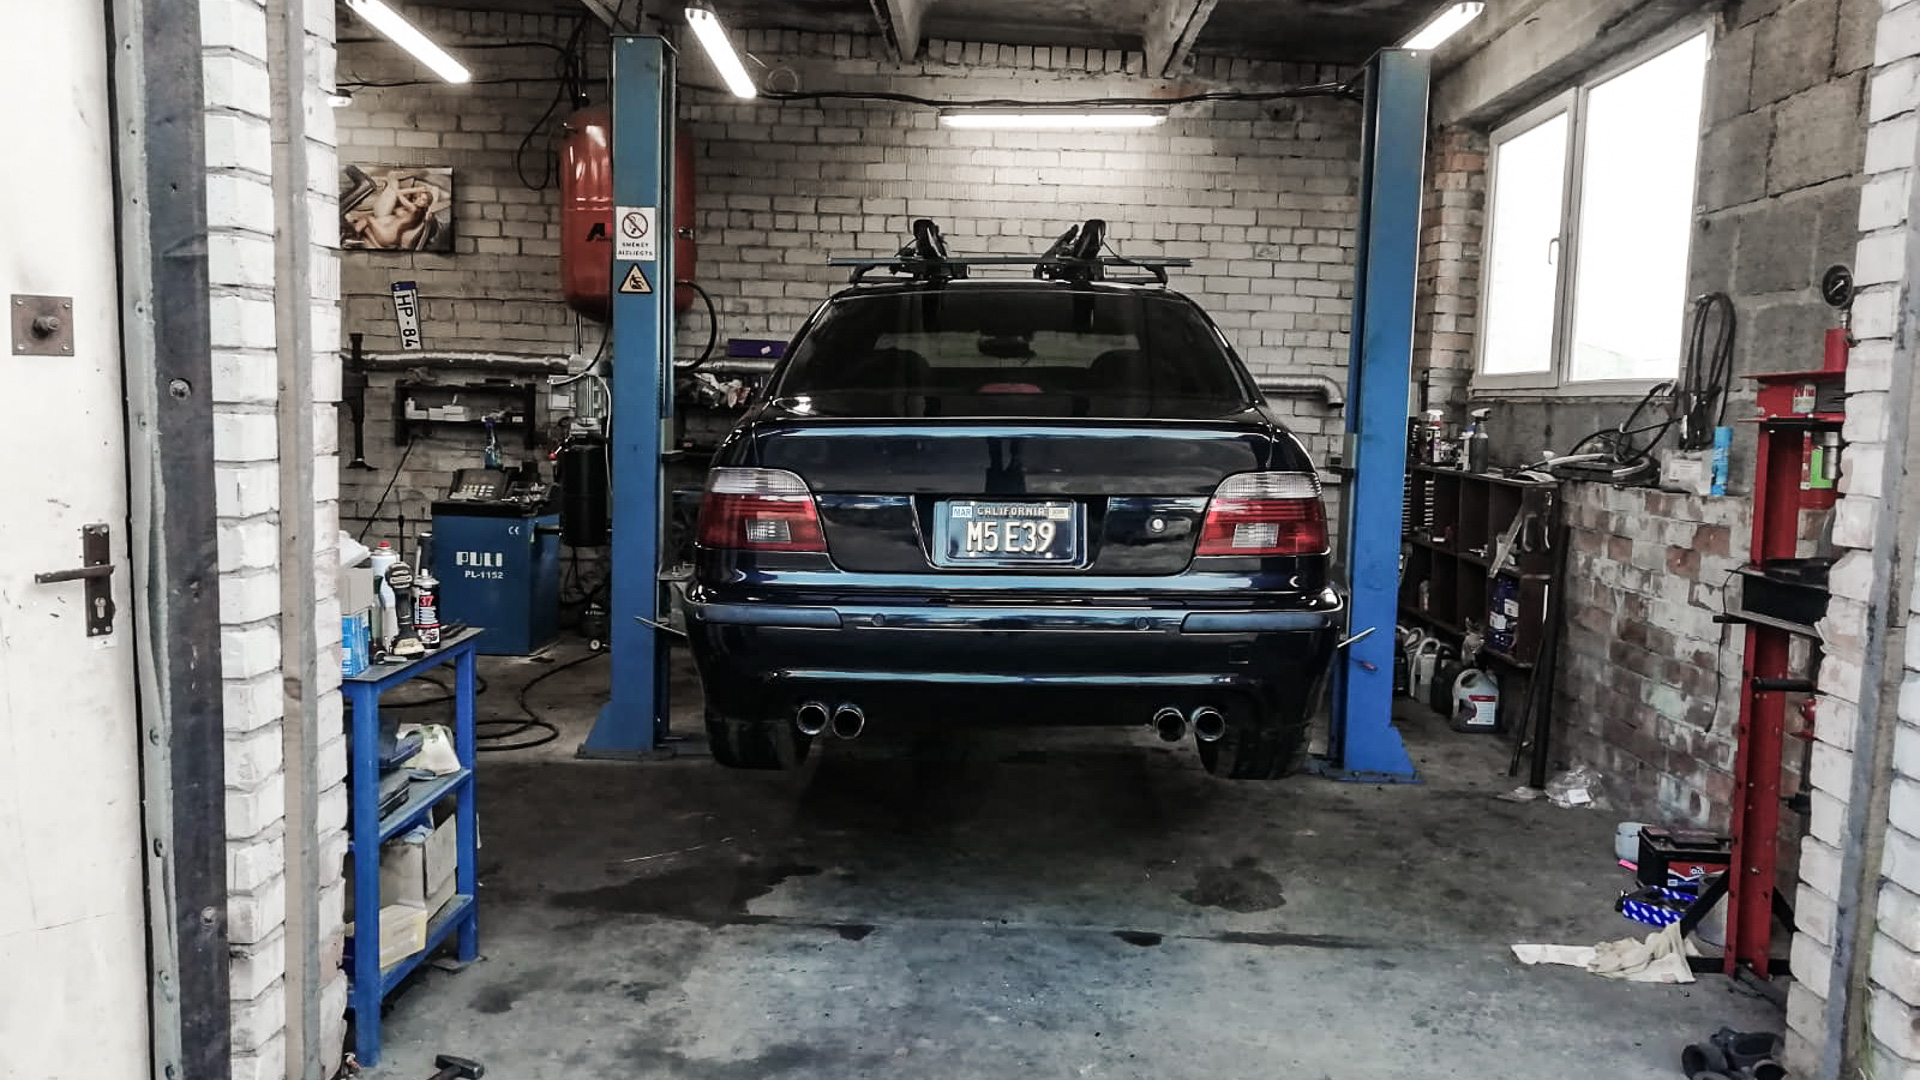
The M5 was in dire need of something to do with paint and this is the story.
8 years of wear on satin black paint
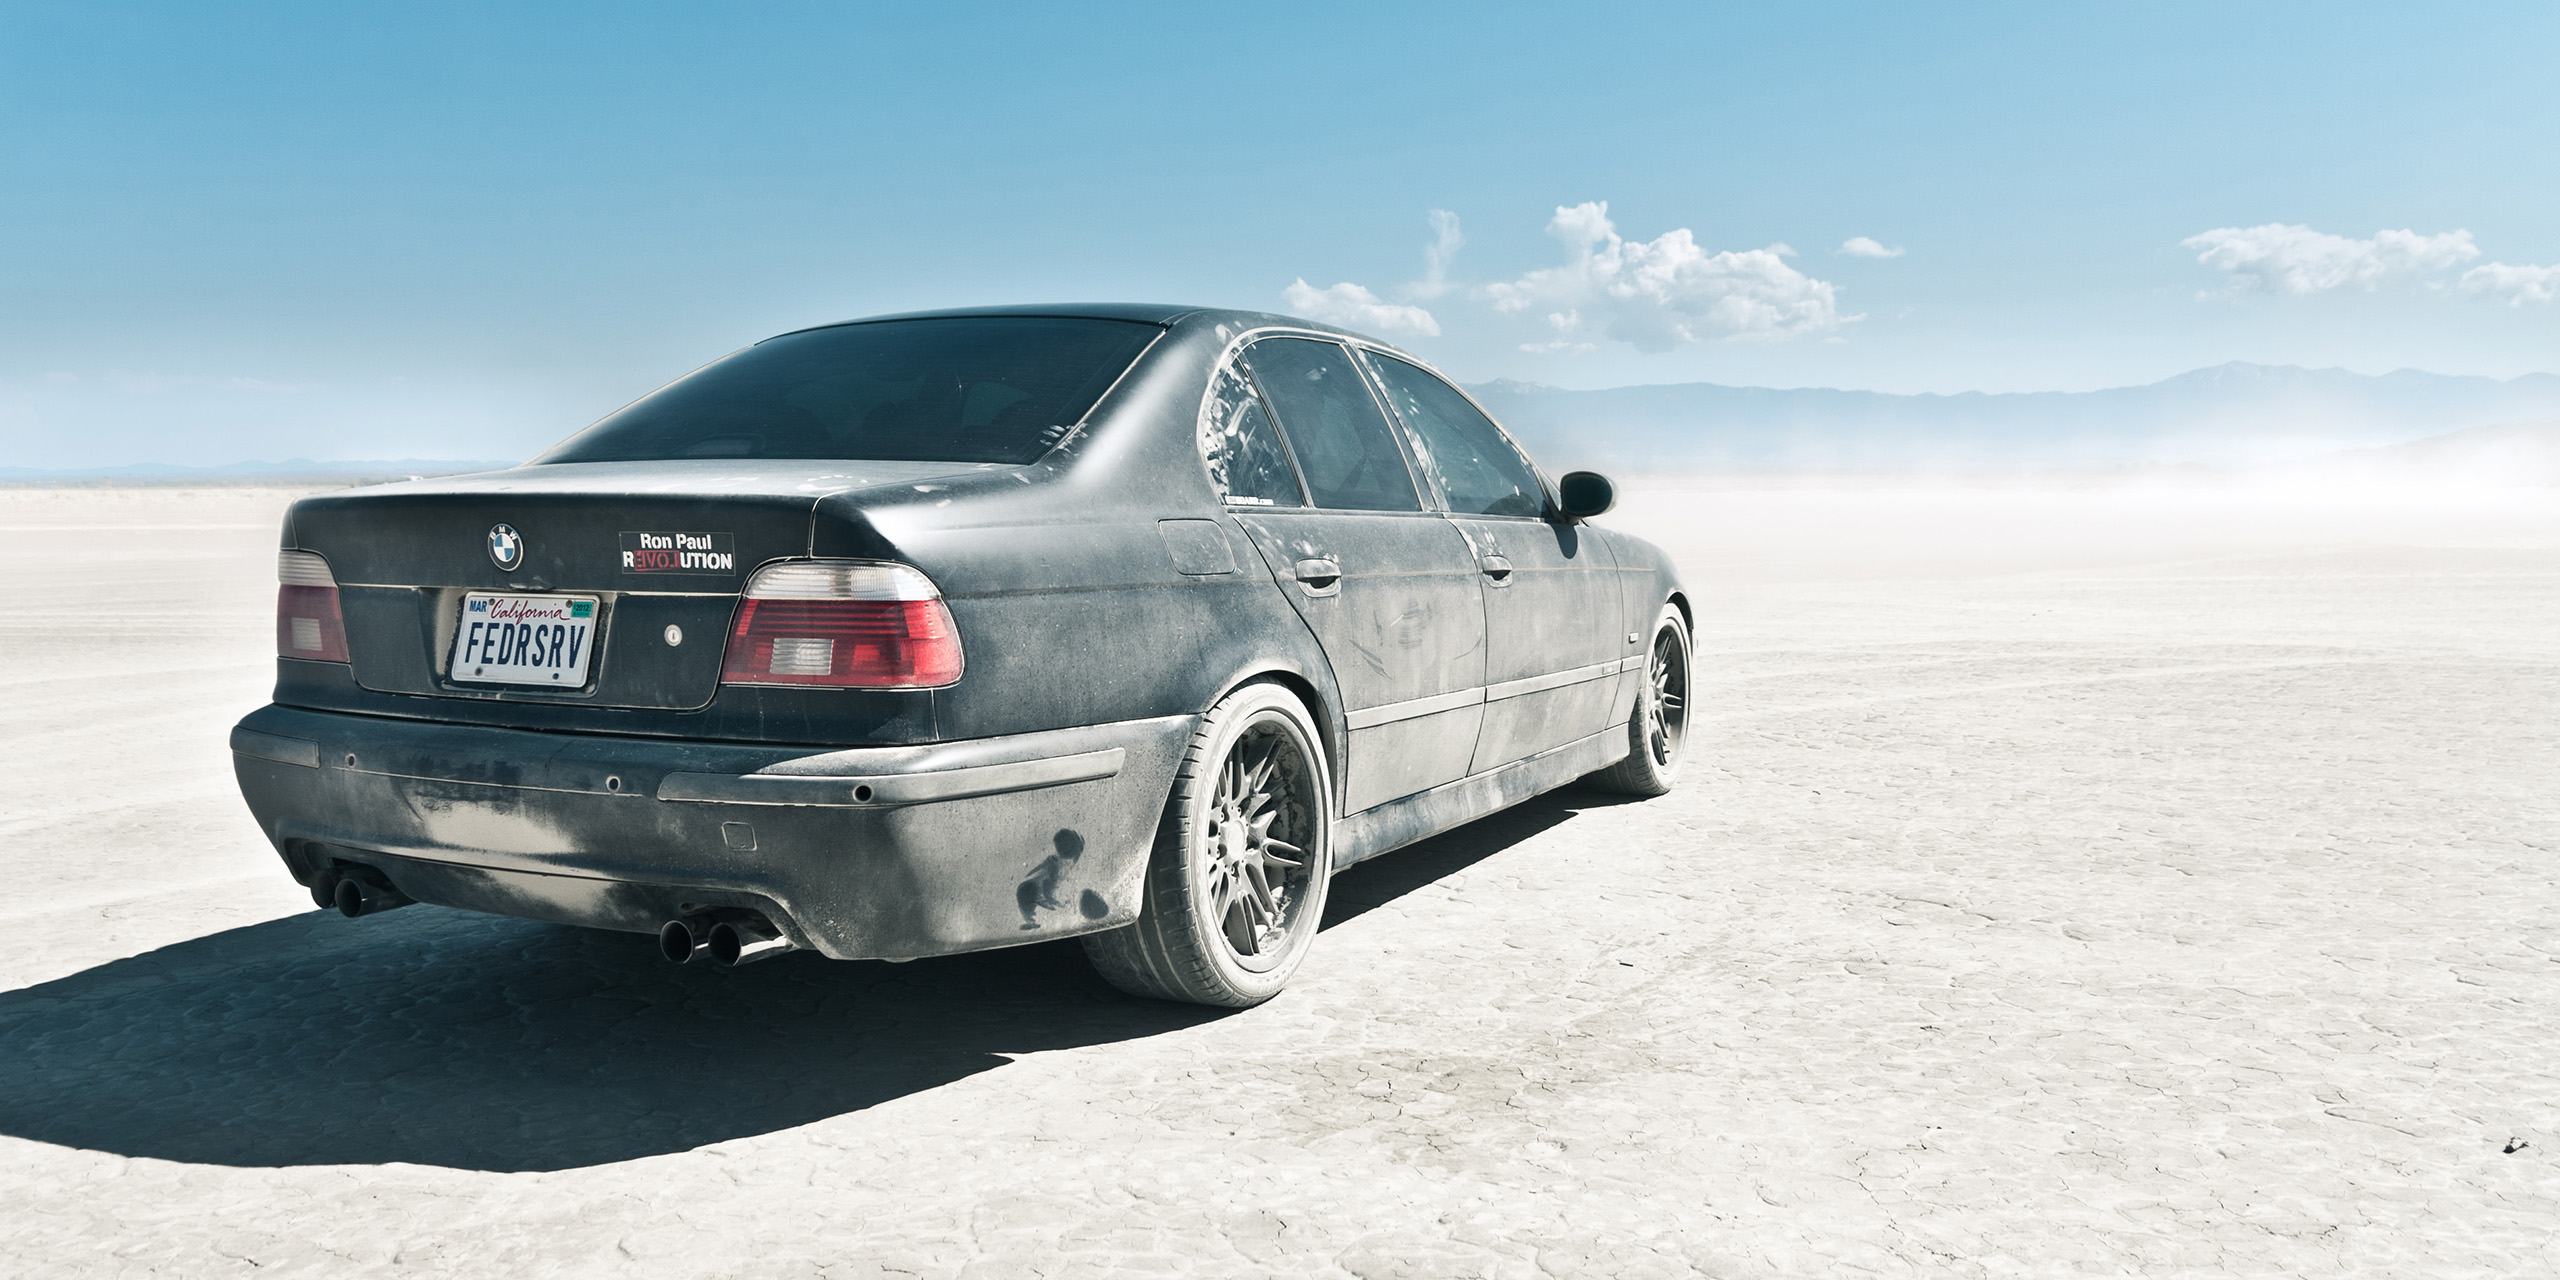
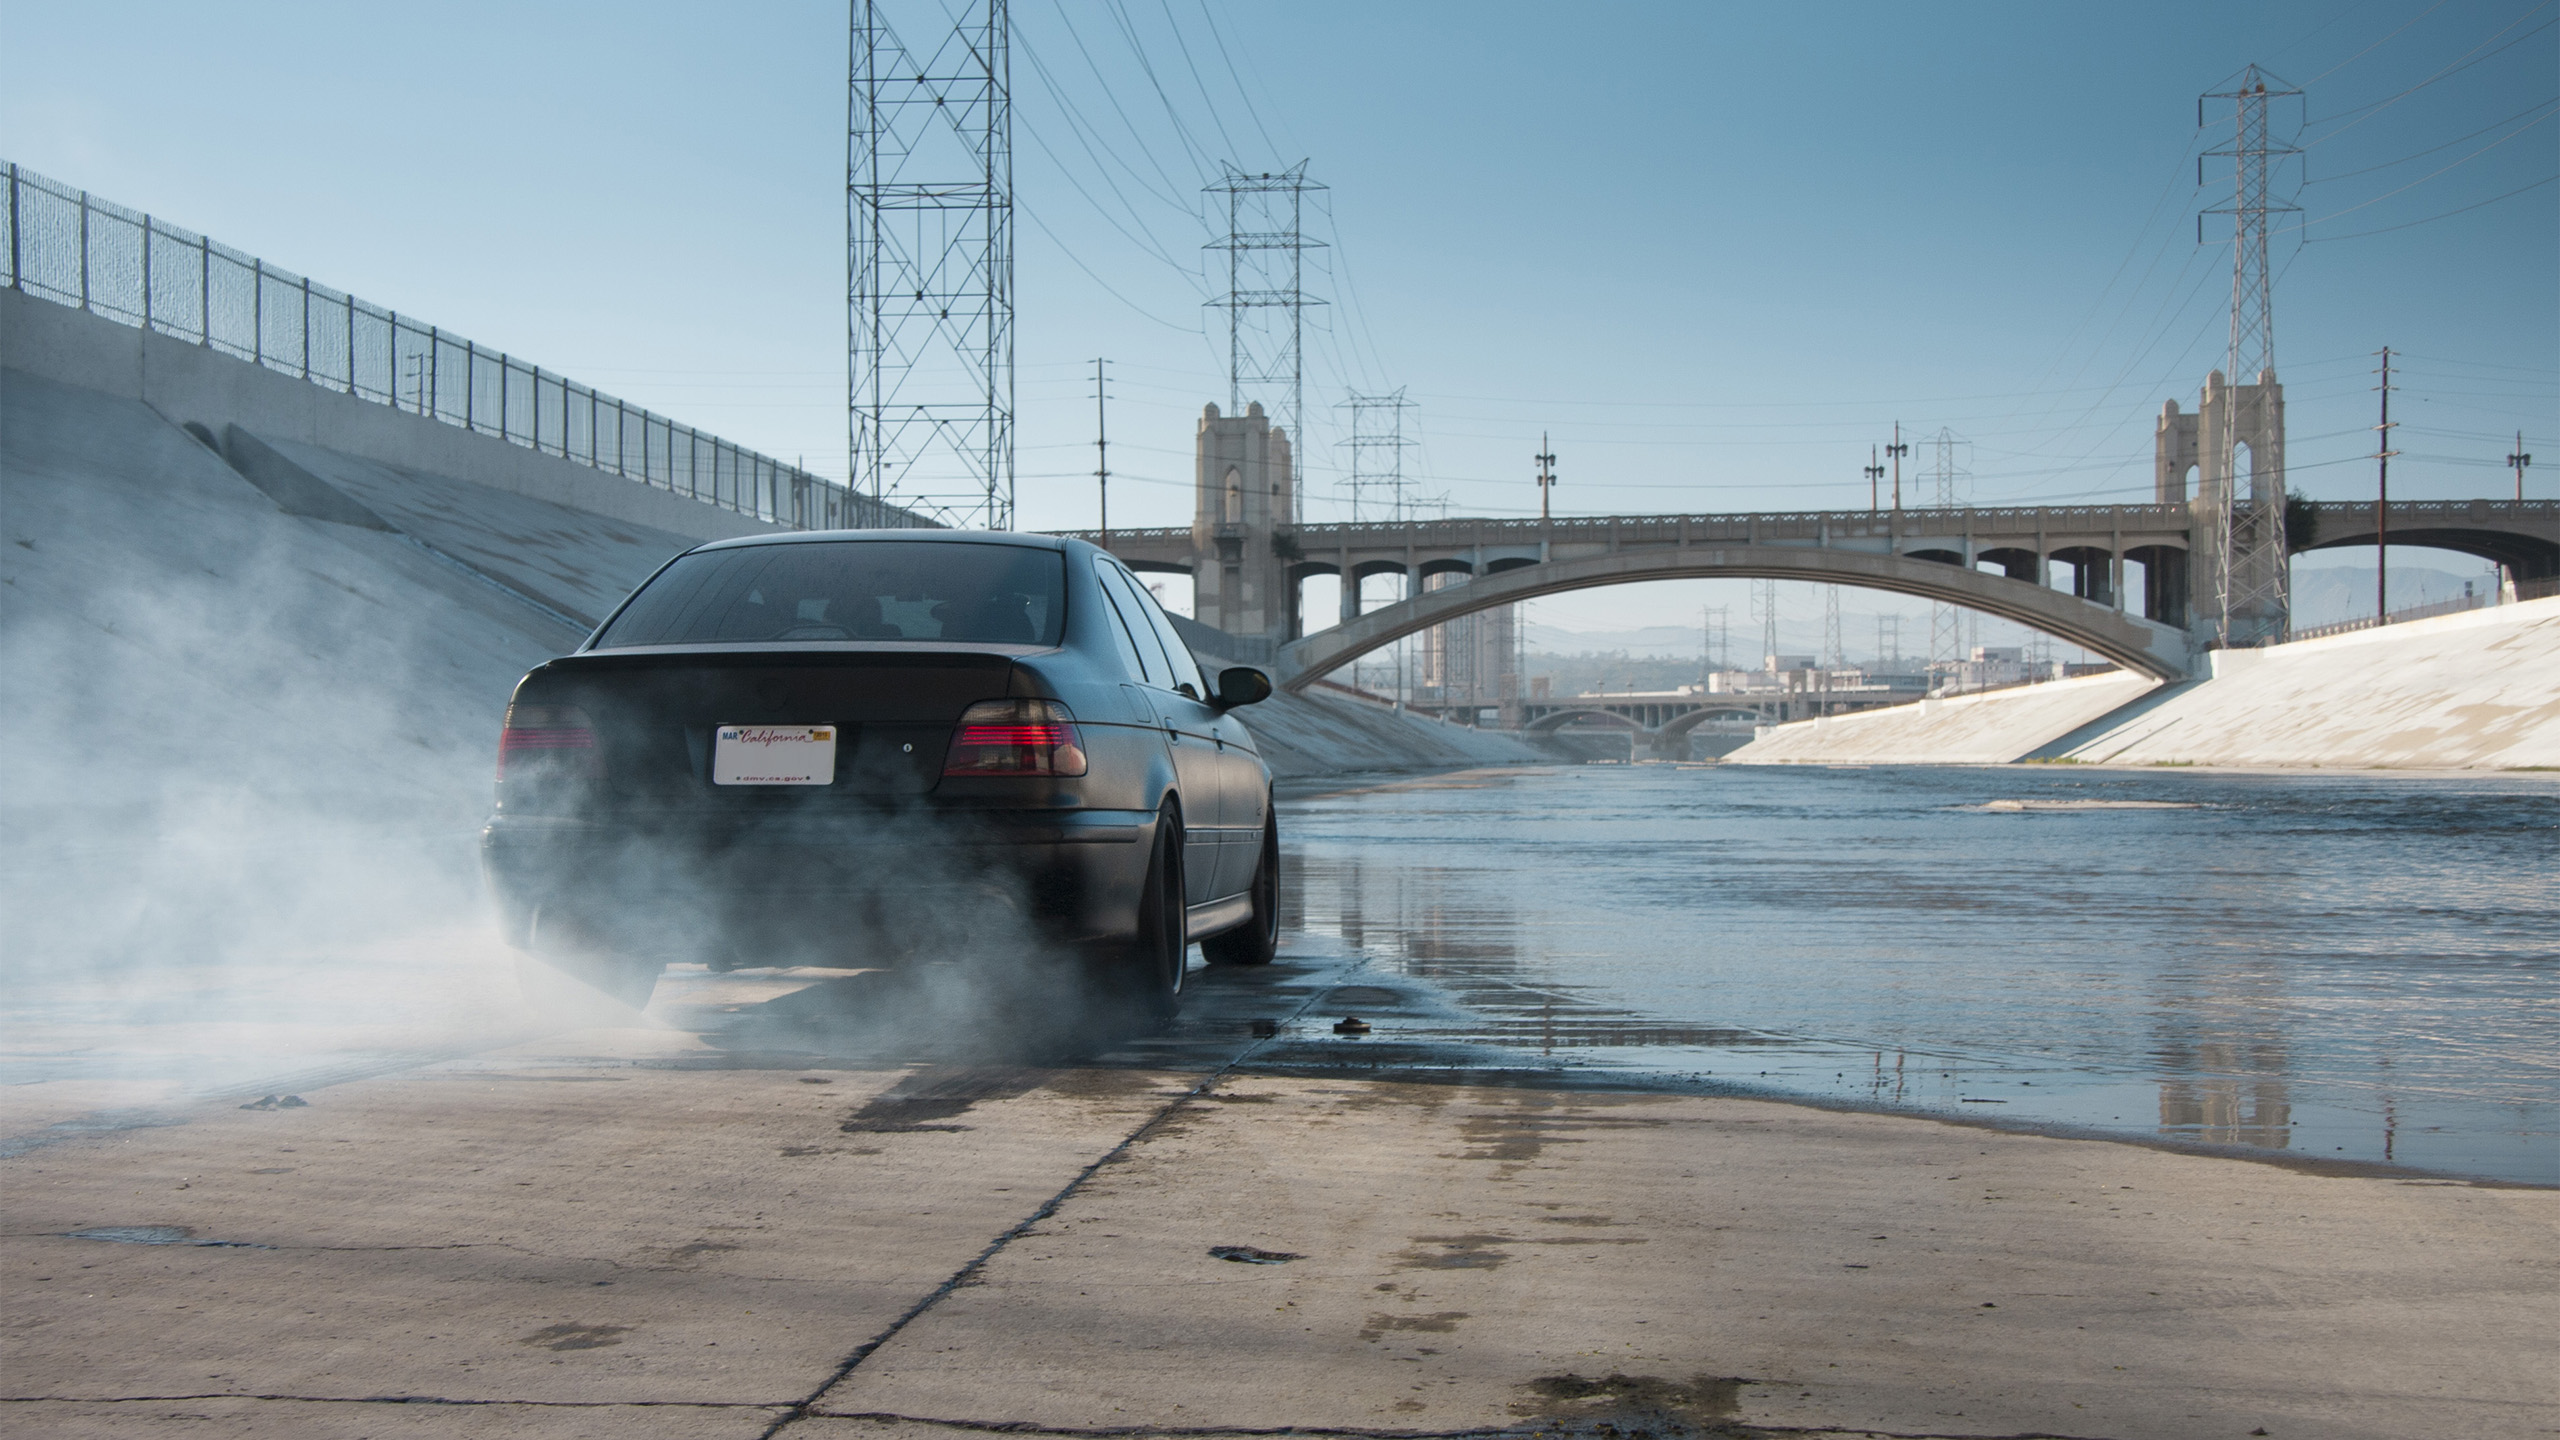
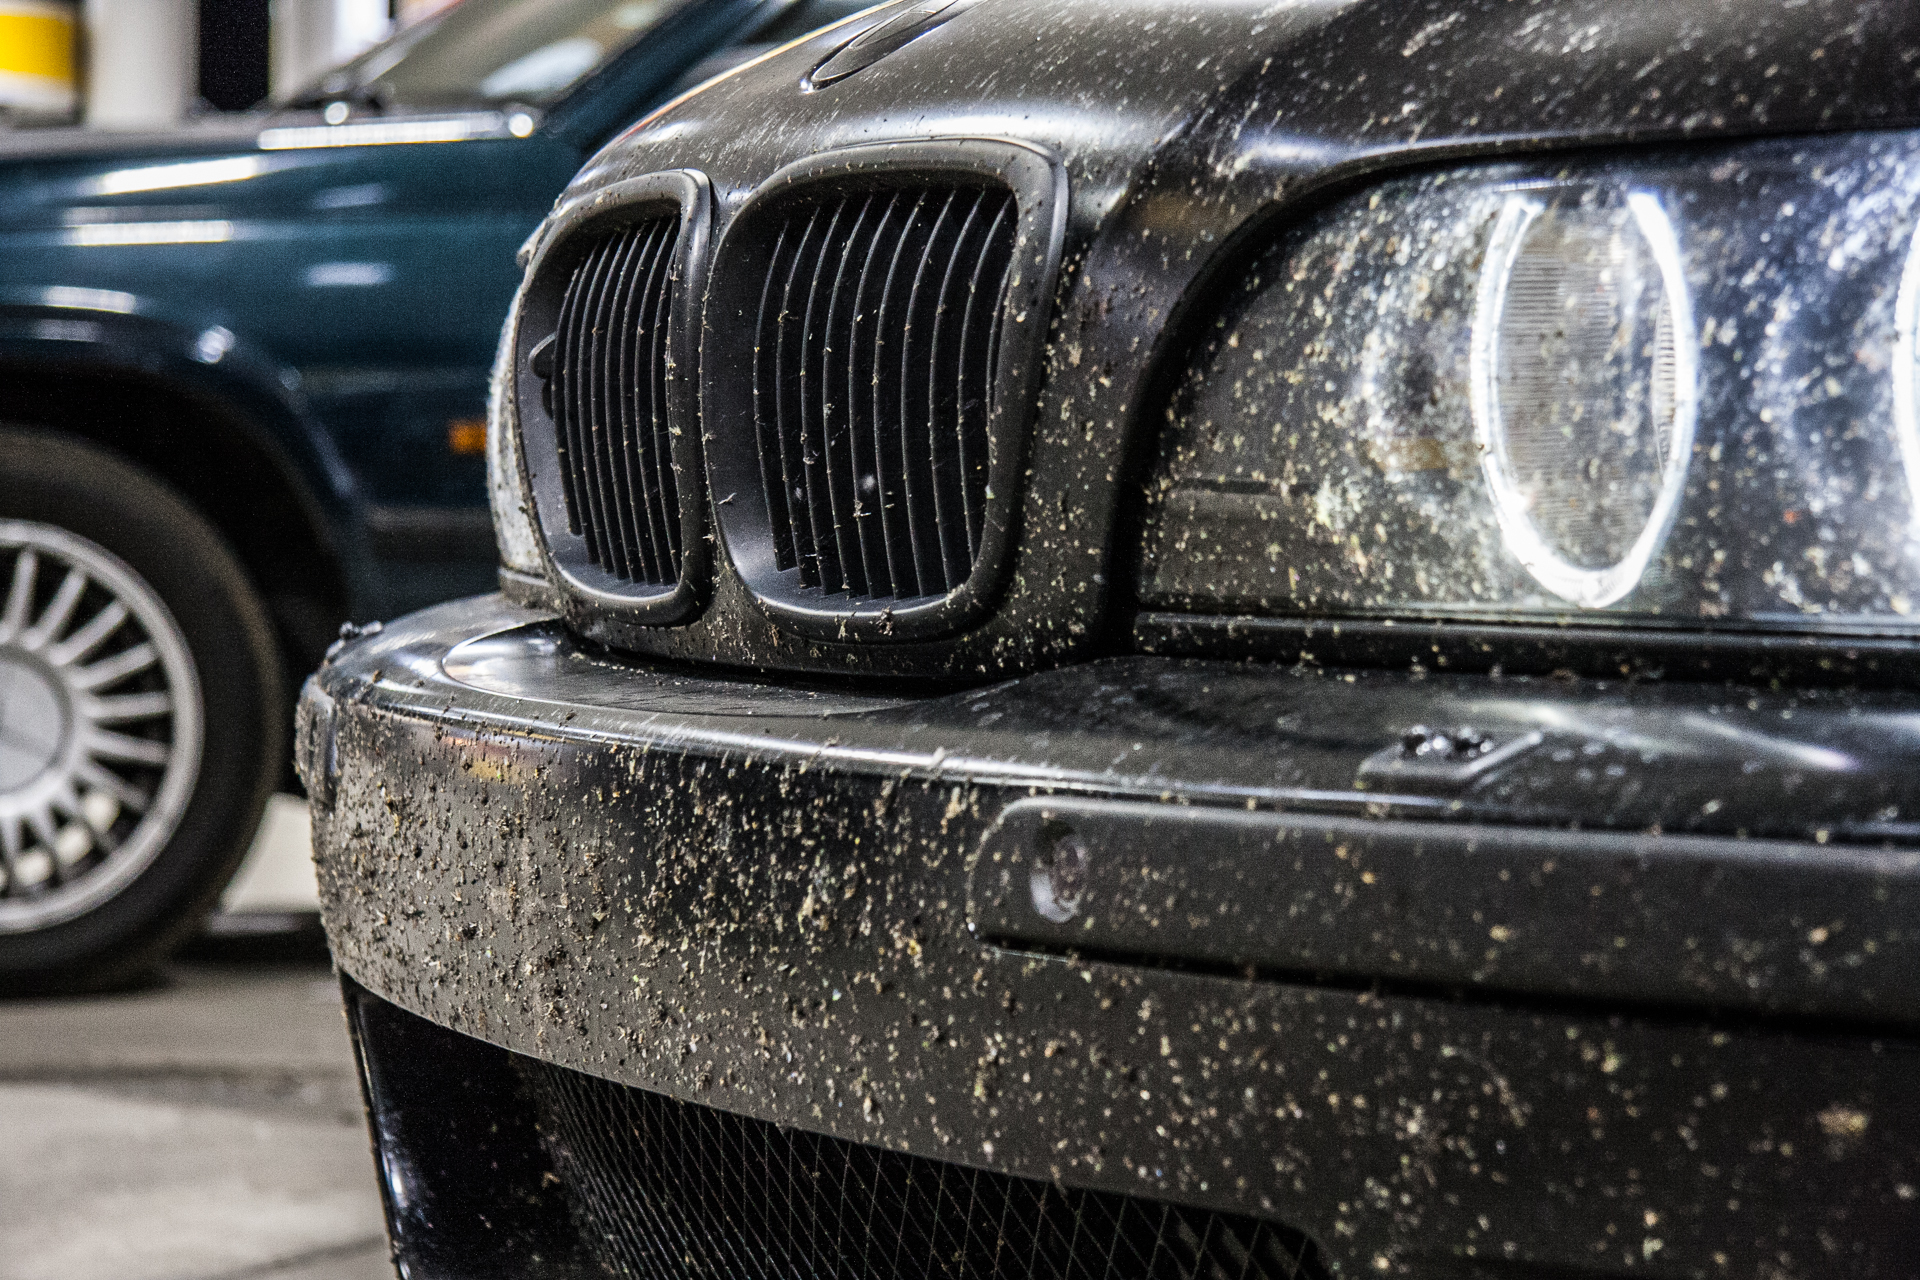
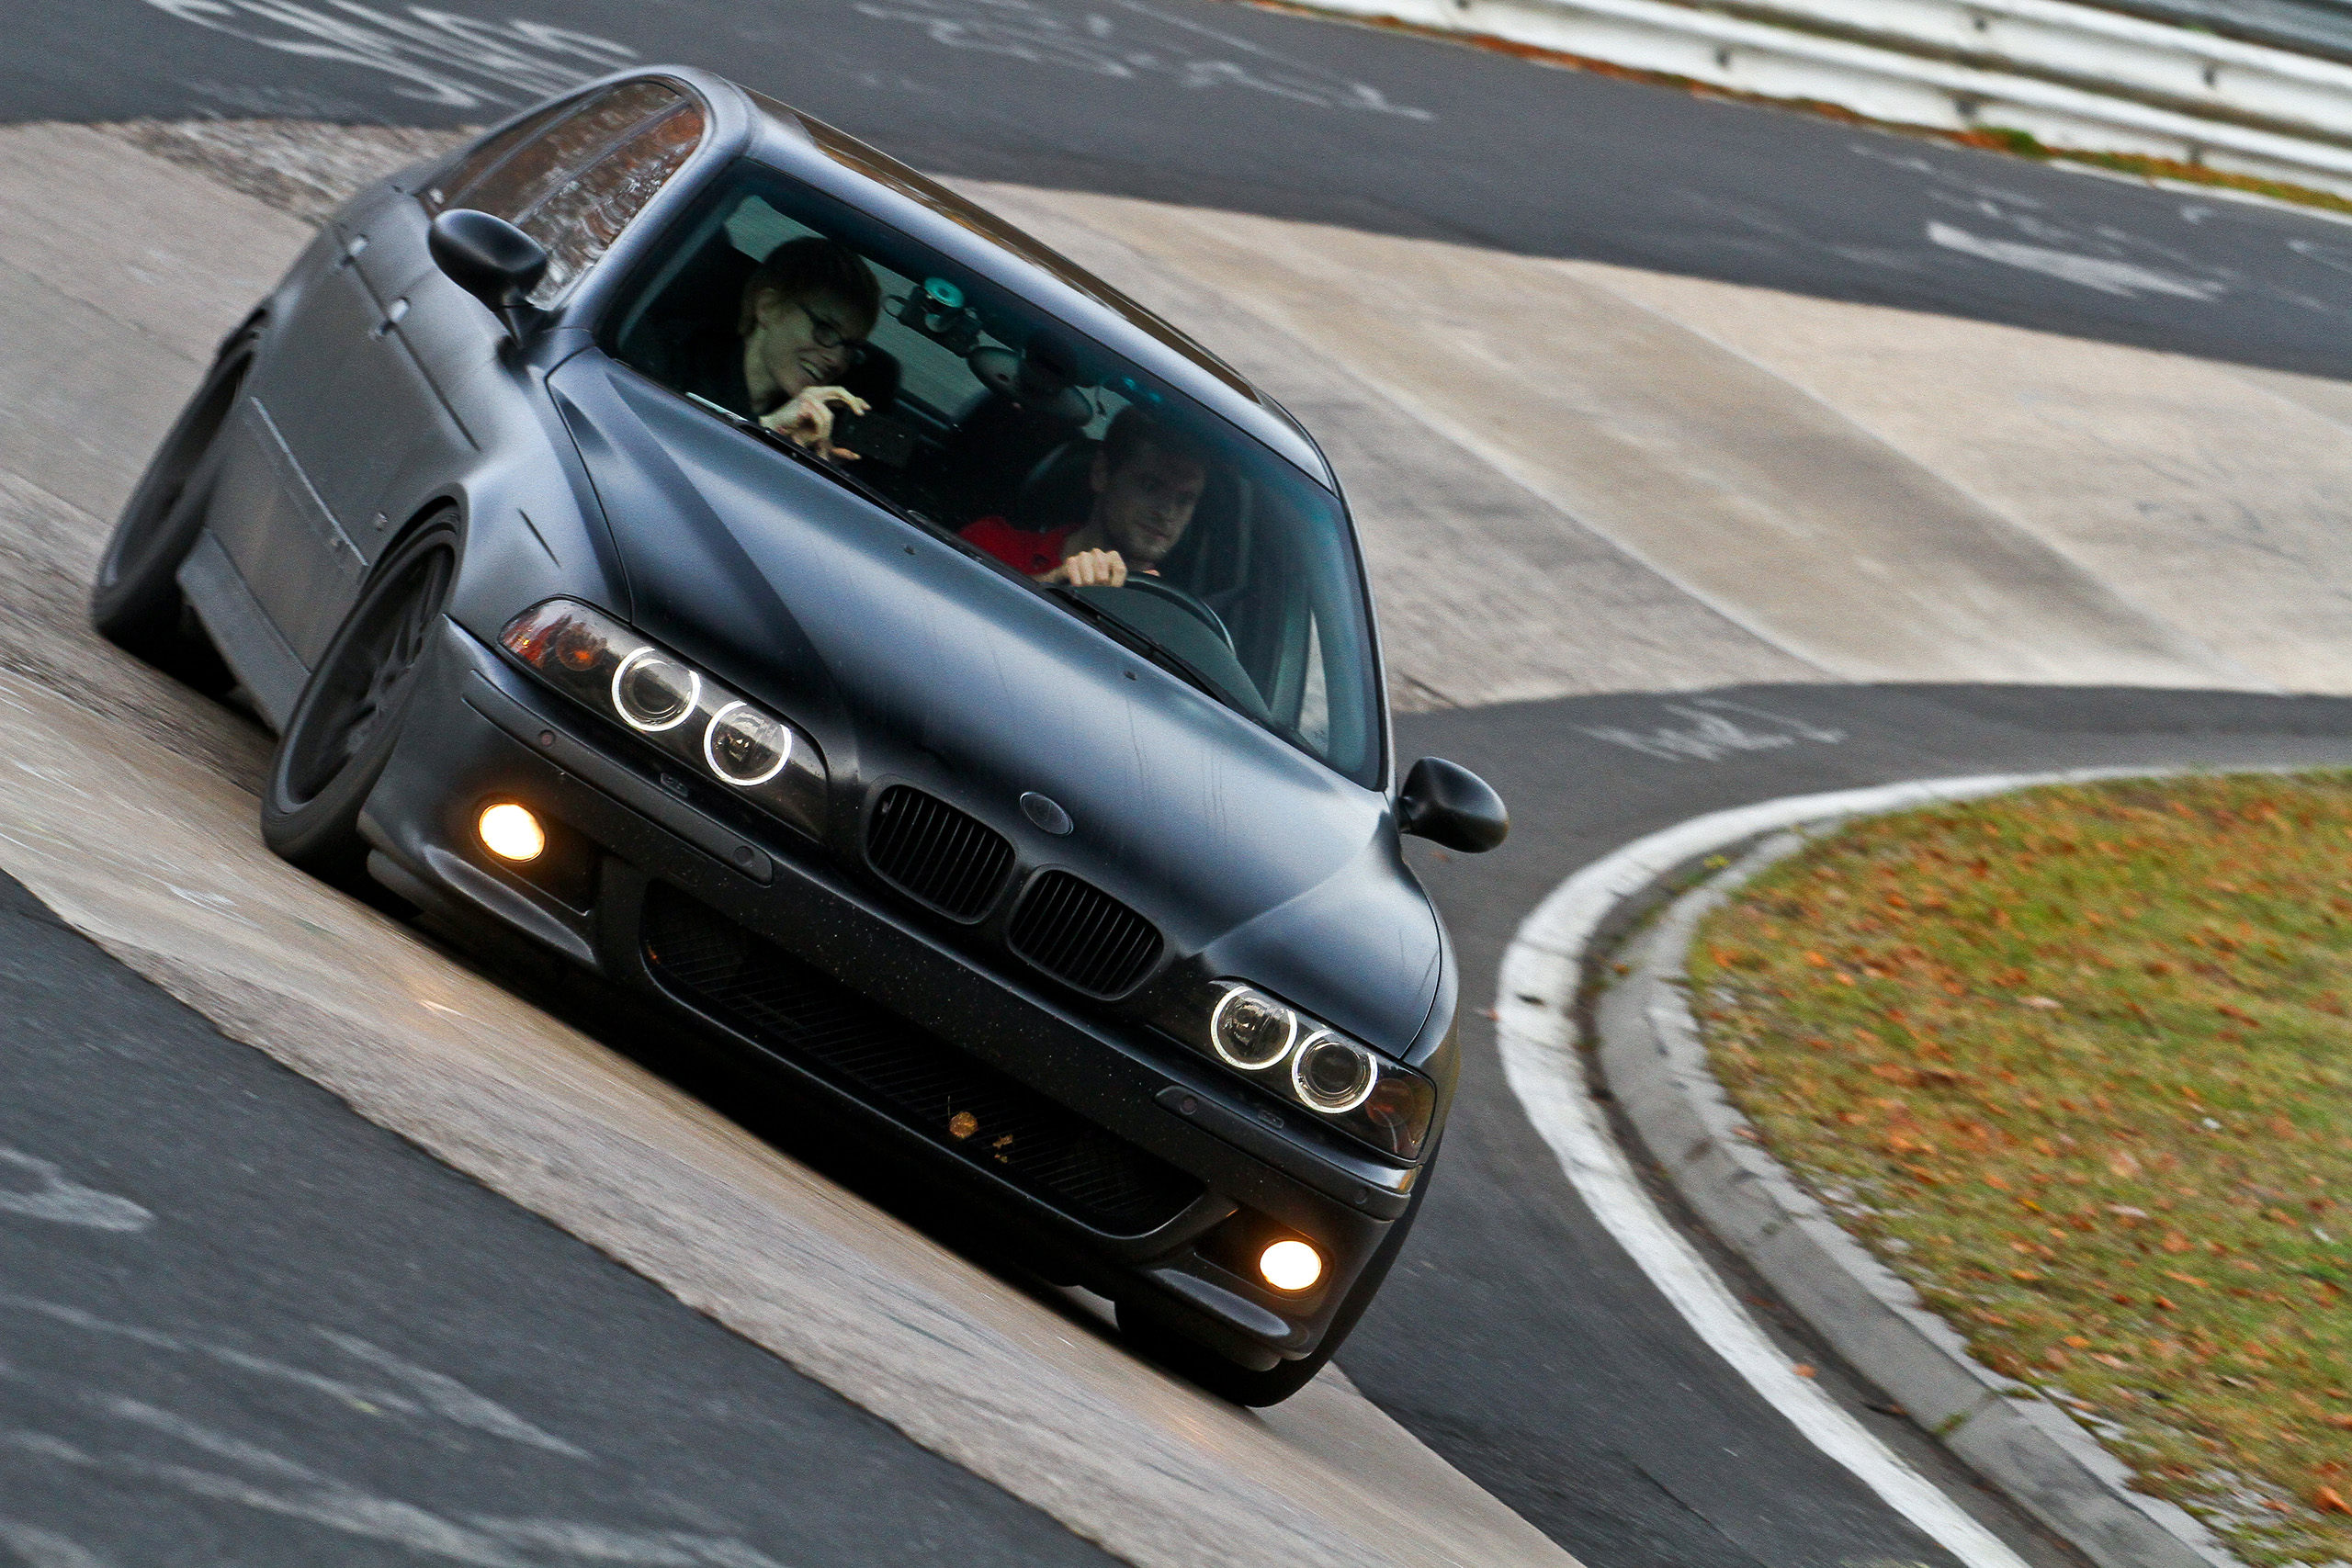
In 2011 the M5 had the matte/satin black wrap removed and was instead painted satin black with the paint “Hot Rod Flatz” by TCP Global in San Diego. The paint was a single stage polyurethane paint that withstands small scratches and such. The car was street parked for next 5 years and endured countless hours of California scorching summer sun, road trips to Salt Flats for drifting purposes, runs across the South West United States deserts, Death Valley trips, inter-continental road trip across United States and Europe, 1000’s of KM at 250km/h on Autobahn, Nurburgring, Laguna Seca, various containers it was shipped in and other boat trips, and can’t forget the Eastern European dirt roads, among many other encounters. The Hot Rod Flatz paint held up, surprisingly well, the paint full-filled its purpose of staying on the car, but any paint put through all this would have suffered severely. The beauty with a satin flat paint job is that there are no swirl marks and the Hot Rod Flatz was super easy to take care of, high pressure washing all the way, every time and looked great afterward.
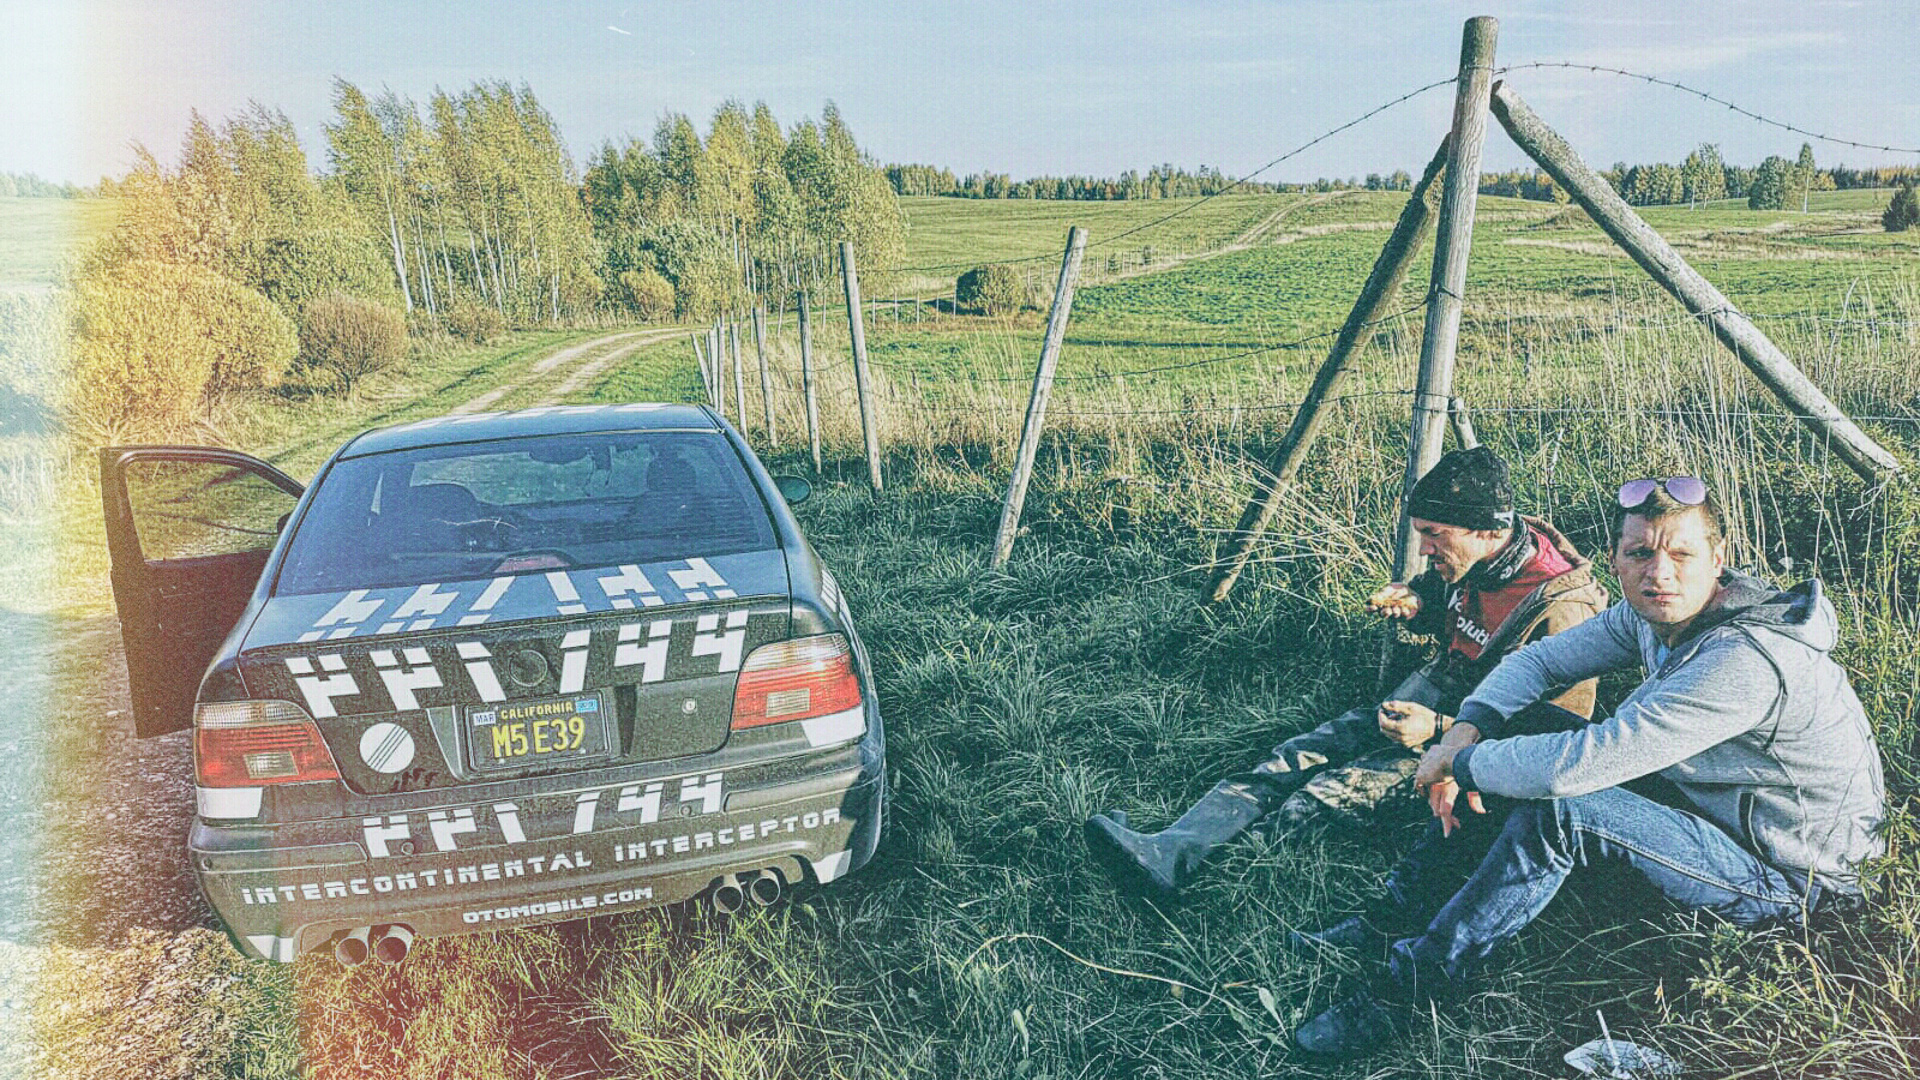
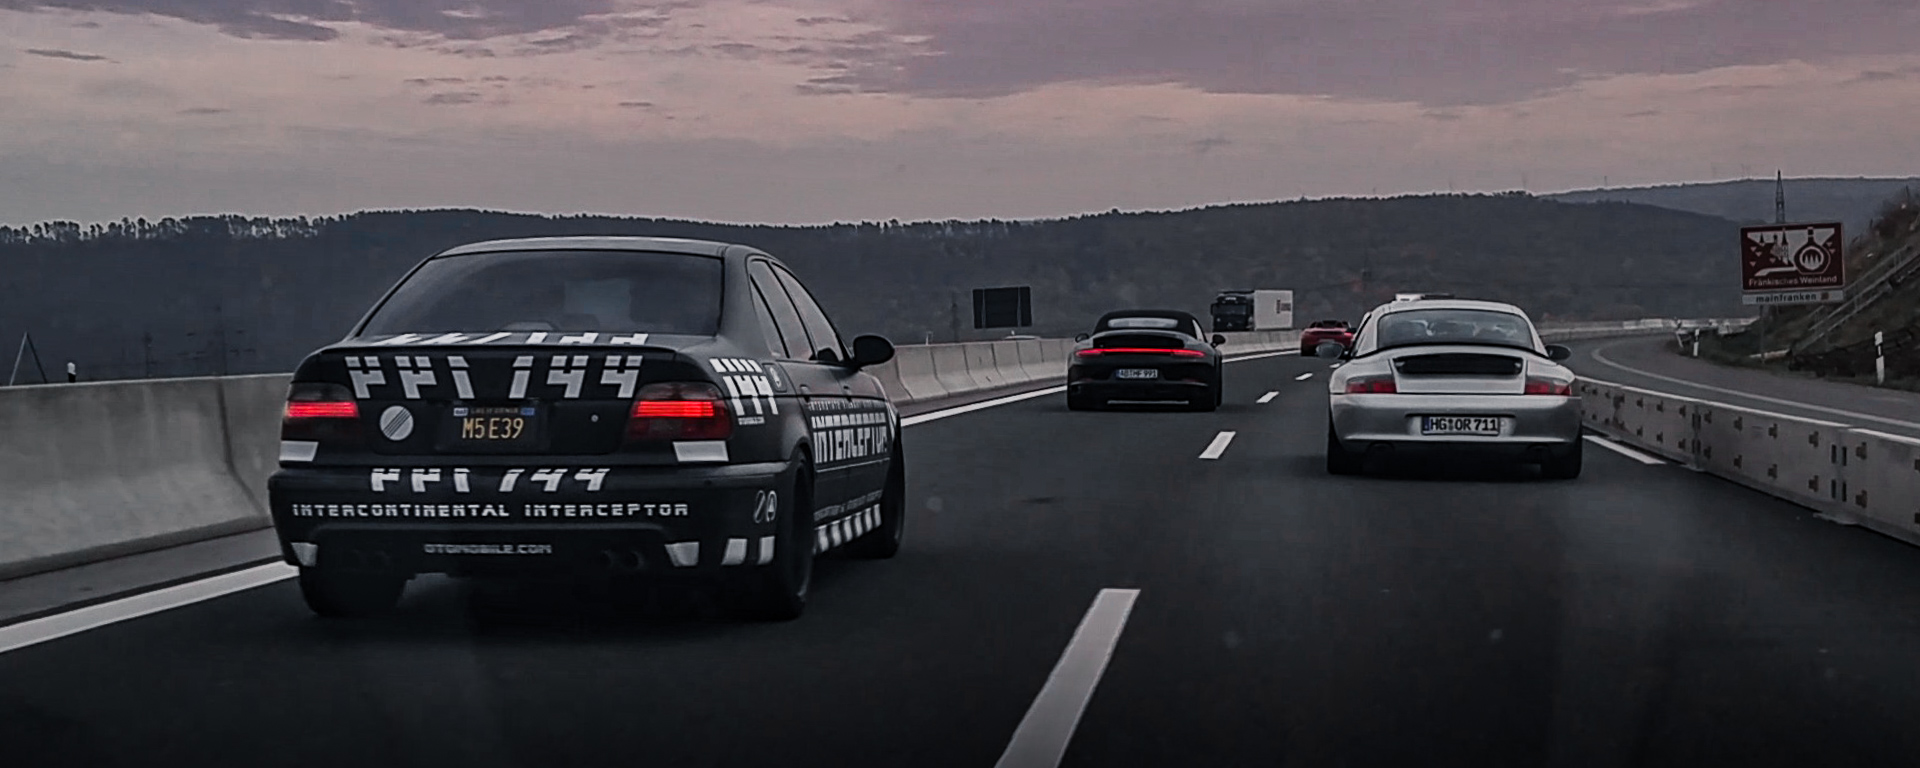
@Painter for Quick Sticker Removal
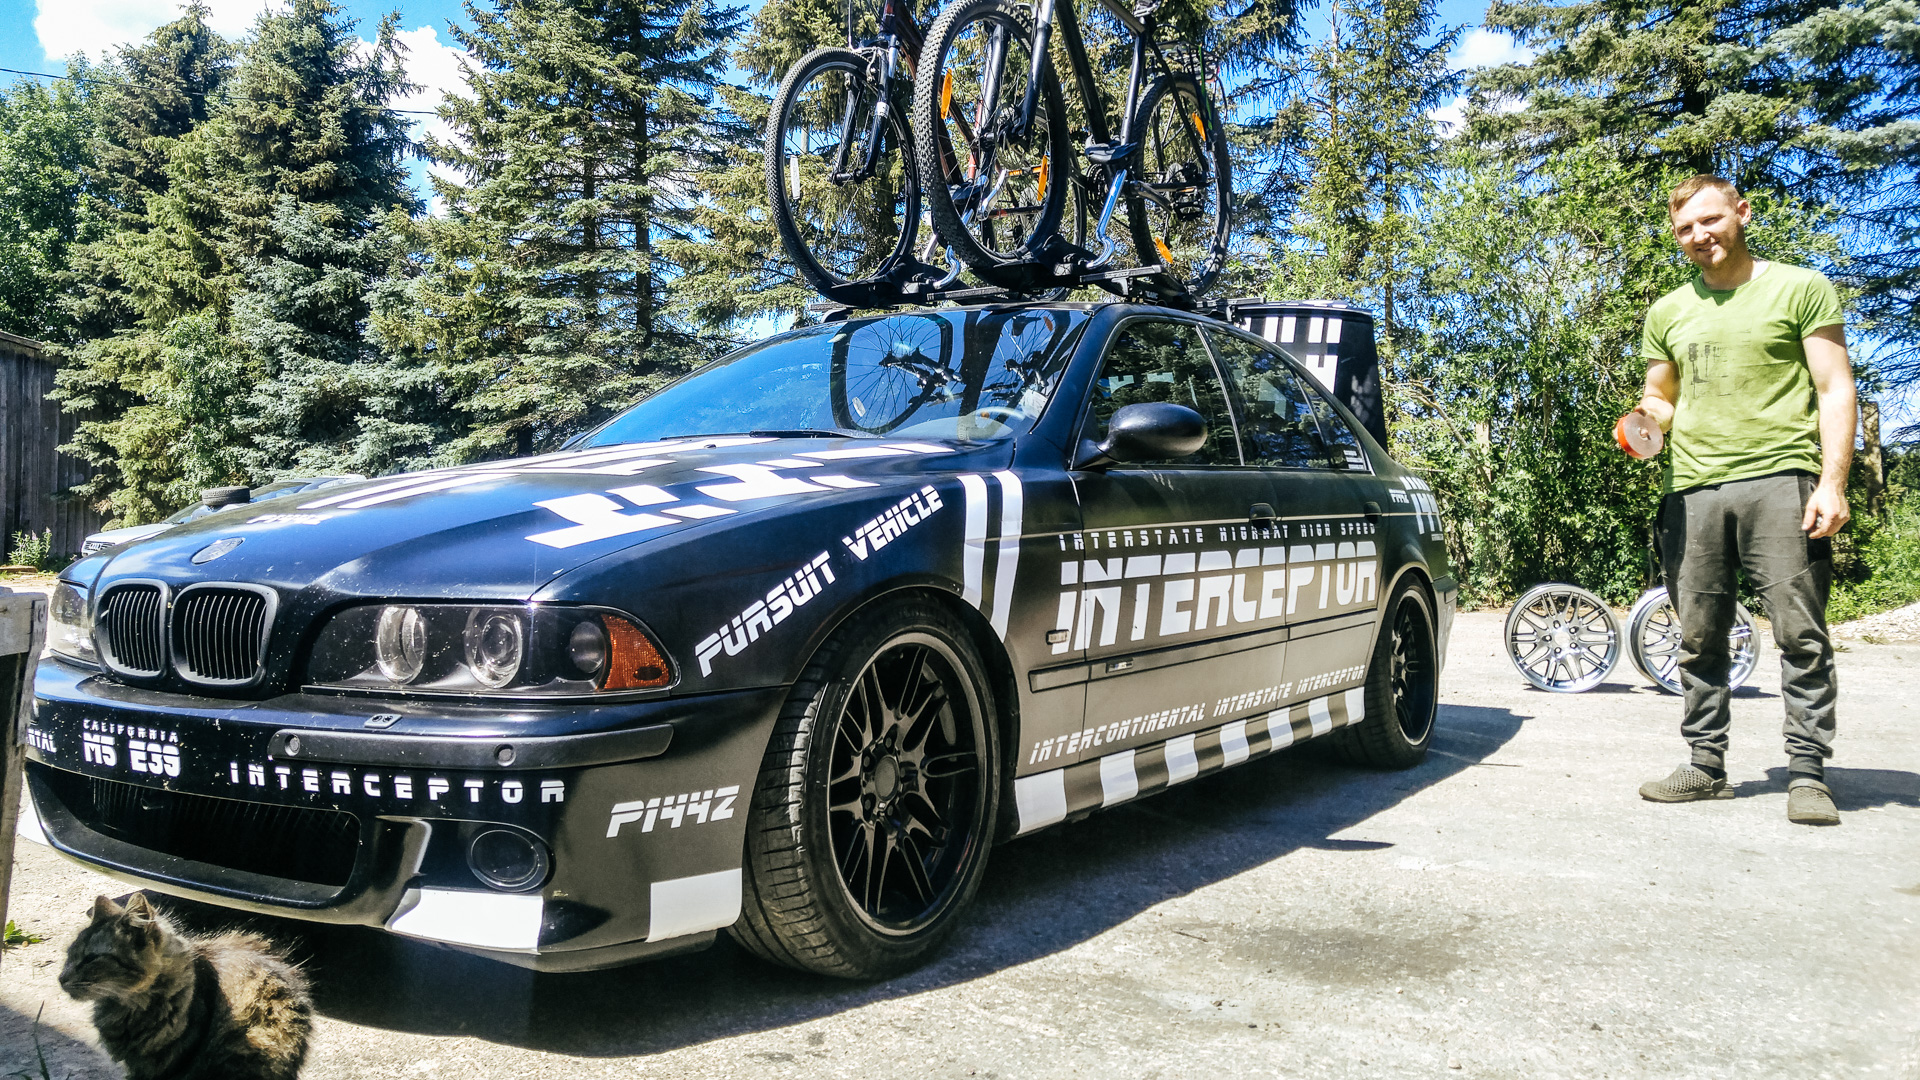
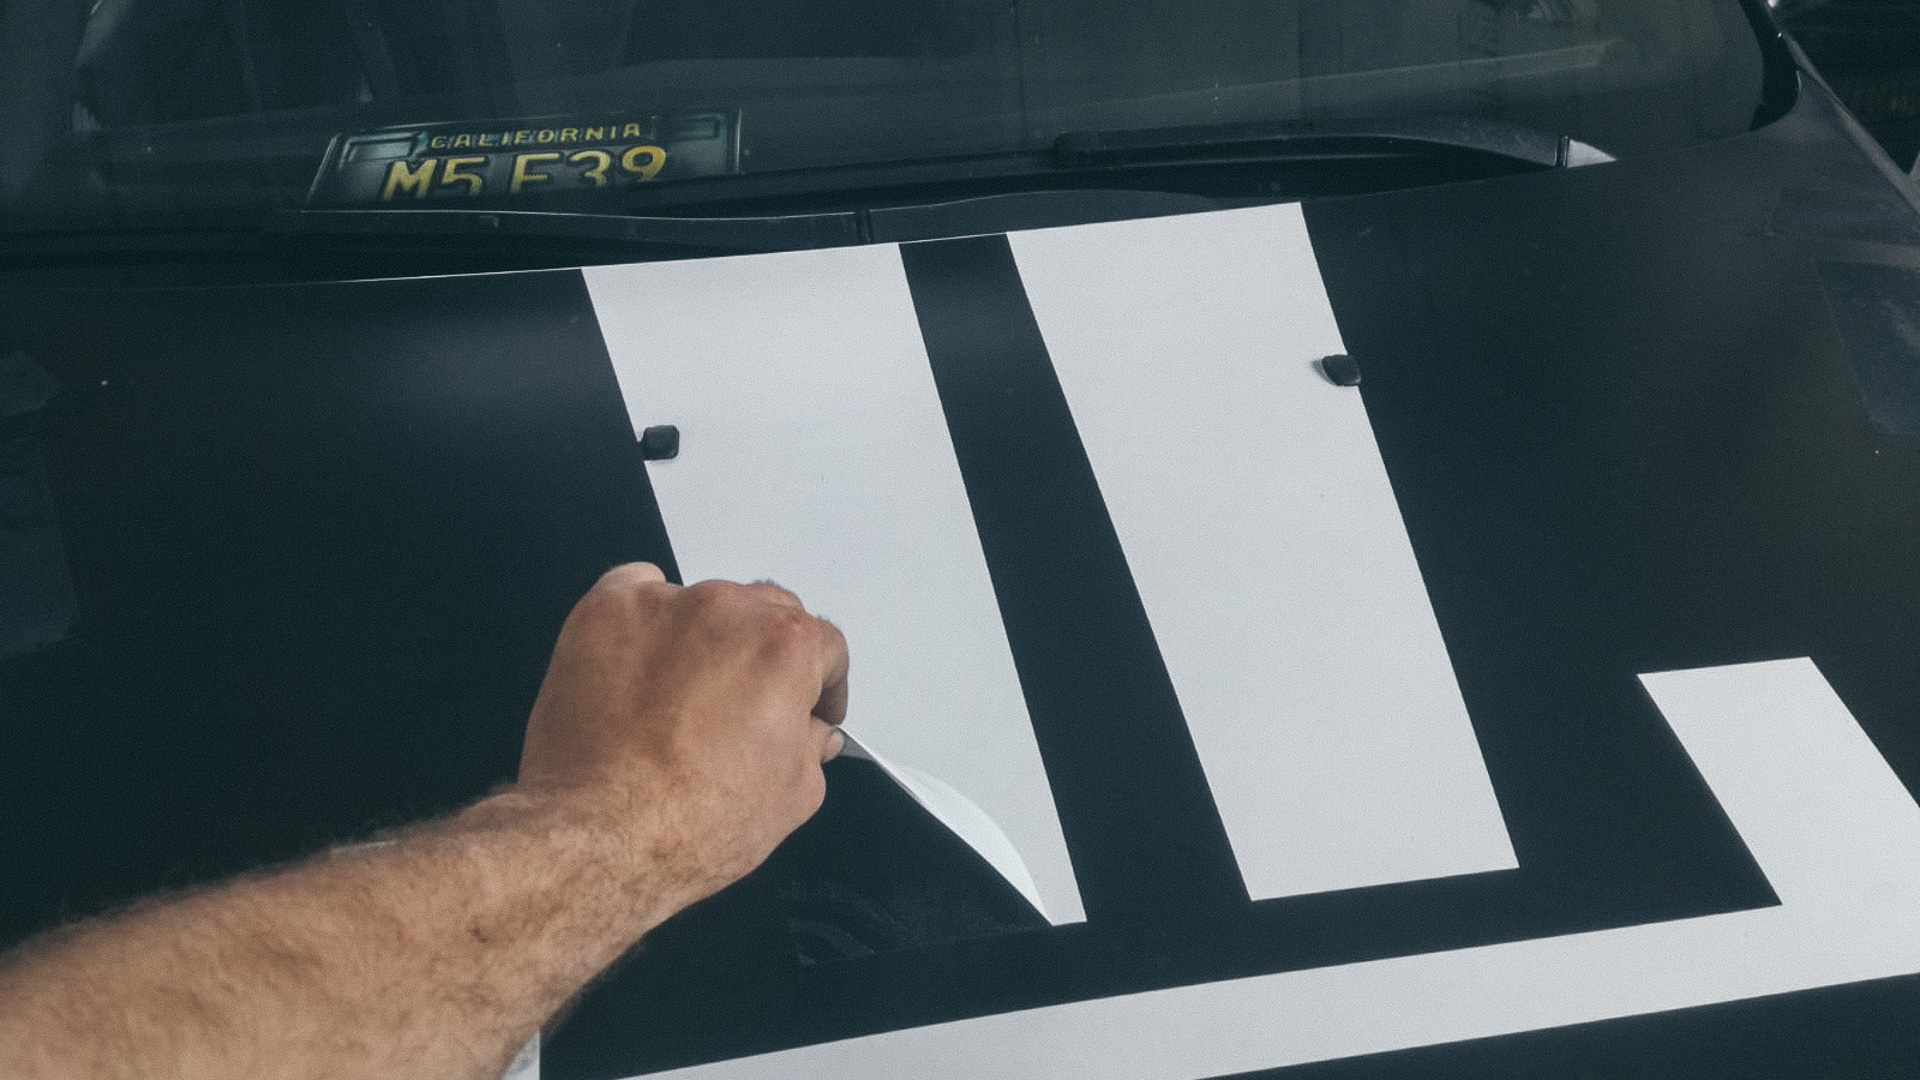
Initially the intention to visit painter Ainars Valdmanis was to only remove the stickers from the car. The painter was to paint the roof of the red Volvo when he said he won’t get it done before summer solstice and instead to bring the M5 in for decal removal, because that will be faster than painting a 3.8 square meter roof of a Volvo.
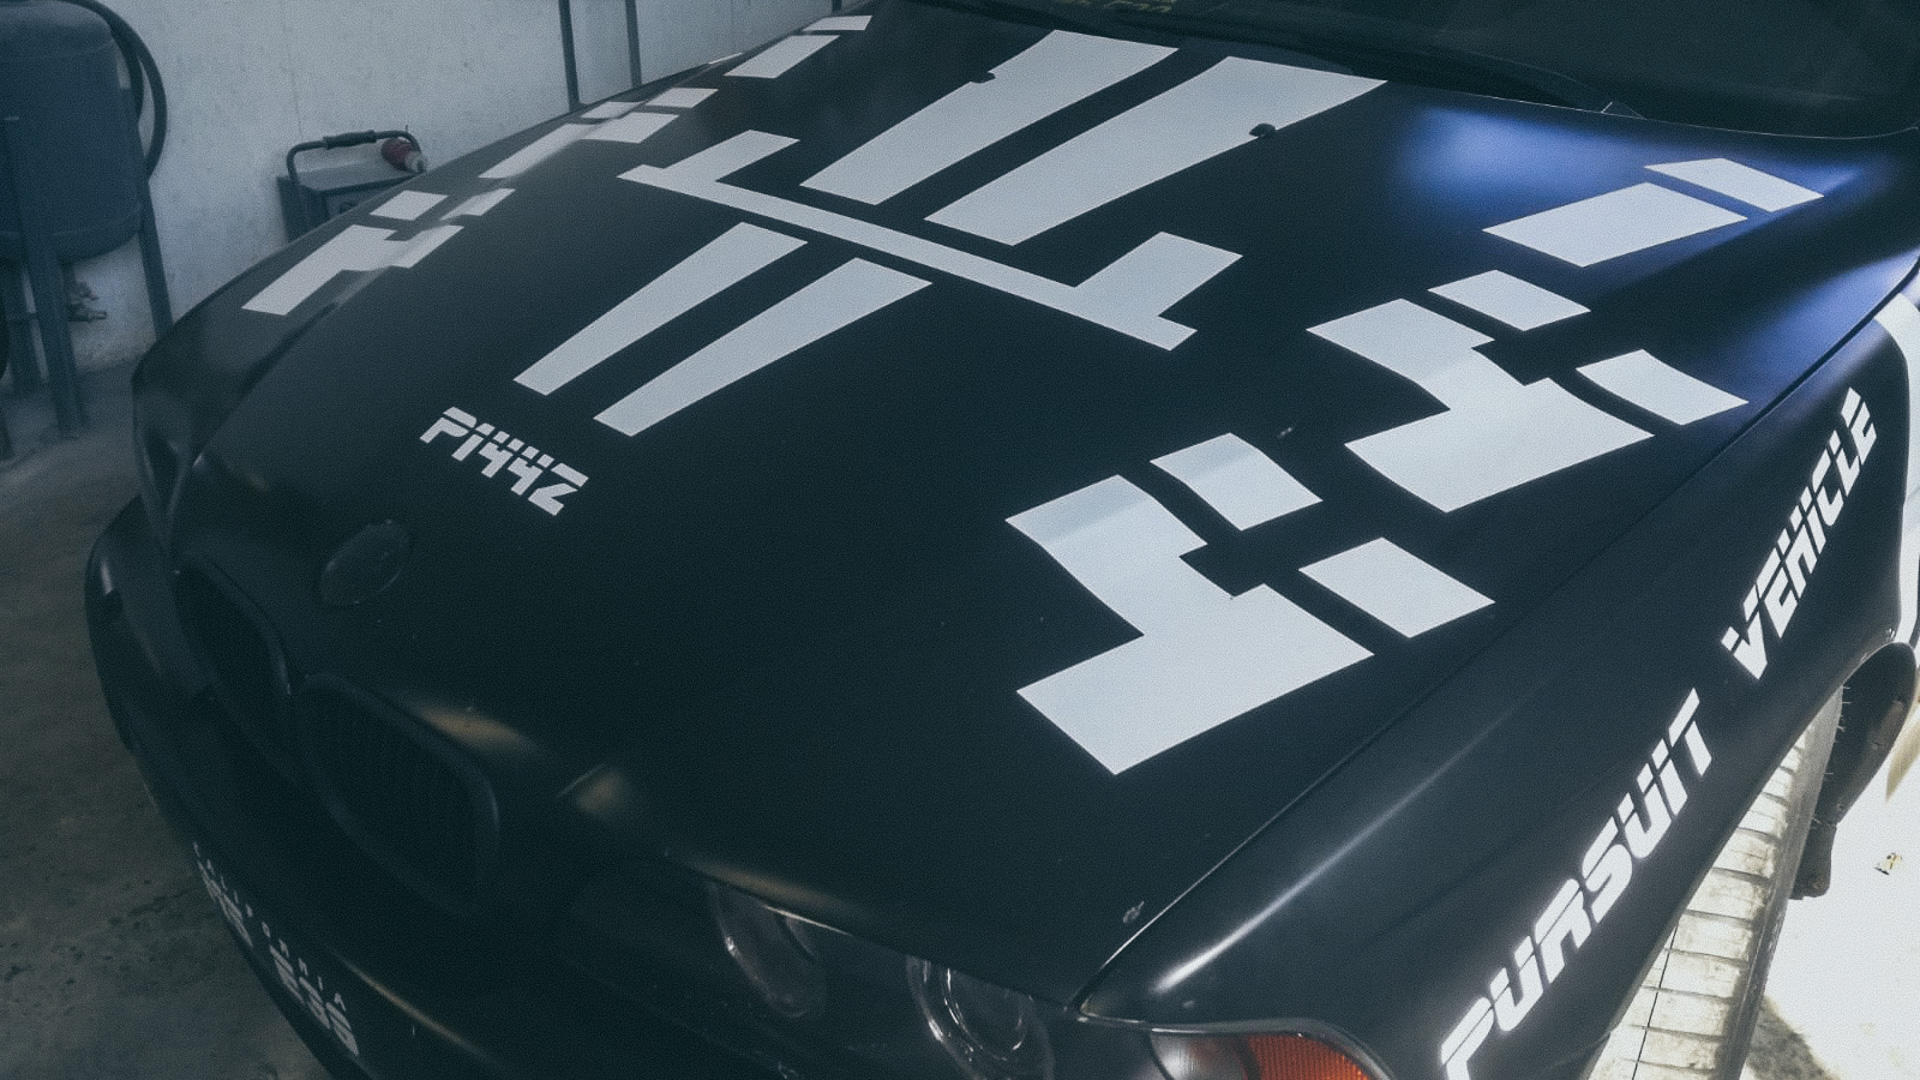
Los Angeles body shop shenanigans
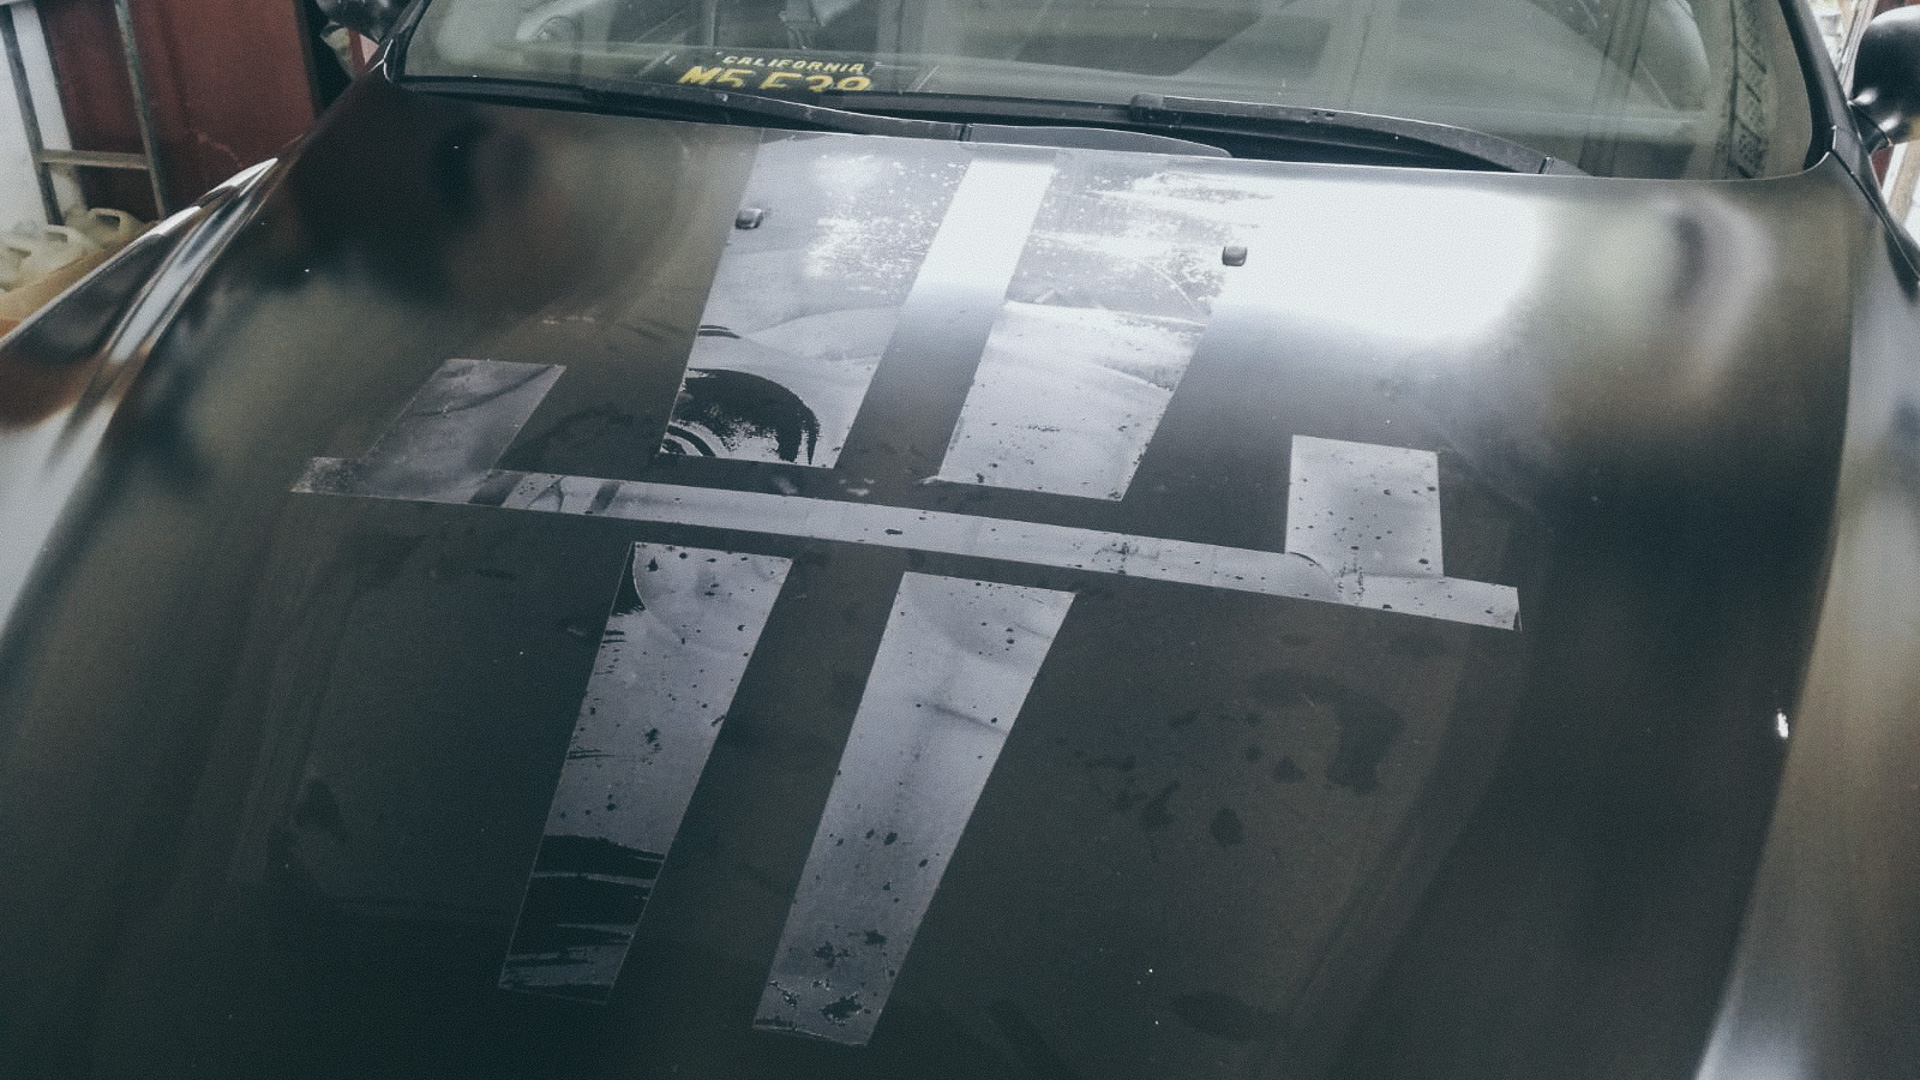
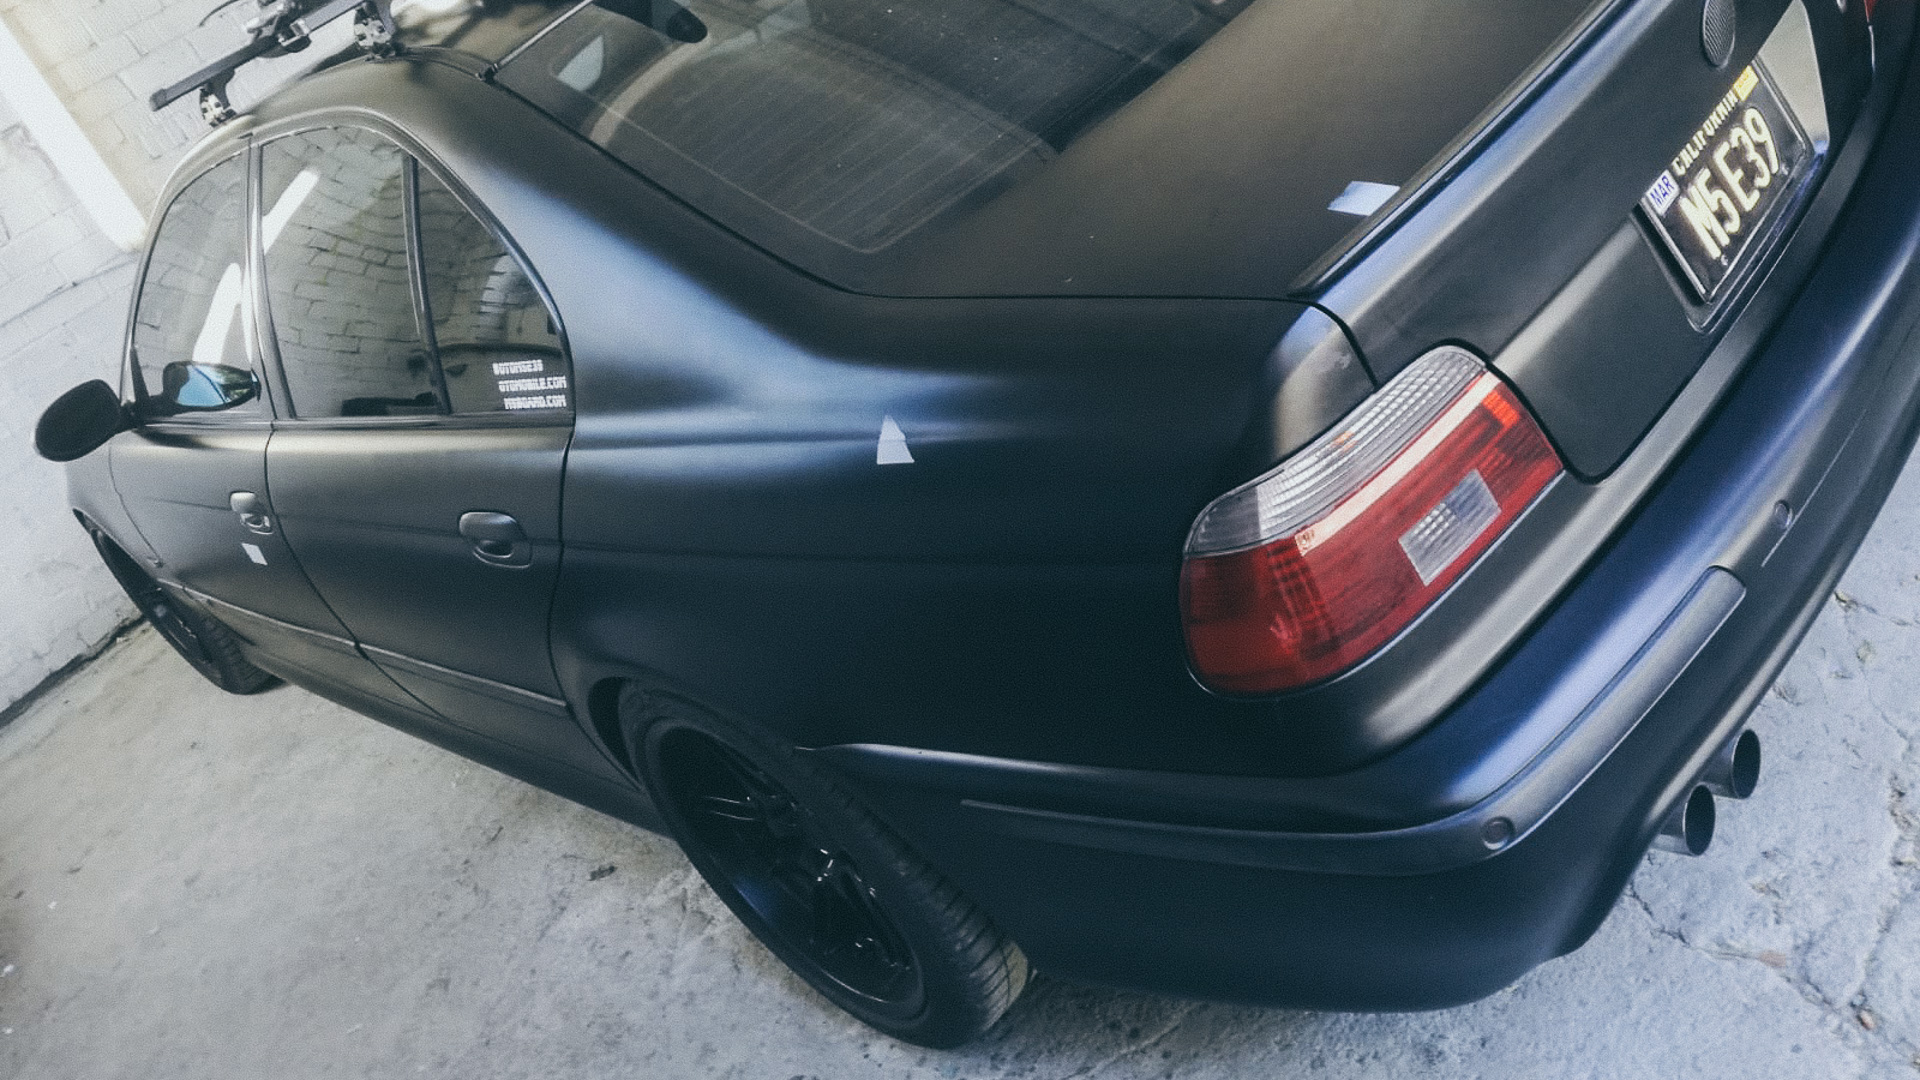
Suffering 2002 through 2011 from restless repeating oncoming storms of Carbon Schwarz swirl-marks, the car was painted Hot Rod Flatz in 2011 in Los Angeles. While the paint looked and held reasonably well for the years of beating it took while being #streetparked… after sticker removal it was beyond repair. With sticker removal it was revealed that the paint’s primer was sanded and prepared at various locations with 1500 to 2000 grit and by so the Hot Rod Flatz polyurethane paint had nowhere to bite and came off with the stickers at various places. Problem was that the stickers only covered a relatively small portion of the car, what else primer shenanigans is below the Hot Rod Flatz paint?
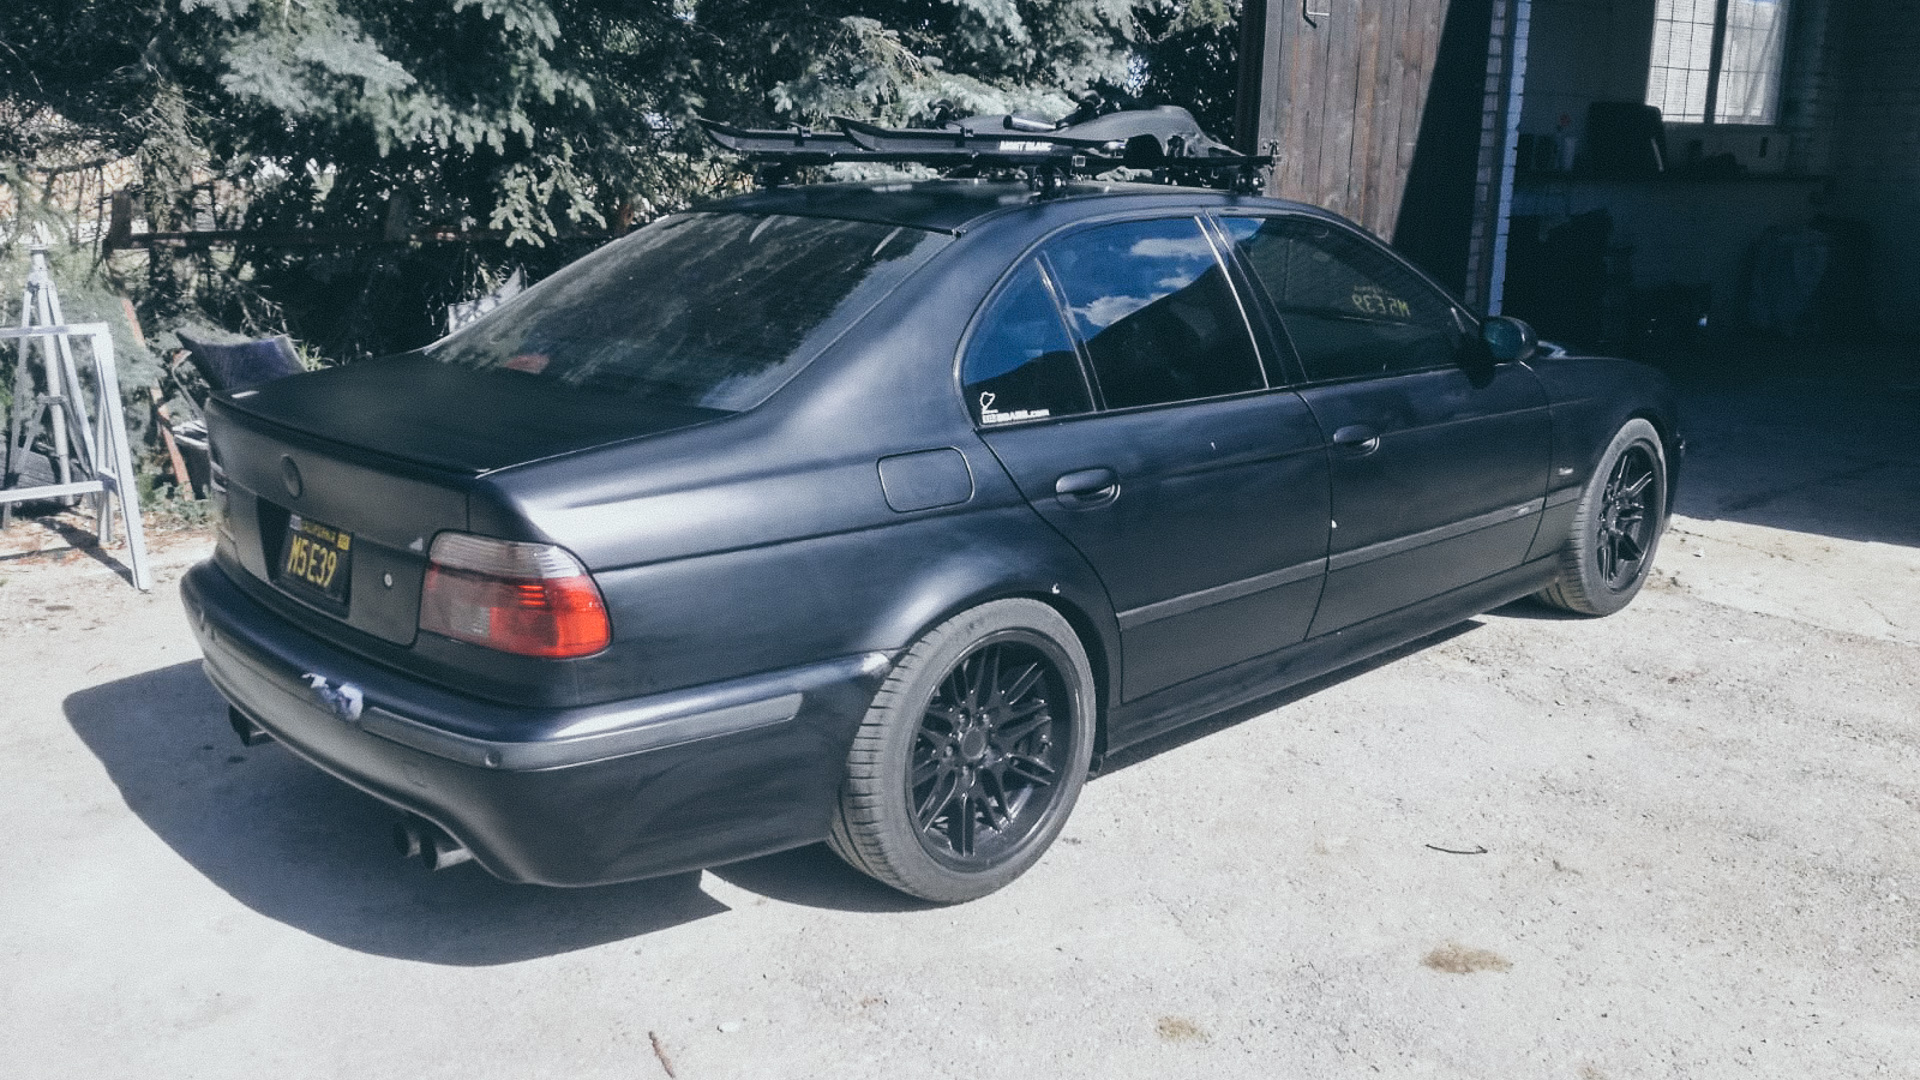
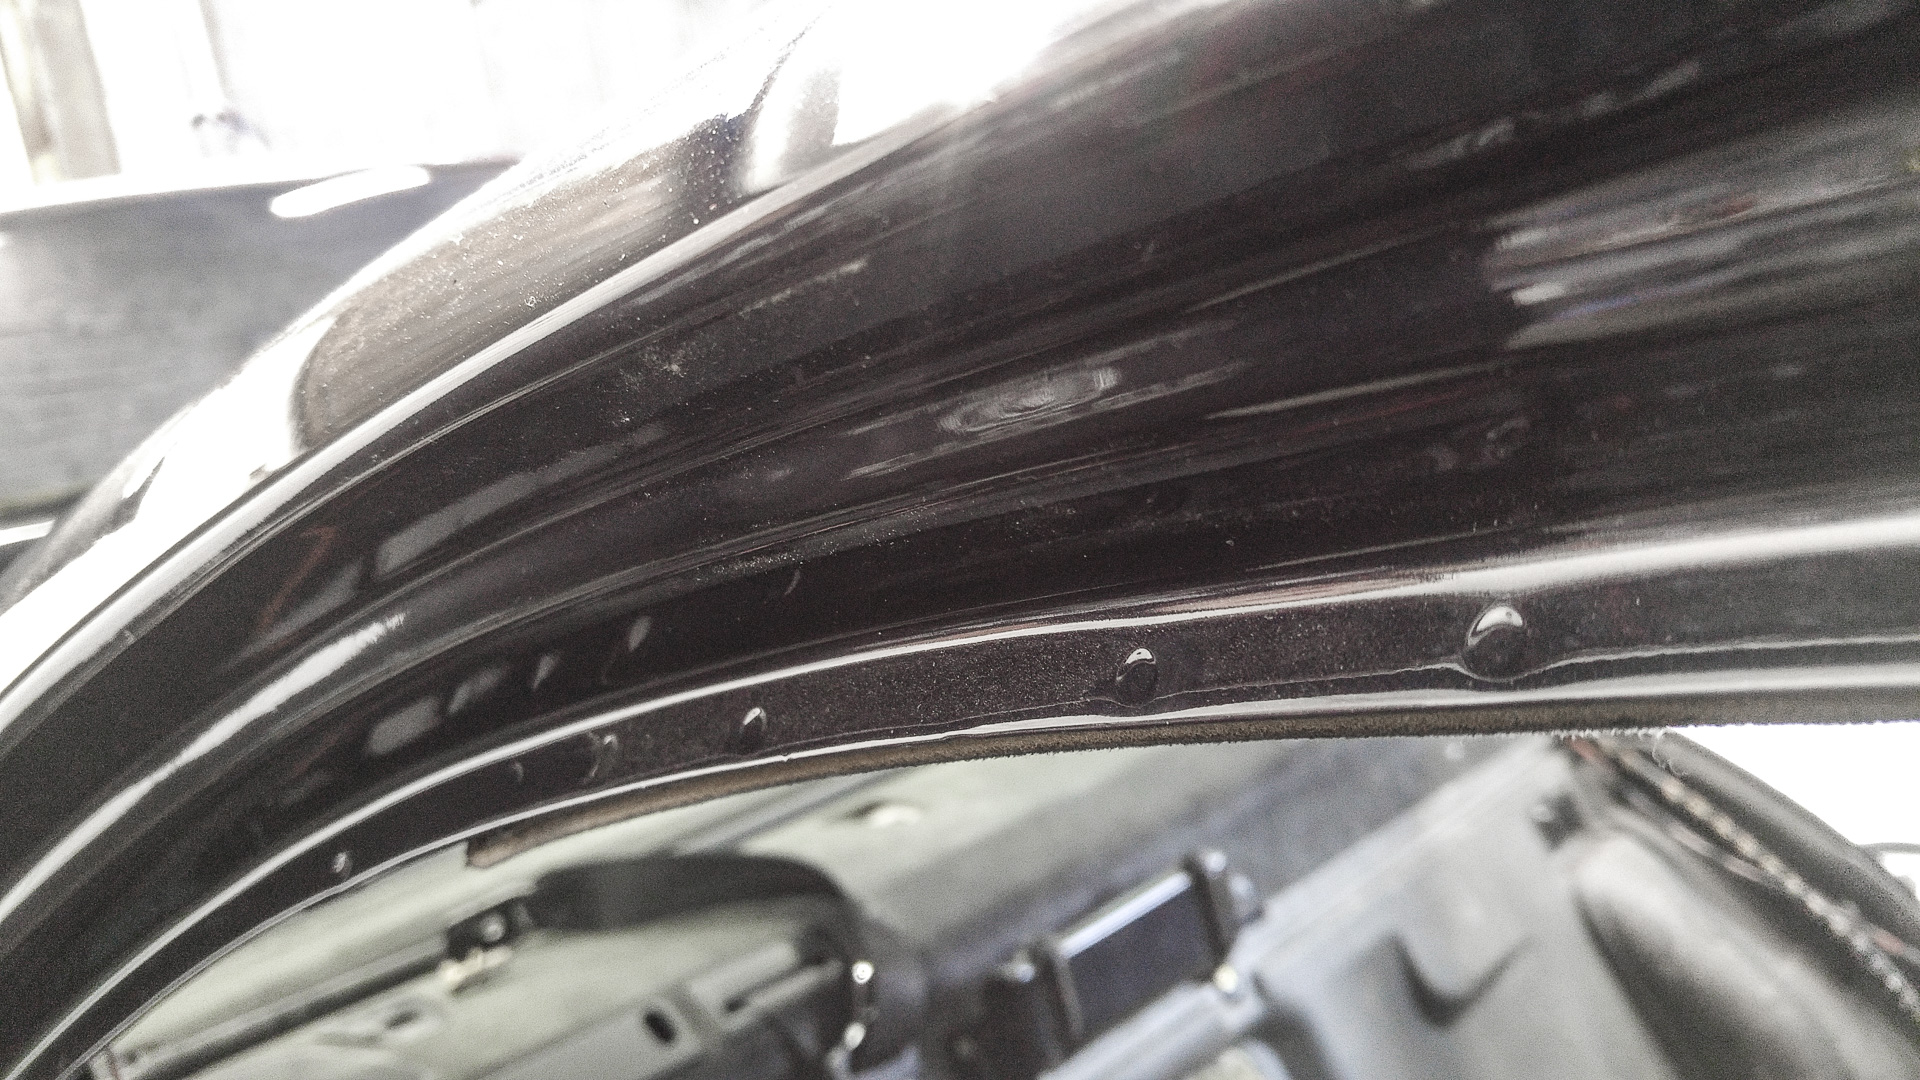
I forget the name of the shop in San Bernardino, CA where I painted the car in 2011 in Hot Rod Flatz, the owner seemed very reasonable and forward coming, but obviously years later it reveals that there was no skill in the trade. The primer was so smooth that by looking at an angle on the primer, one could see a clear reflection.
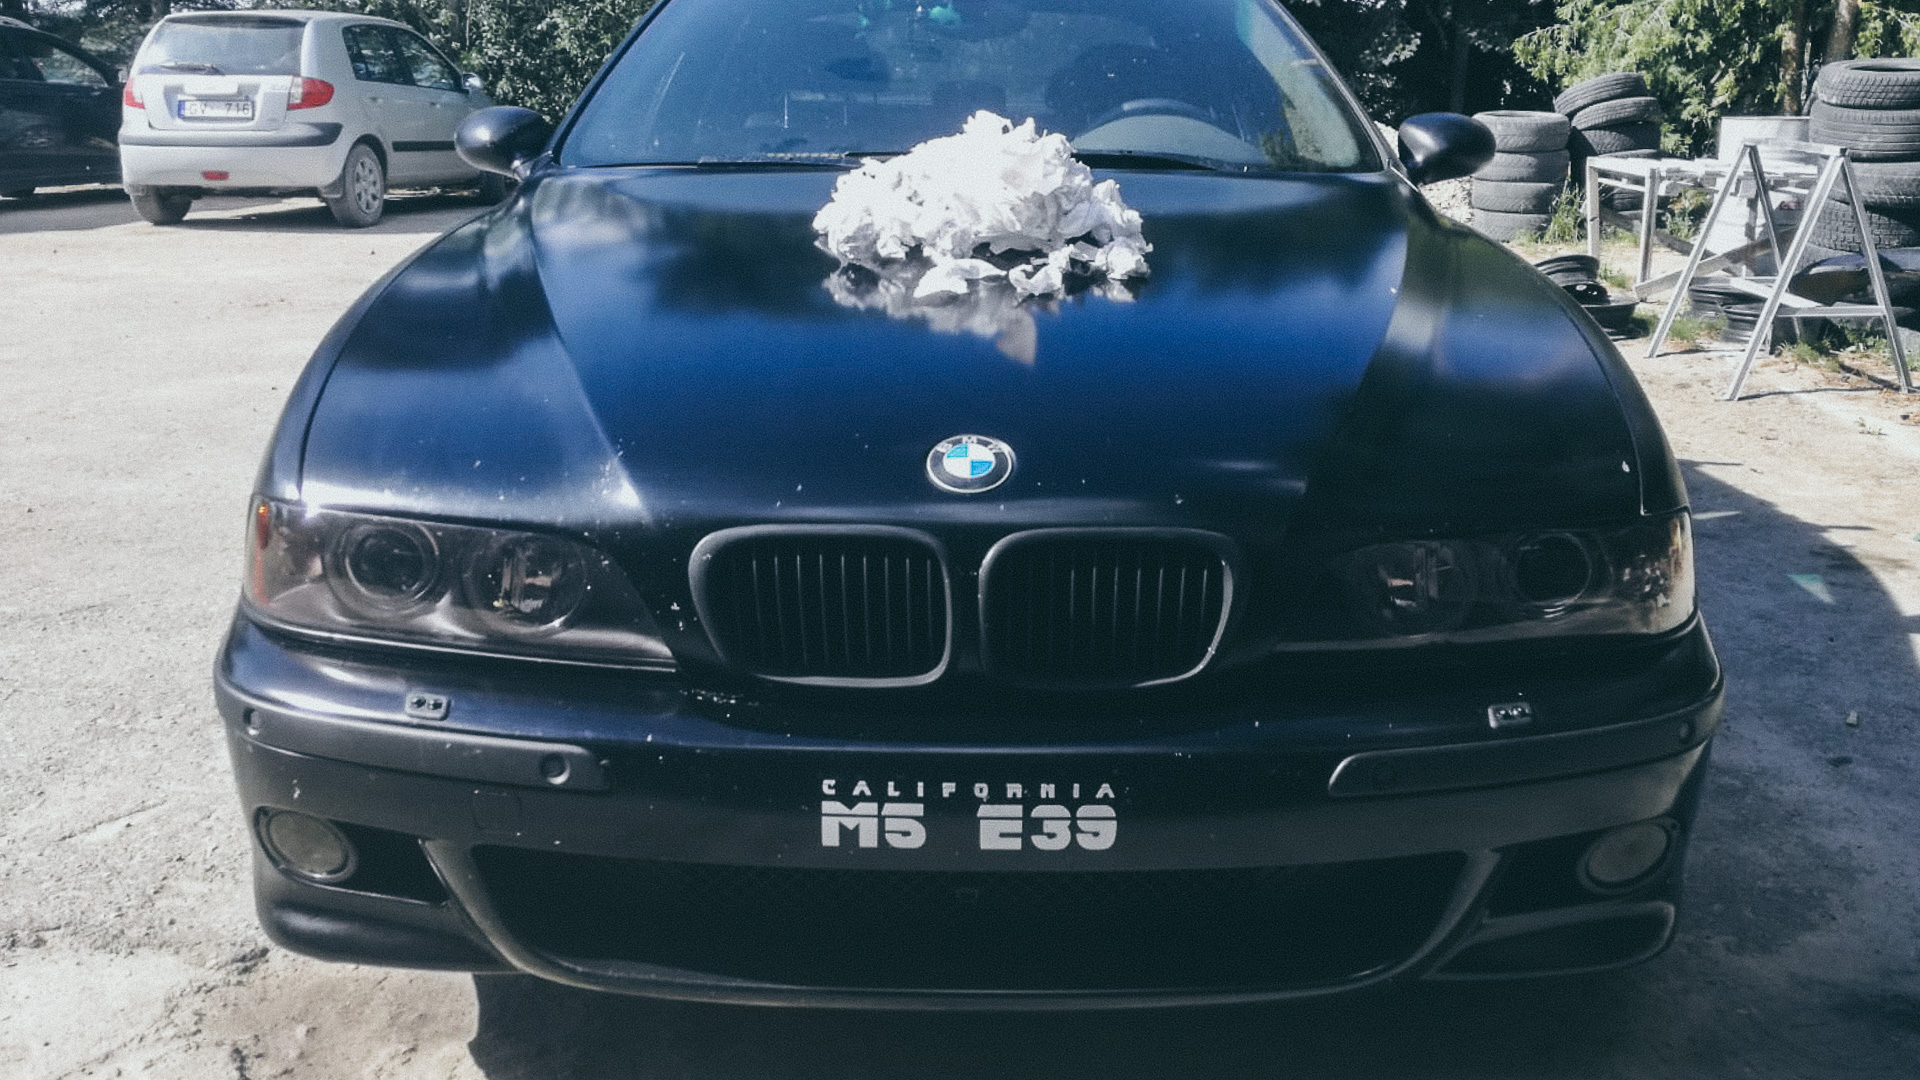
Little story why hood is little different reflection tone than rest of car:
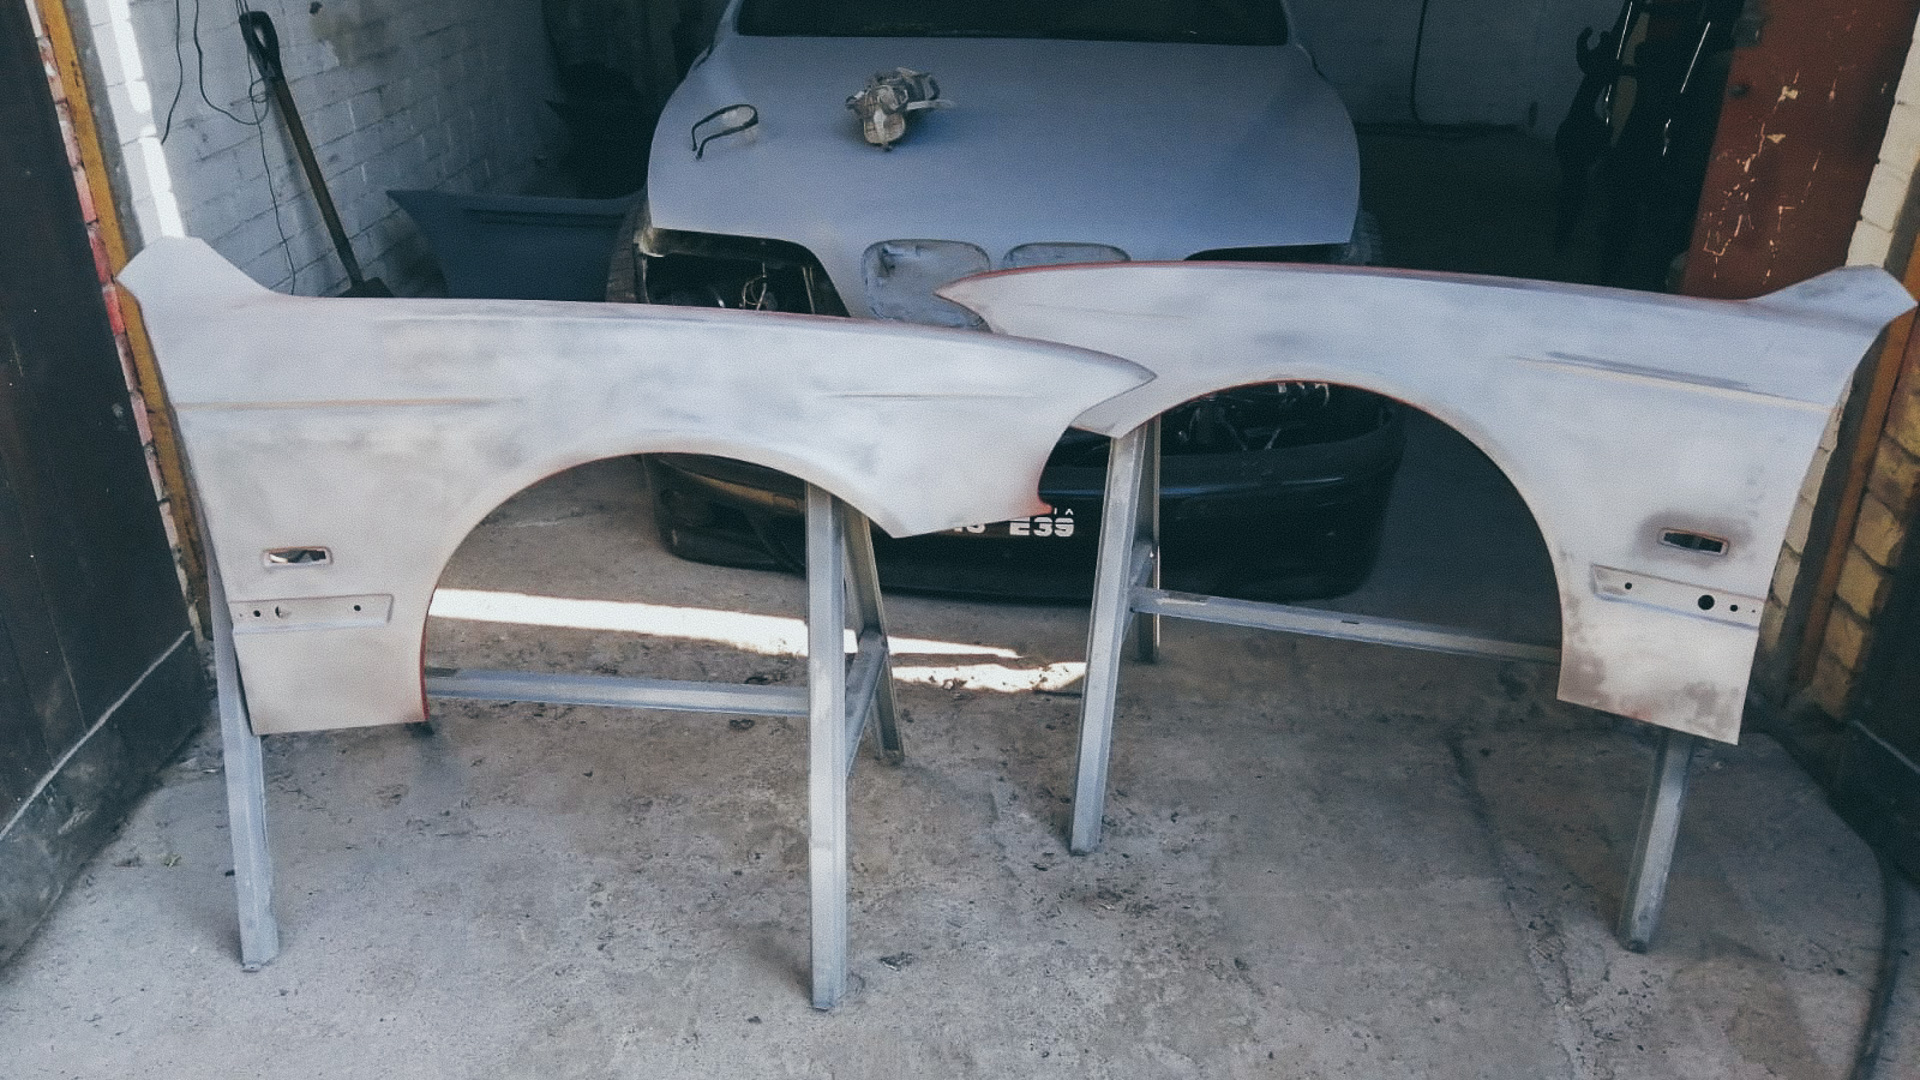
The hood was replaced and re-painted in 2014 at Century Collision Center in Orange, CA. It took Century Collision almost two months to paint hood and bumper.
After running over car tire back in 2014, I was trying to tell Century Collision owner that the paint used is Hot Rod Flatz, but the owner showed some arrogance and told me “We know how to mix paints”. After 2 re-sprays by Century Collision, then bringing a lawyer, 1 more failed attempt I said “fuck it” and took my car out of the body shop. They still would not listen where I bought the Hot Rod Flatz single stage polyurethane paint and insisted mixing their own. That said the hood never really matched the car, but very few noticed, and those who did where mechanics/and painters examining the car at their shop, but still it bothered me that I know.
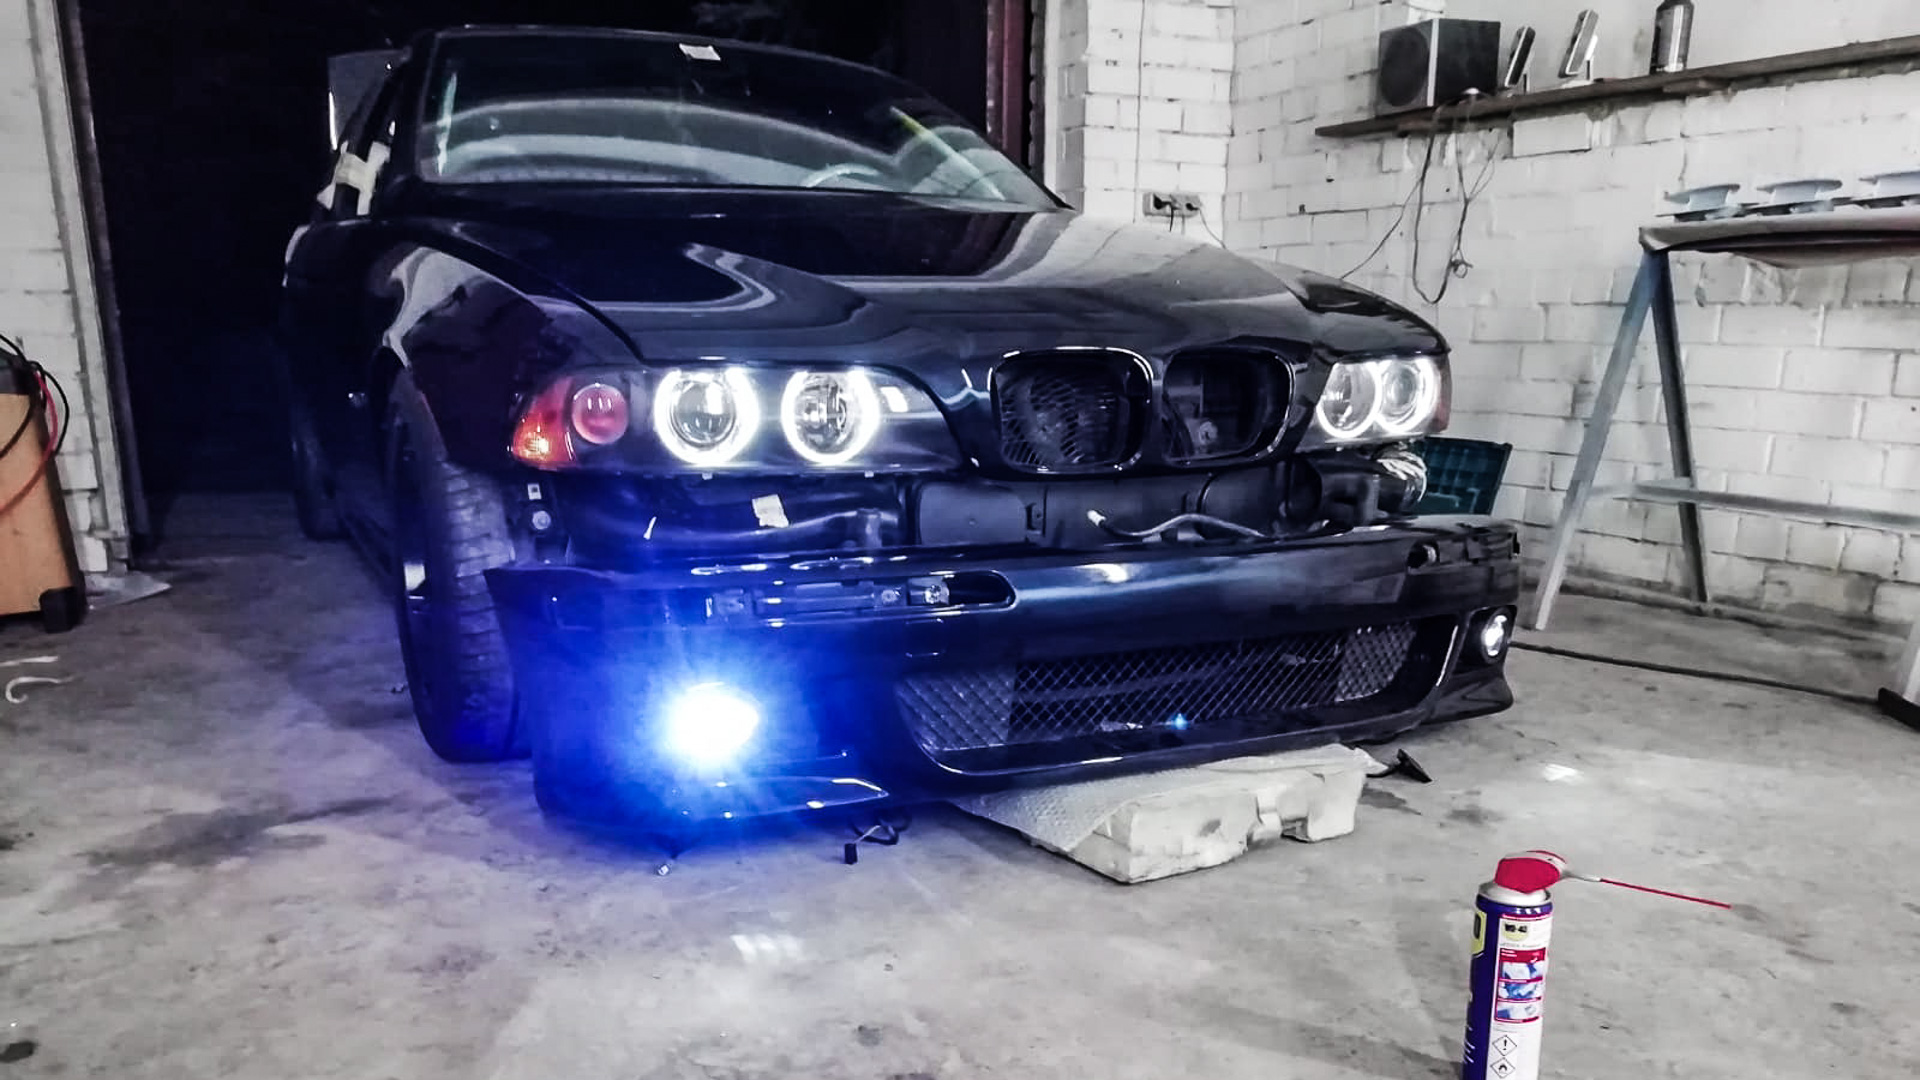
The M5, “fully repaired by Century Collision”, left the body shop first with lights pointing into the ground 5 feet ahead, then after me demanding they fix the lights so they point right, they got insurance to replace both headlights, and upon leaving the body shop the lights were tilted up about at 20 degrees from a horizontal plane, shining at tree-tops. Obviously, the paint was not matching. The Dinan splash guards for cold air intakes that were bent due to running over tire, were not replaced or removed, i was not consulted, but instead straightened with pliers best they could in 20 seconds, and various other ‘ fuck this shop ‘ type of errors. So that’s for Century Collision in Orange, California, which was recommended by M5Board, quite disappointing. I have only gotten terrible paint jobs and experience in California. Seems like no one knows how to paint anything.
Some of Details That Need Attention
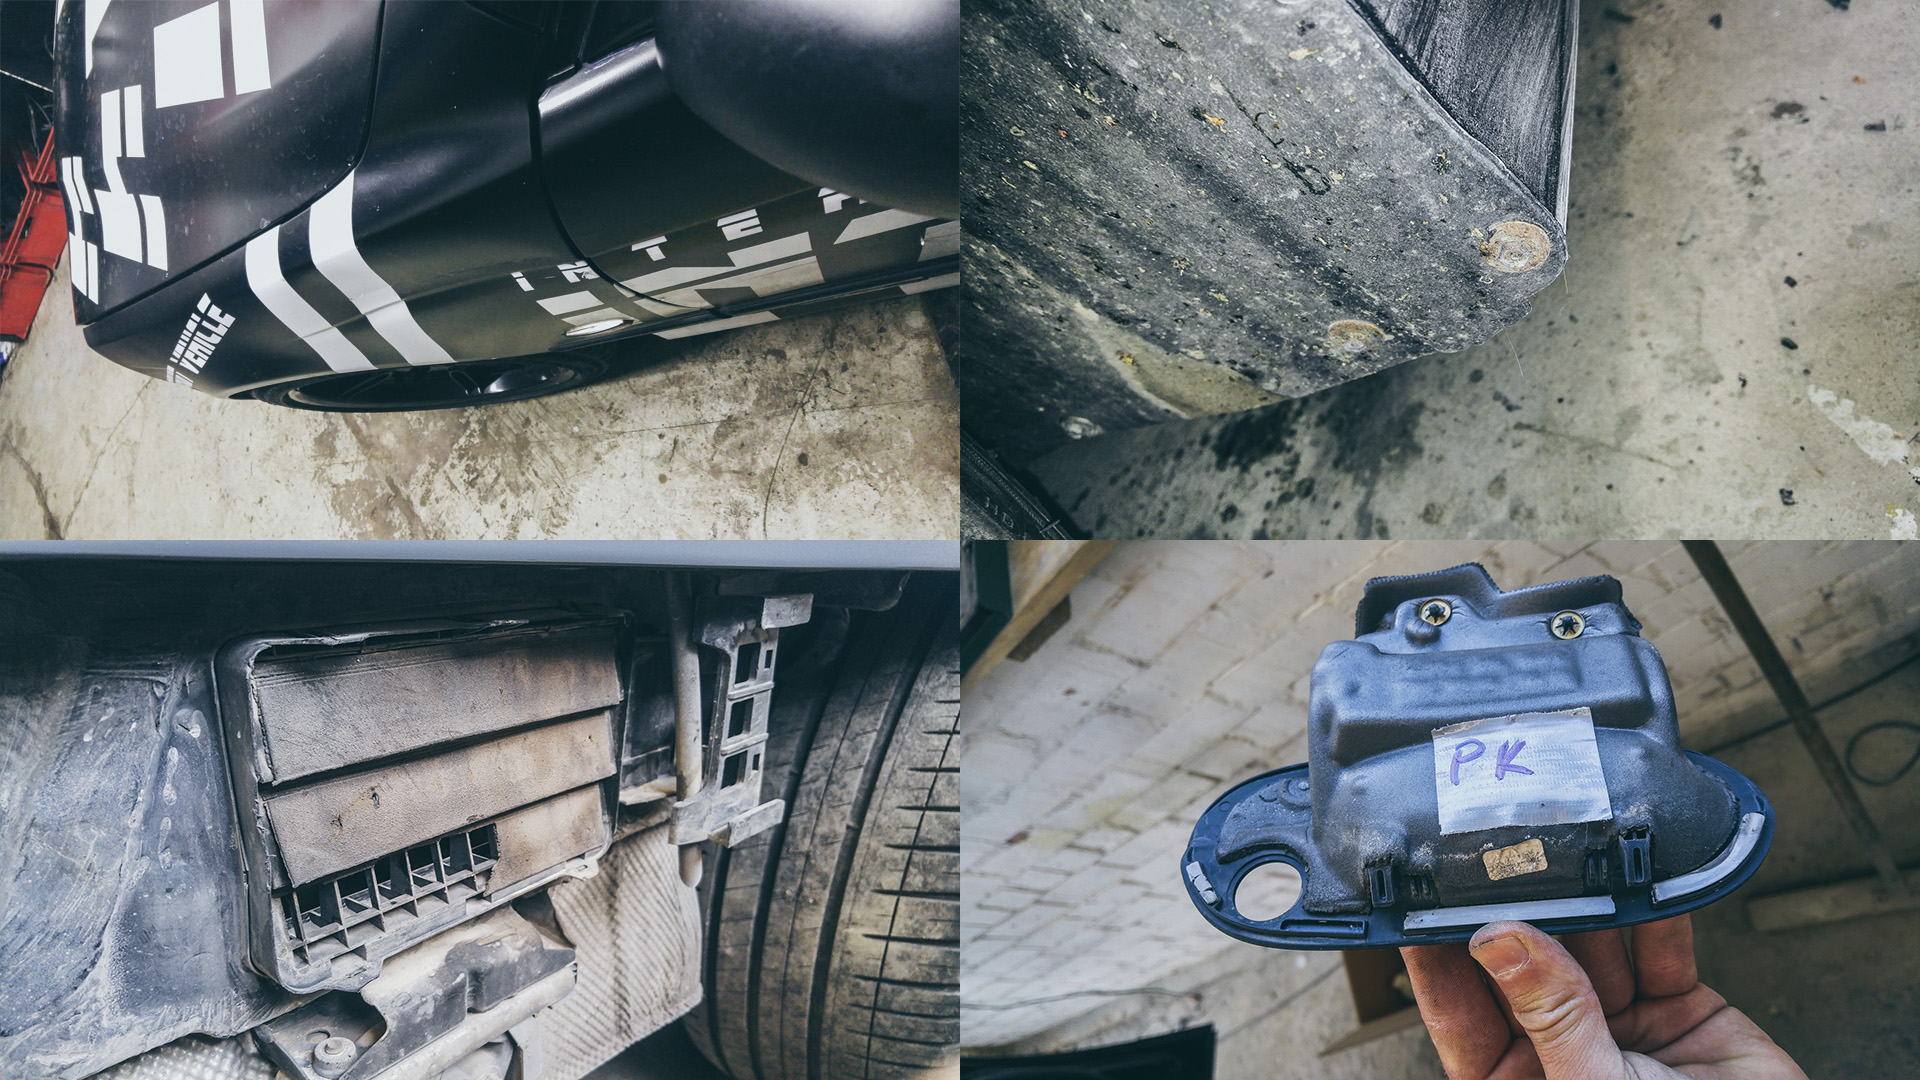
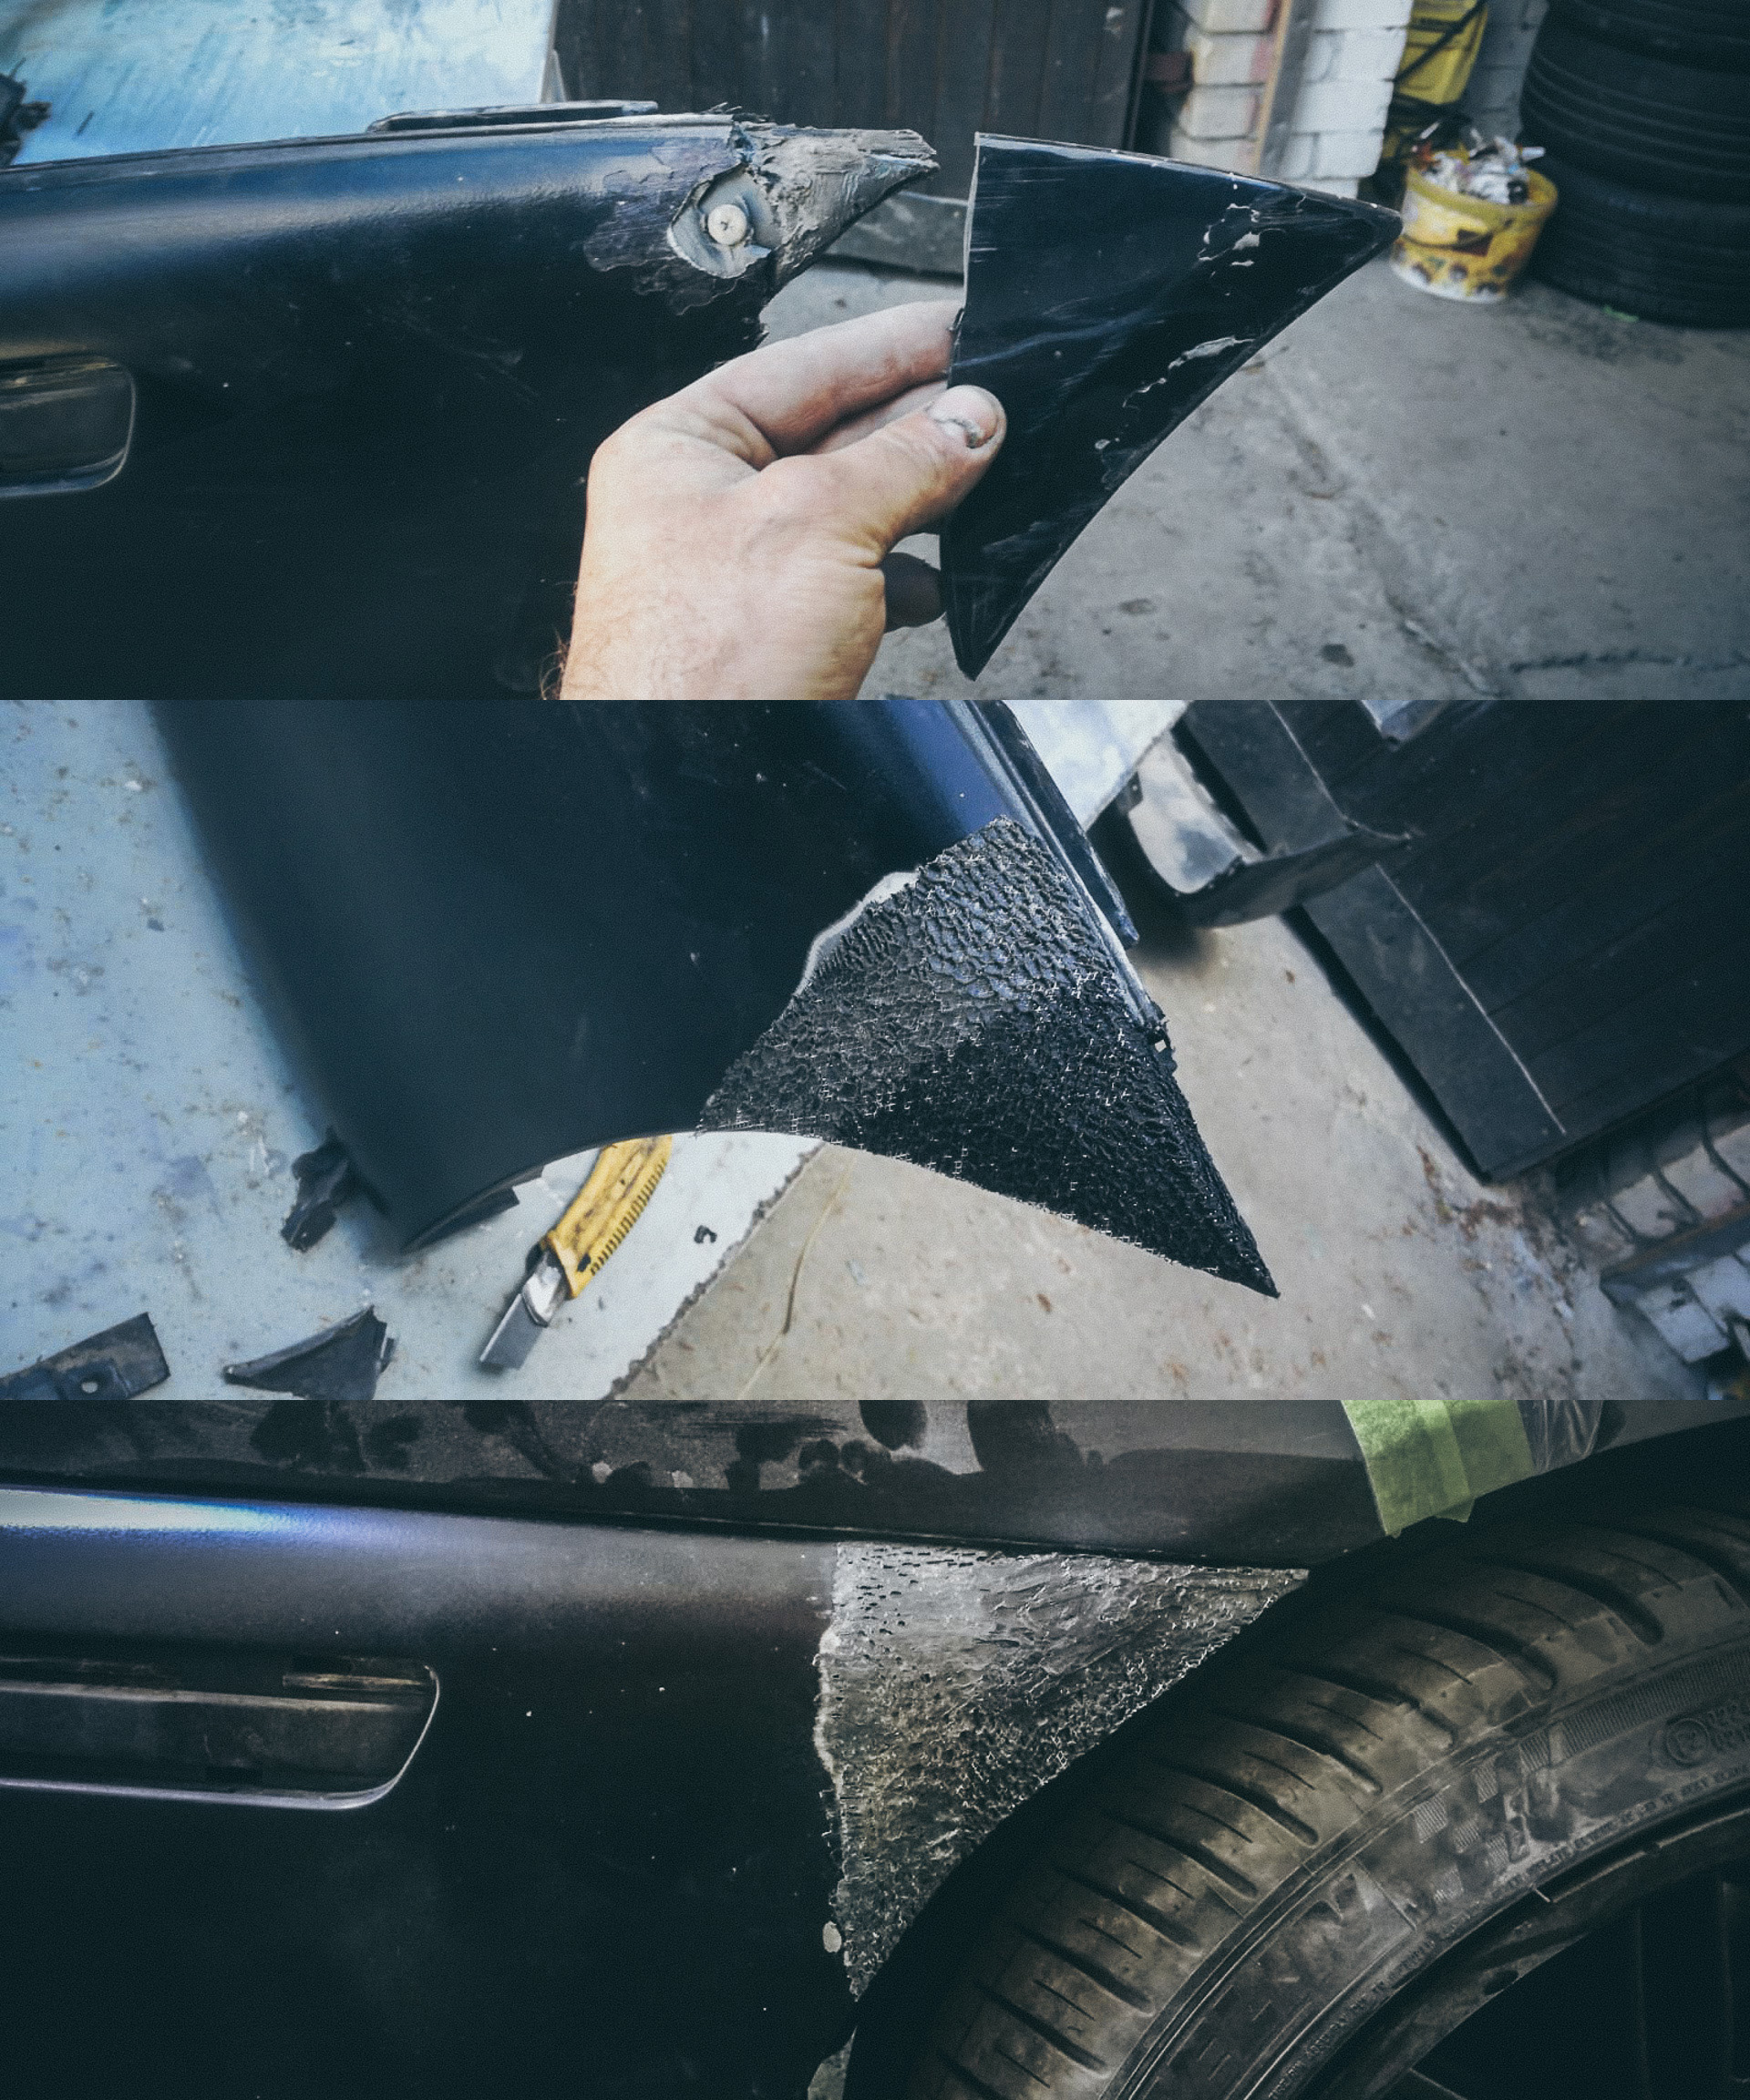
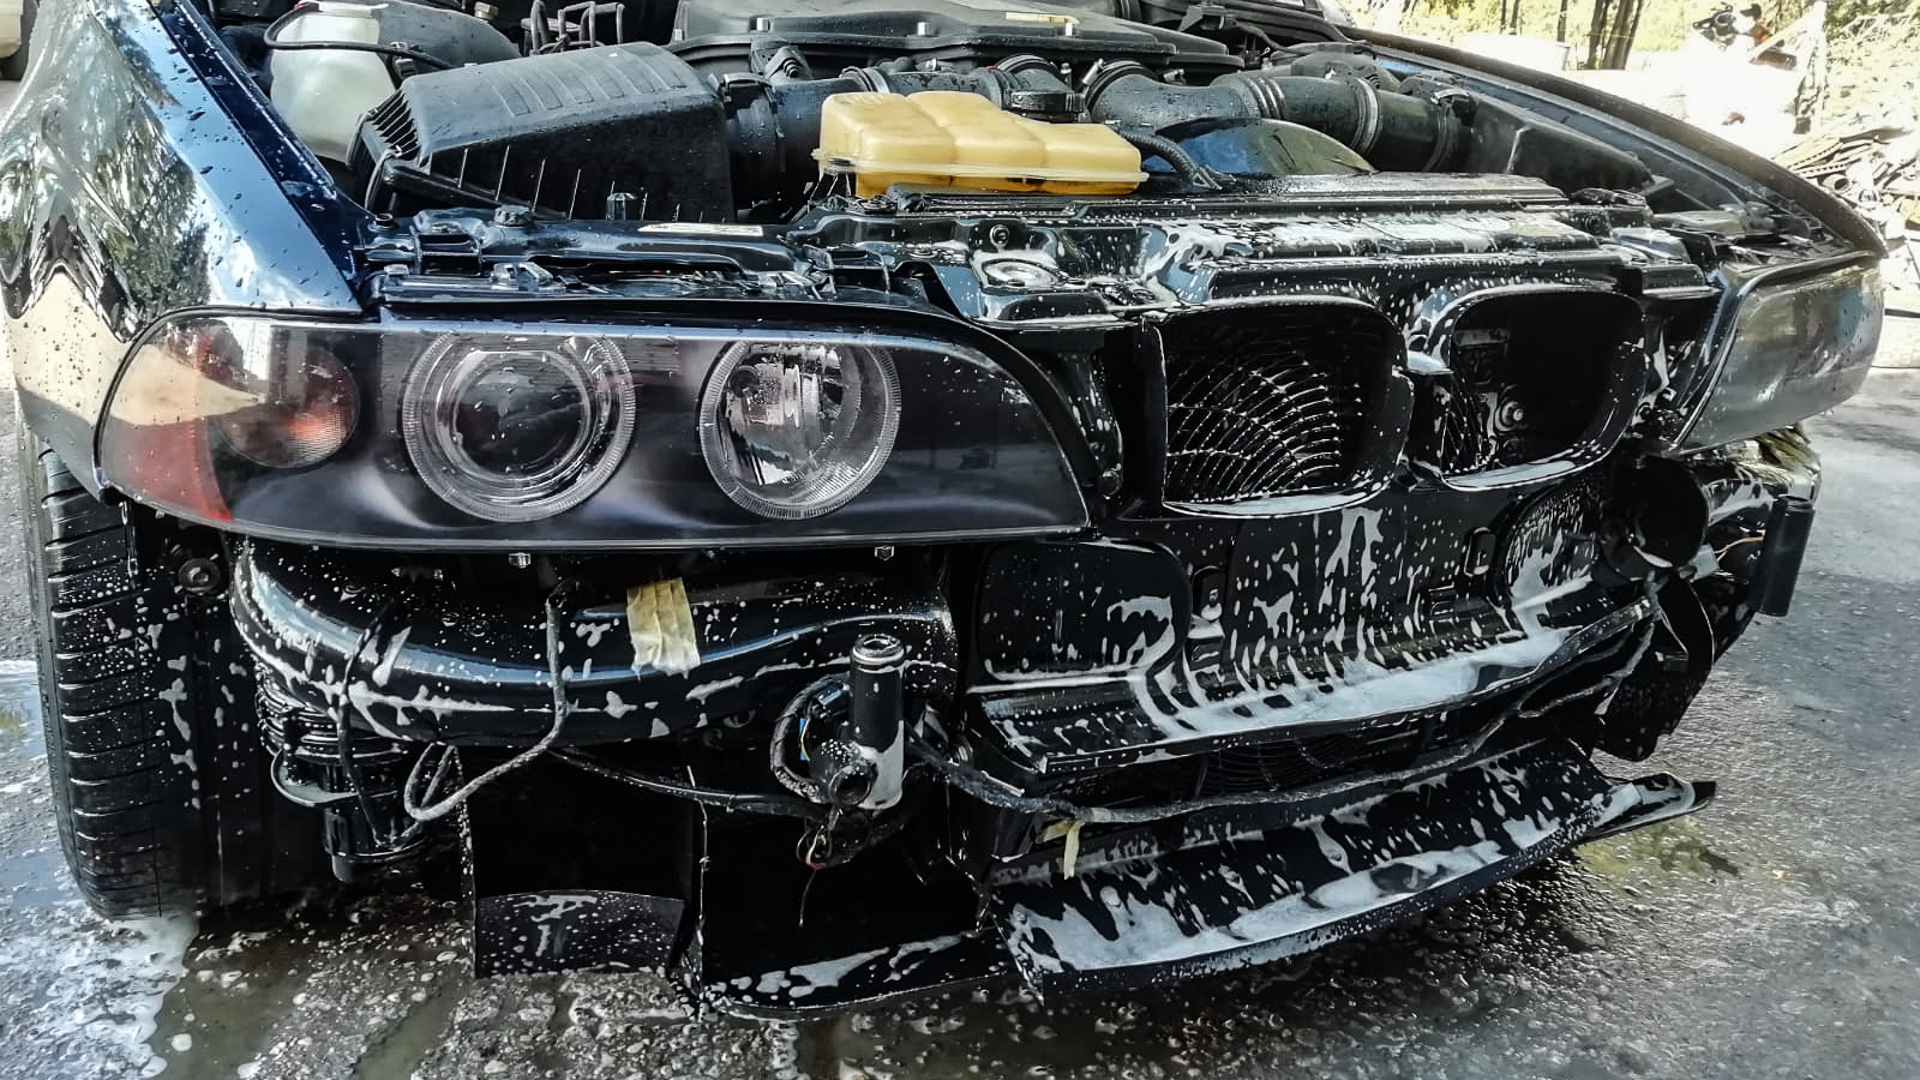
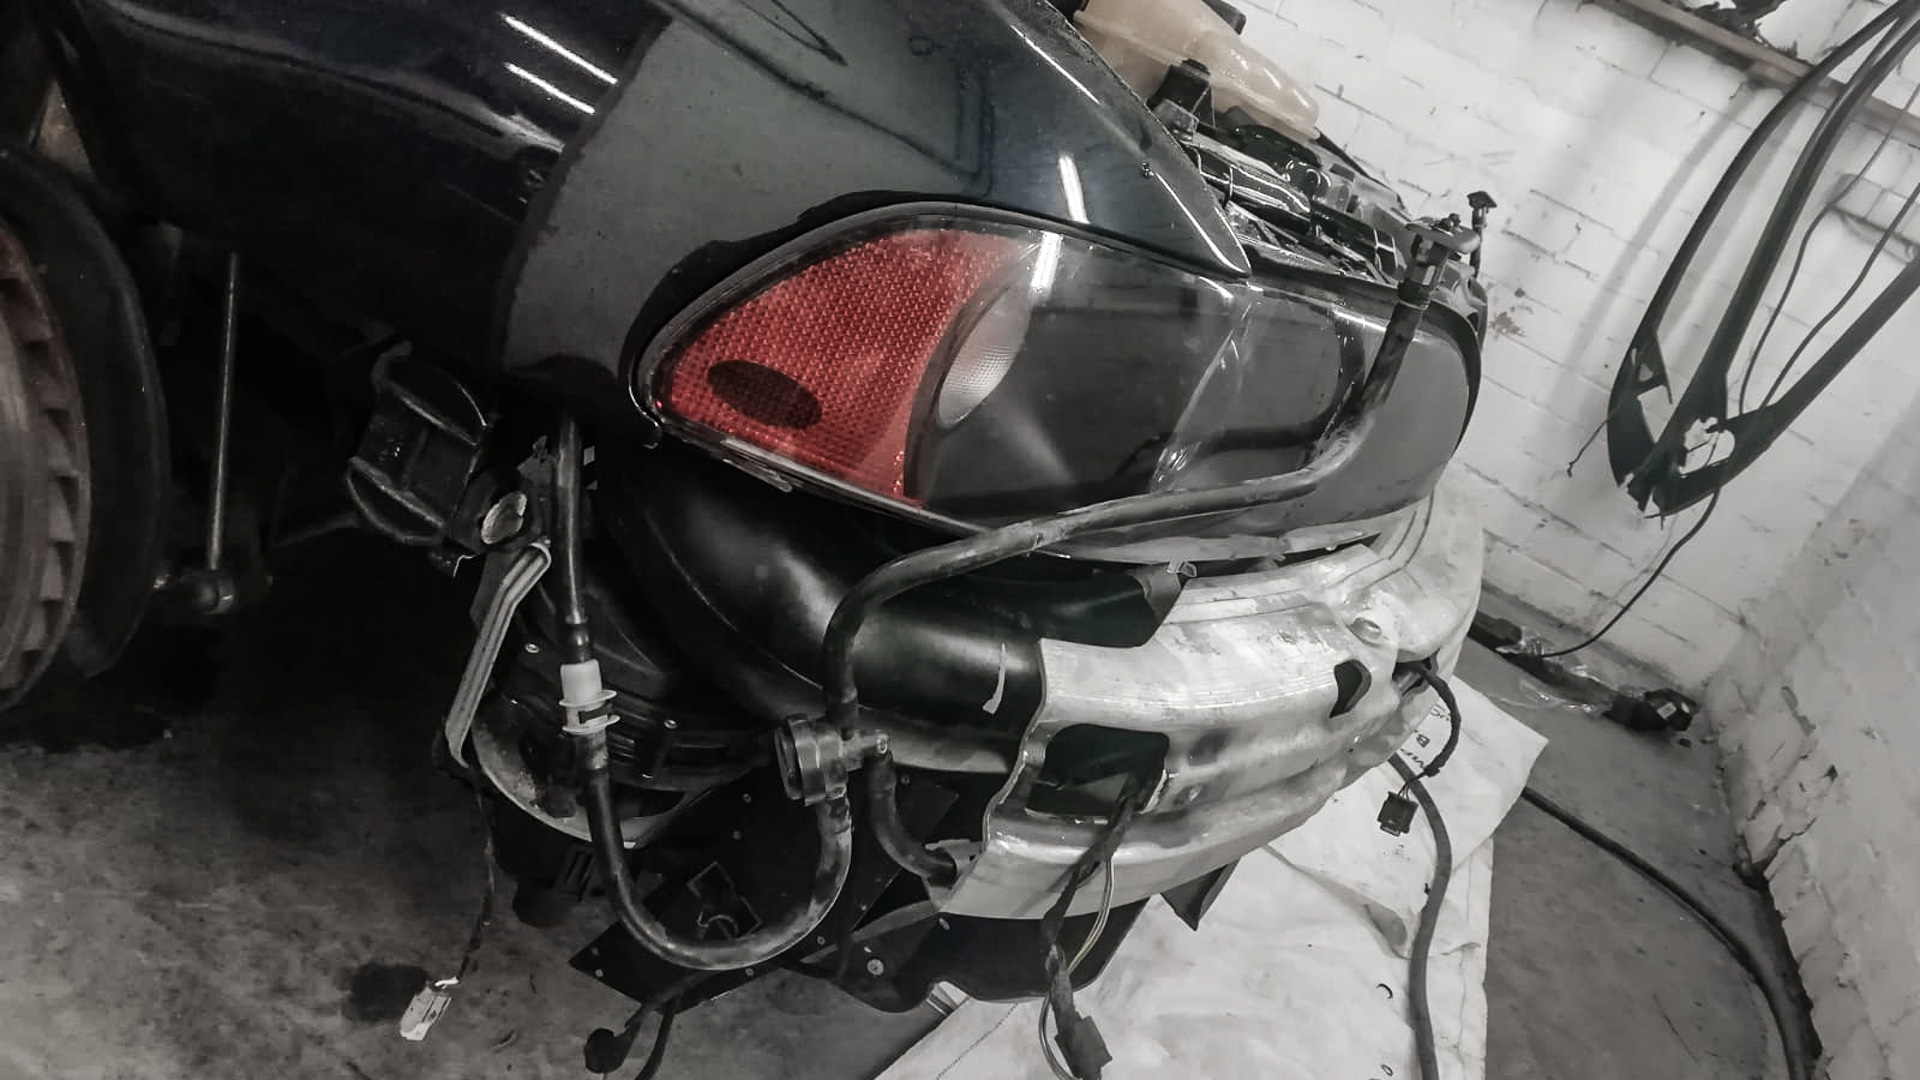
The front fender was dented and scratched while parked, plastic pieces destroyed from California summer sun/heat, rubber grommets and seals hardened and need to be replaced.
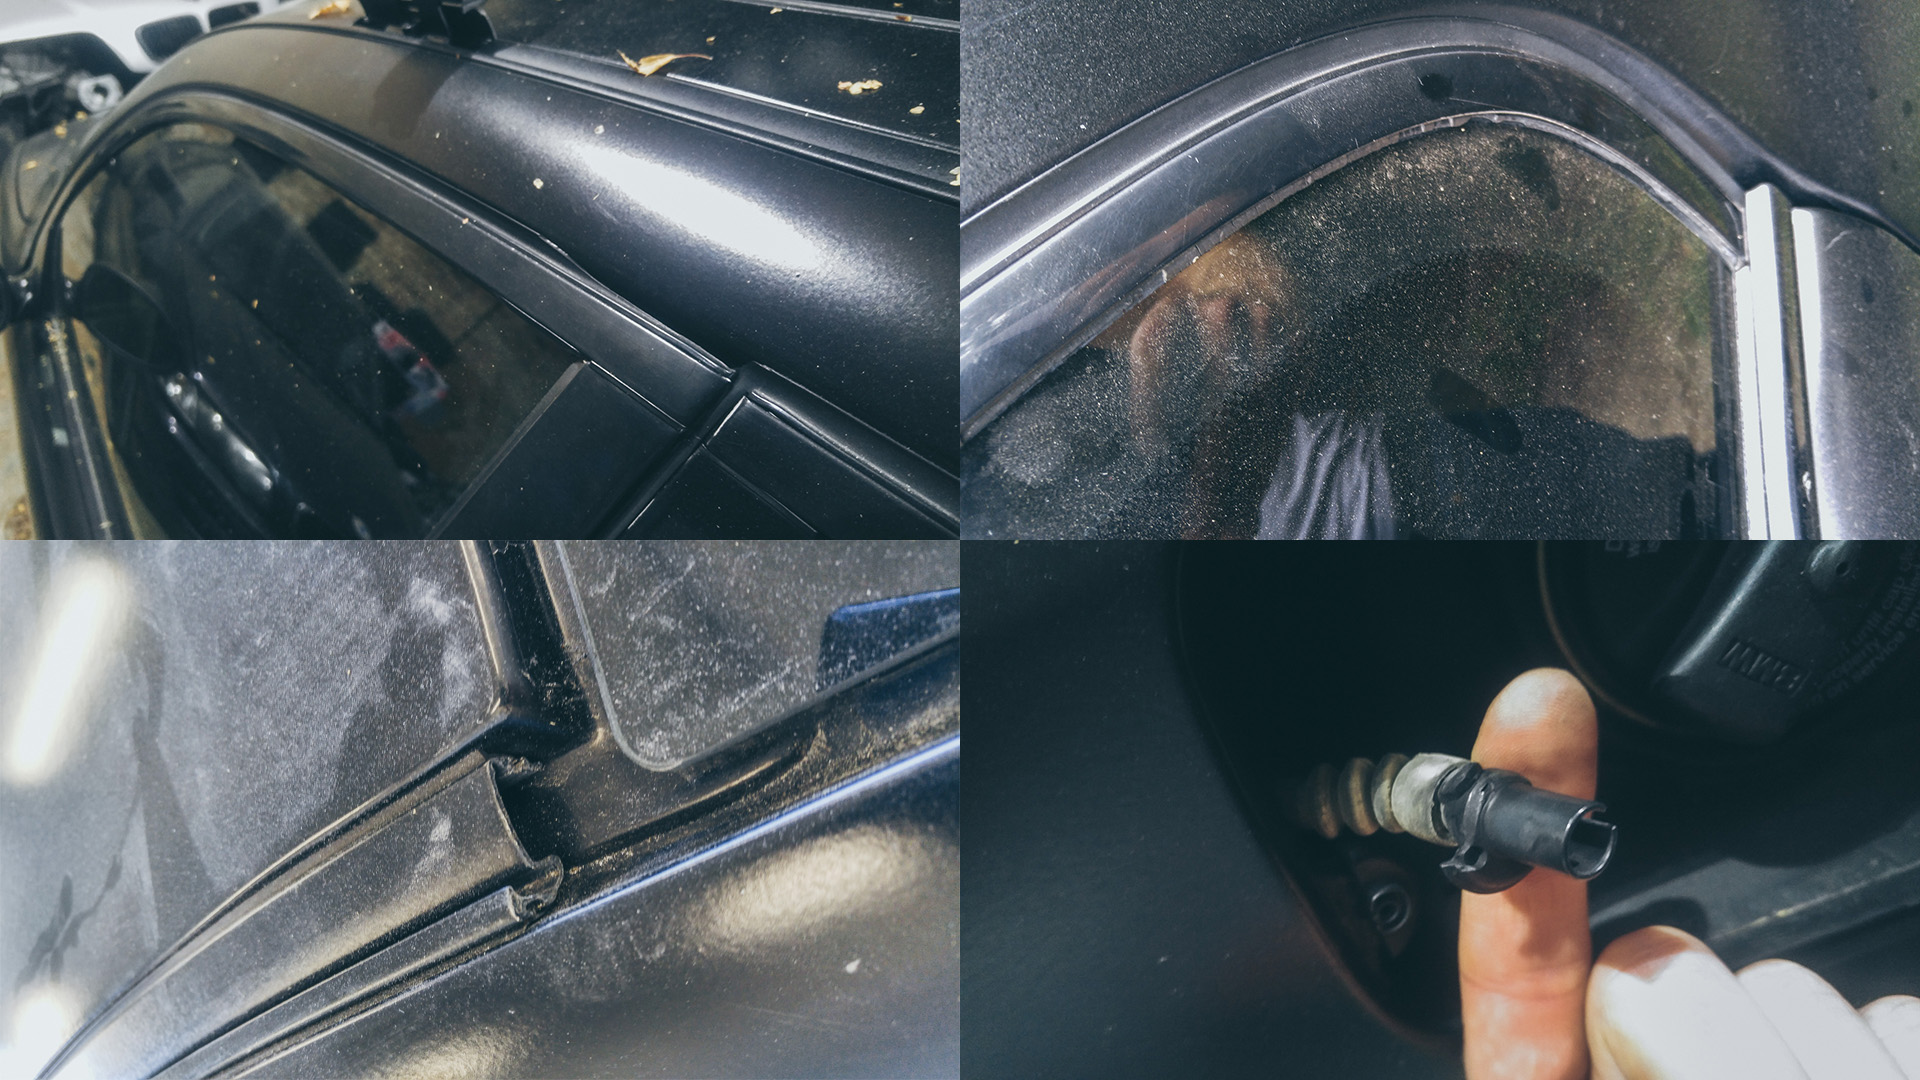
Initial Plan of Quick Re-Spray
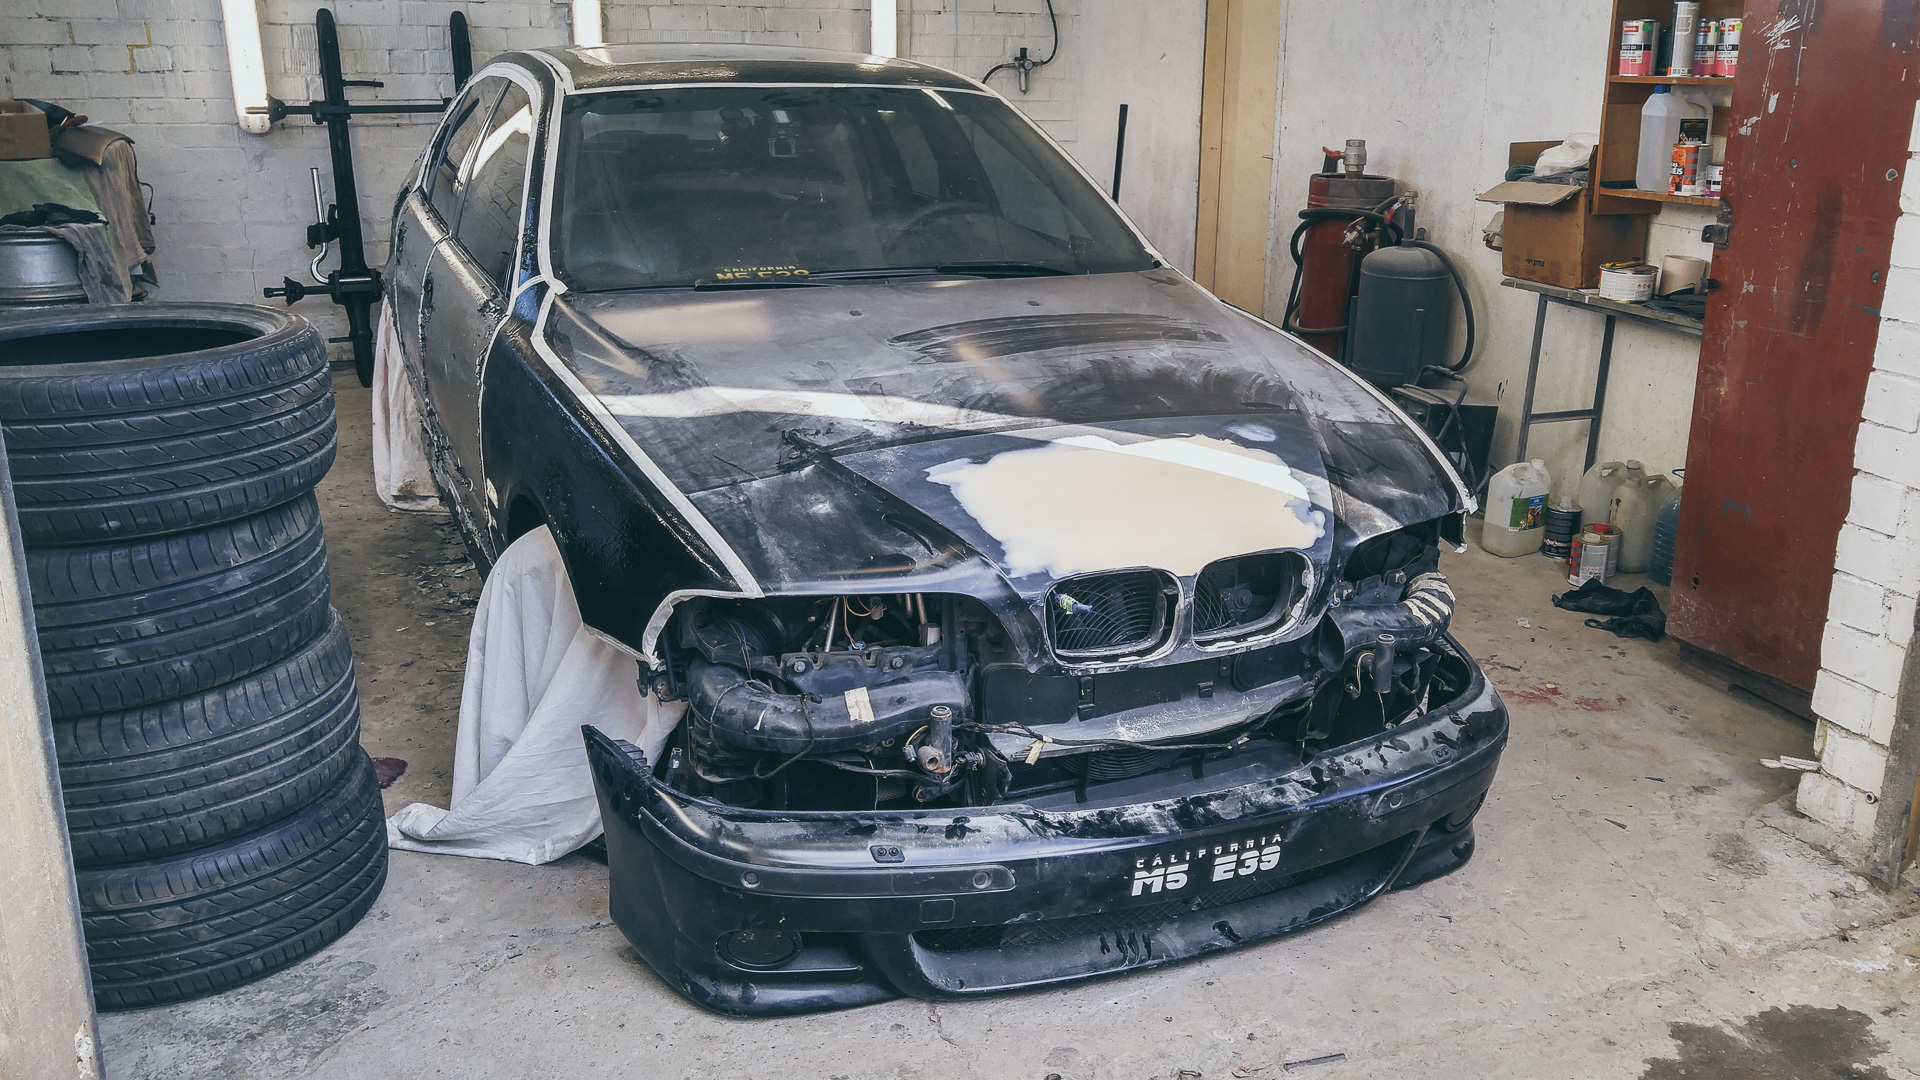
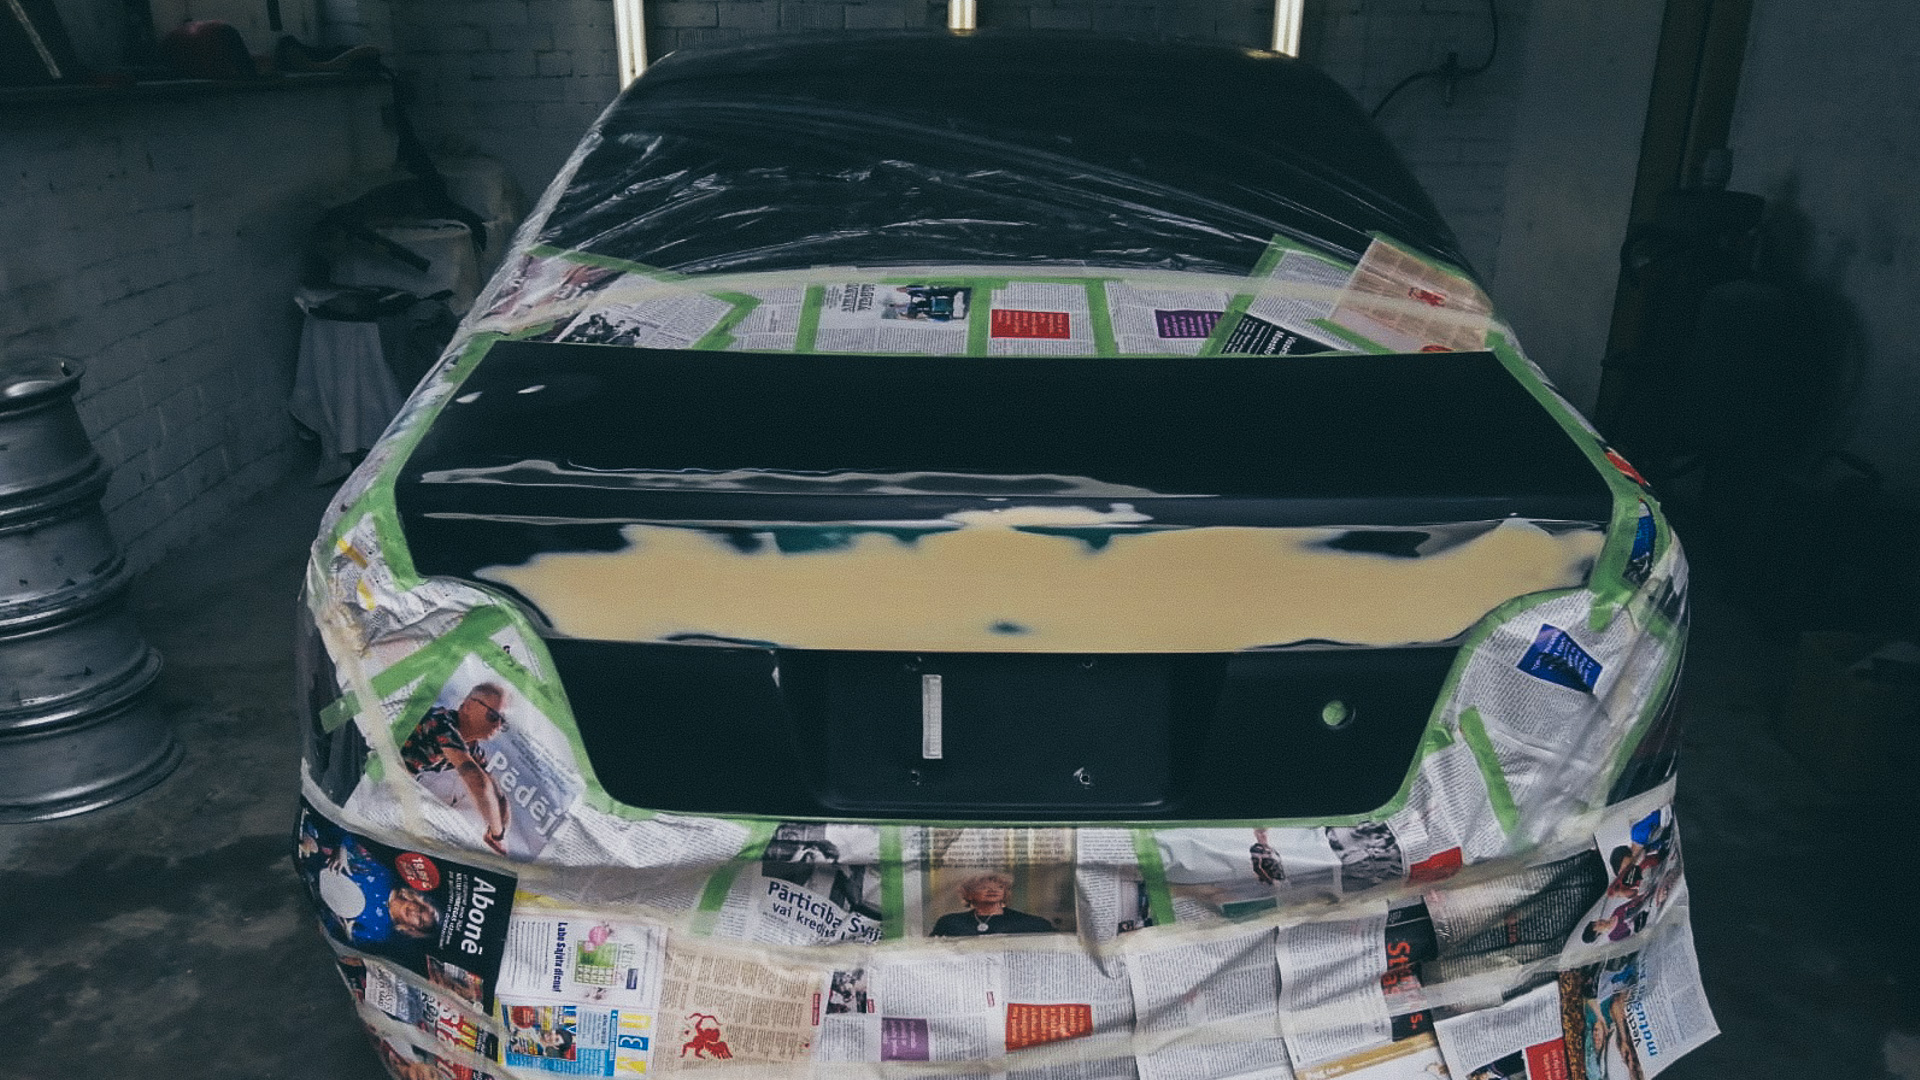
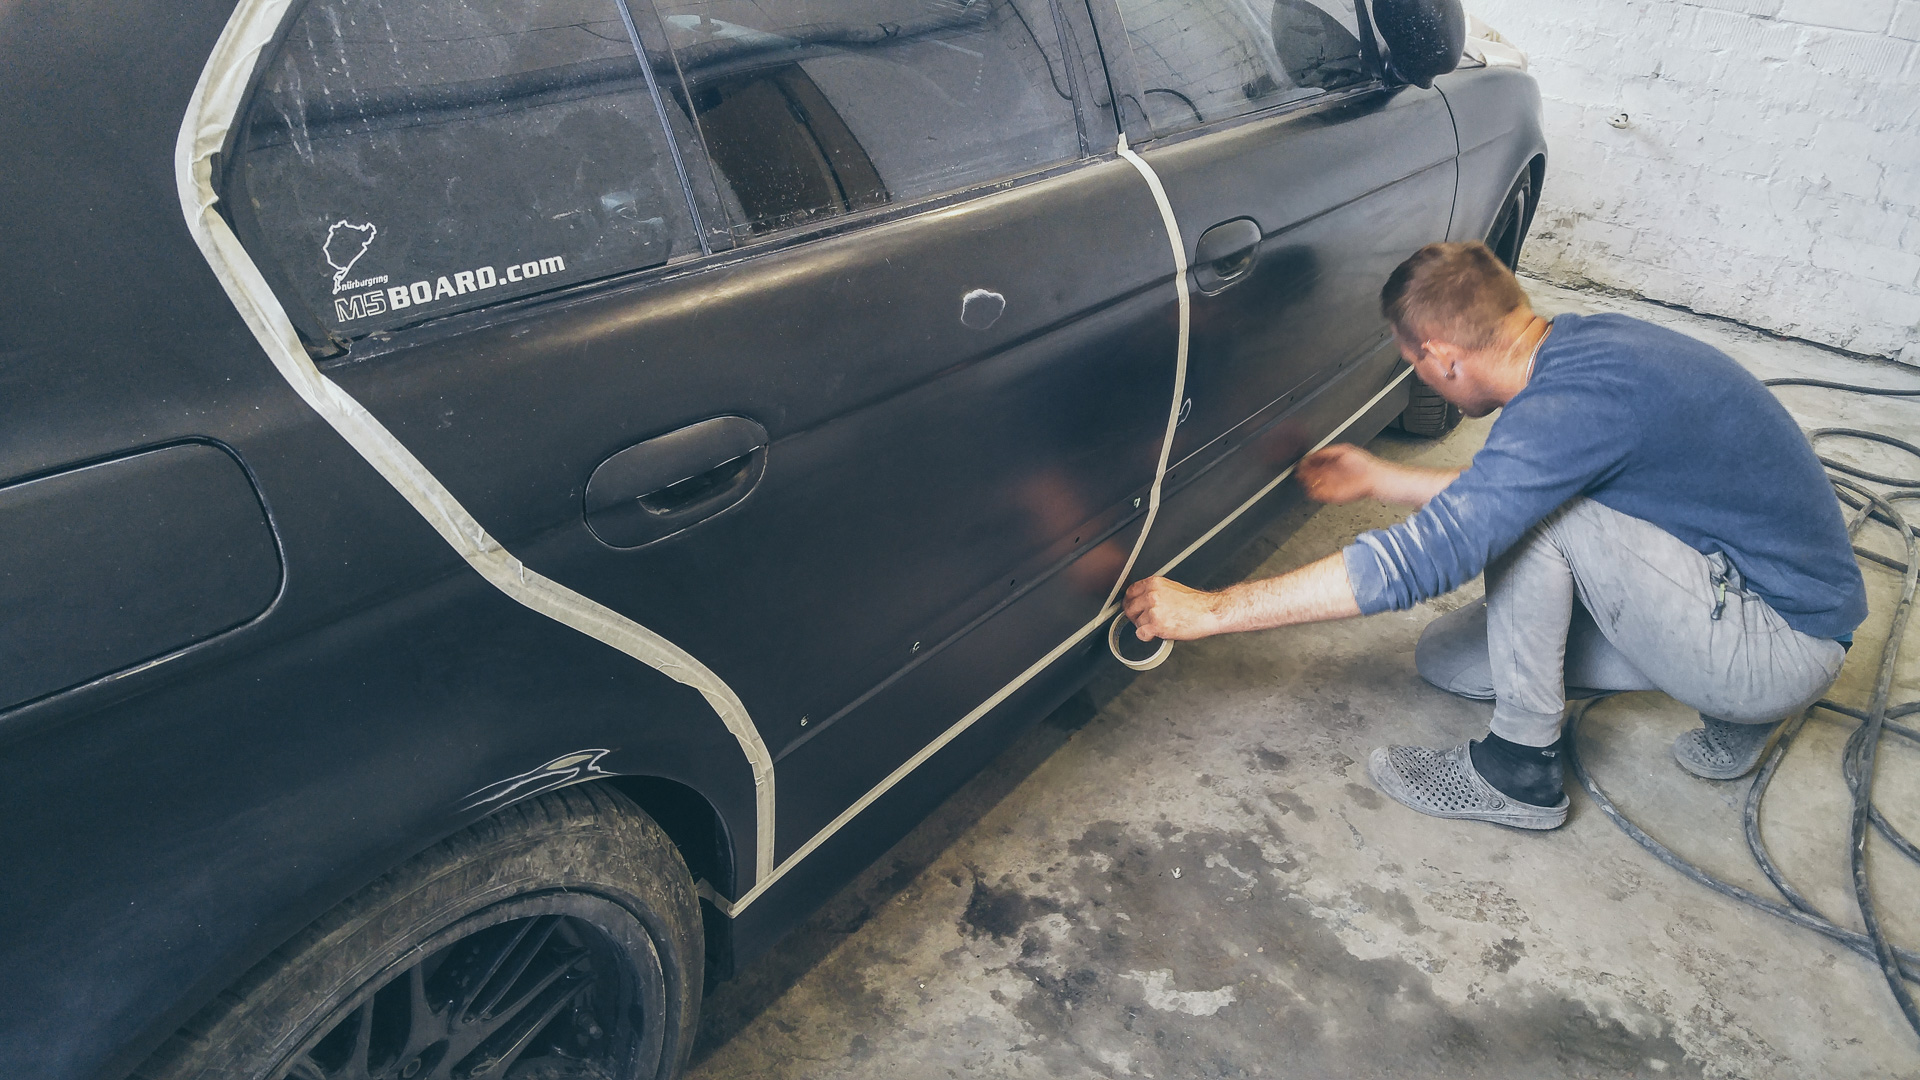
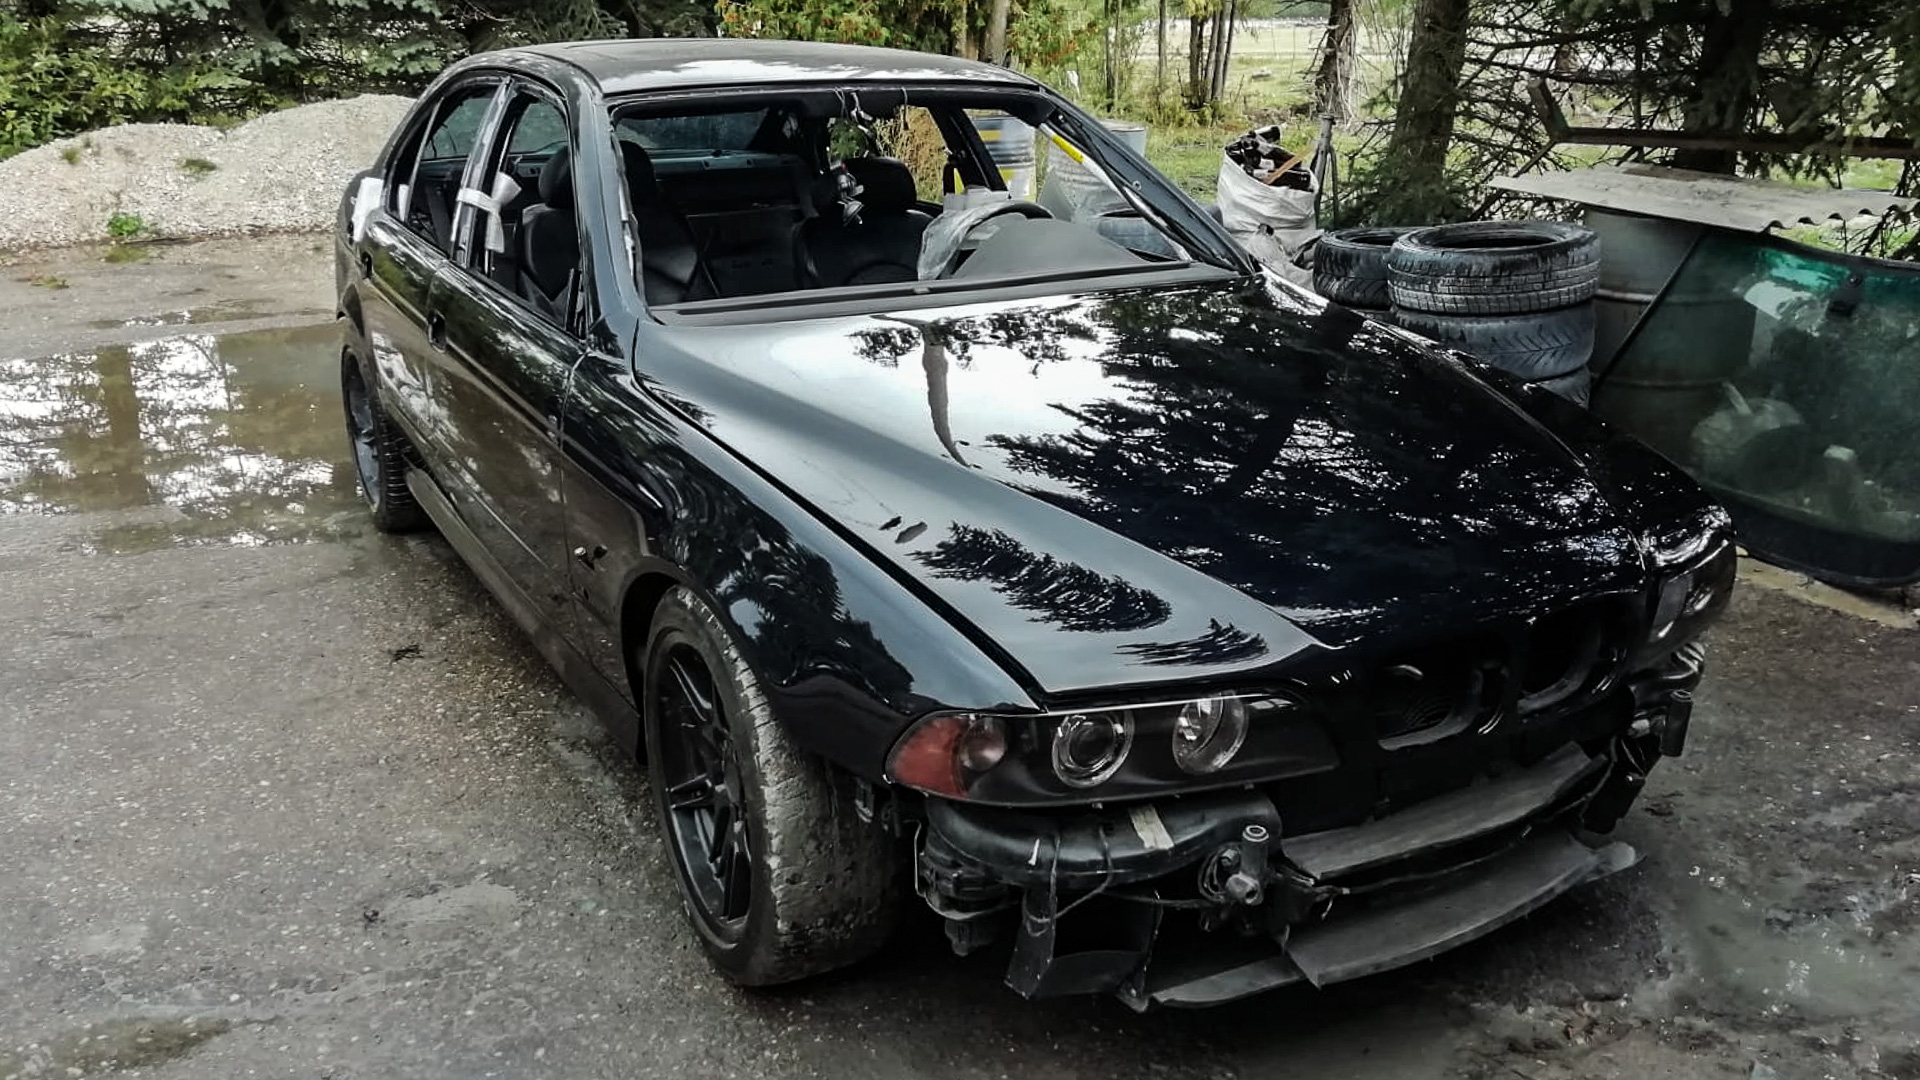
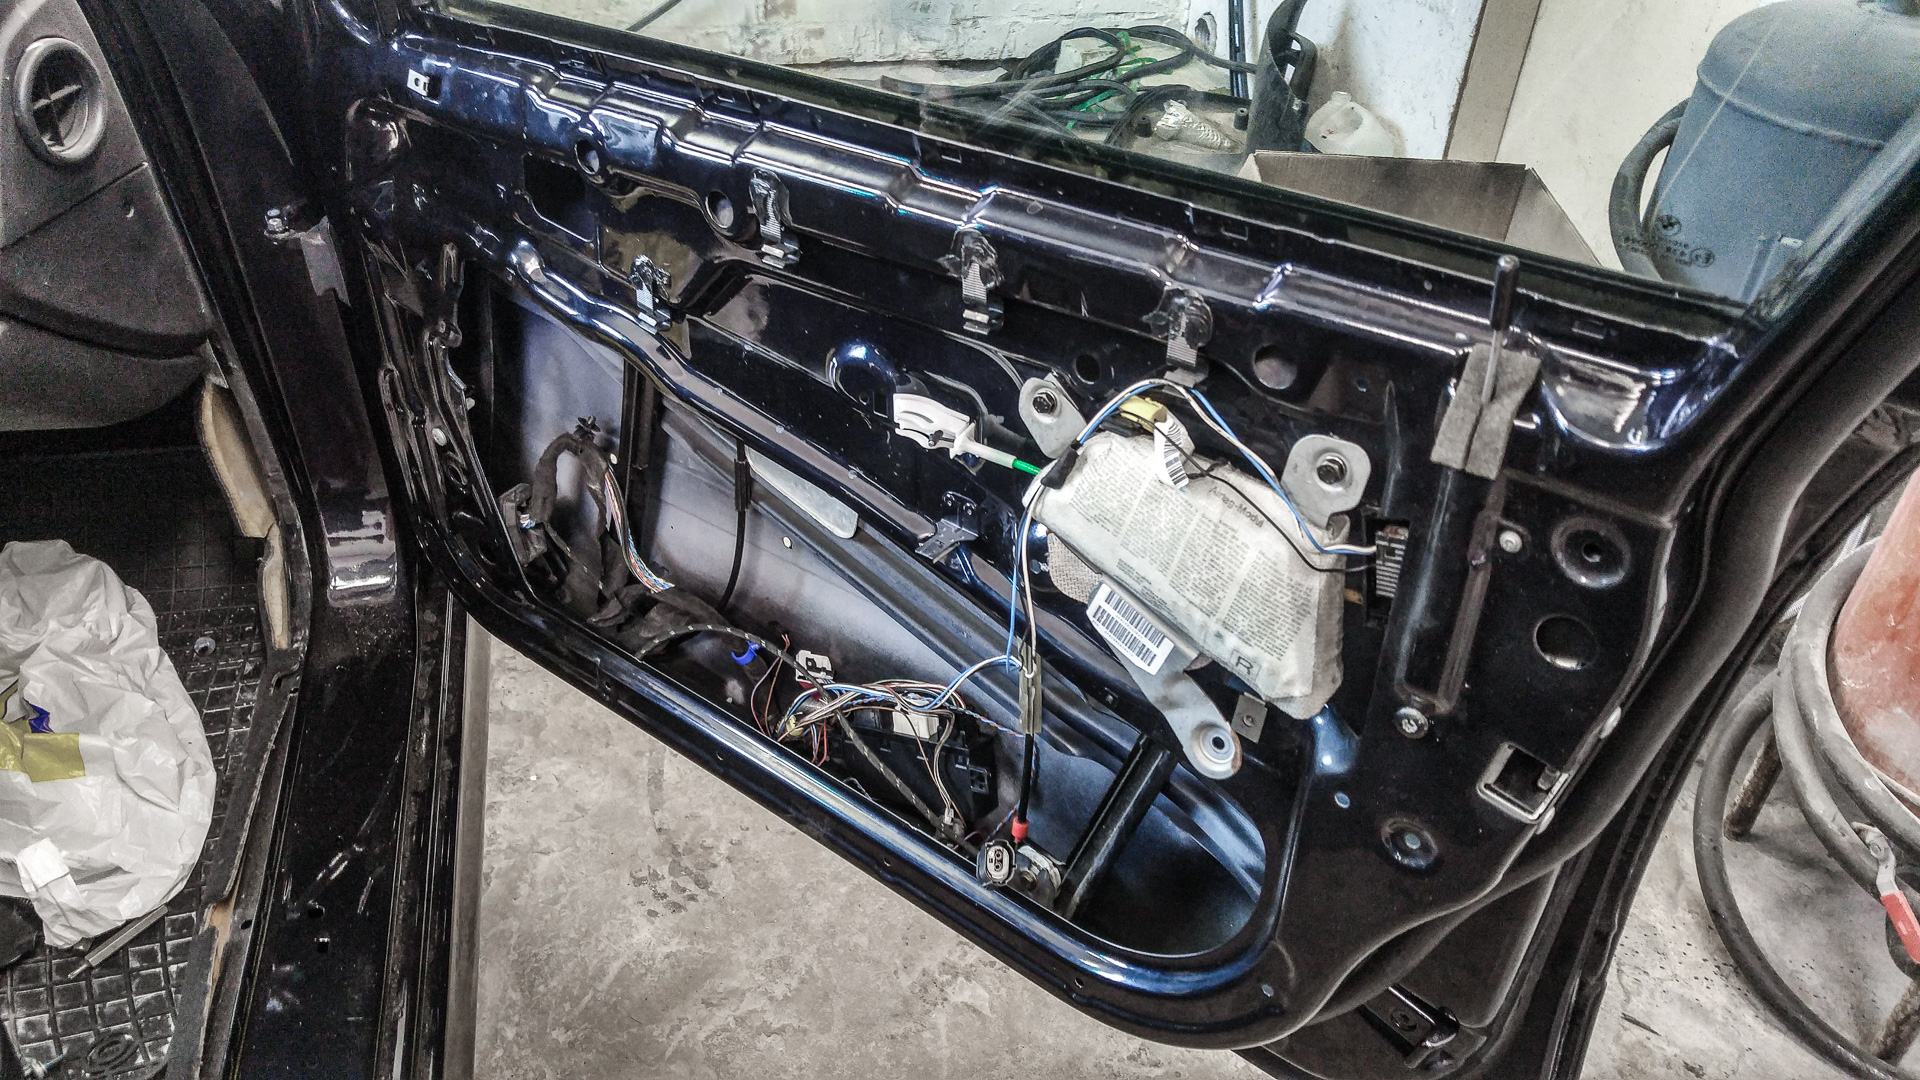
Having removed the stickers, it was clear that the car will need touch-up of areas where primer is showing through slightly, fix the dent on the fender and rear bumper crack. I then instructed the painter also to remove hood and trunk emblem. Let’s do quick re-spray of fenders, hood, trunk, rear bumper…oh yea the roof also been scratched from when car was in container from NYC to EU. Rear fenders too, and then what we got left? The front bumper? Slippery slope we got here.
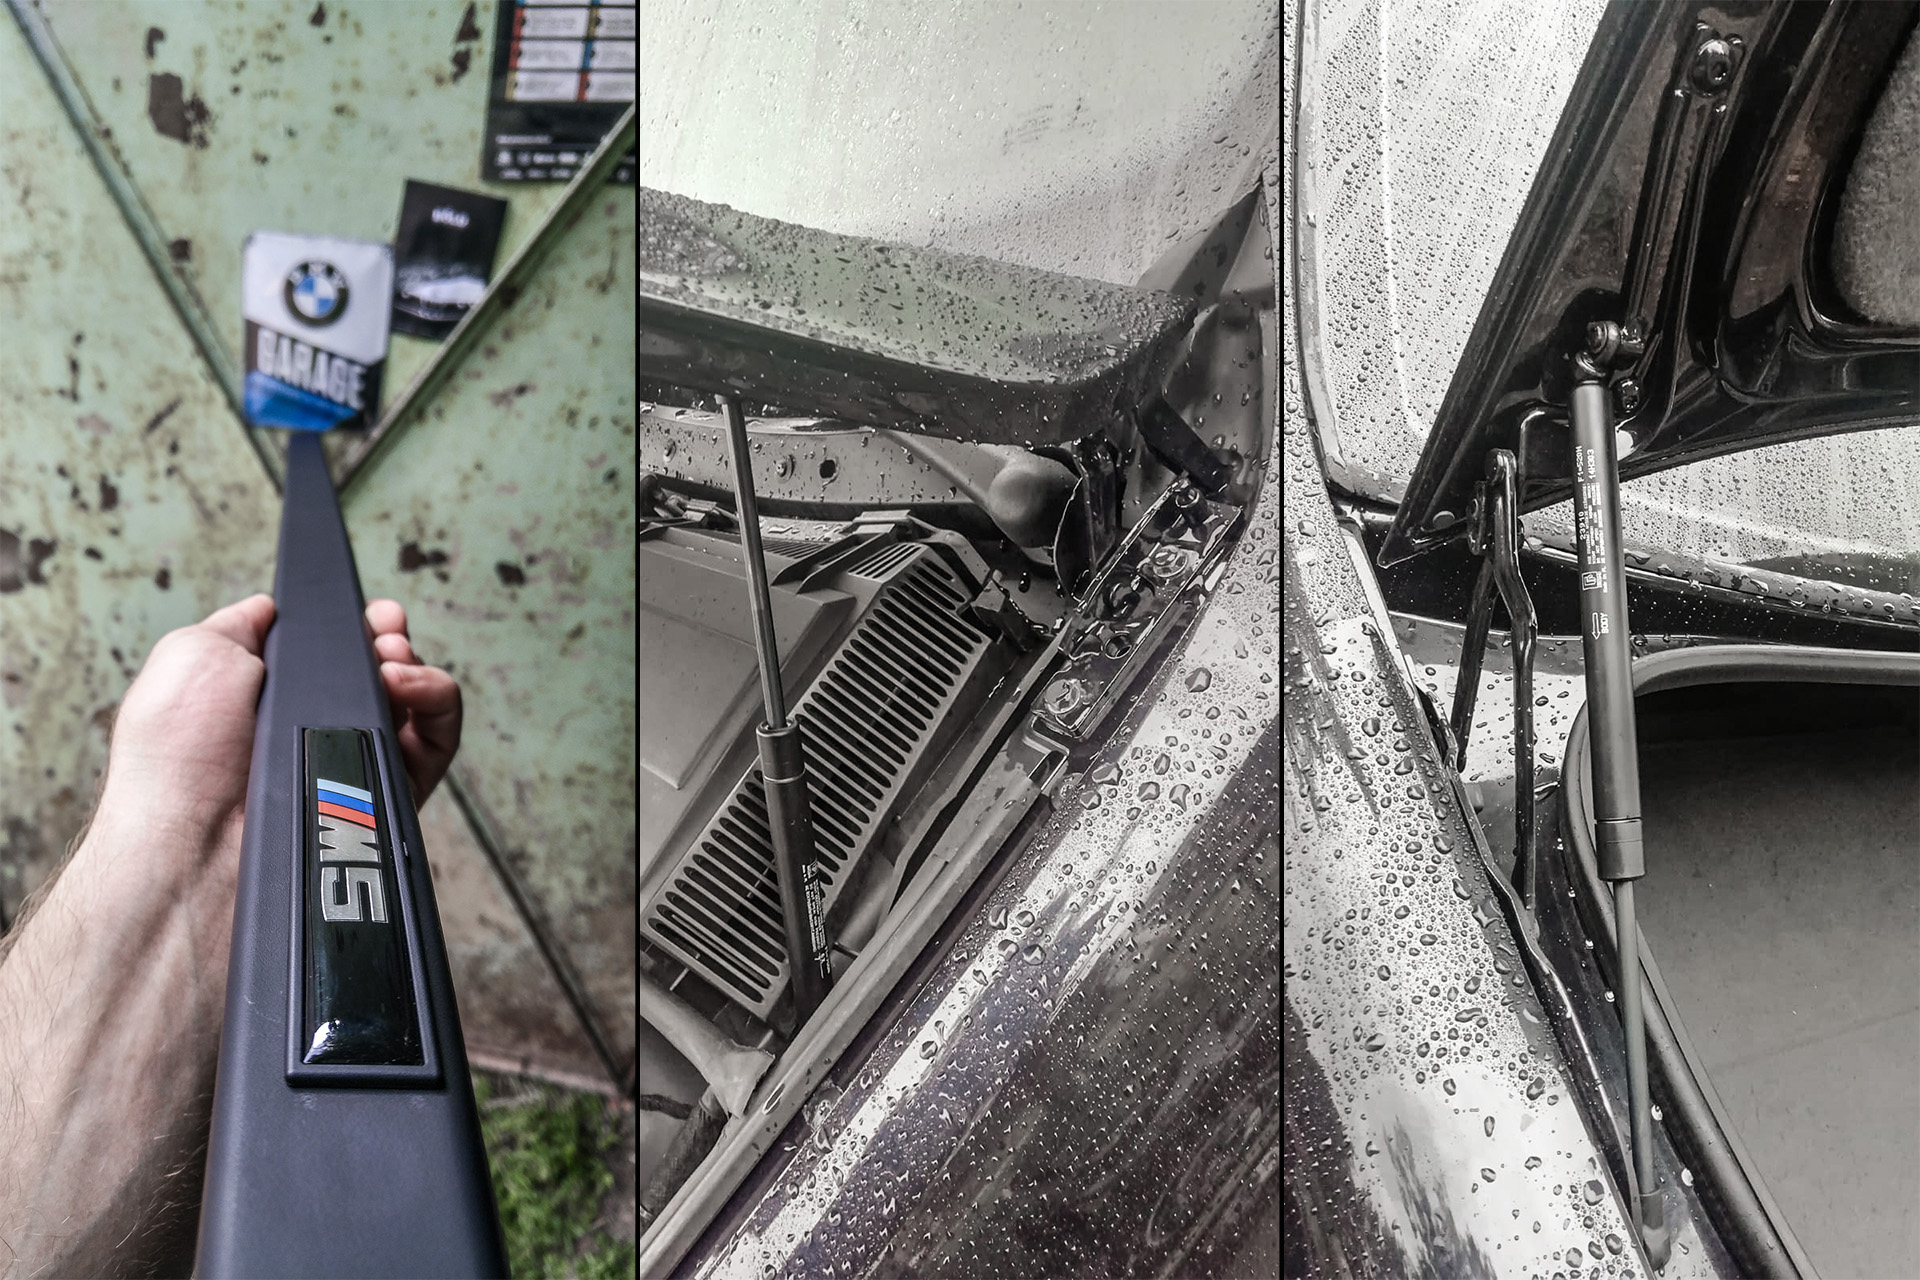
I am removing these over-used marketing propaganda logotypes from the machine.
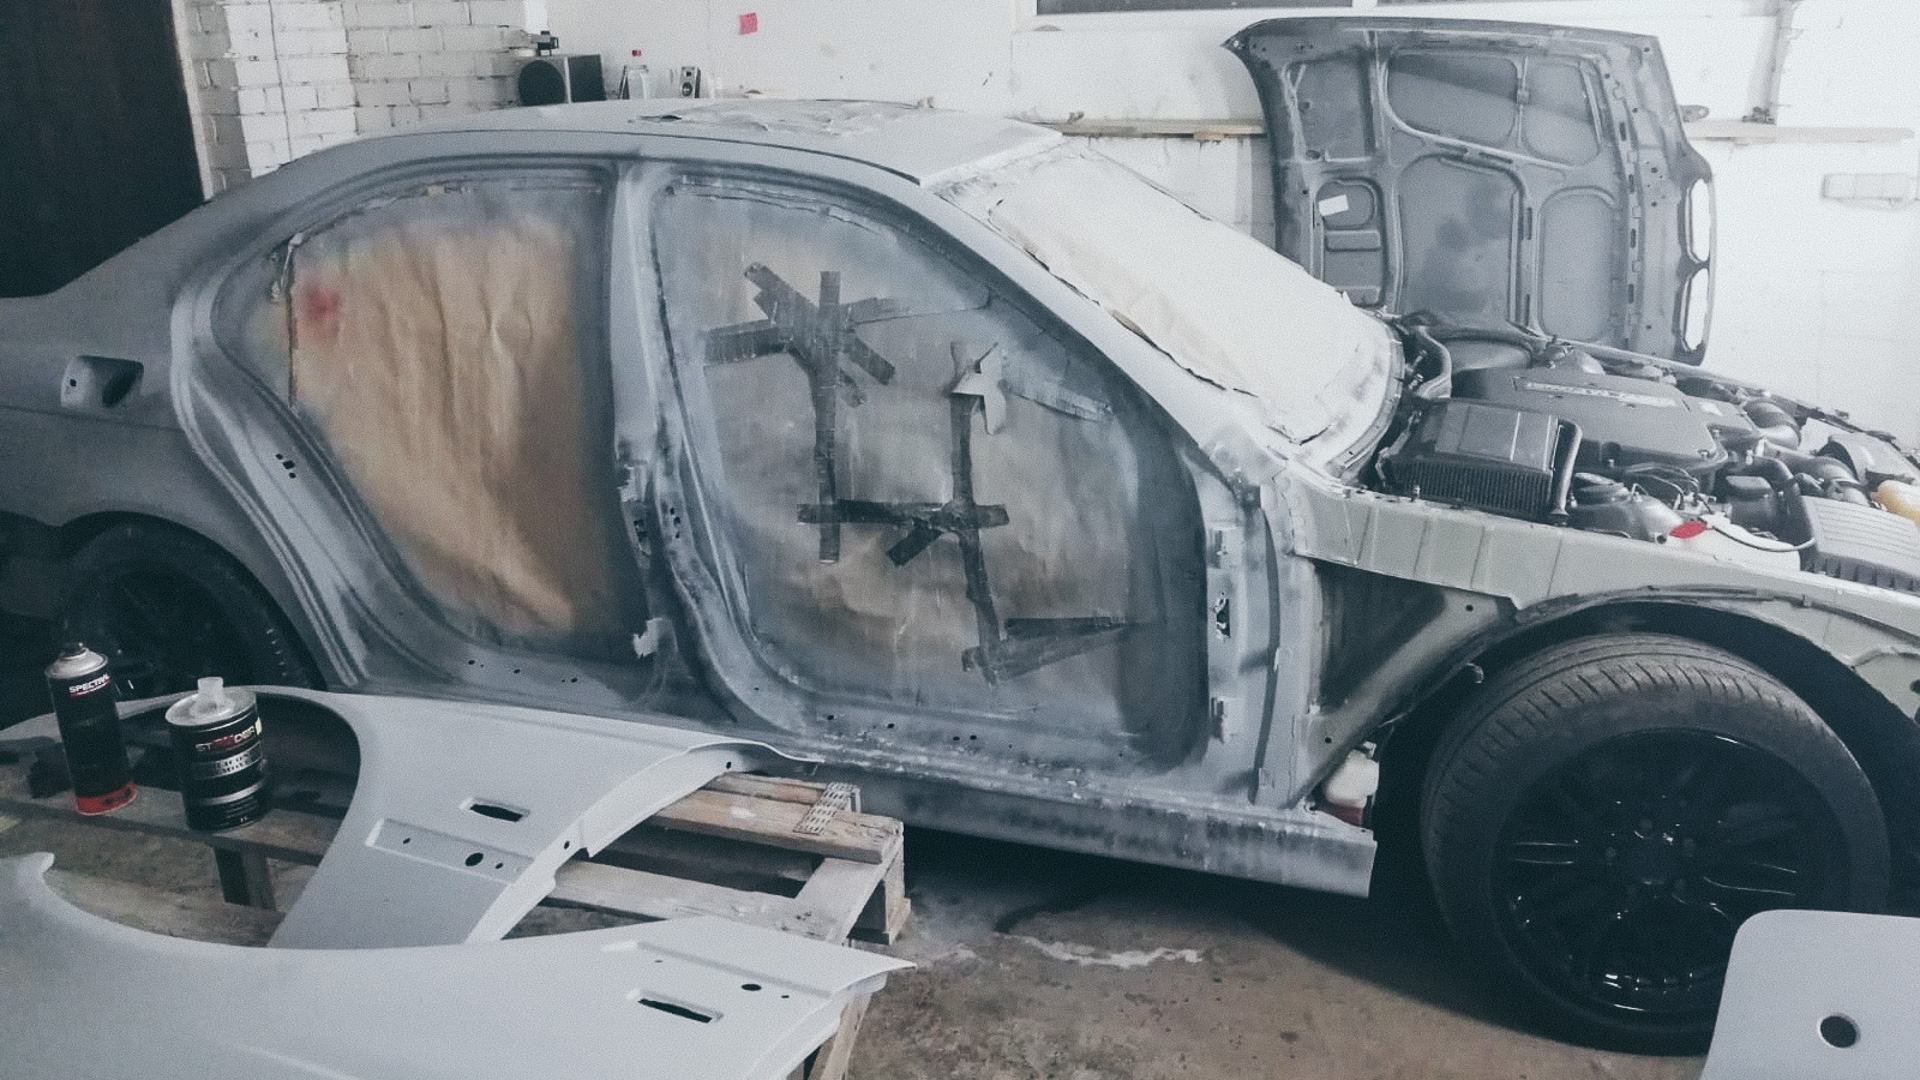
Total Paint Removal/Stripping
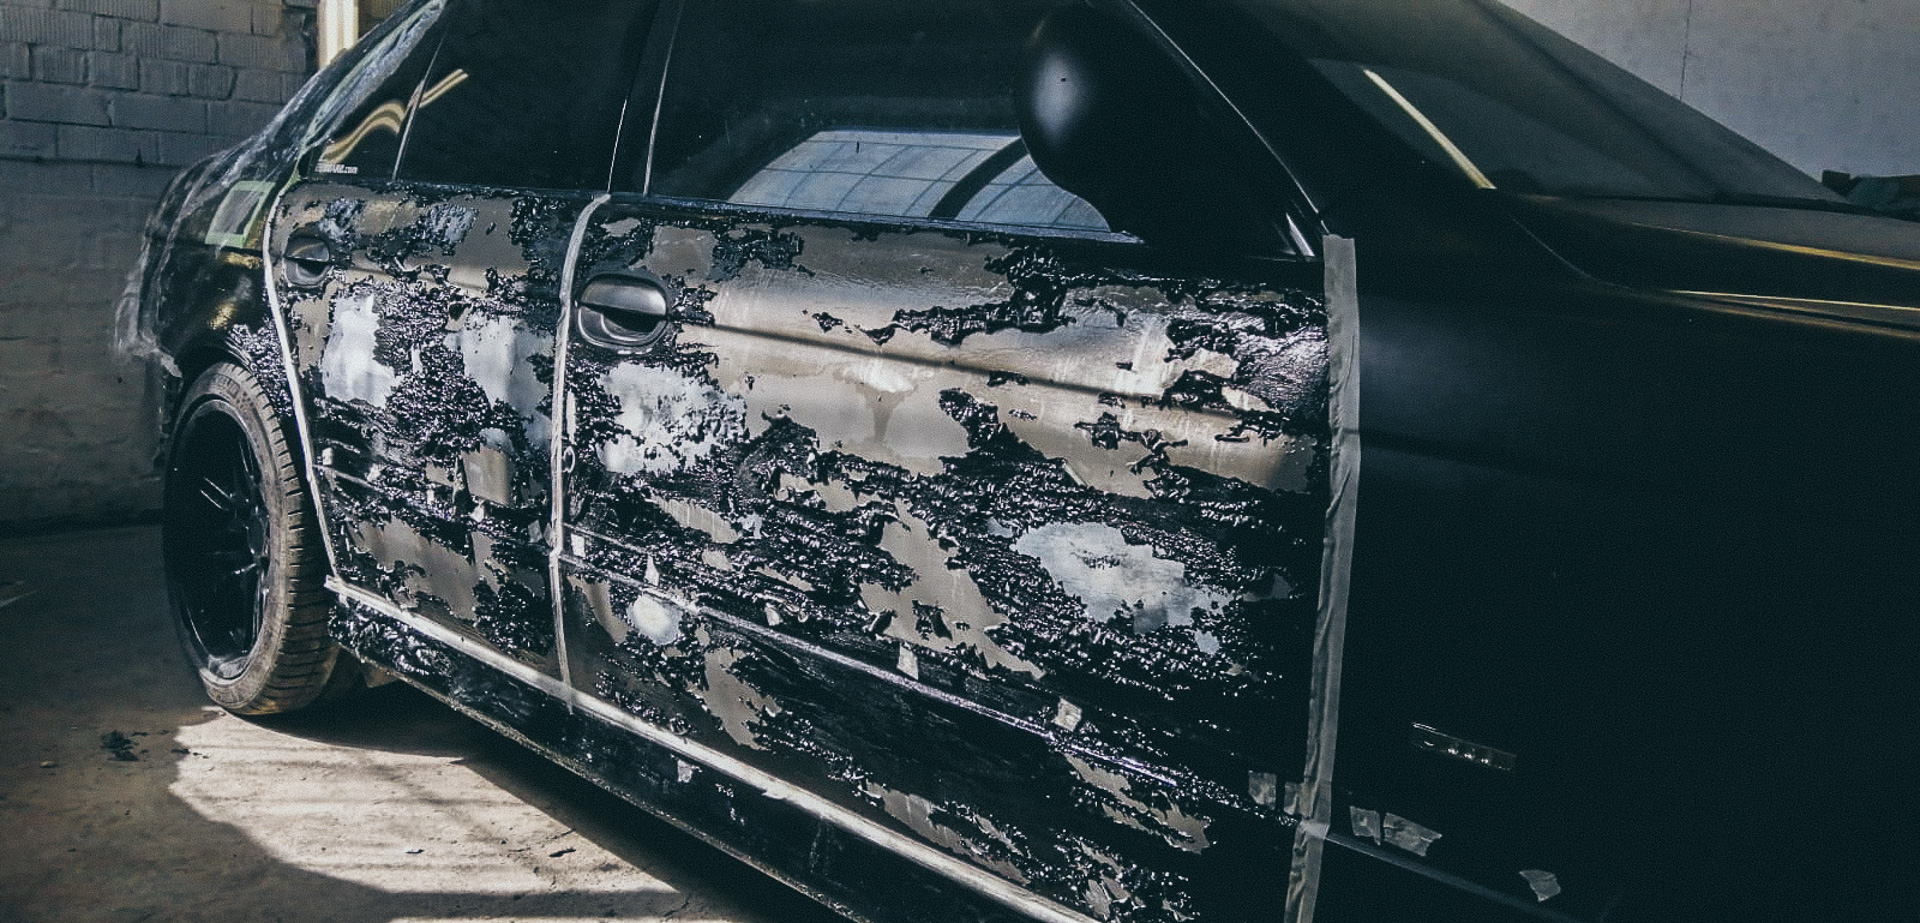
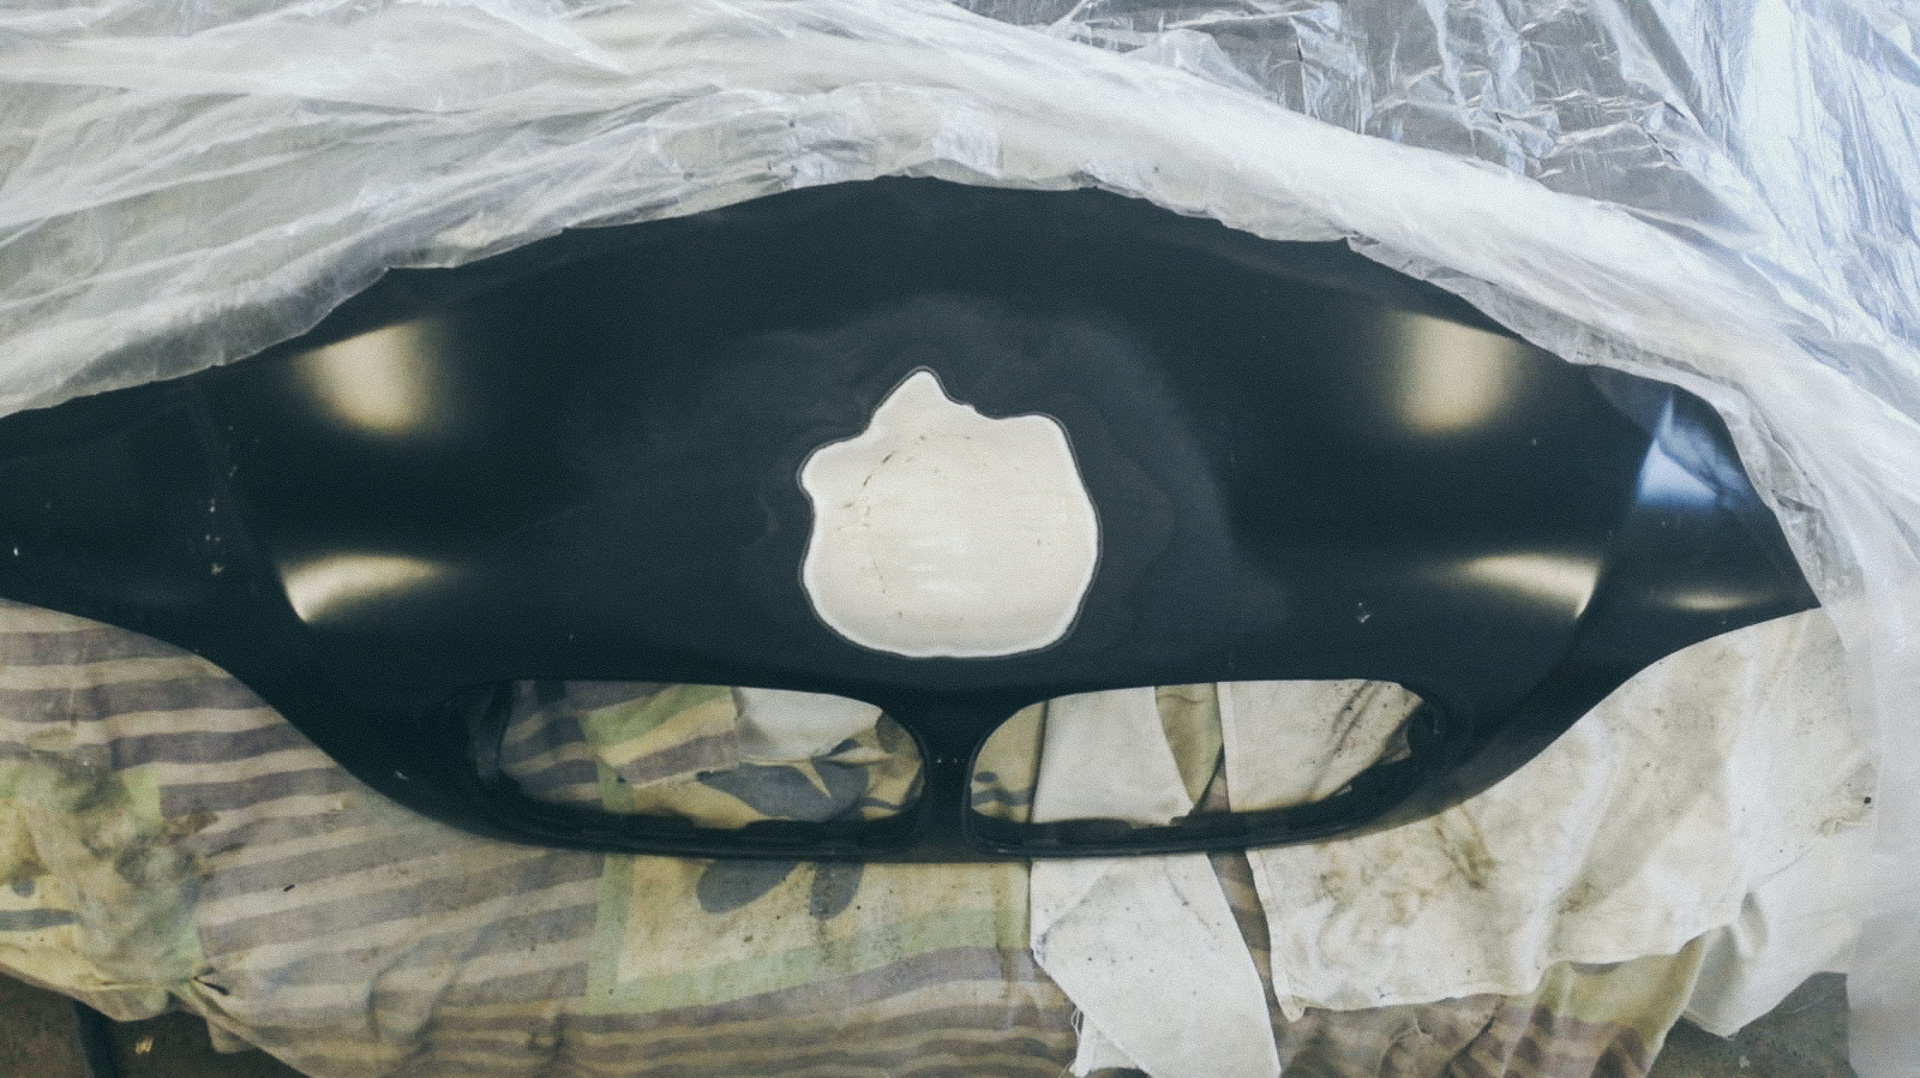
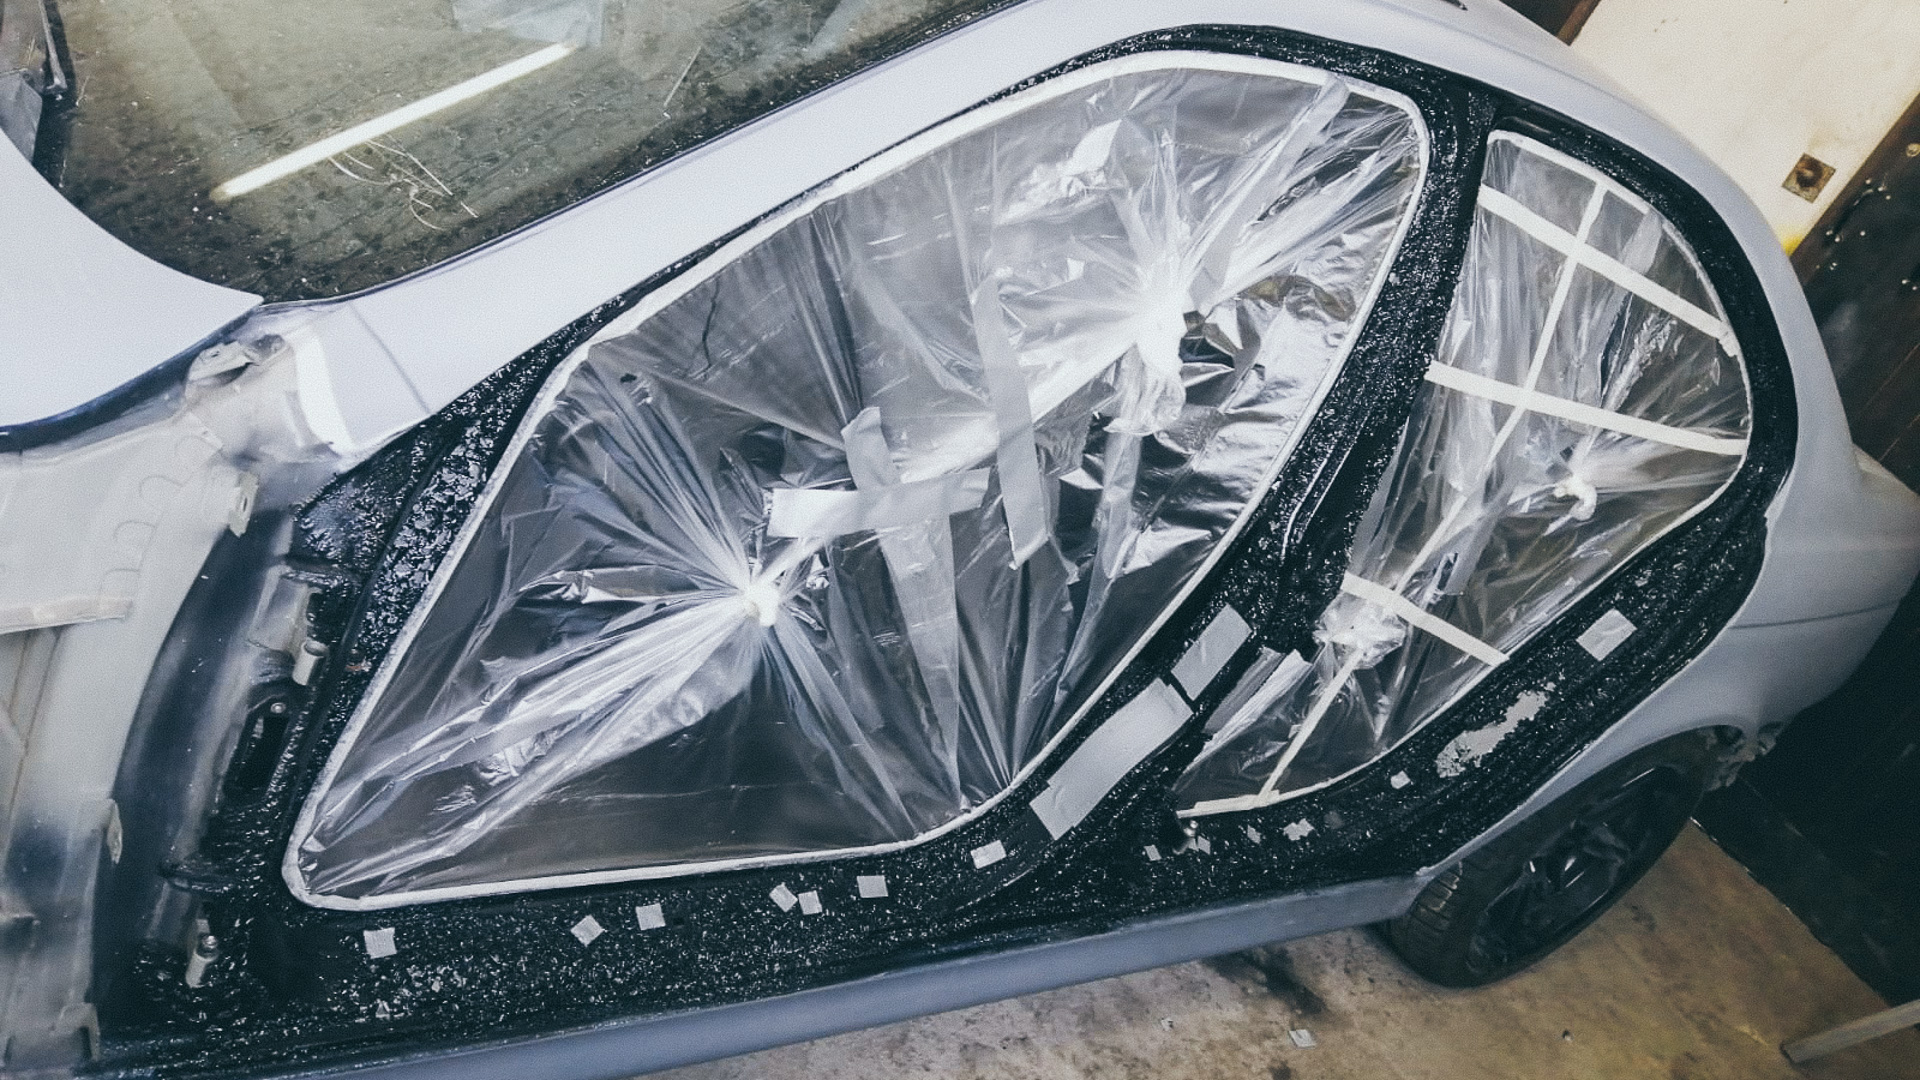
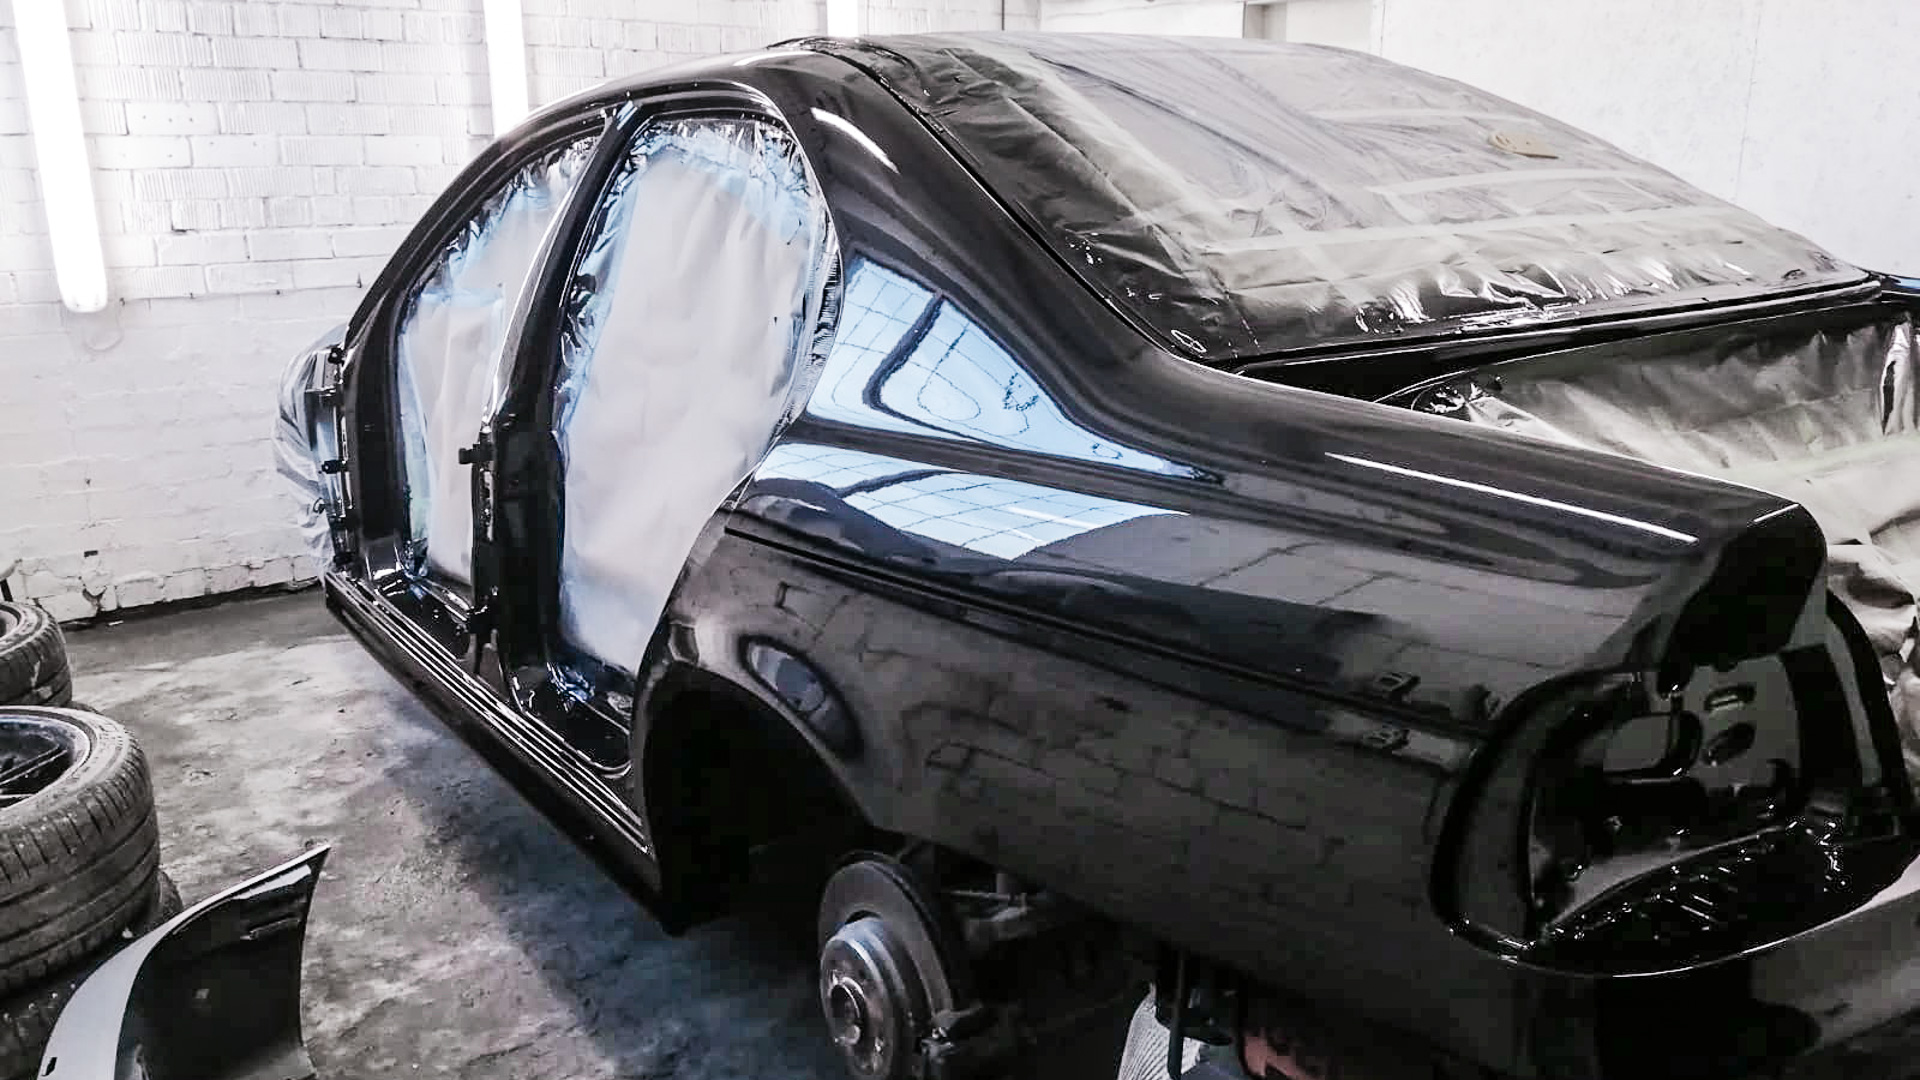
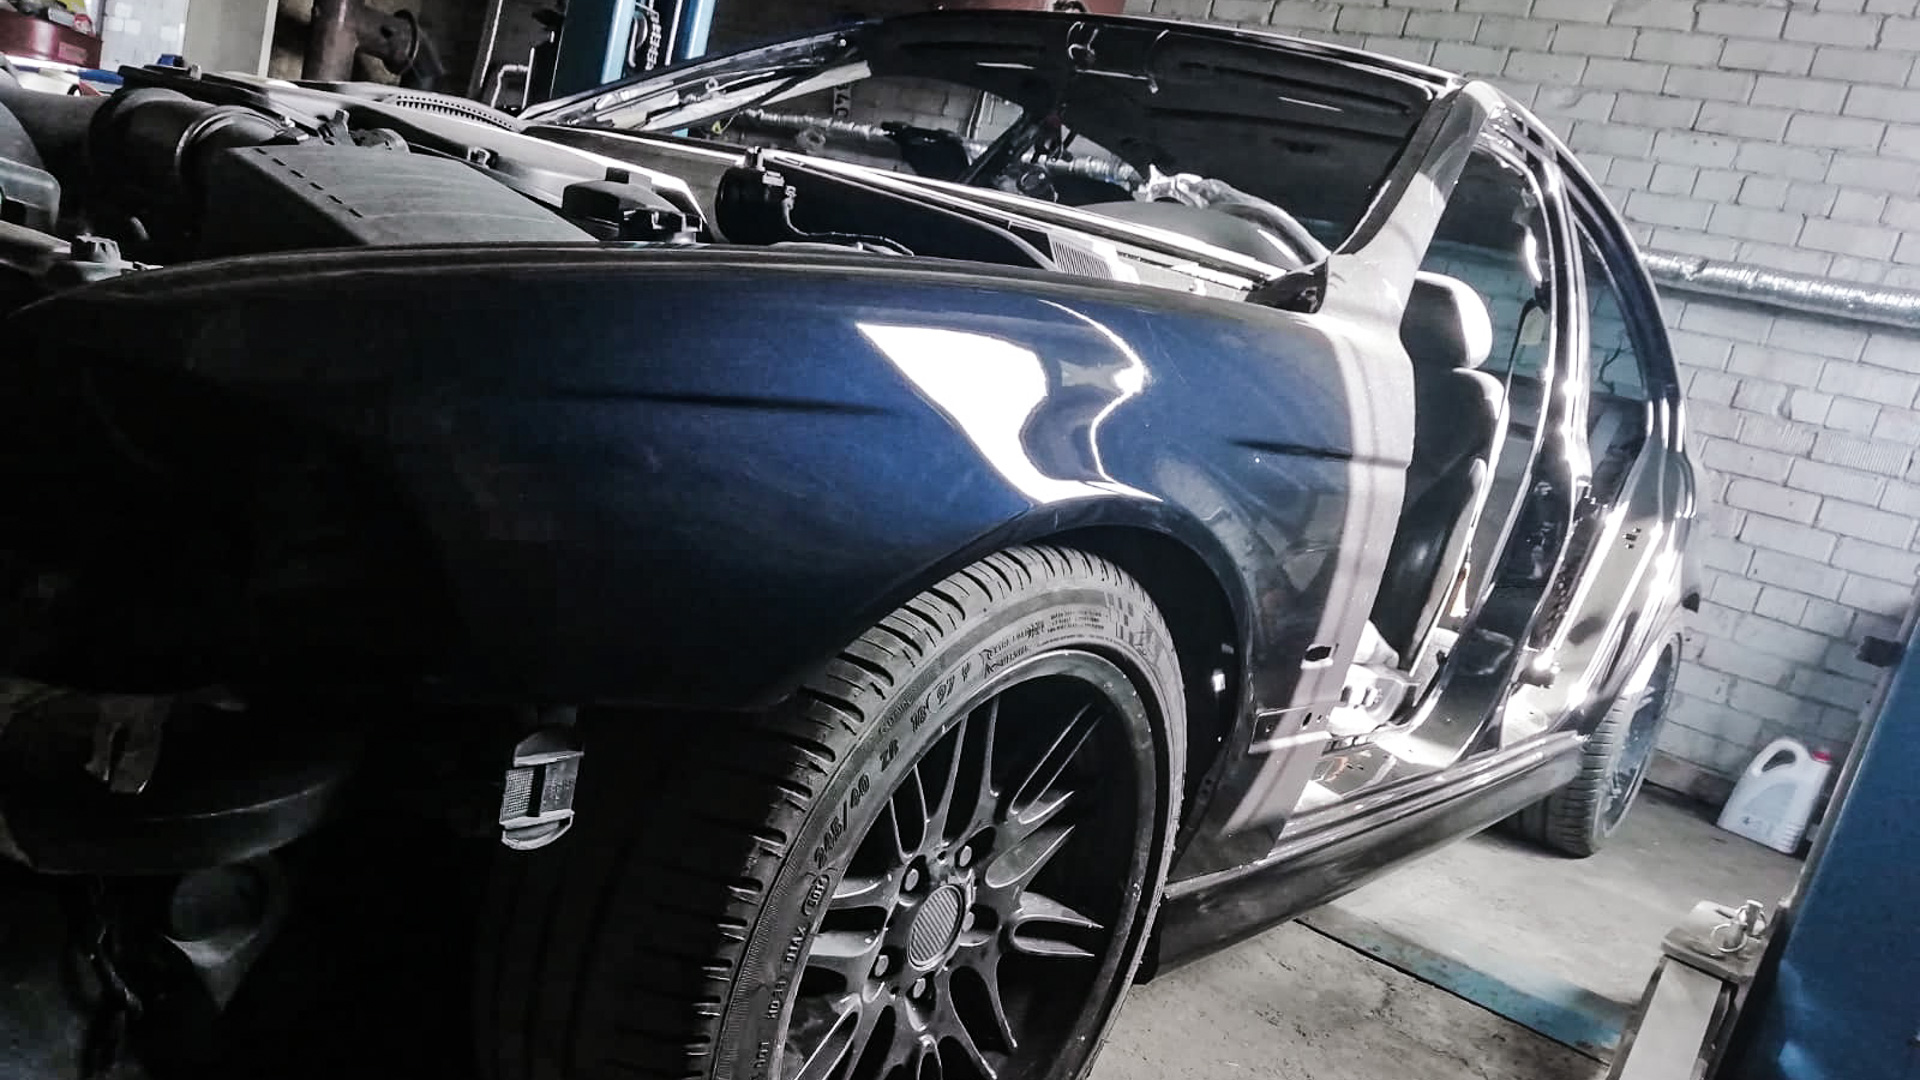
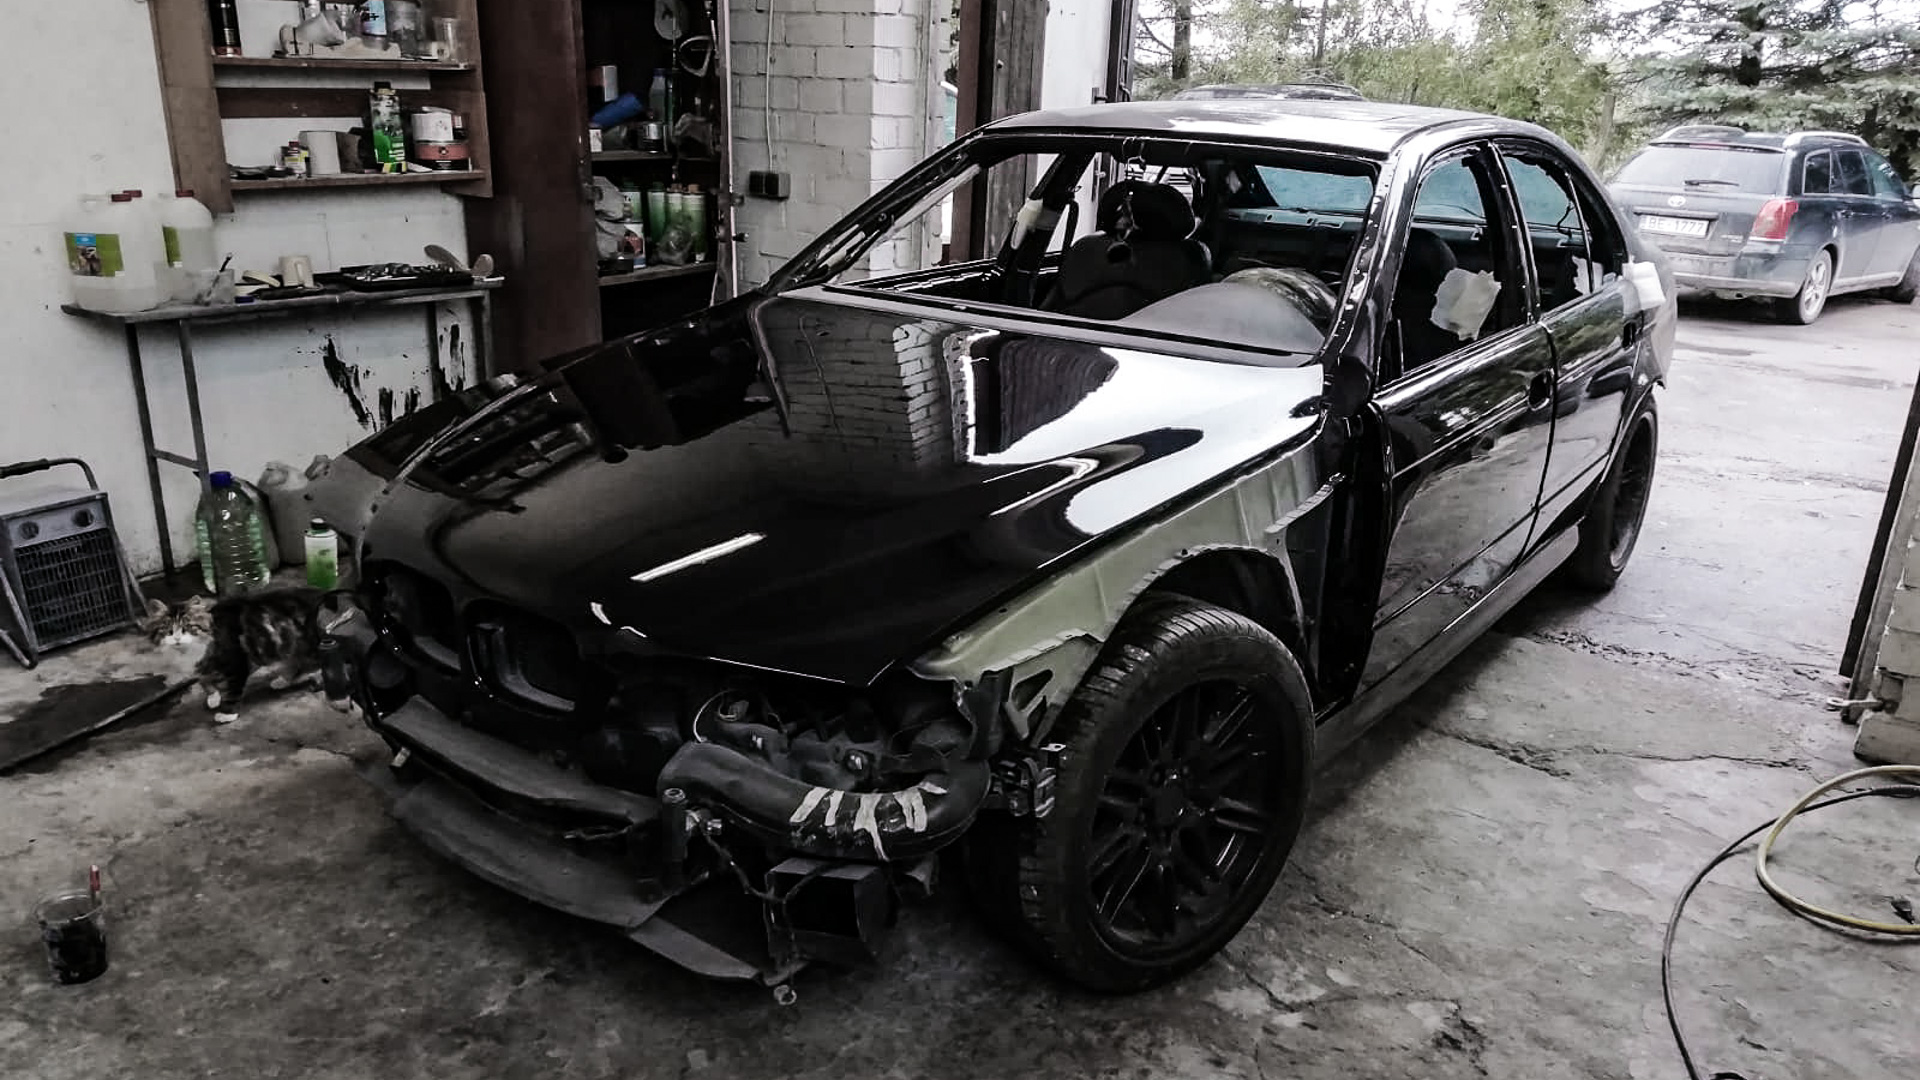
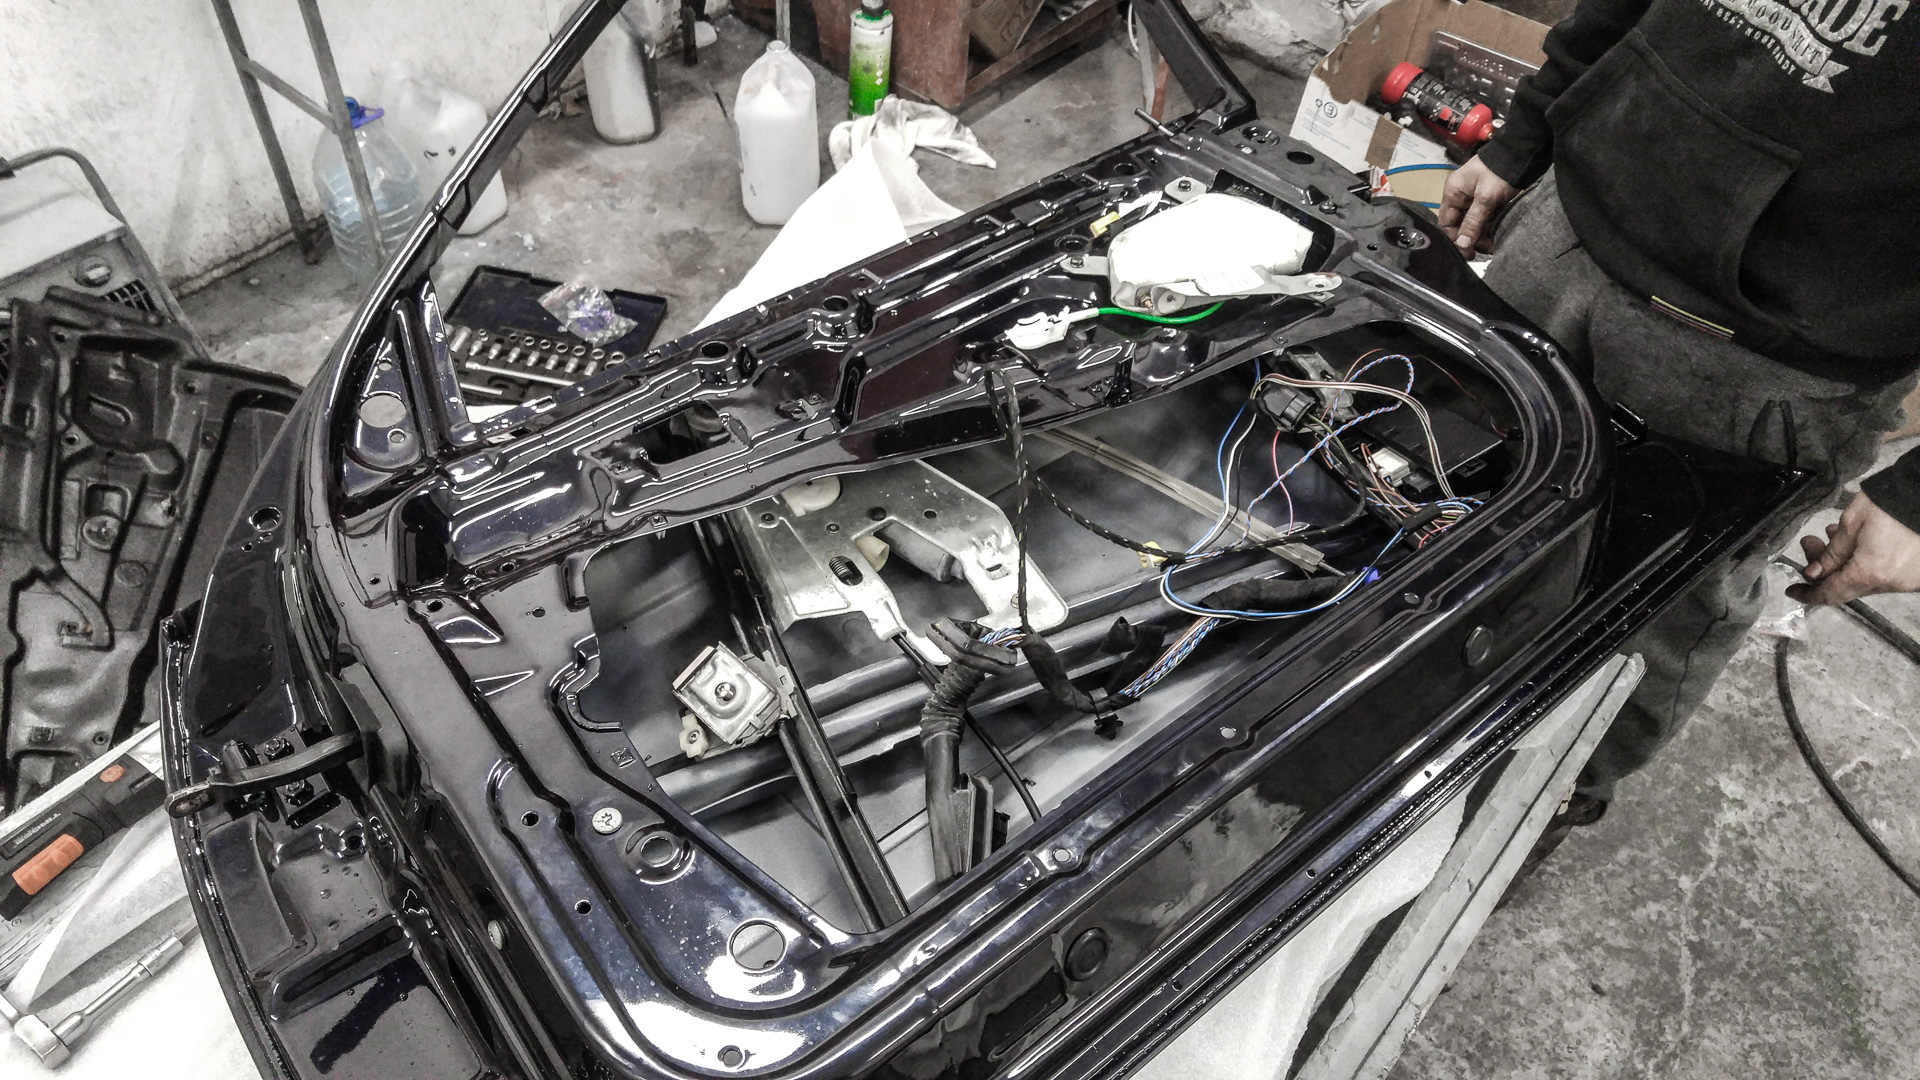
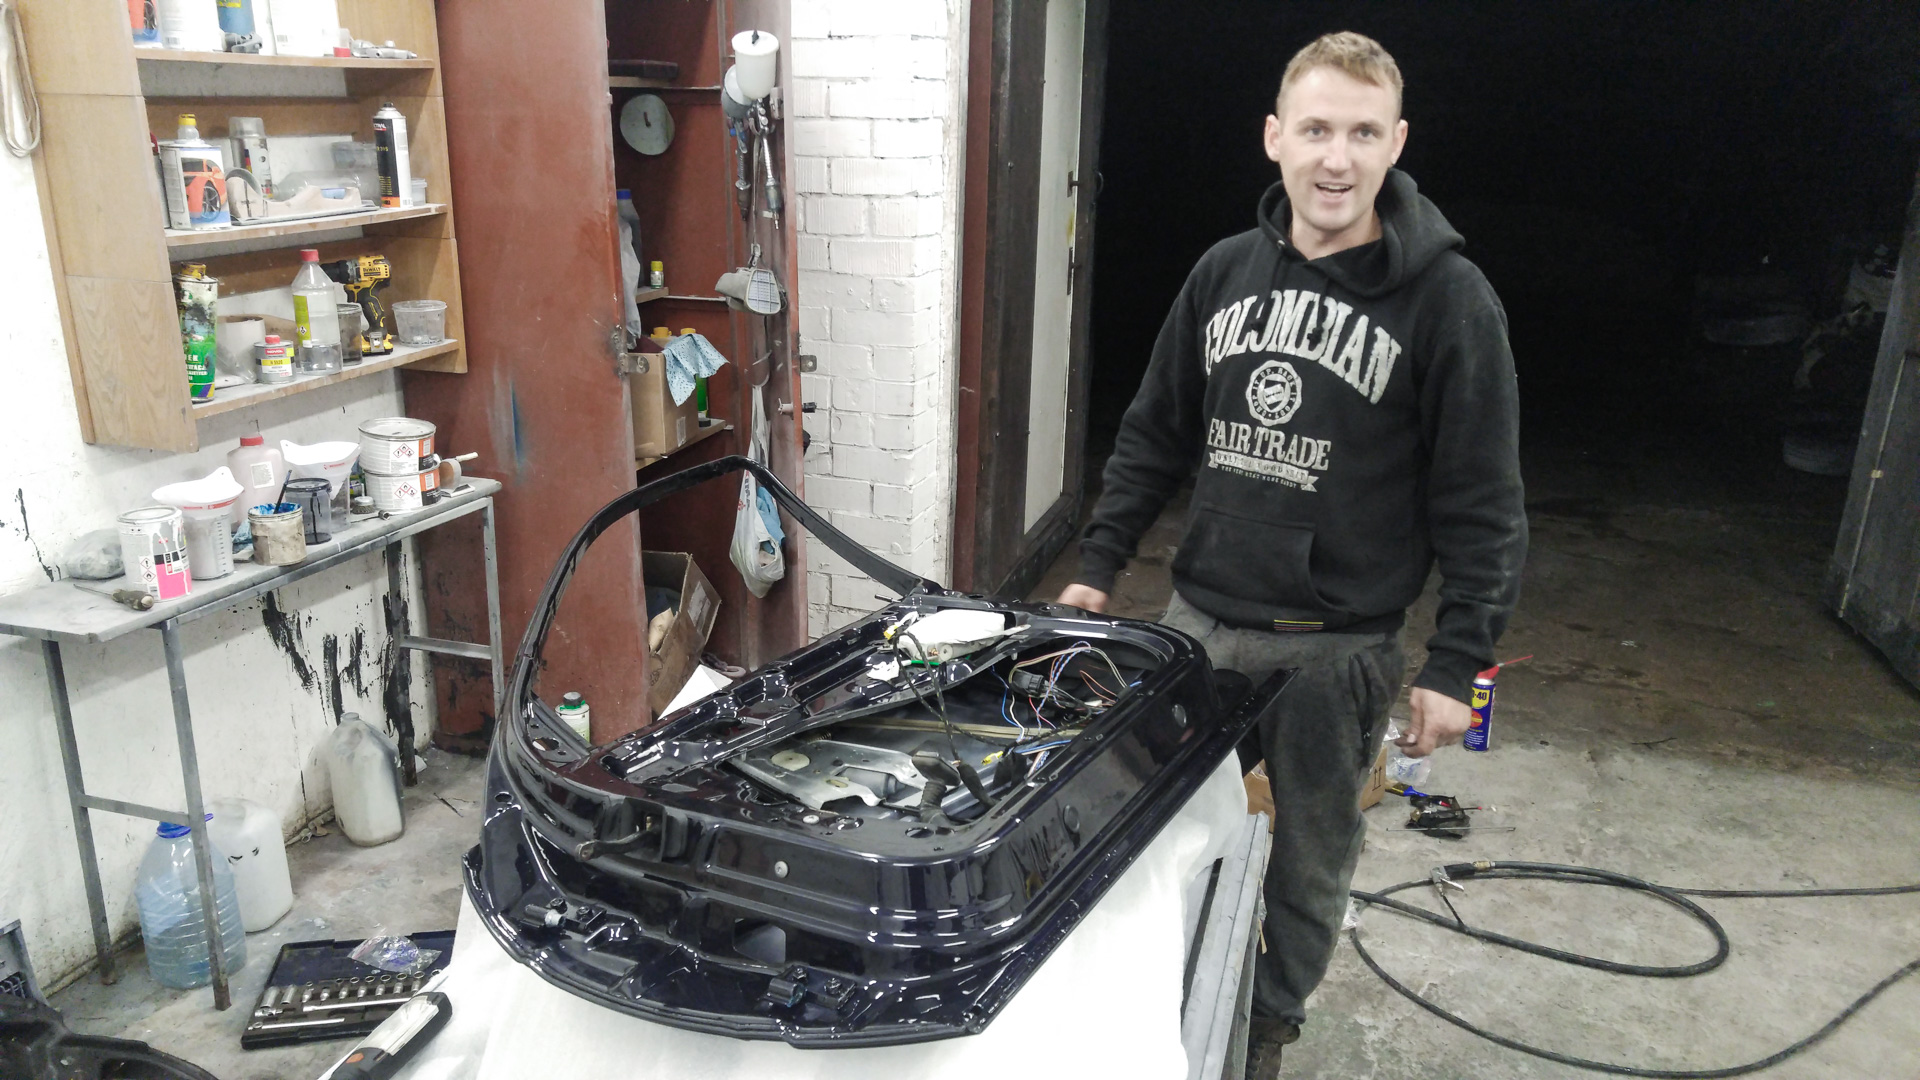
Realizing it is not wise to re-spray the Hot Rod Flatz with new layer, when the existing Hot Rod Flatz polyurethane paint sits on a very poor primer layer, that is too smooth for the existing paint to grip on… realizing all that I went to help the painter sand the original layer off and scuff the smooth primer.
Problem with the Polyurethane paint is that the 800 grit paper turns smooth real fast even wet sanding due to the urethane catching the sand paper. I tried using a 800 grit rotation sander and the sand paper lasted 4-5 seconds before turning perfectly smooth. Same with 400 grit. Realizing that getting that polyurethane paint off will be some challenge I went for the paint remover against the painters wishes.. he was like “Oh no, just not the paint remover” but I told him “Fear not, let’s do this”.
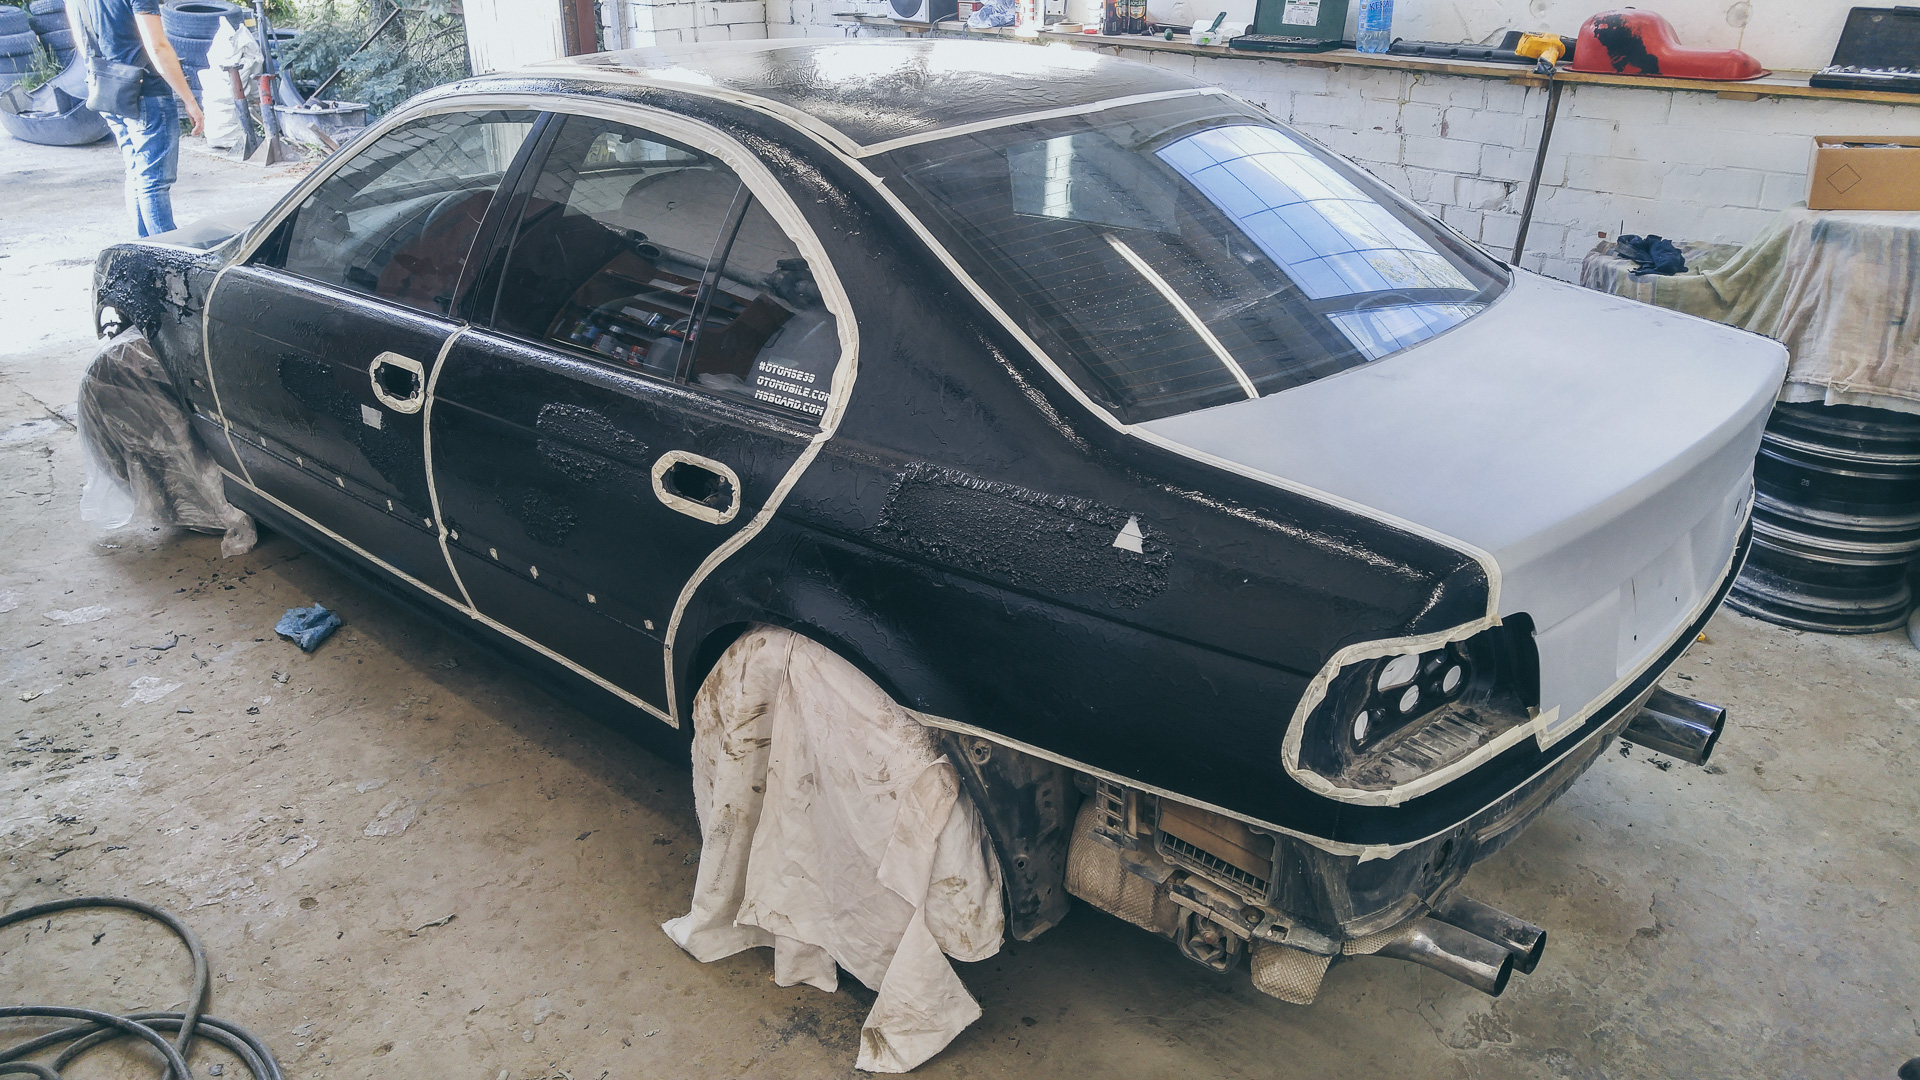
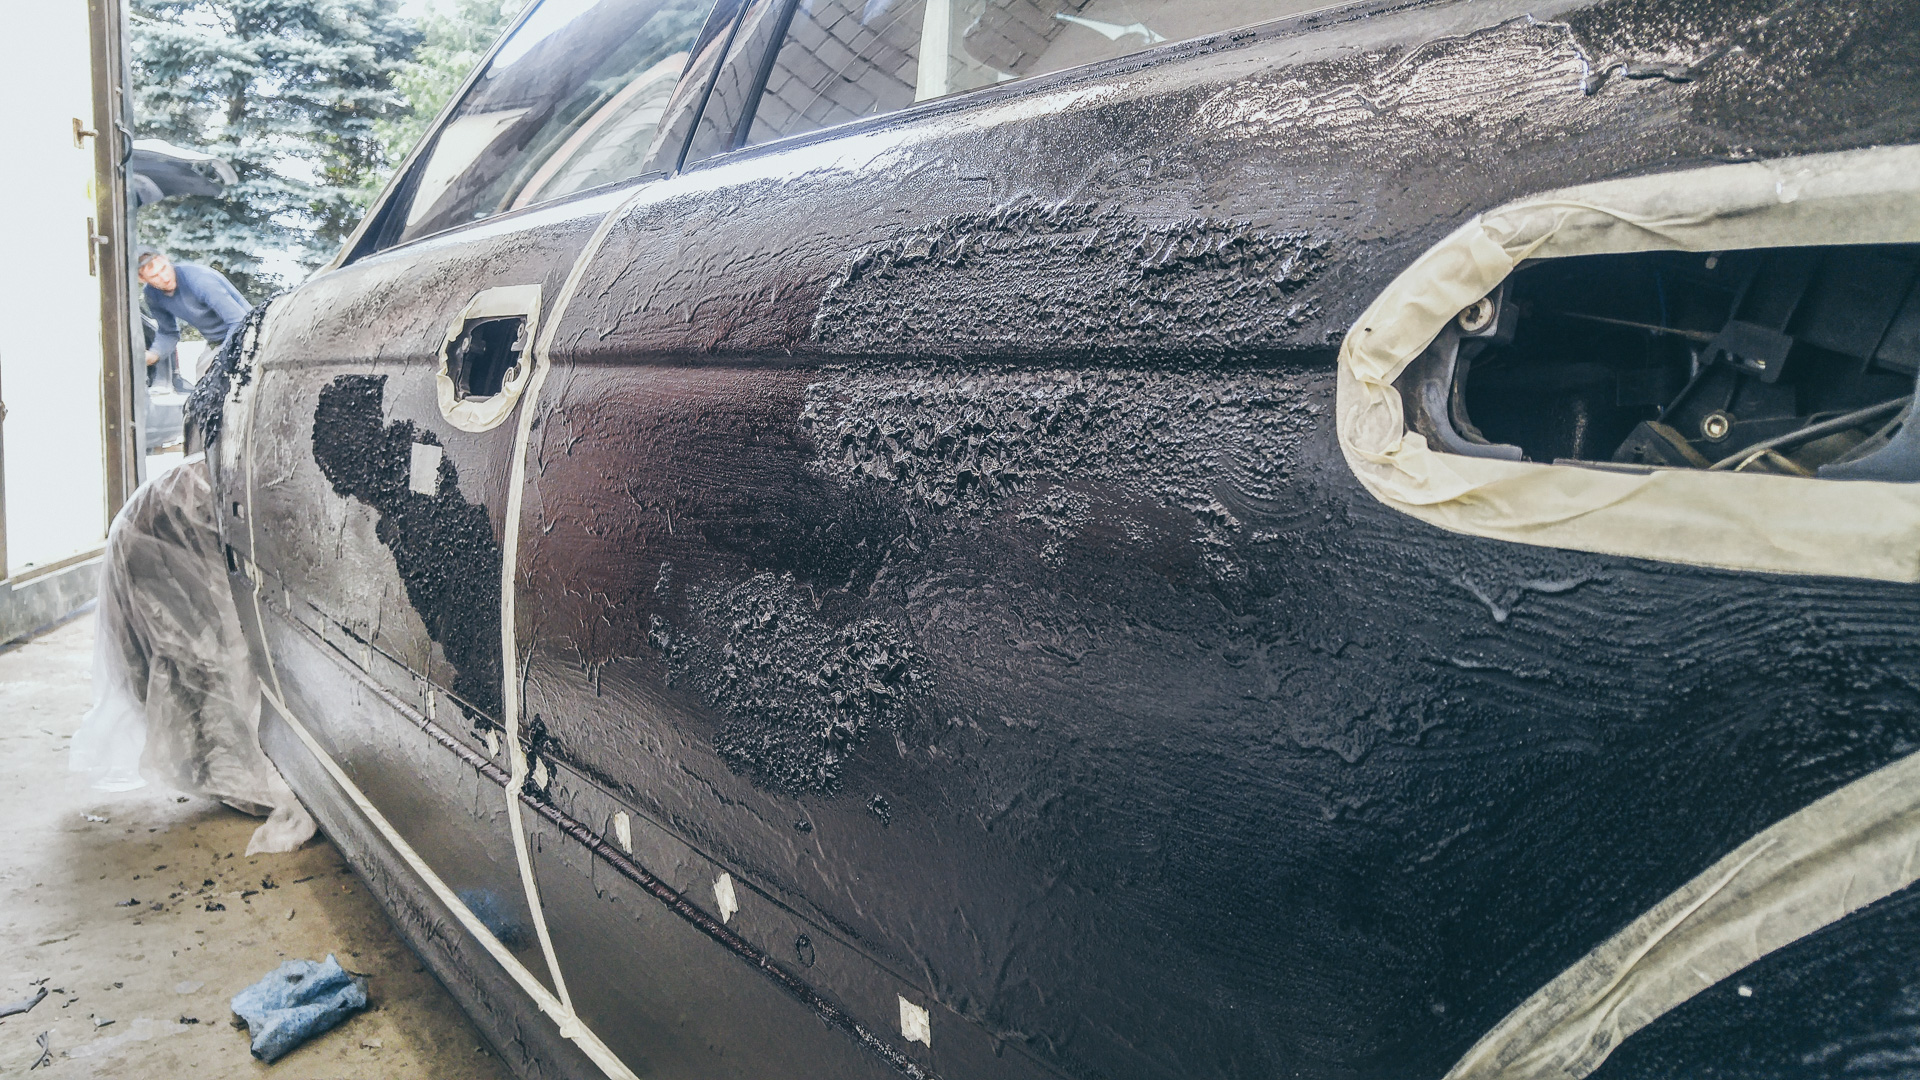
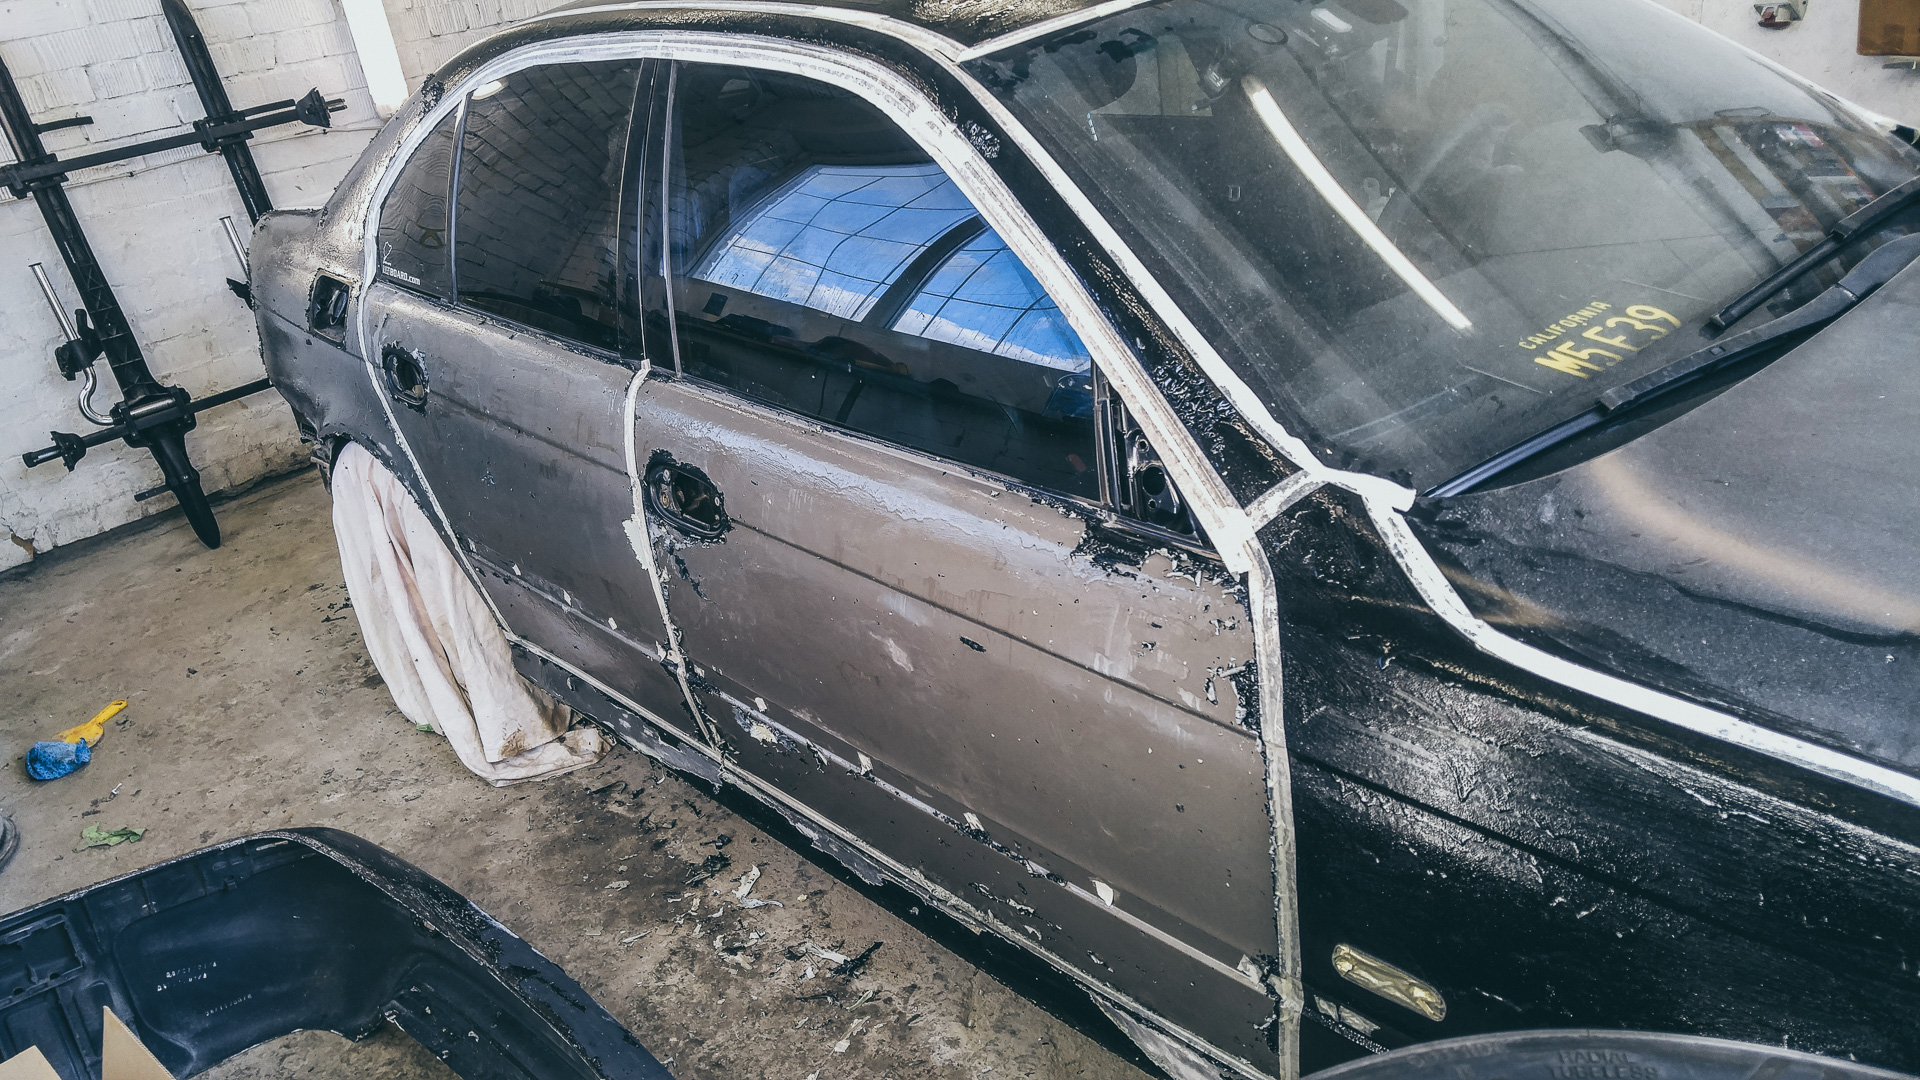

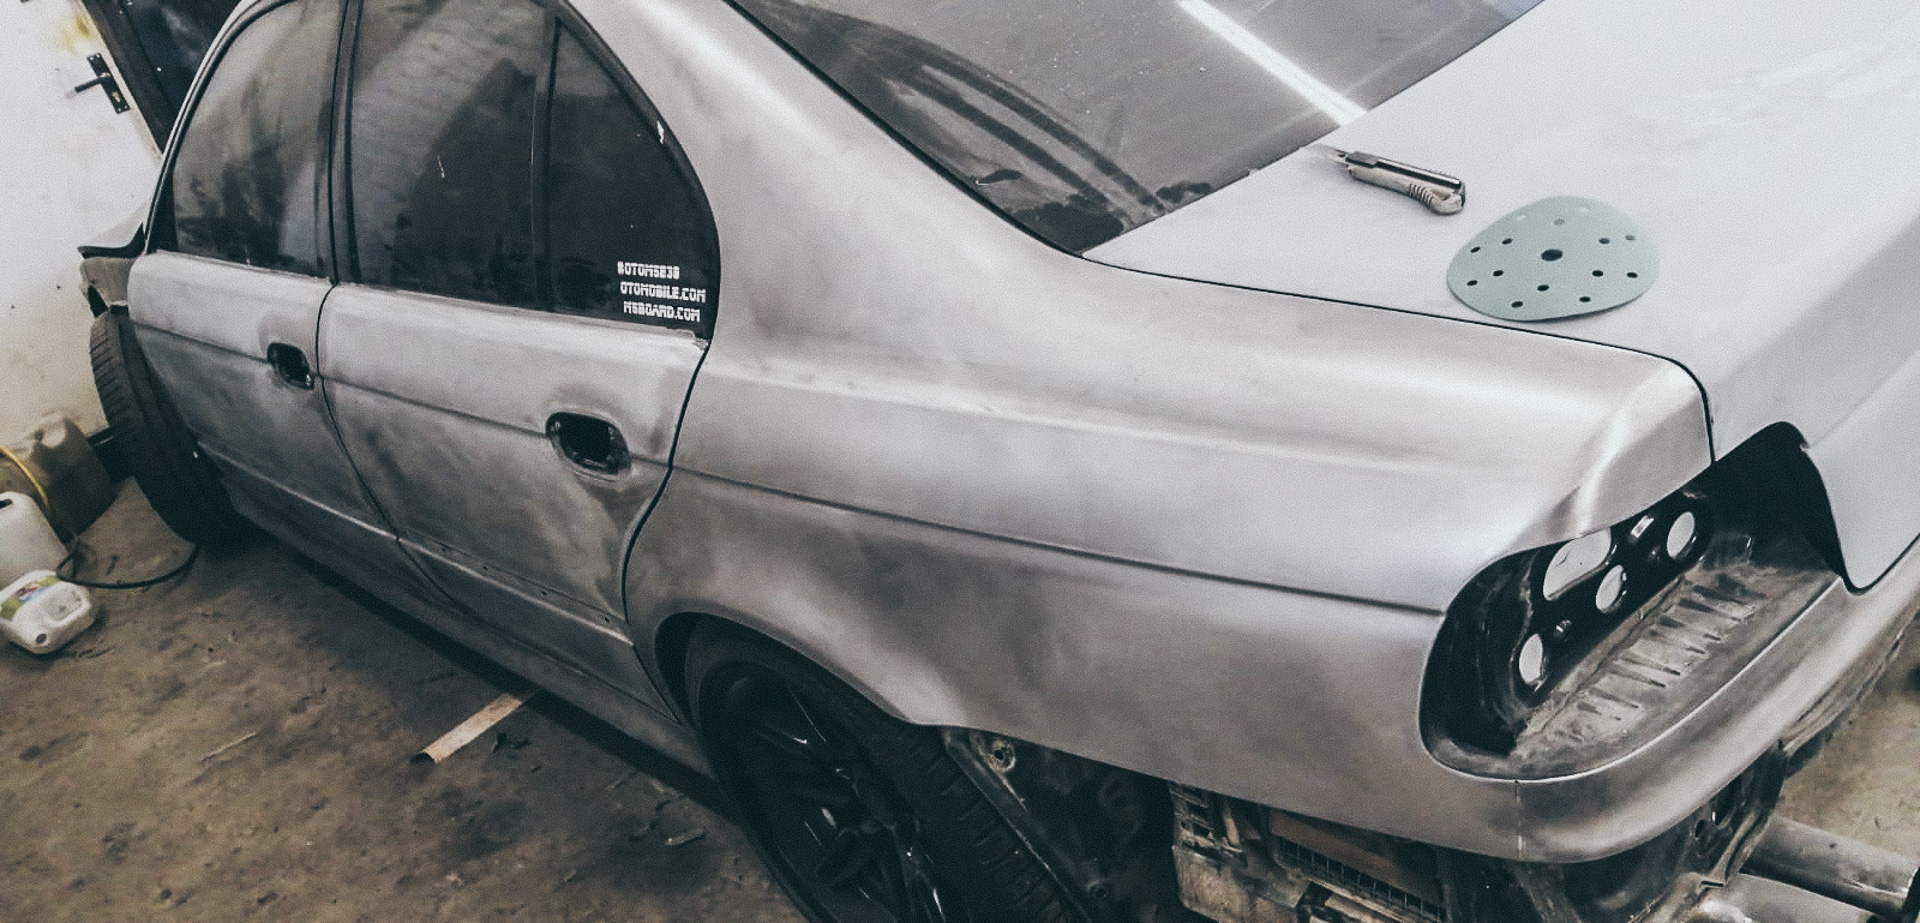
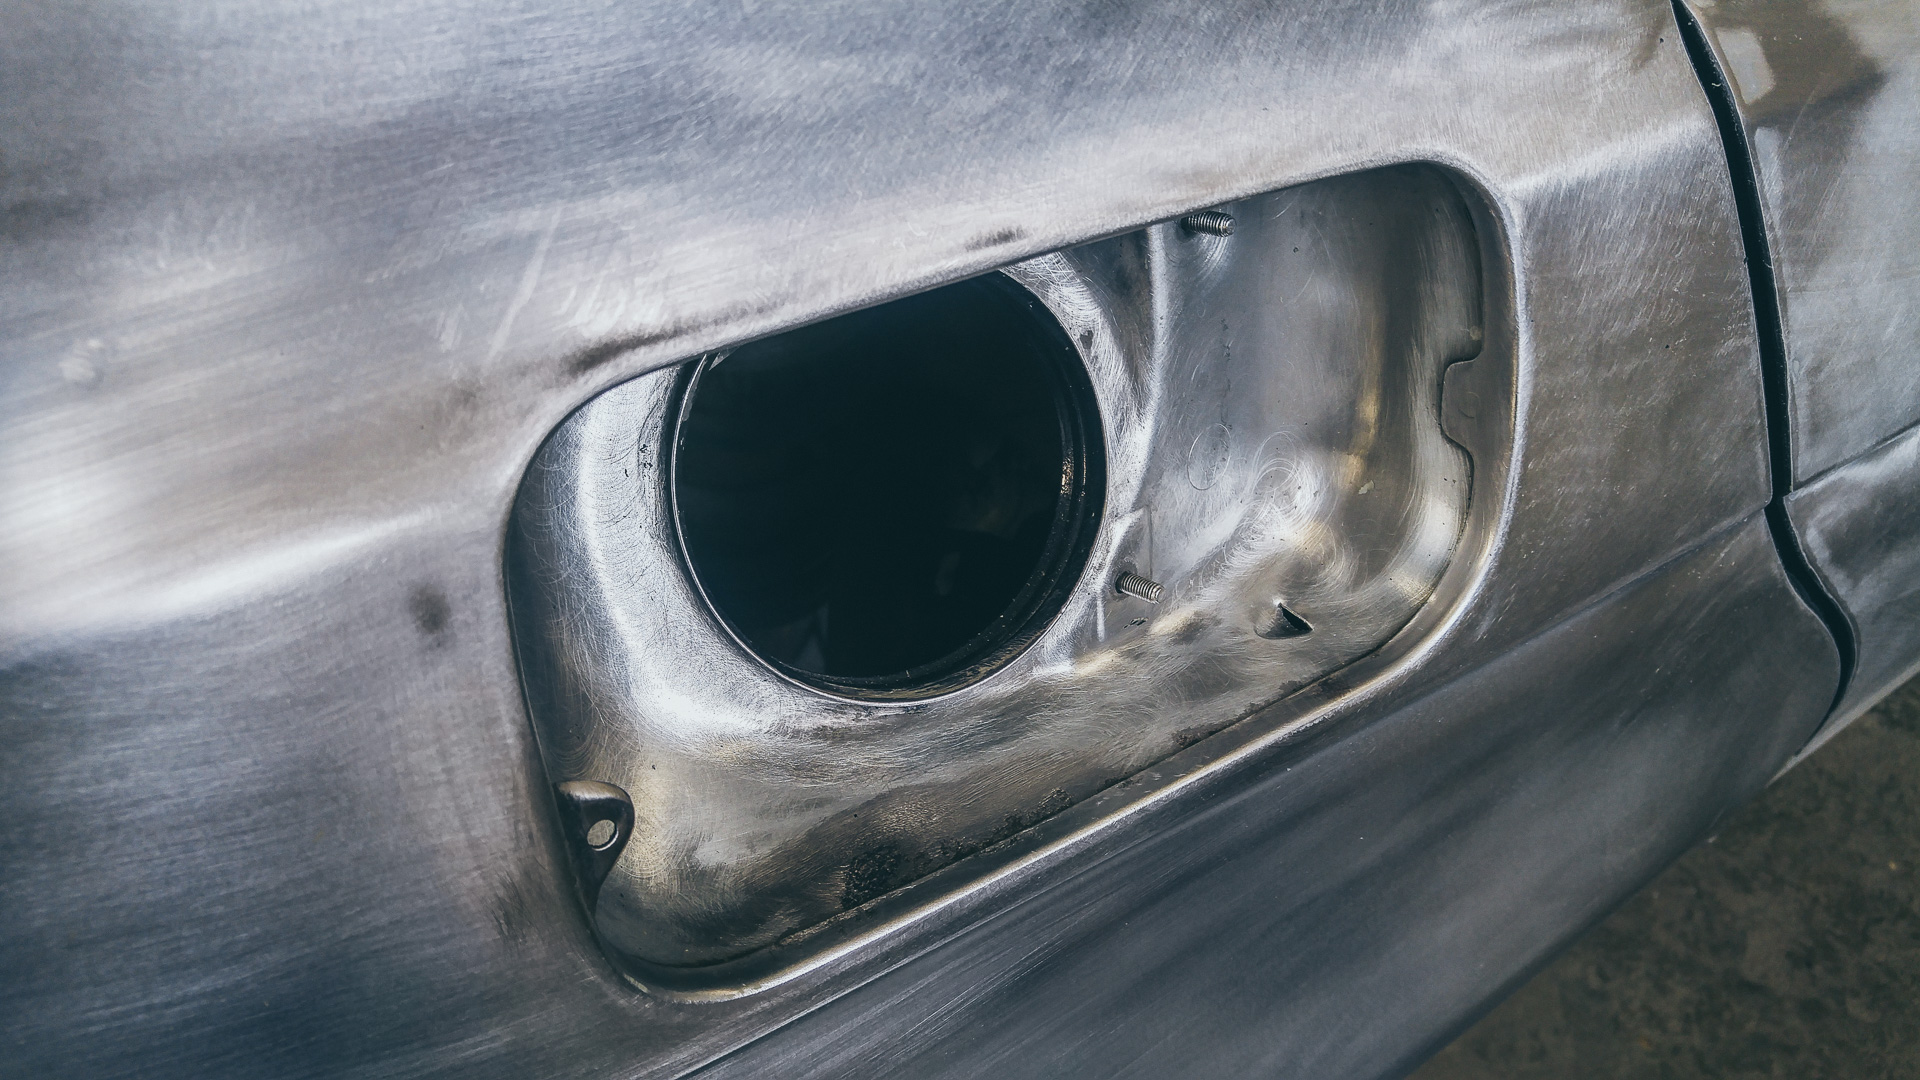
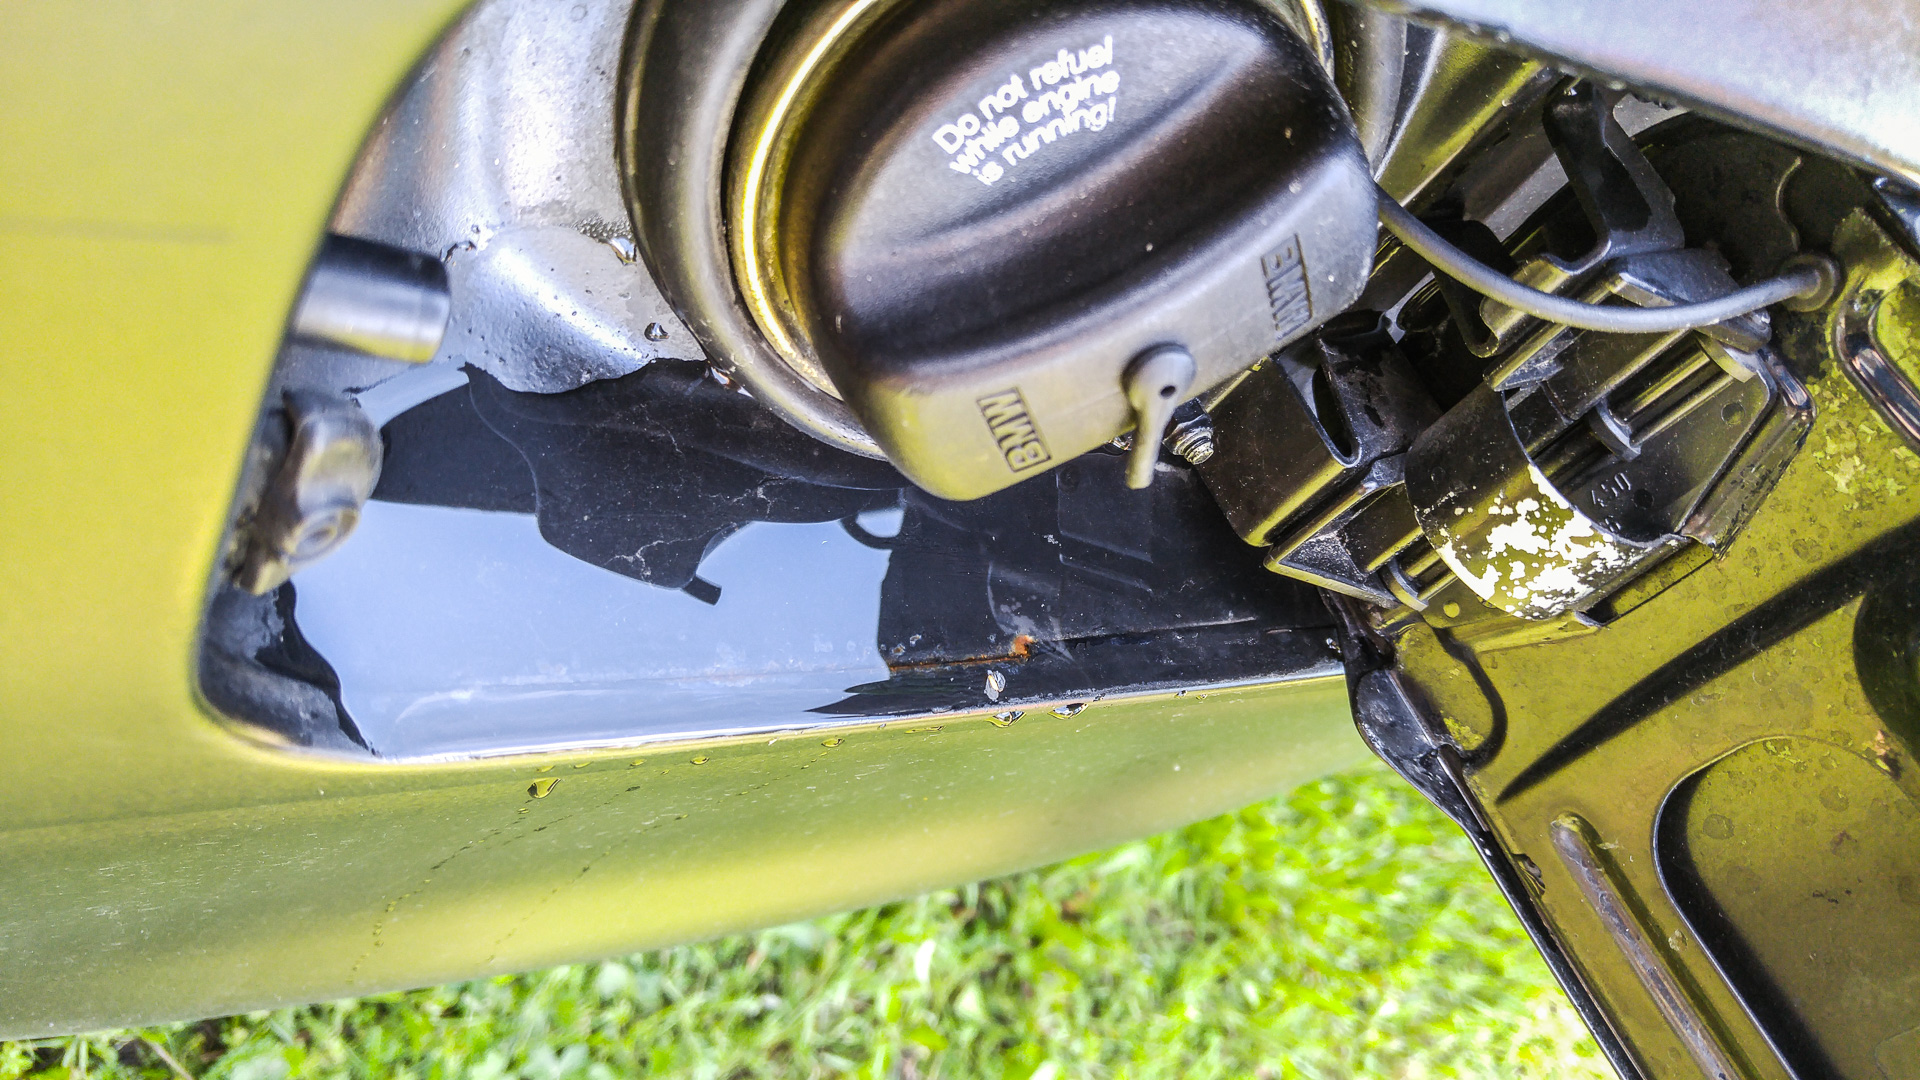
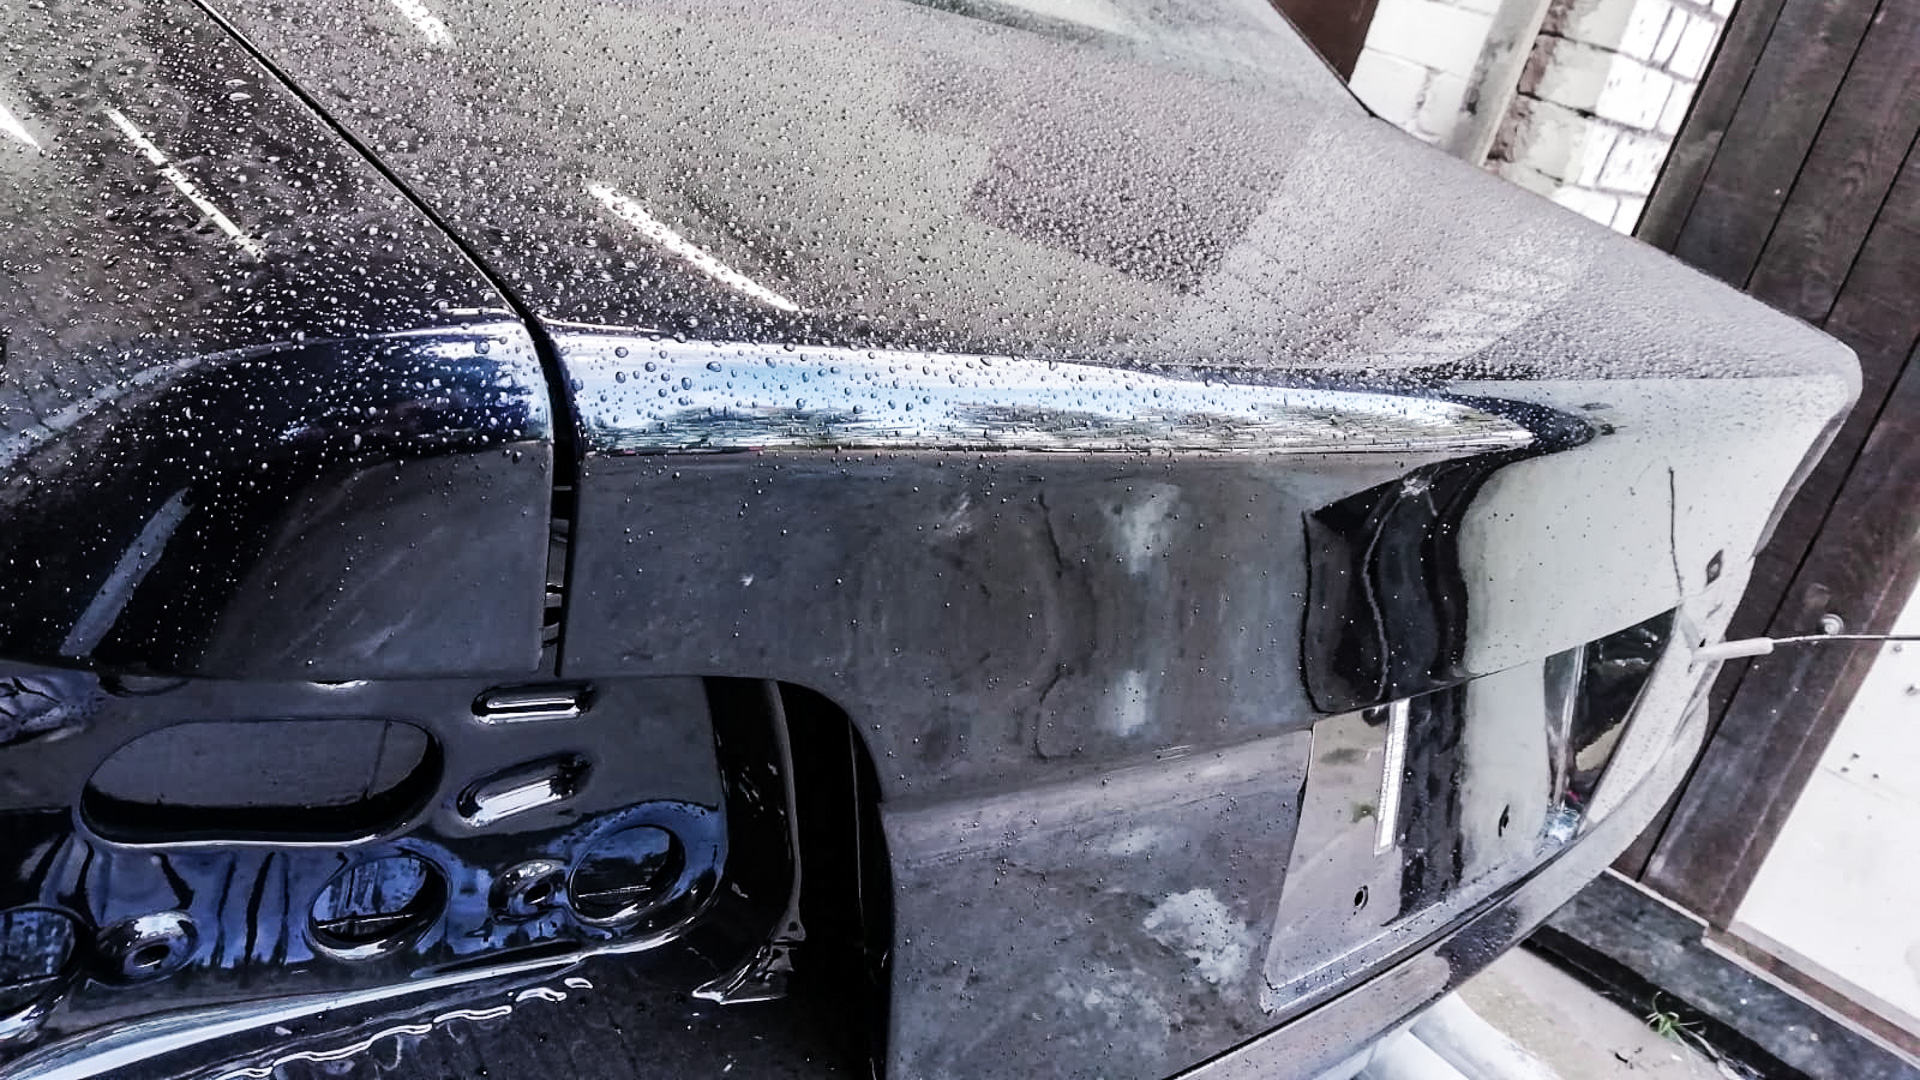
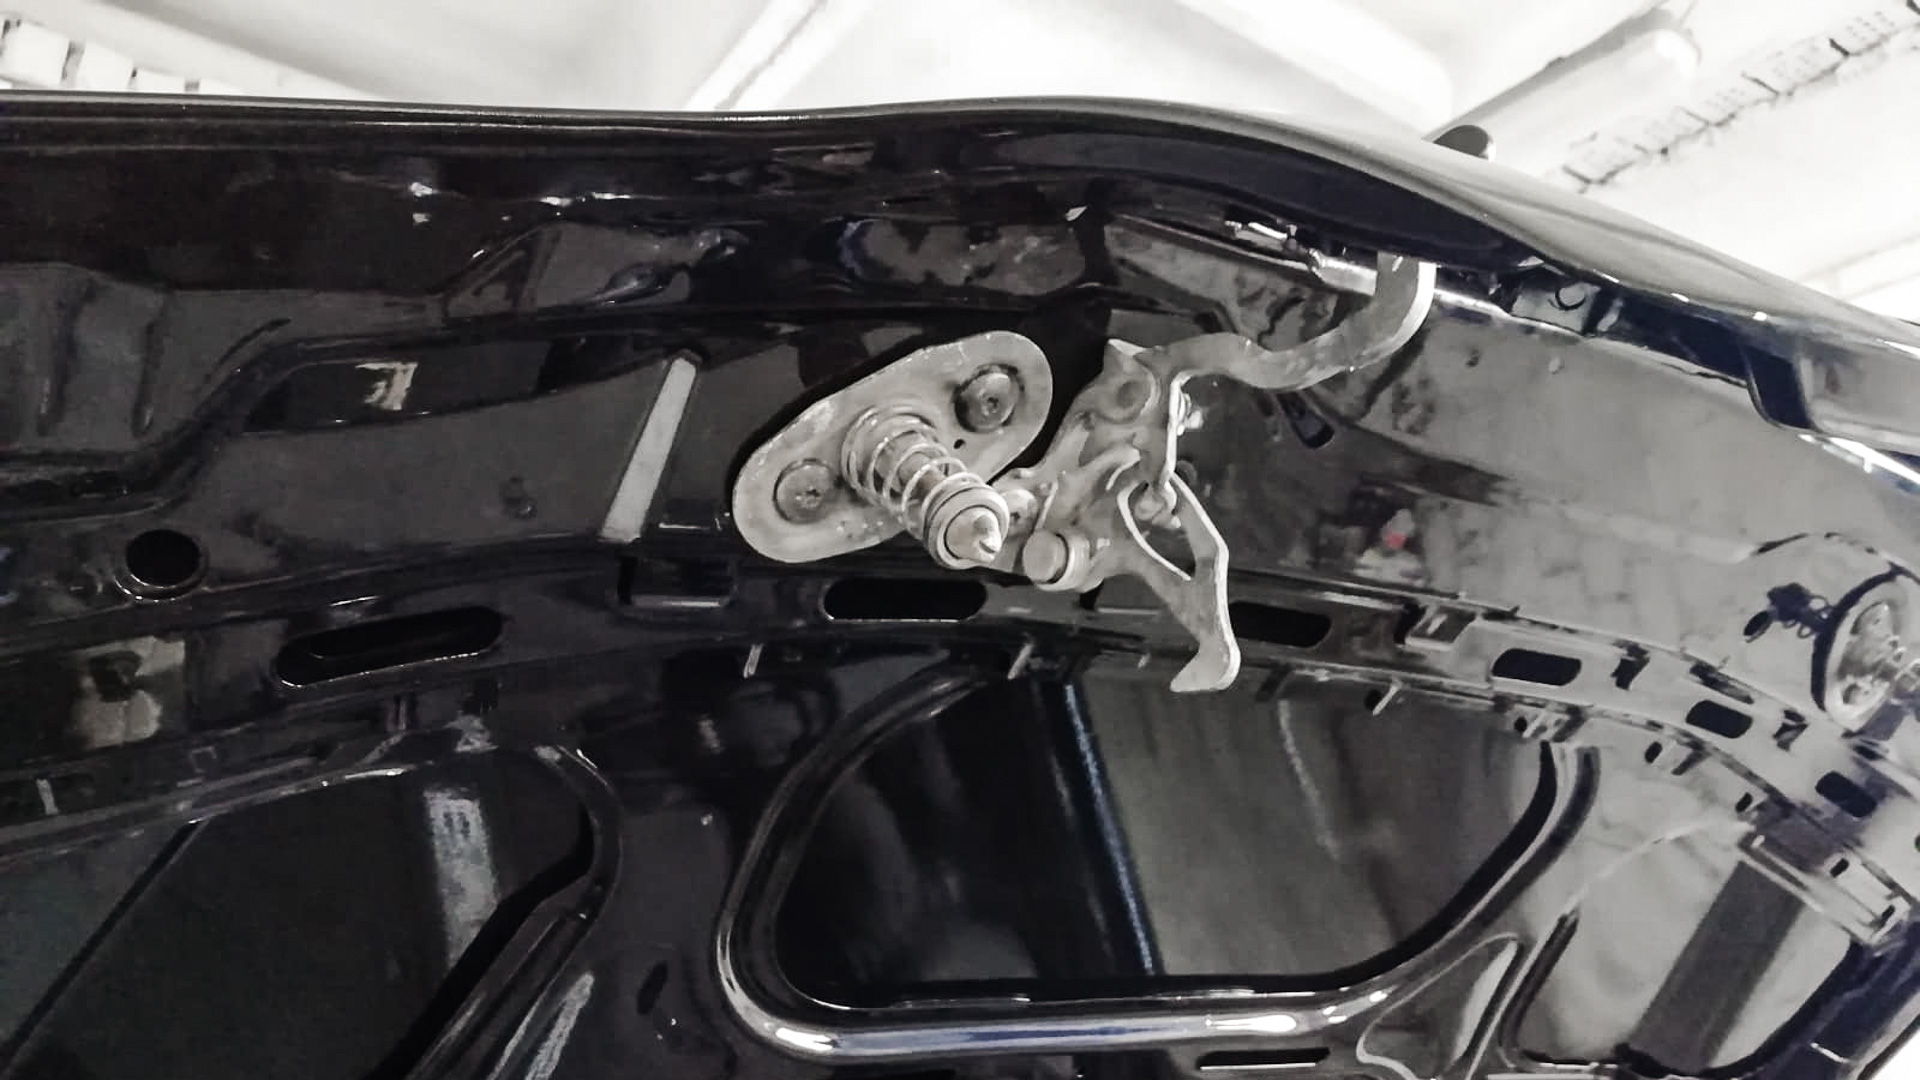
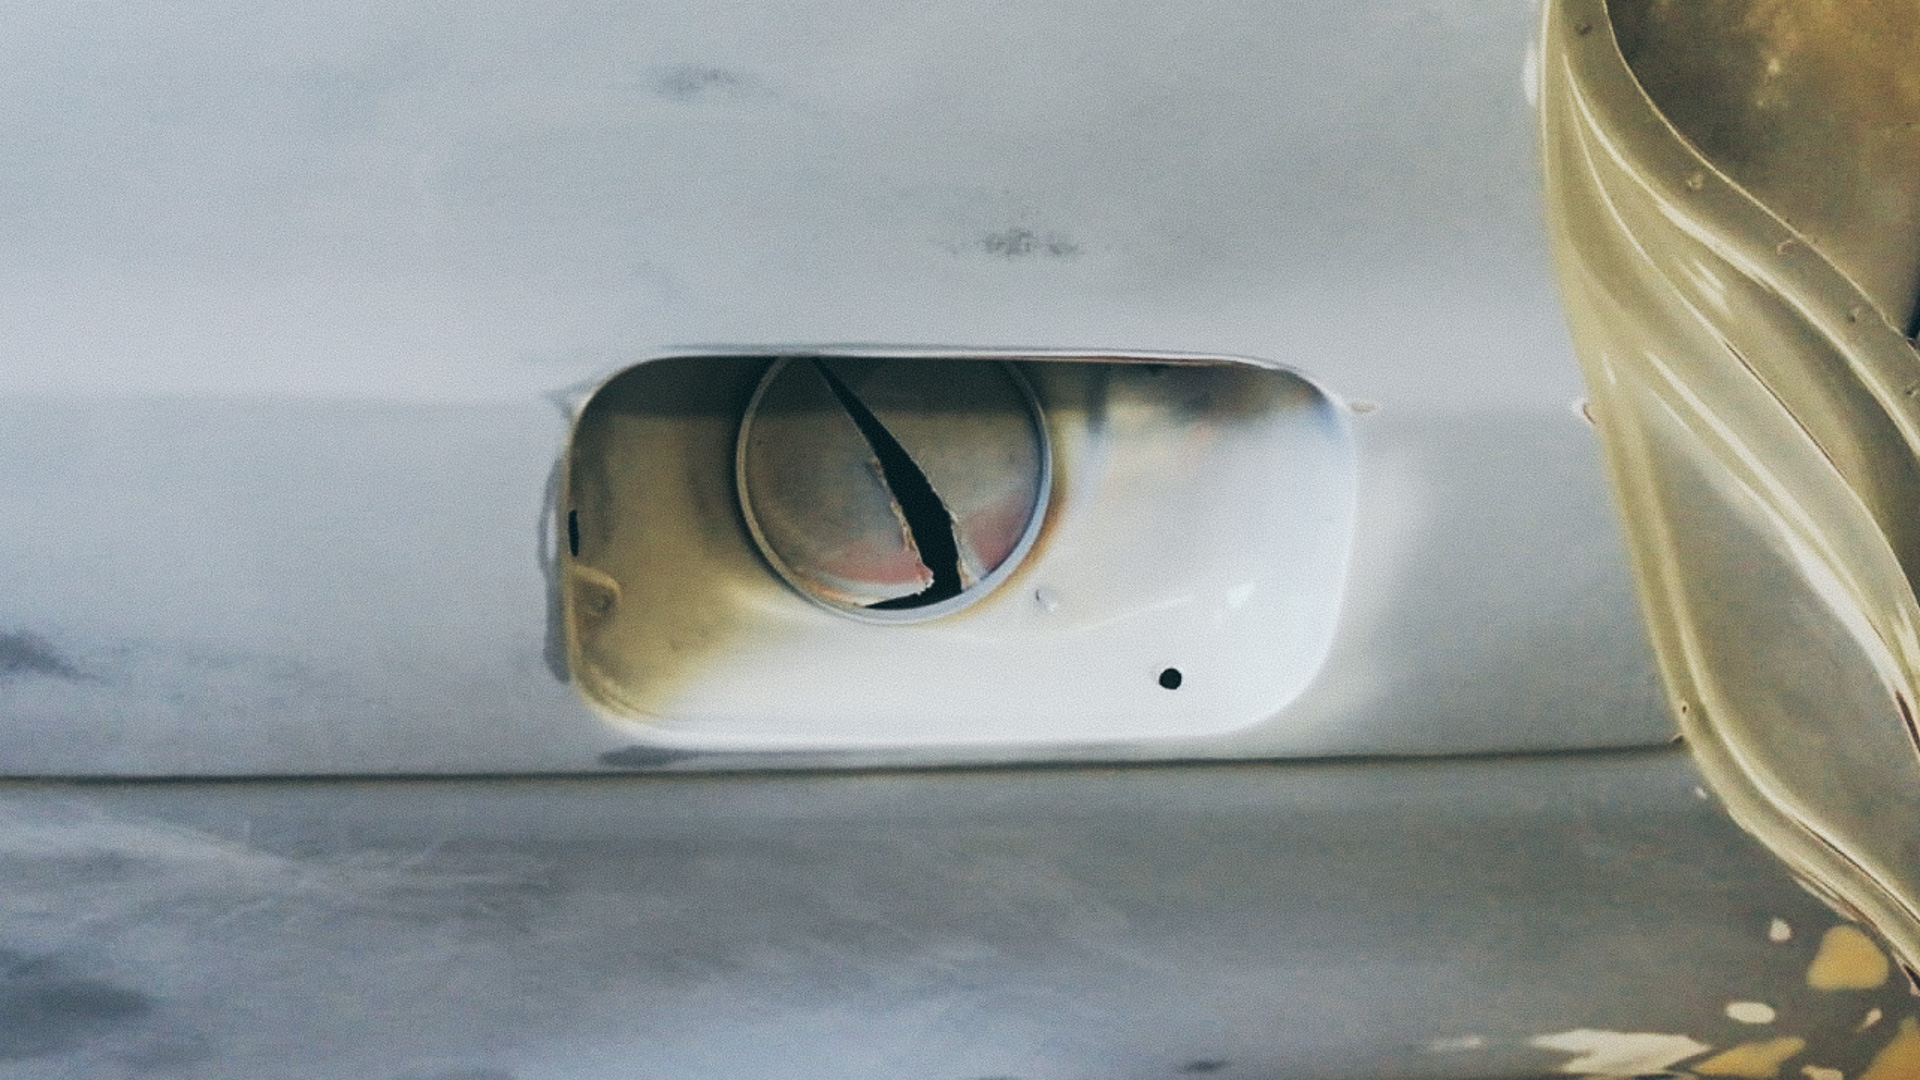
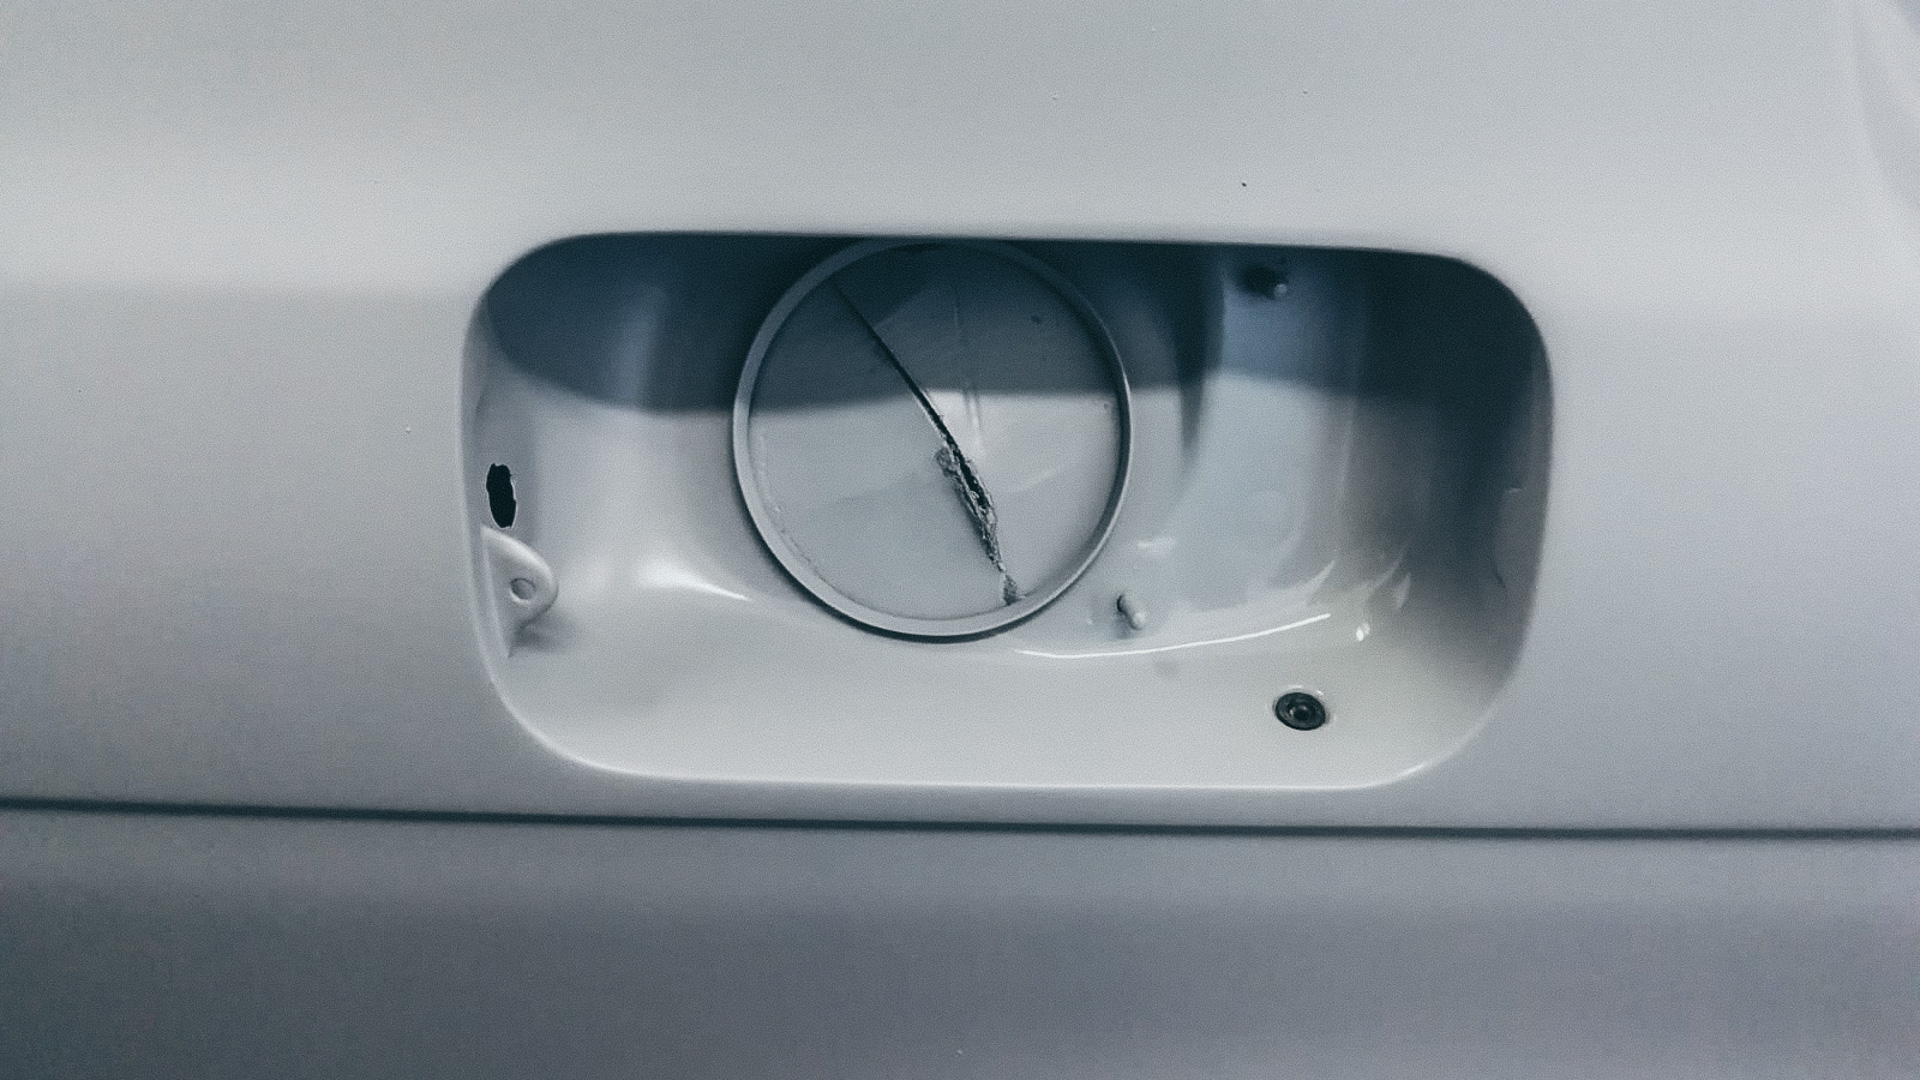
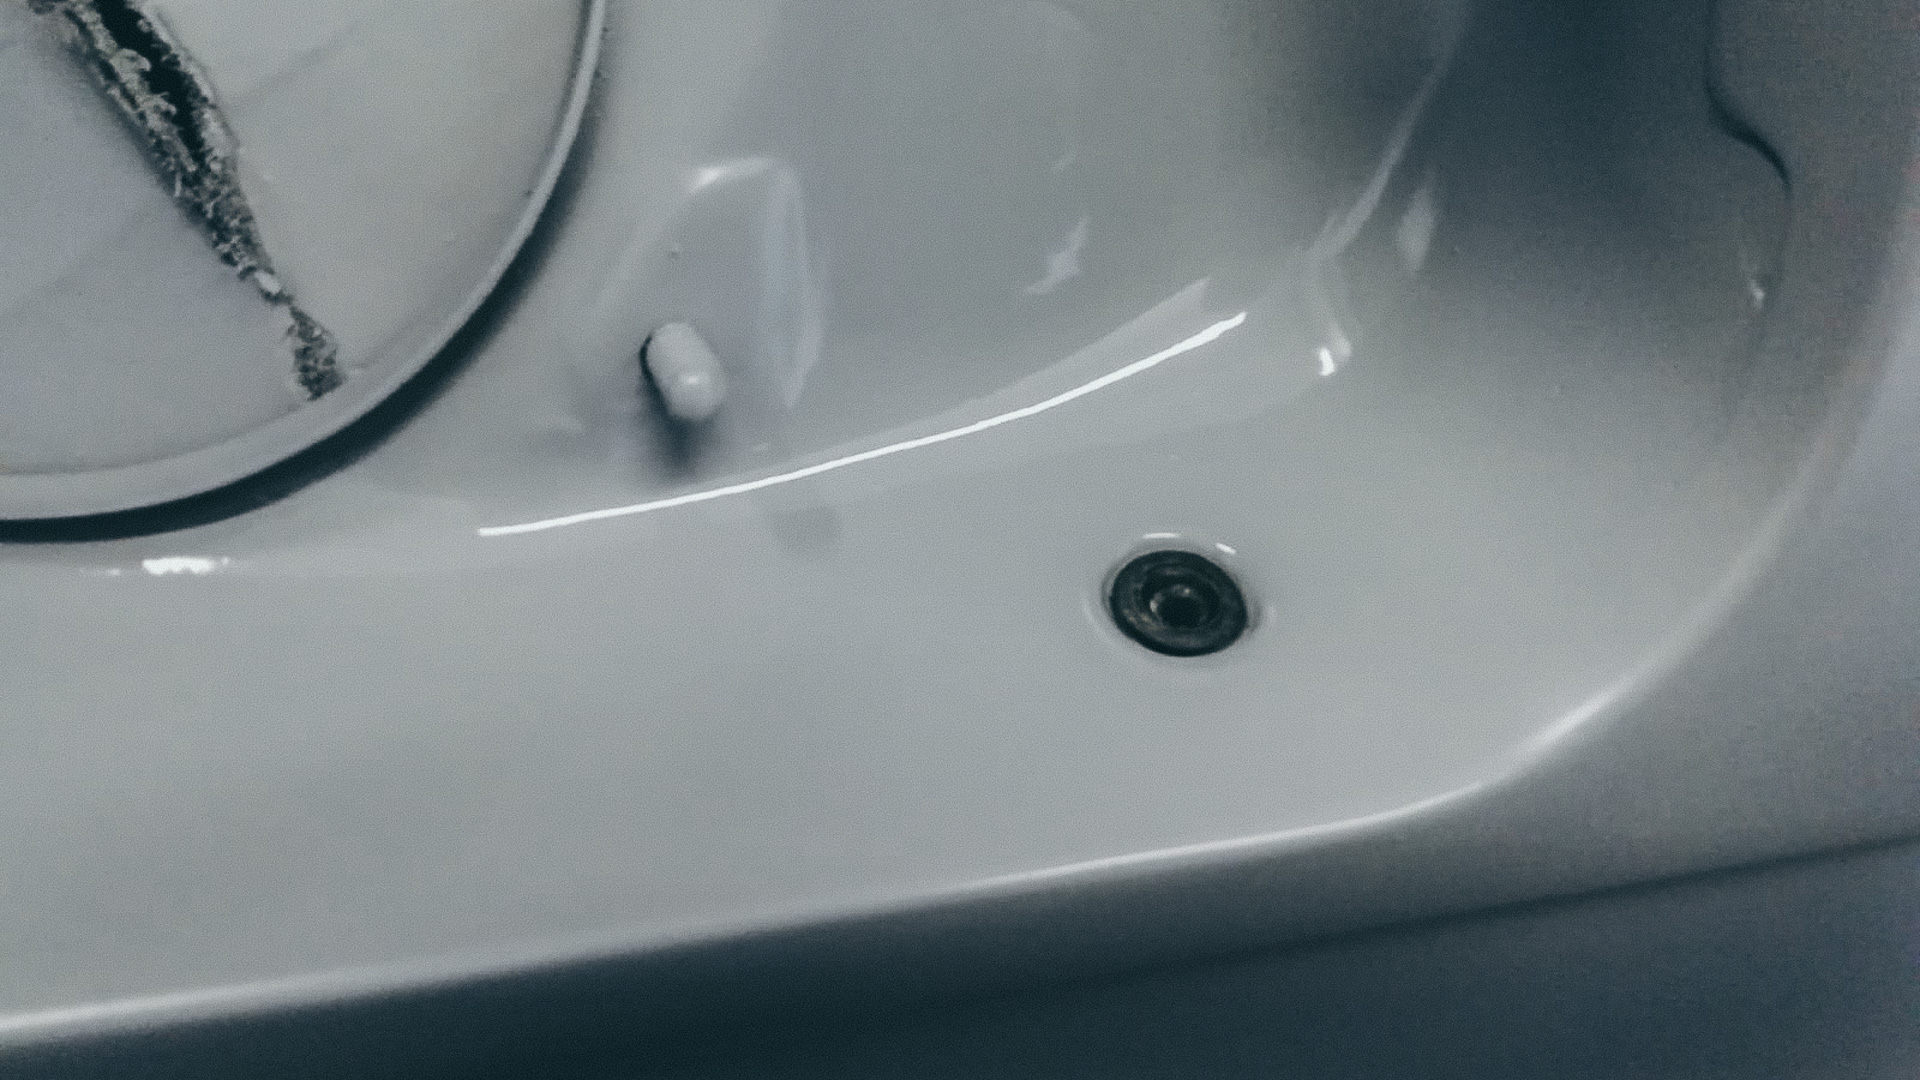
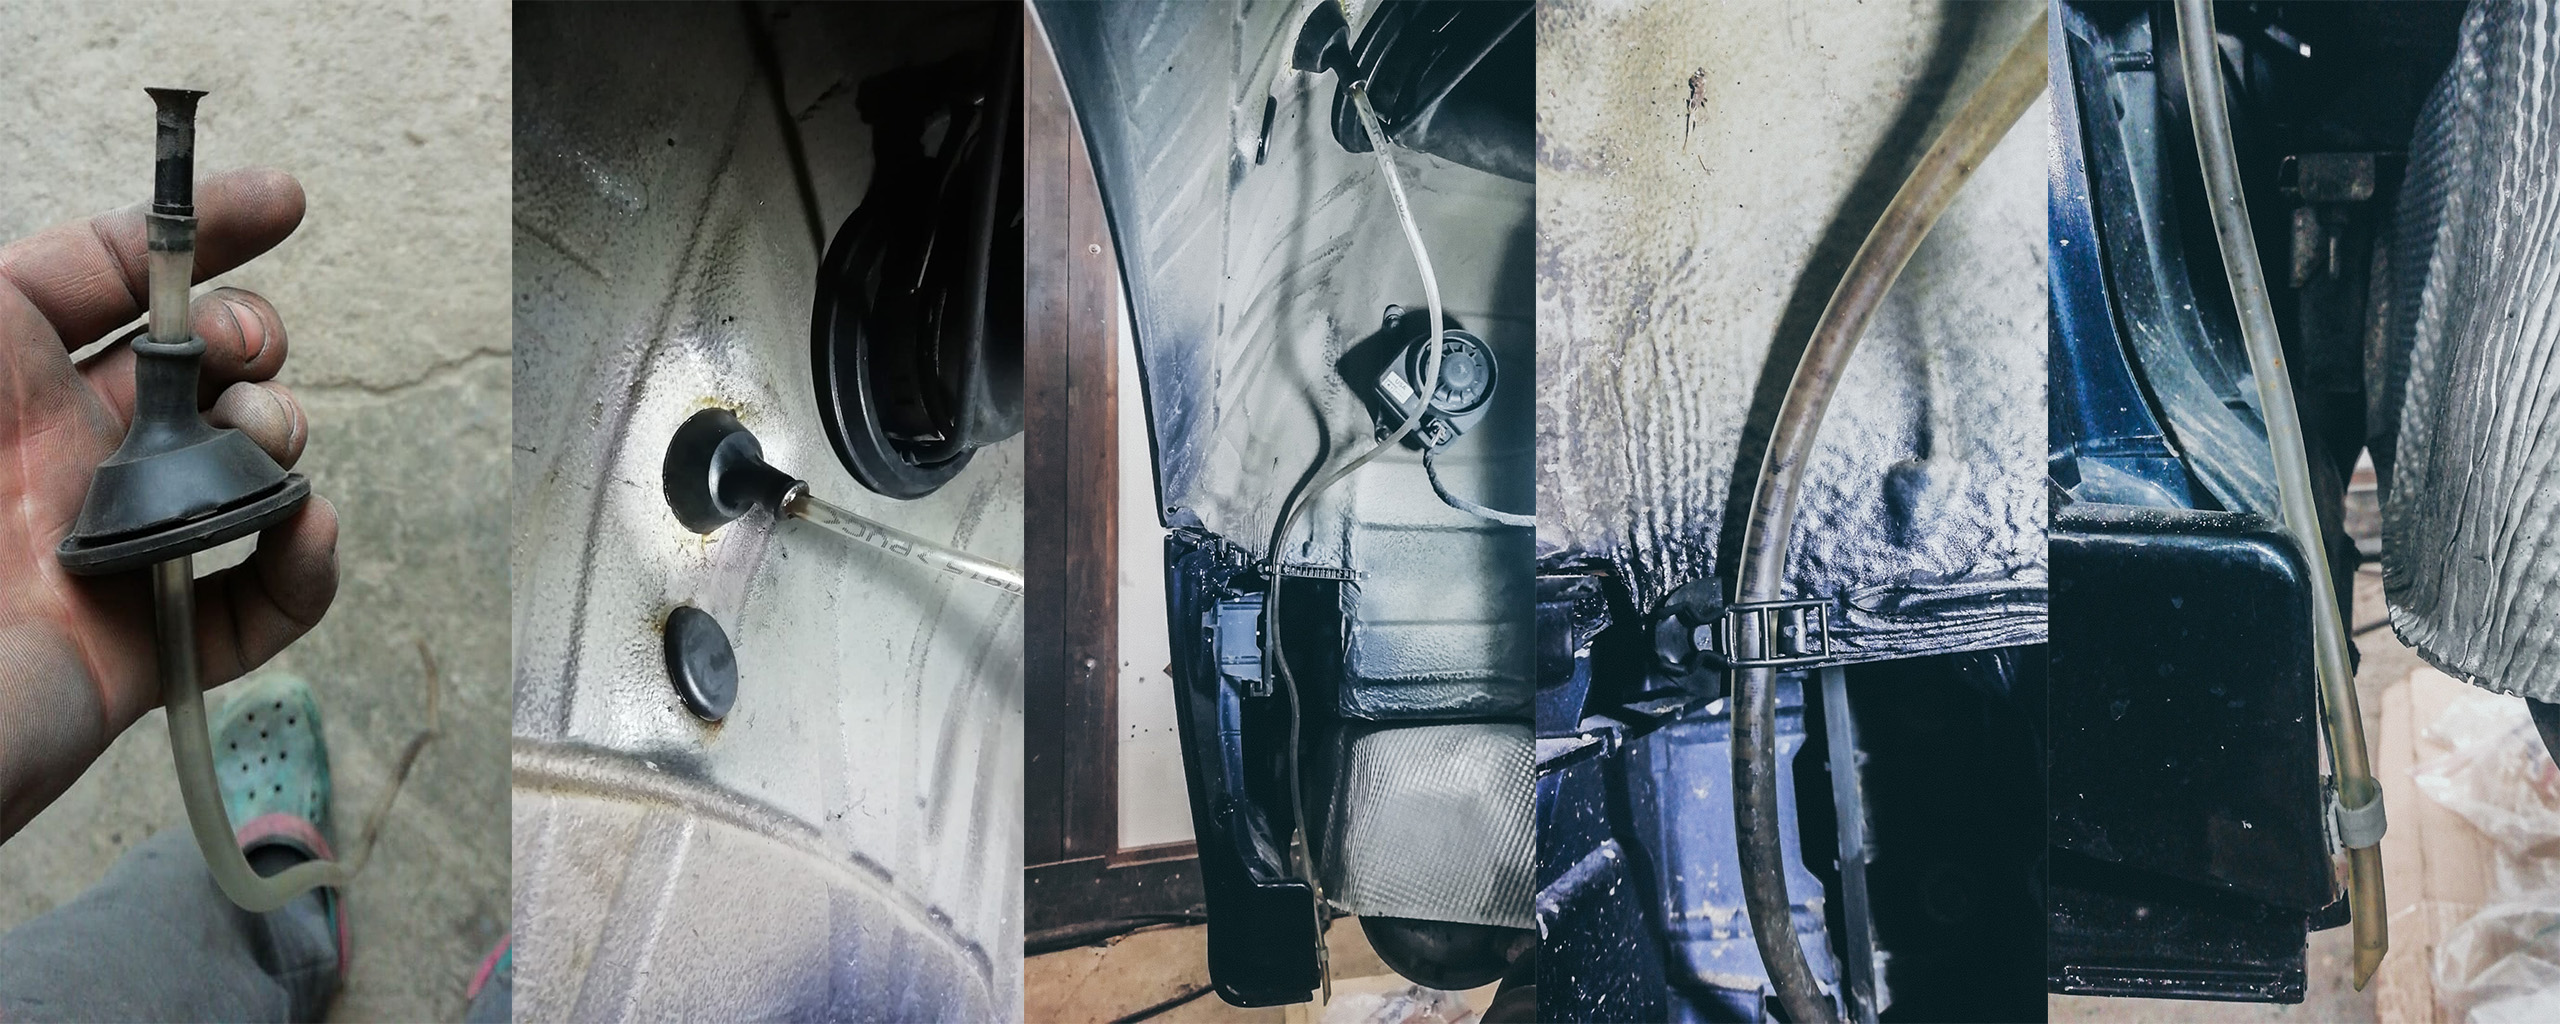
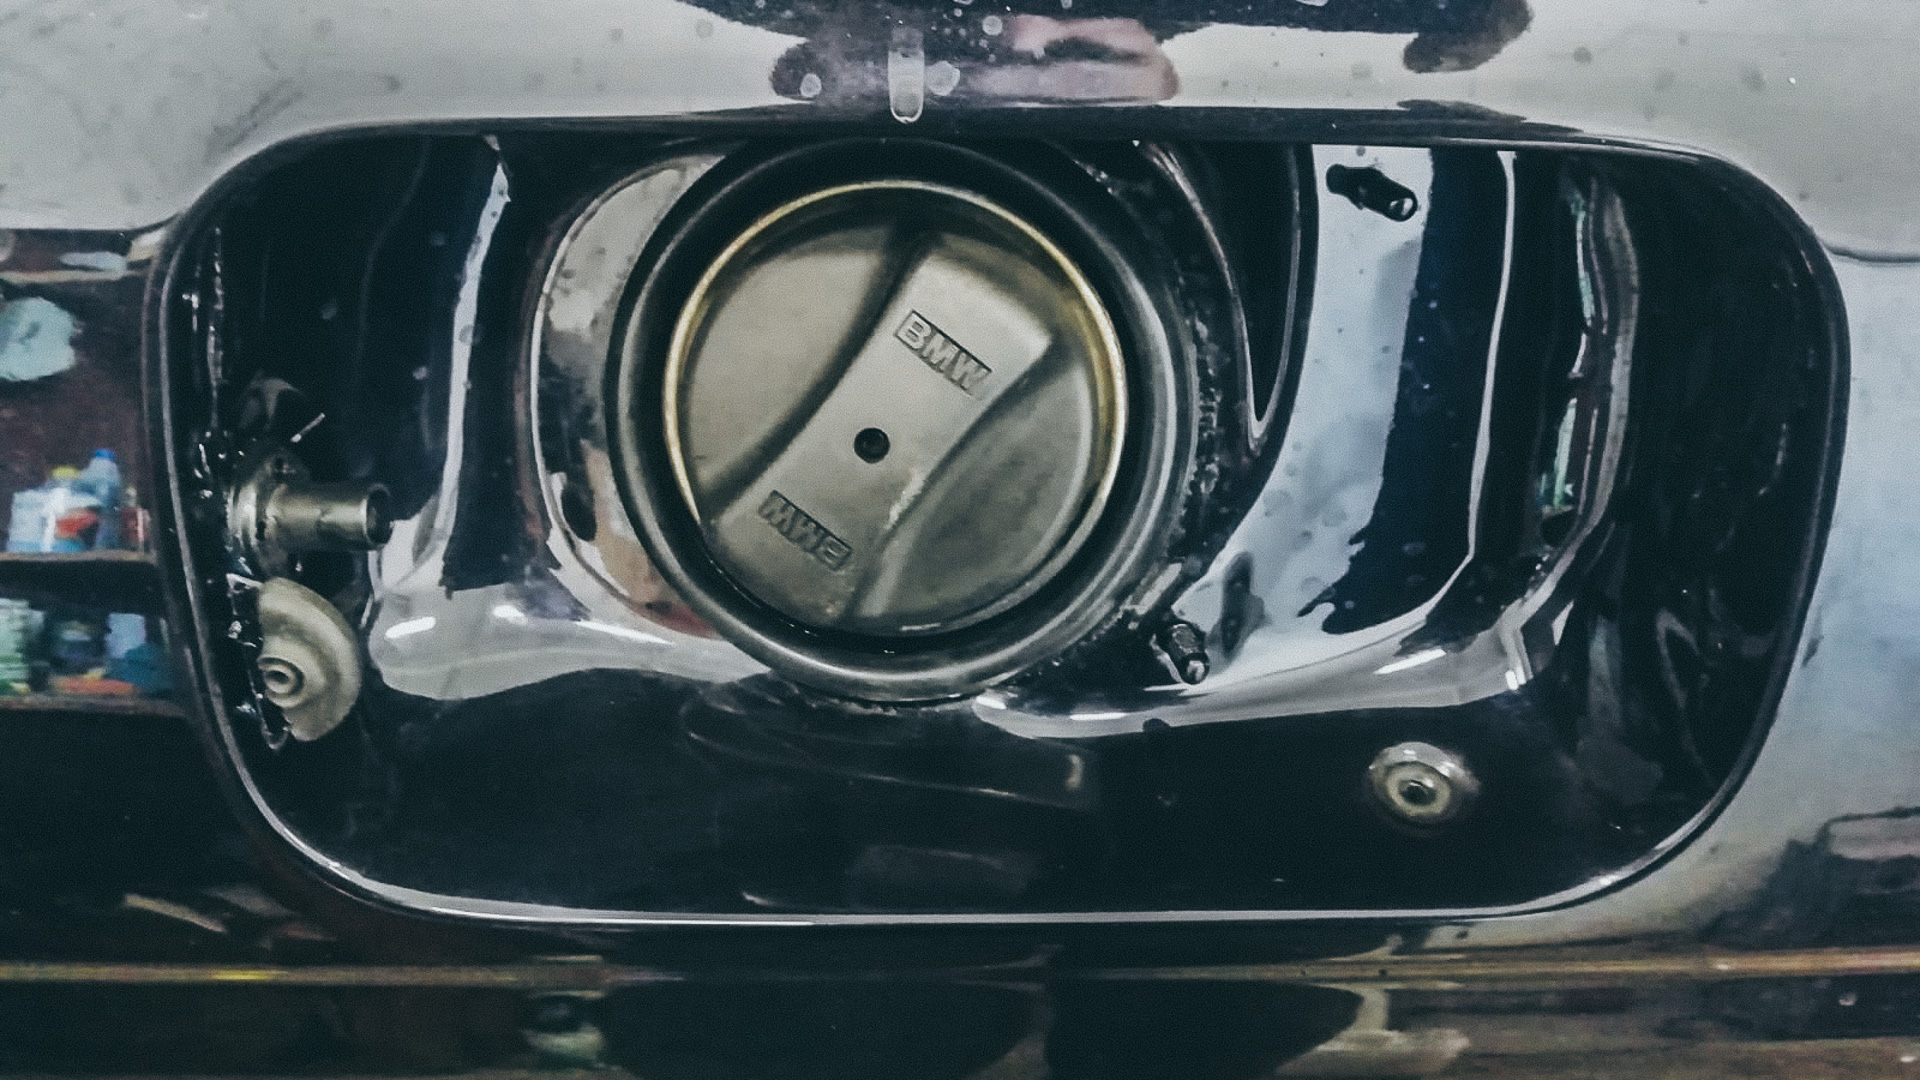
When totally removing the paint around the fuel tank area, it was revealed that E39 chassis has a hidden drain hole in the fuel tank area, seen on the right, where it was intended the water would run off and not accumulate and start rusting. This drain hole (which has no piping inside the chassis) drains straight into the metals between the chassis and accumulates there, which is not a good solution in any way so apparently BMW gave up on this idea and sealed that drain hole with some rubber compound and painted it over, and apparently on every single car this “mistake” exists.
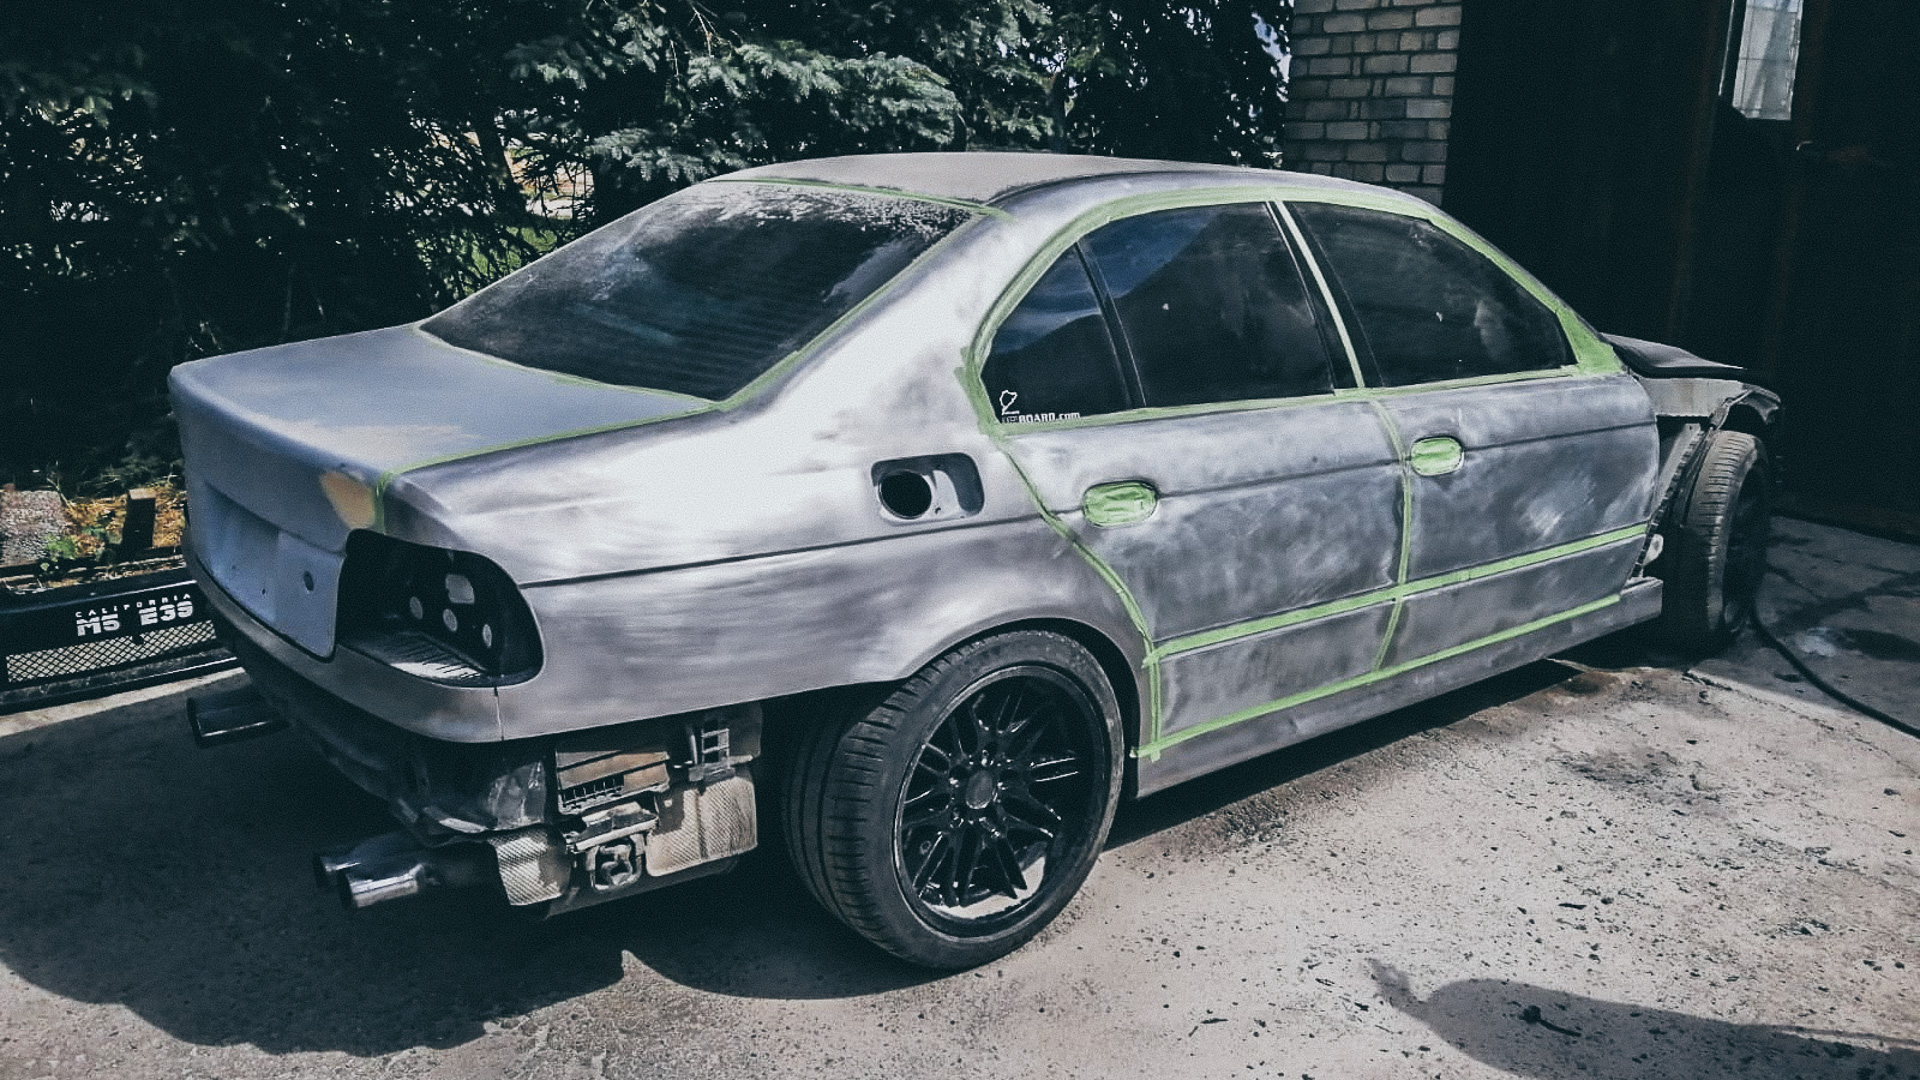
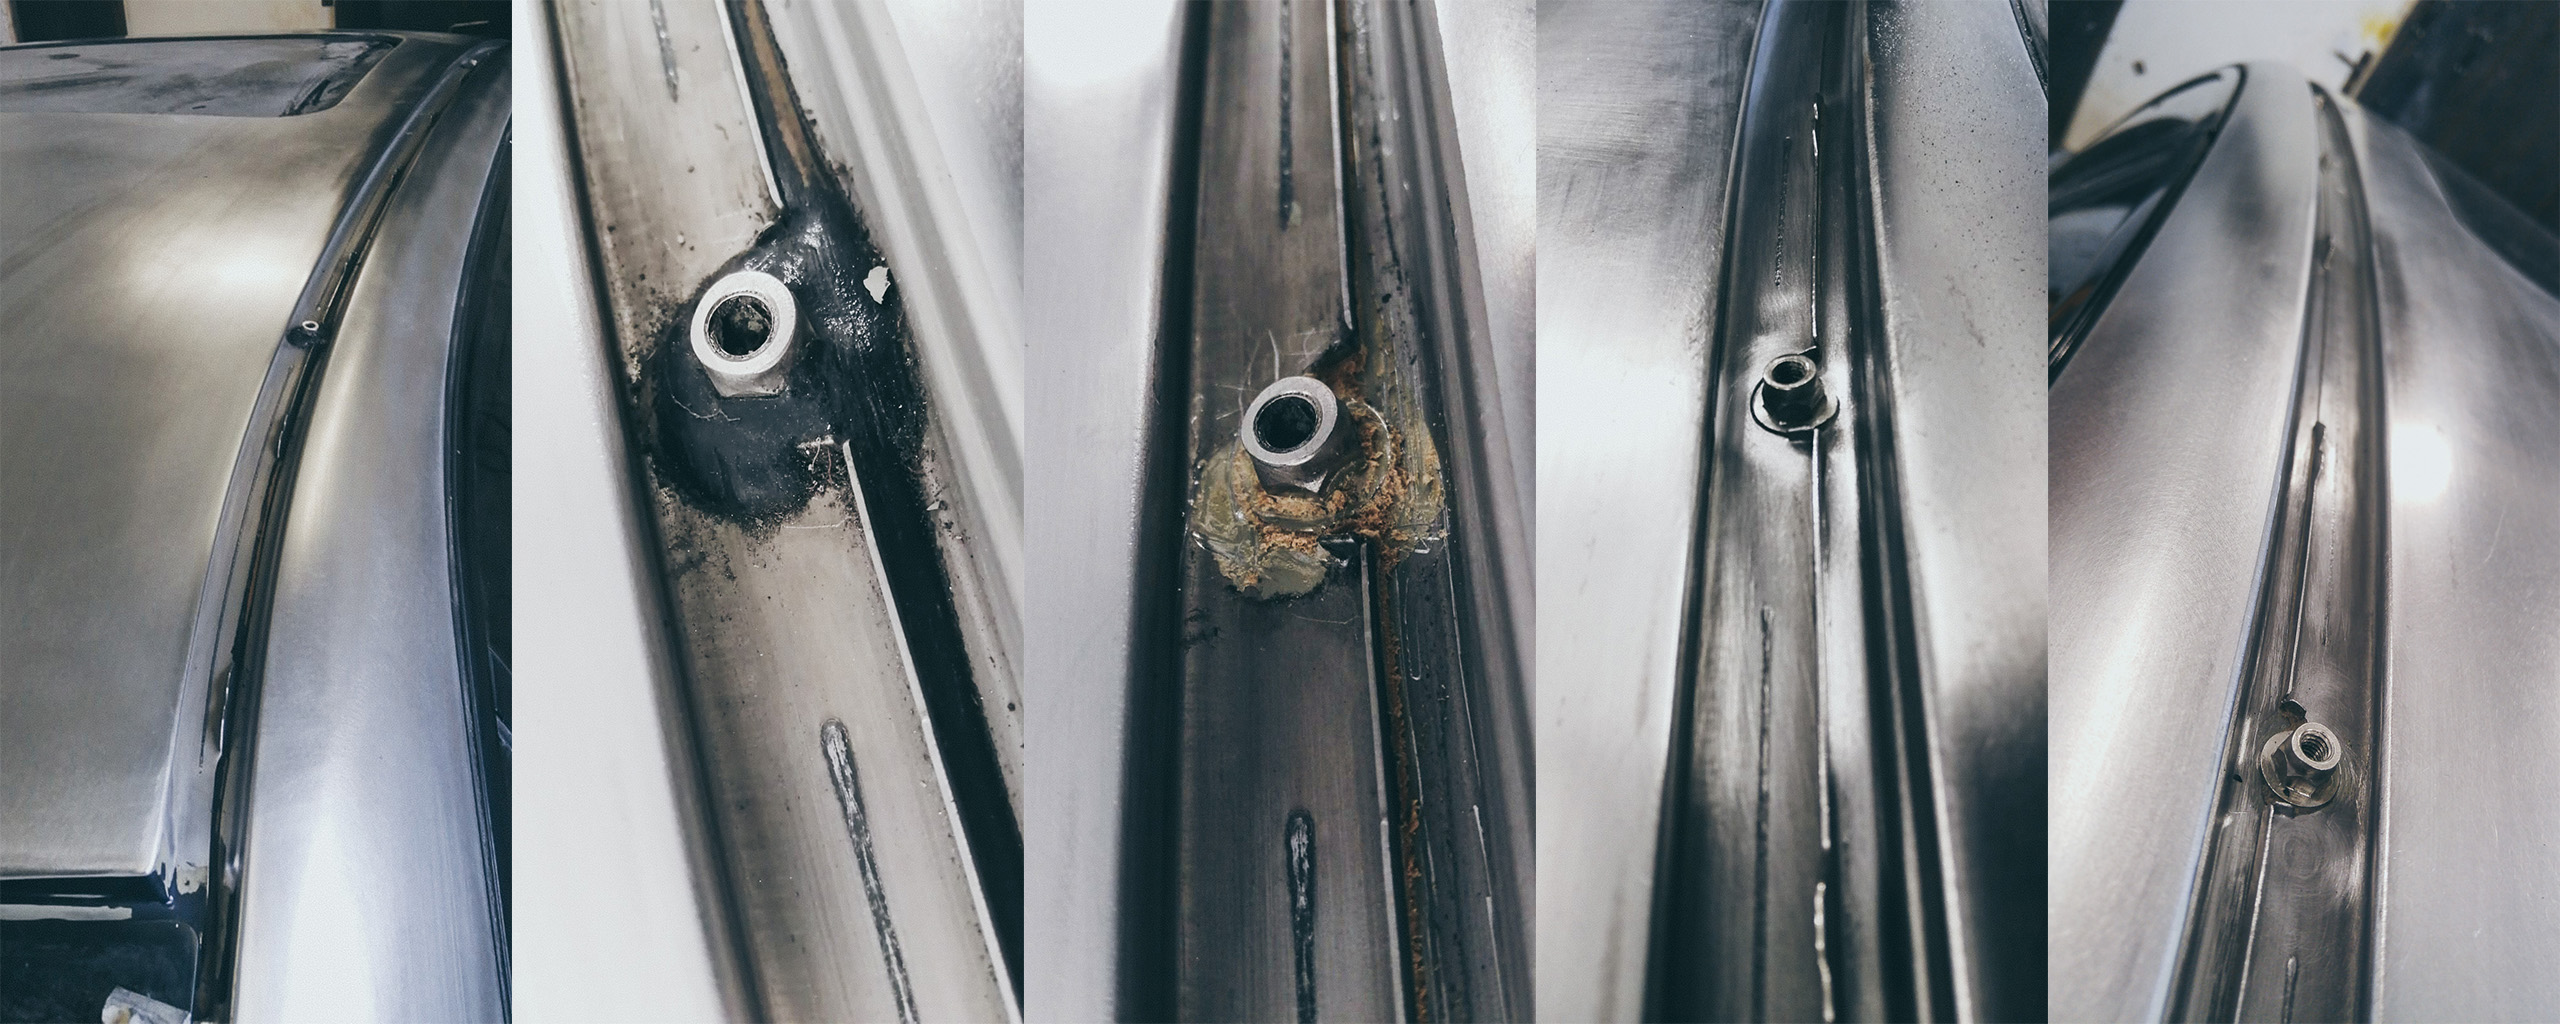

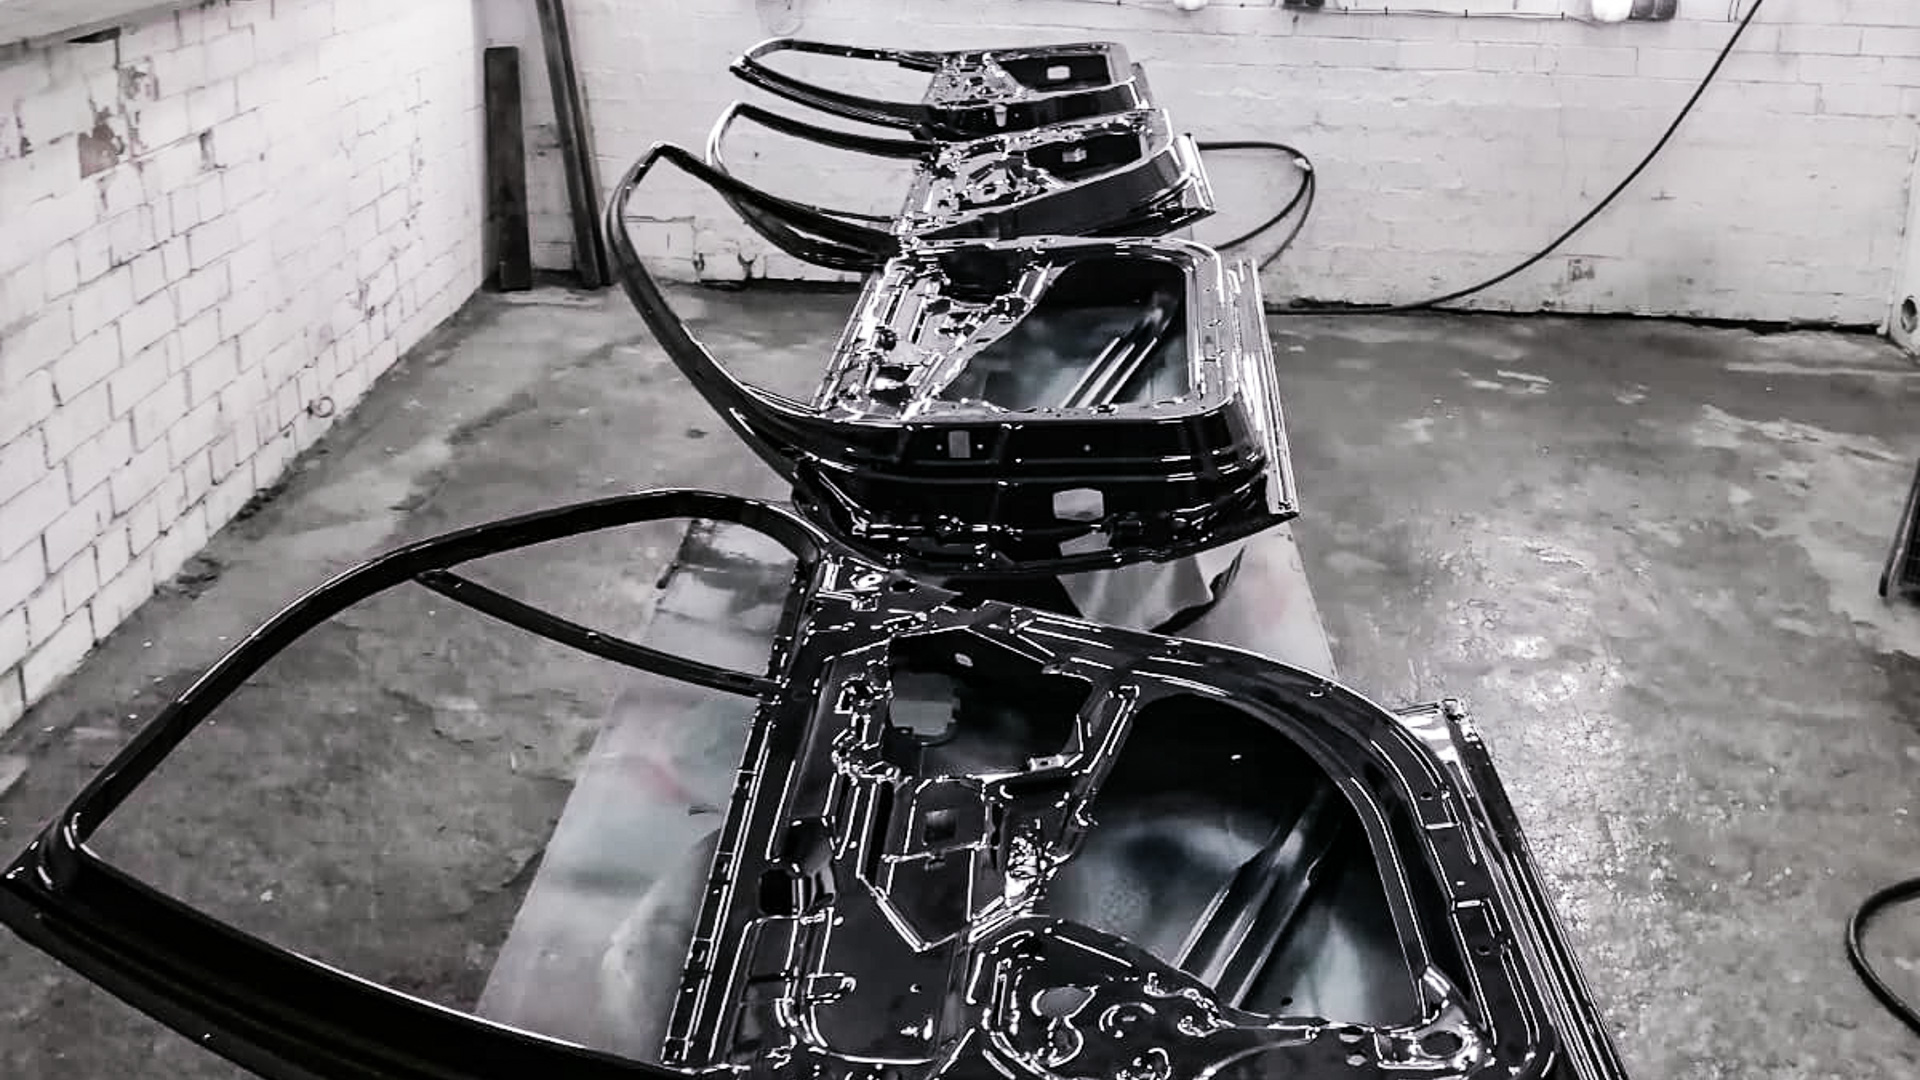
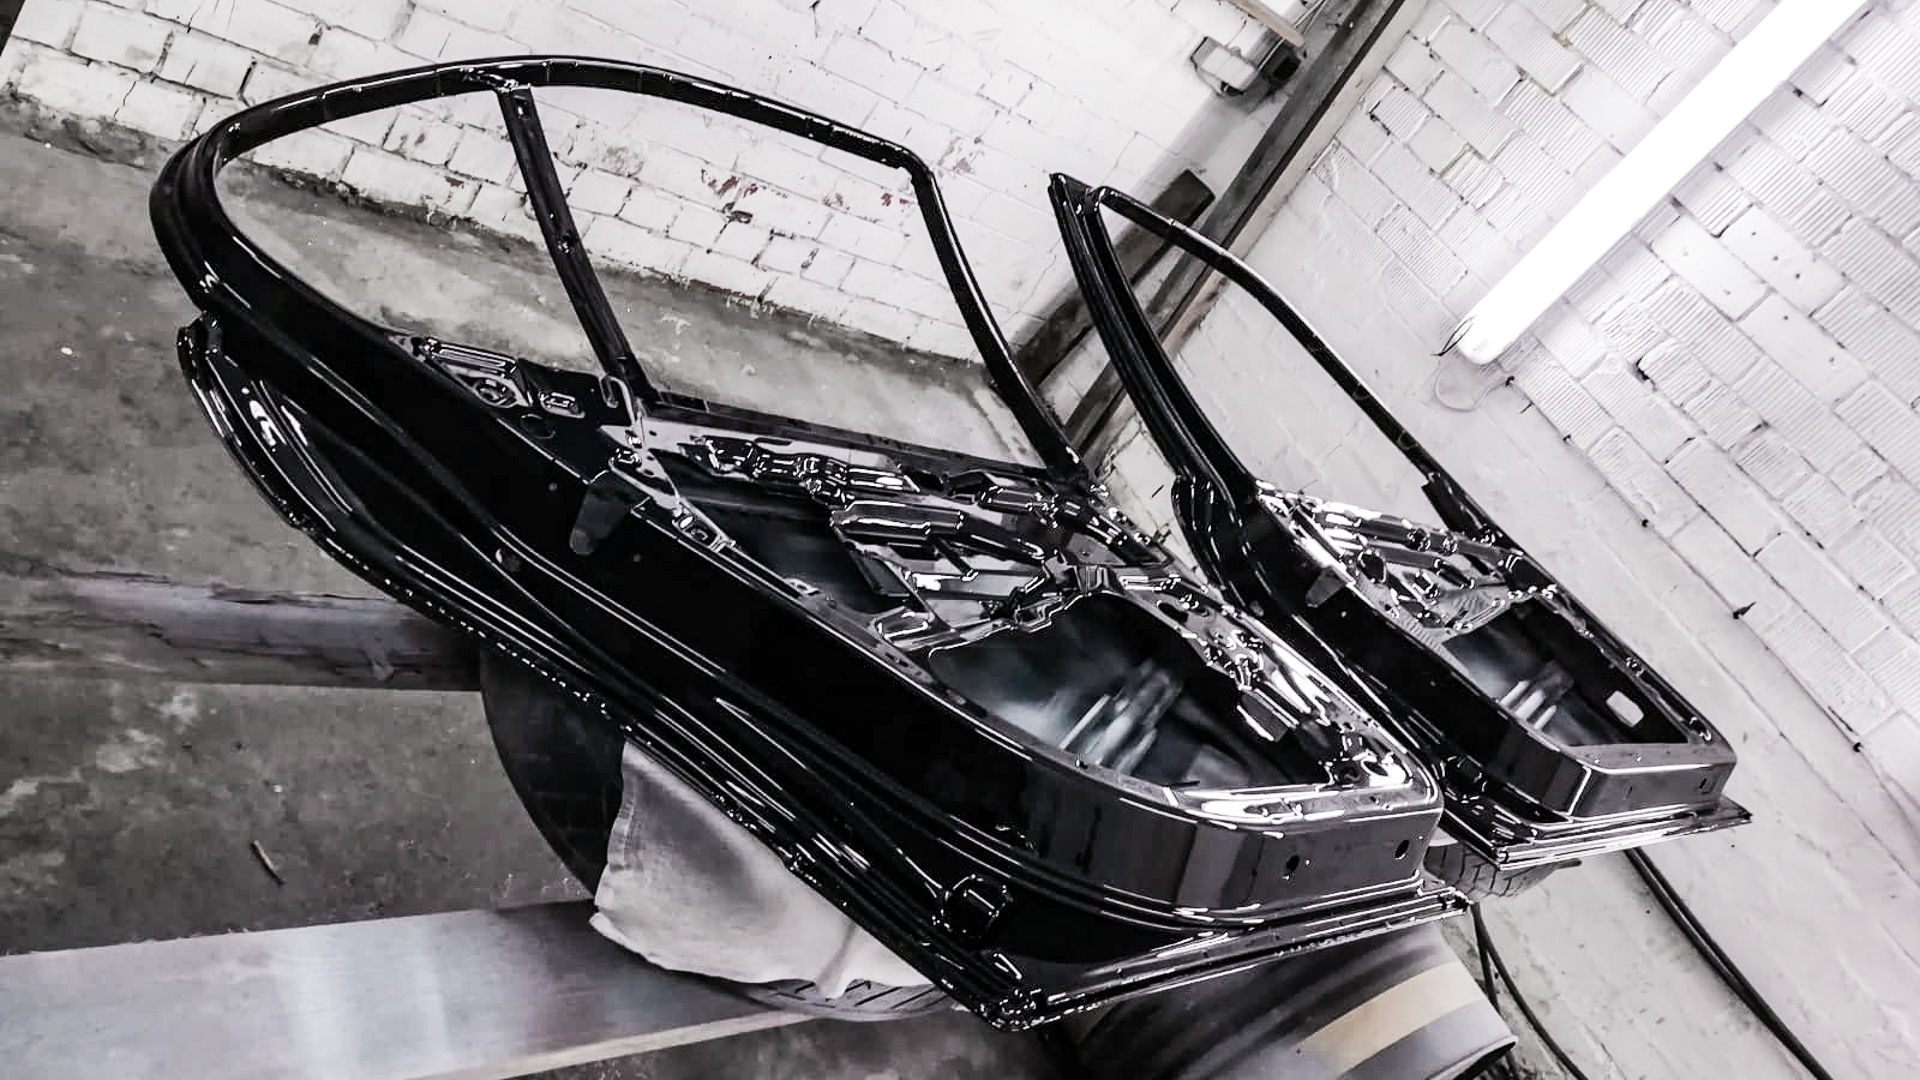
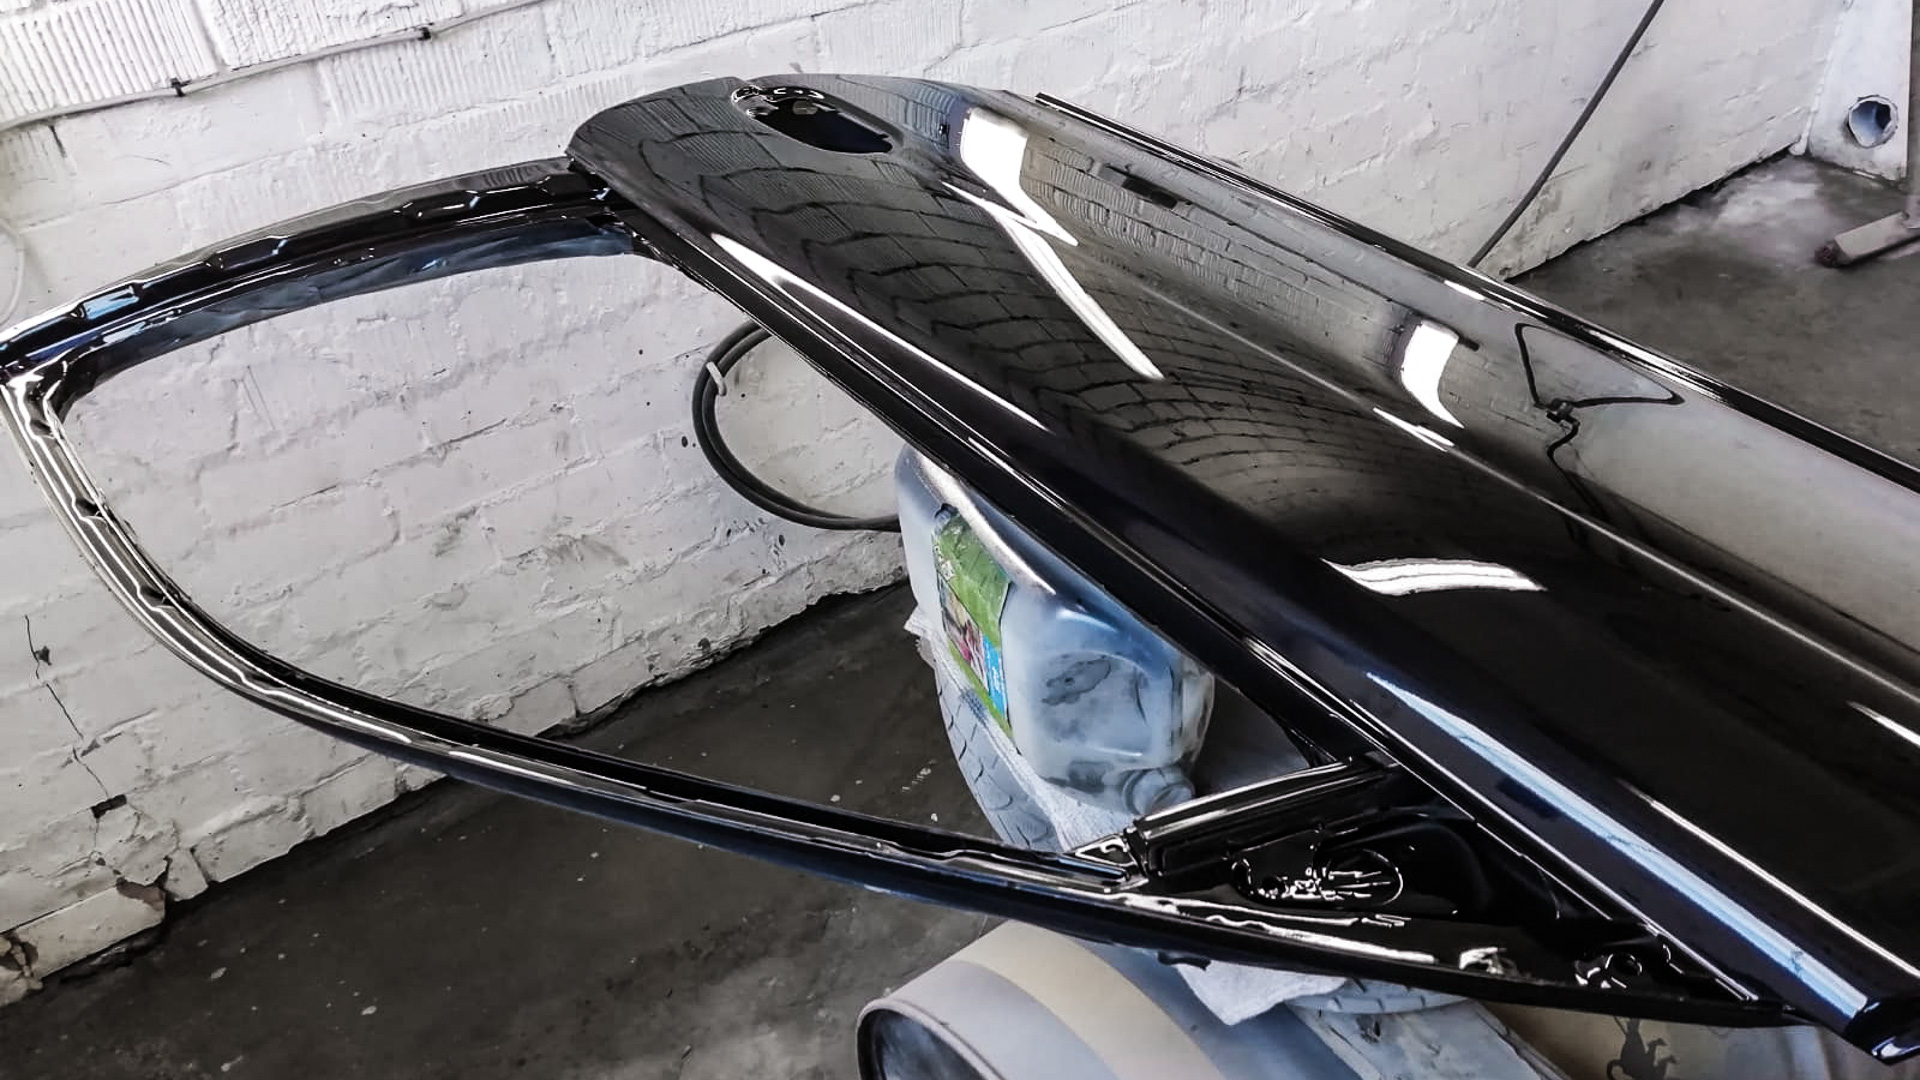
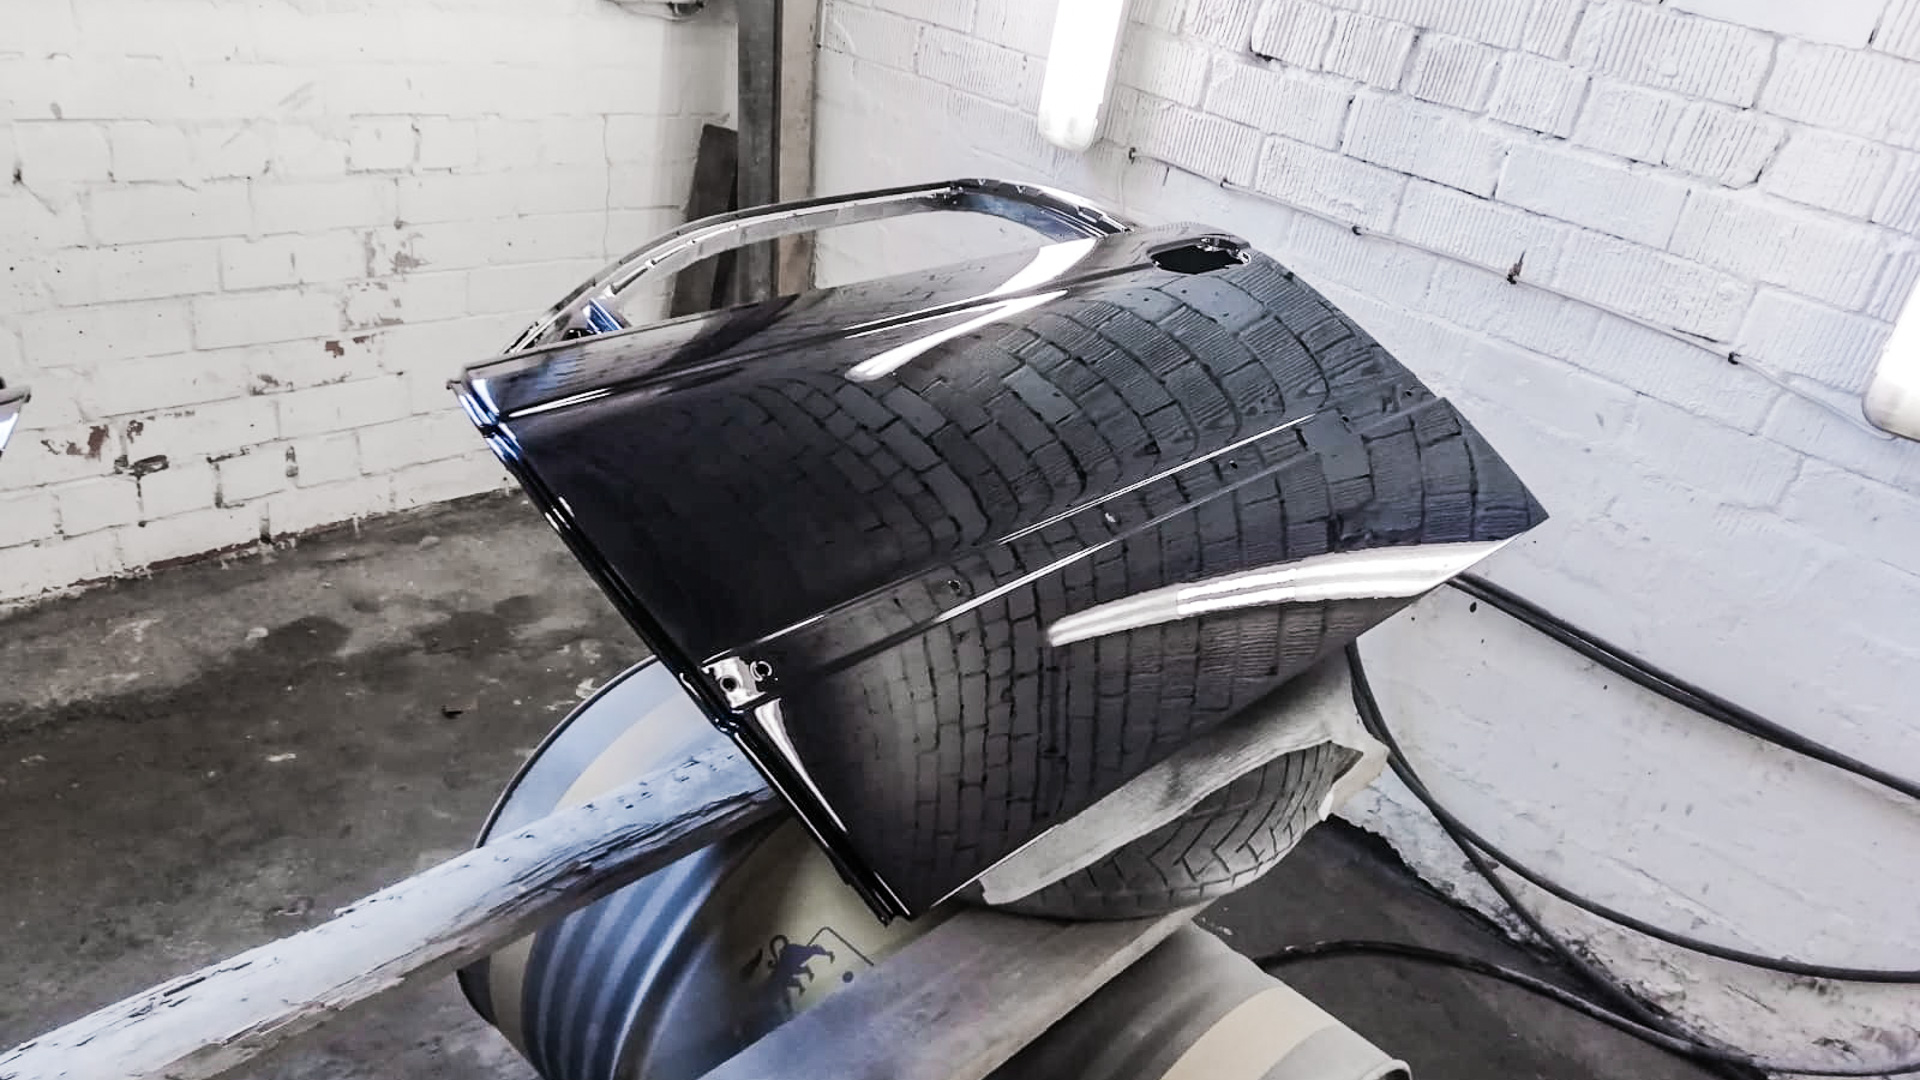
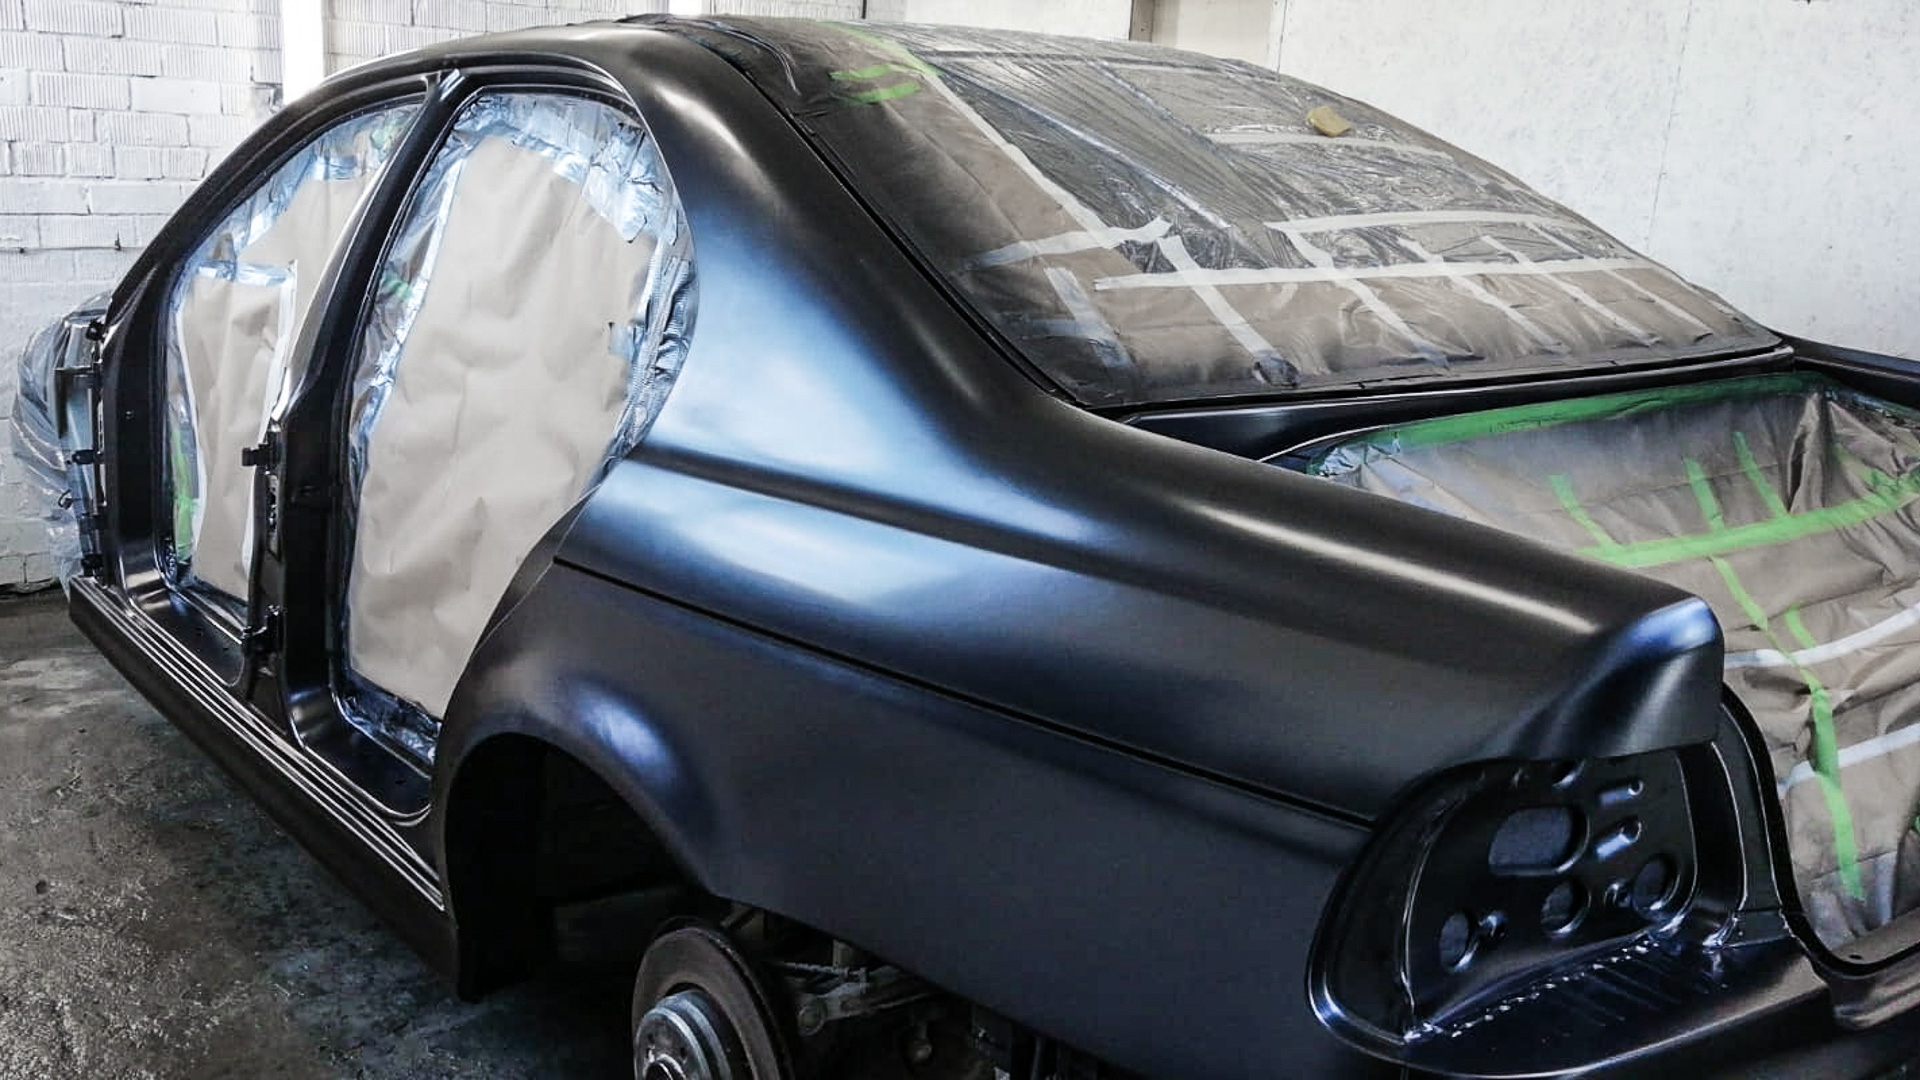
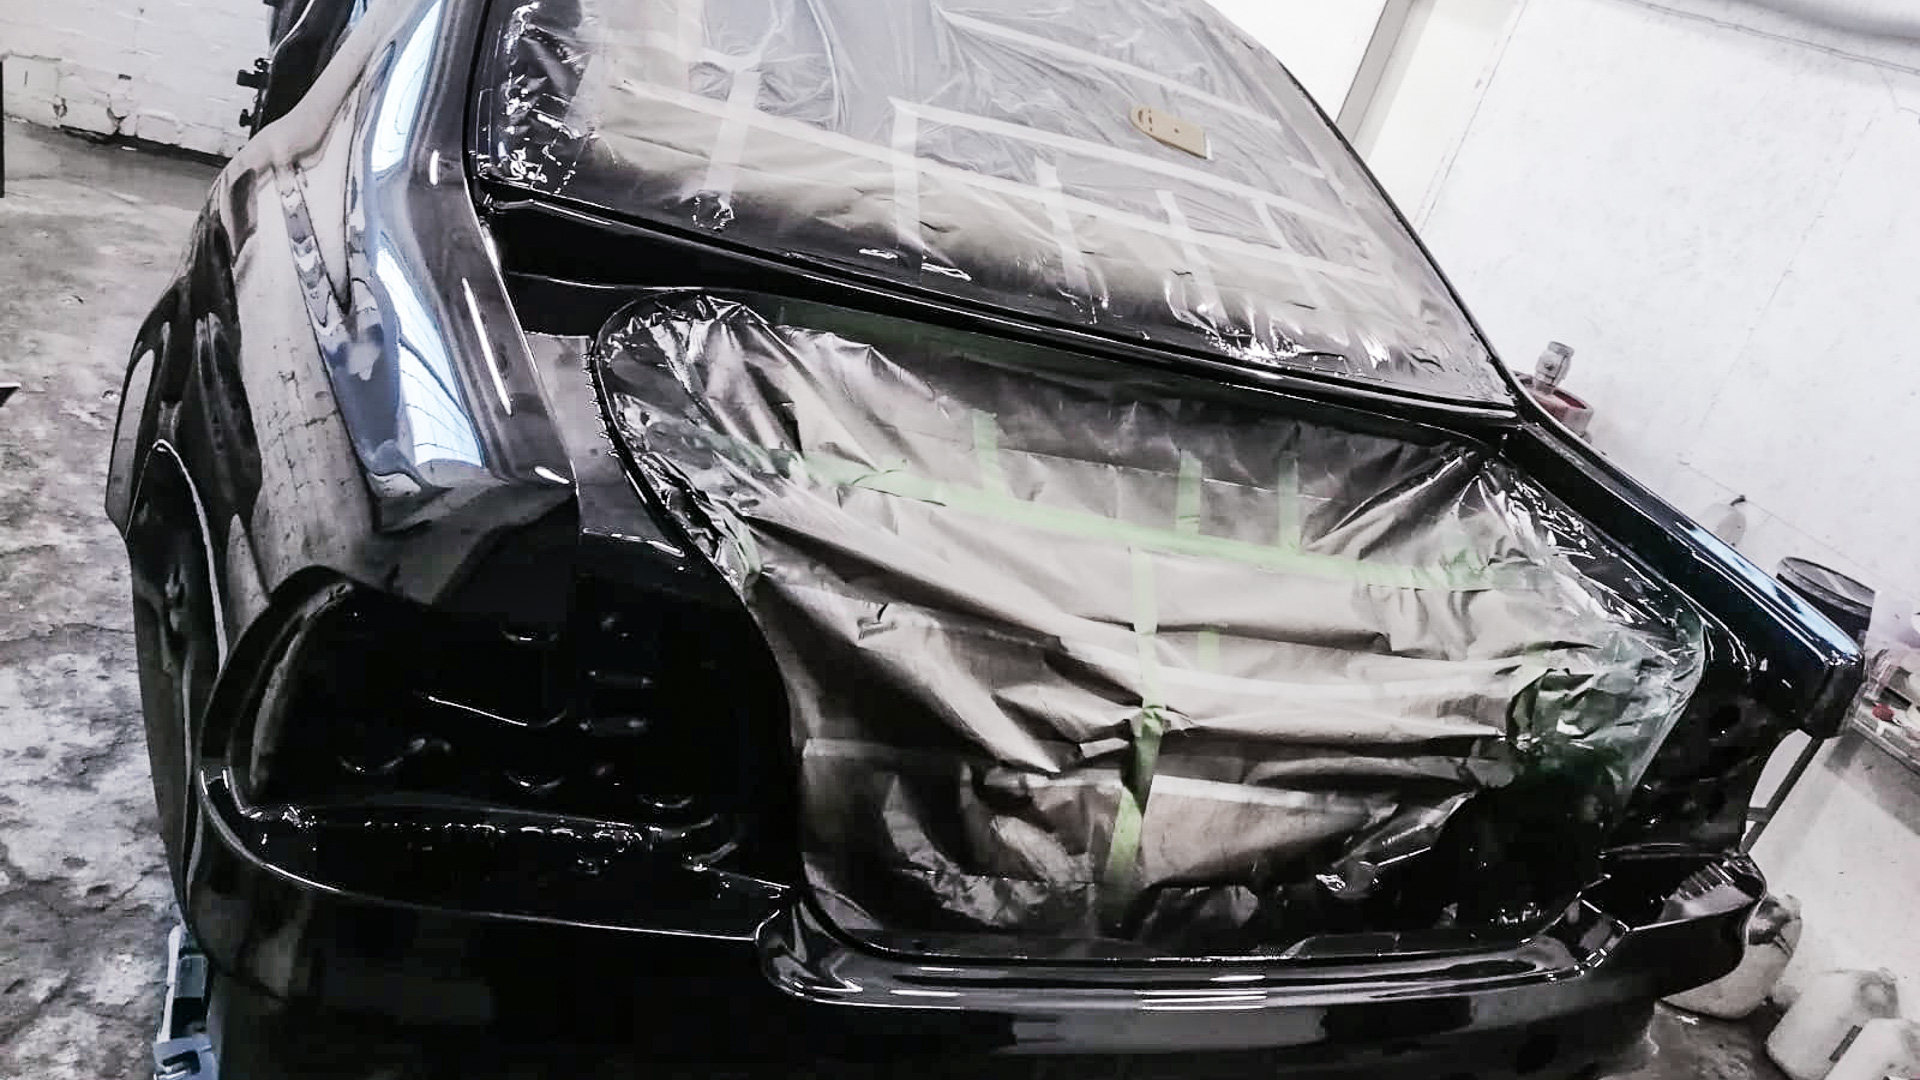
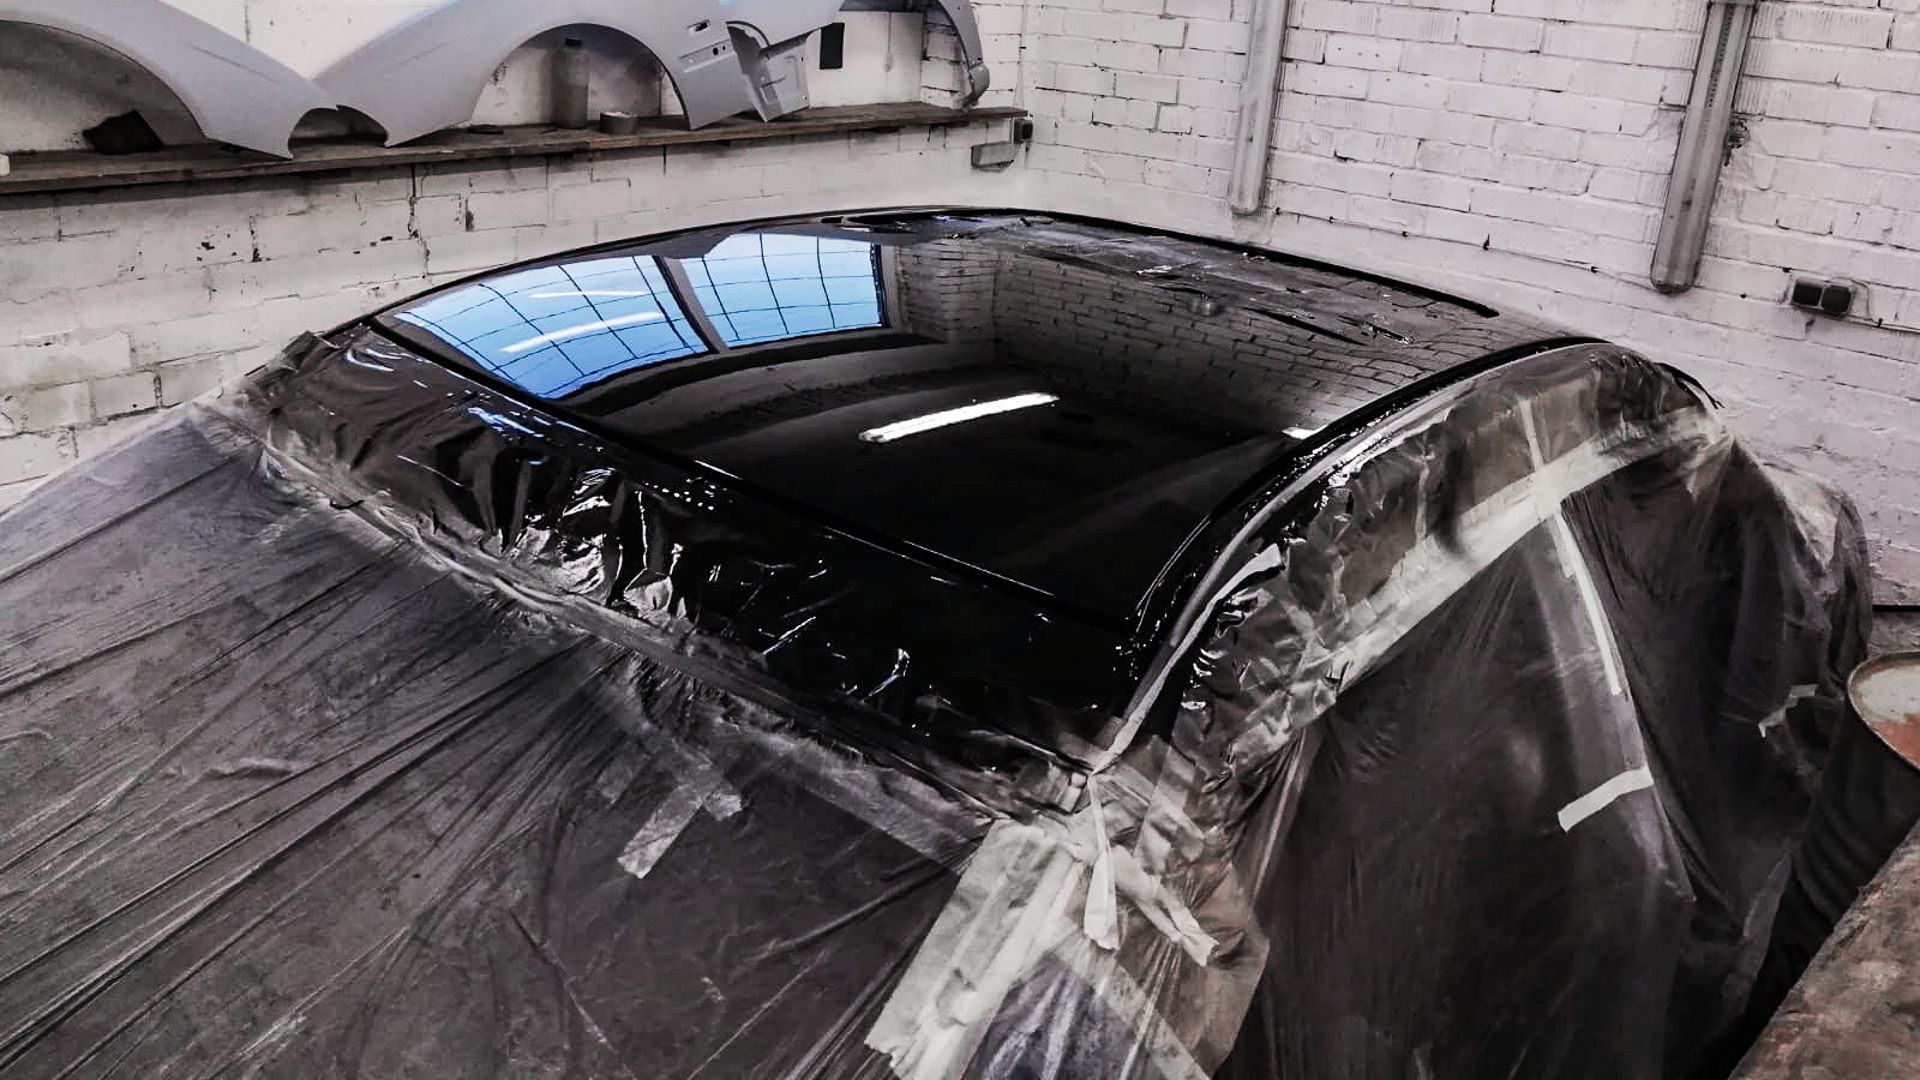
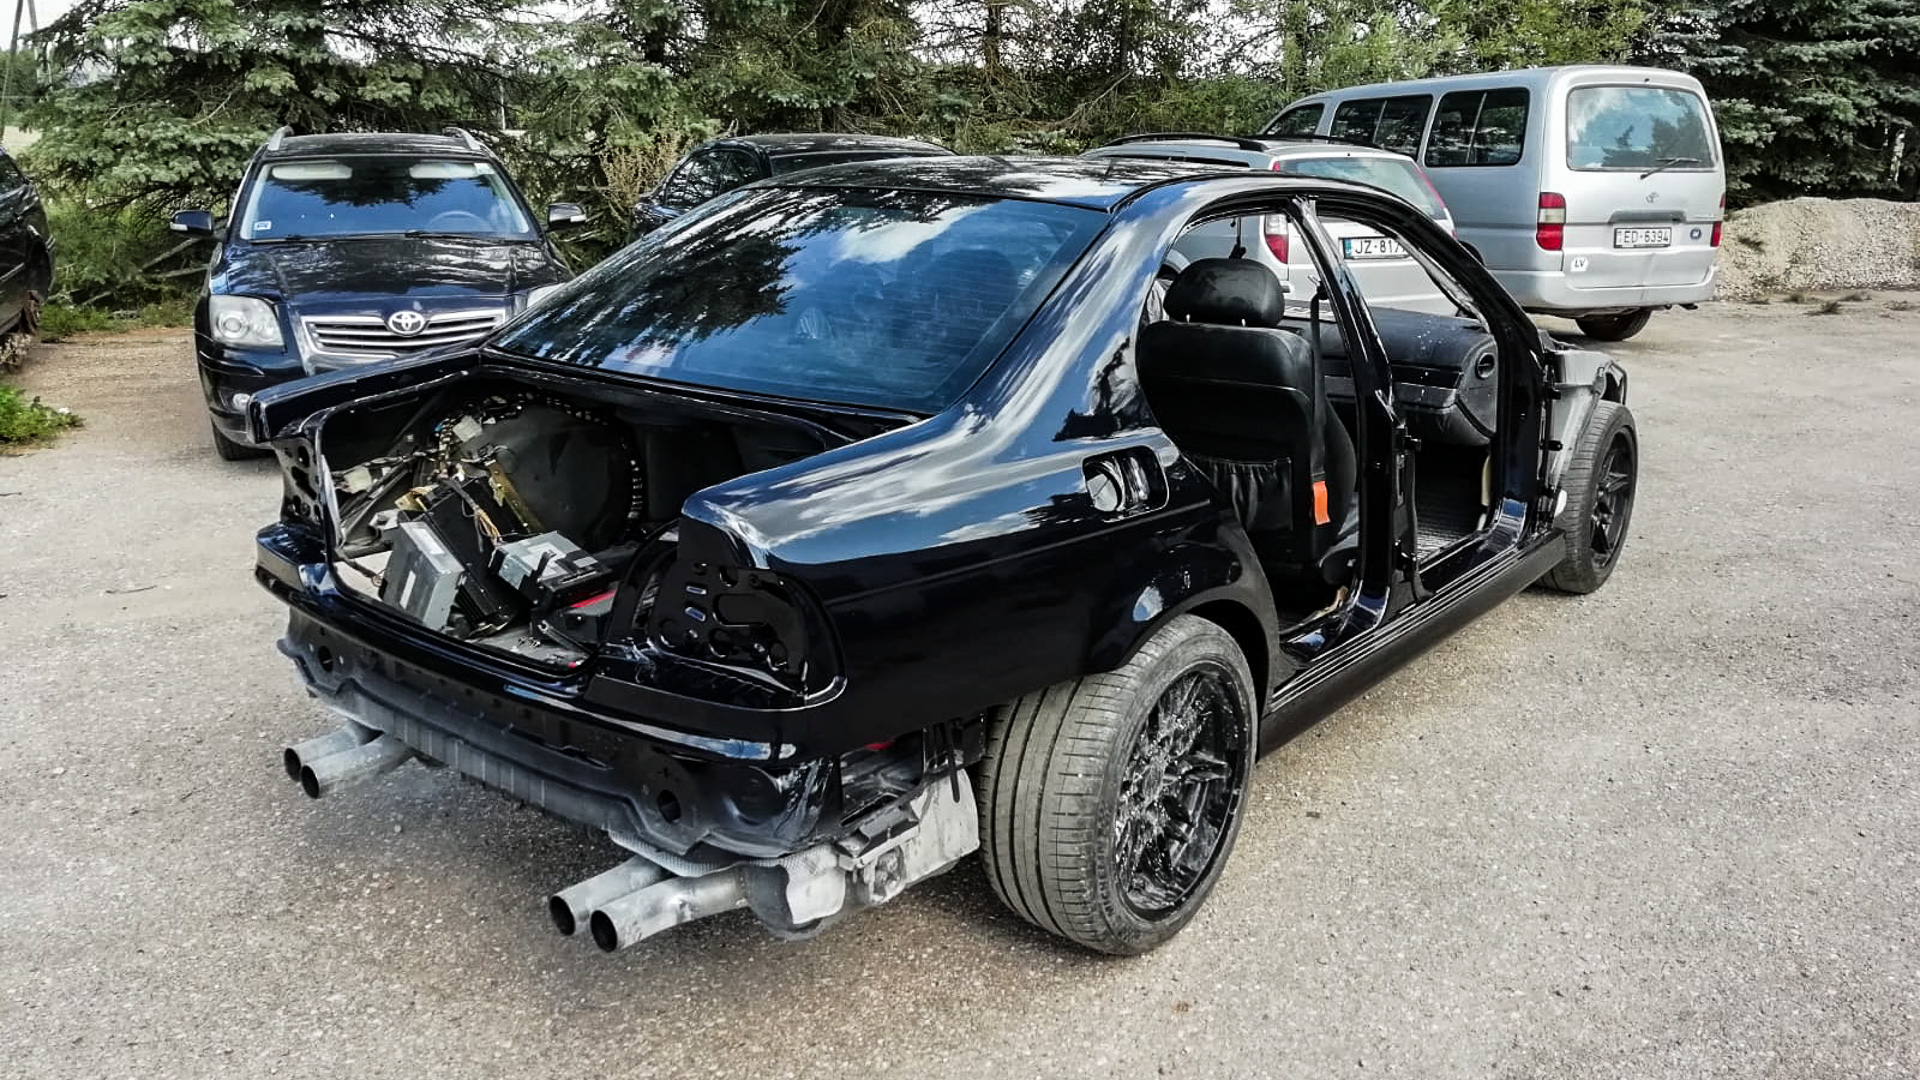
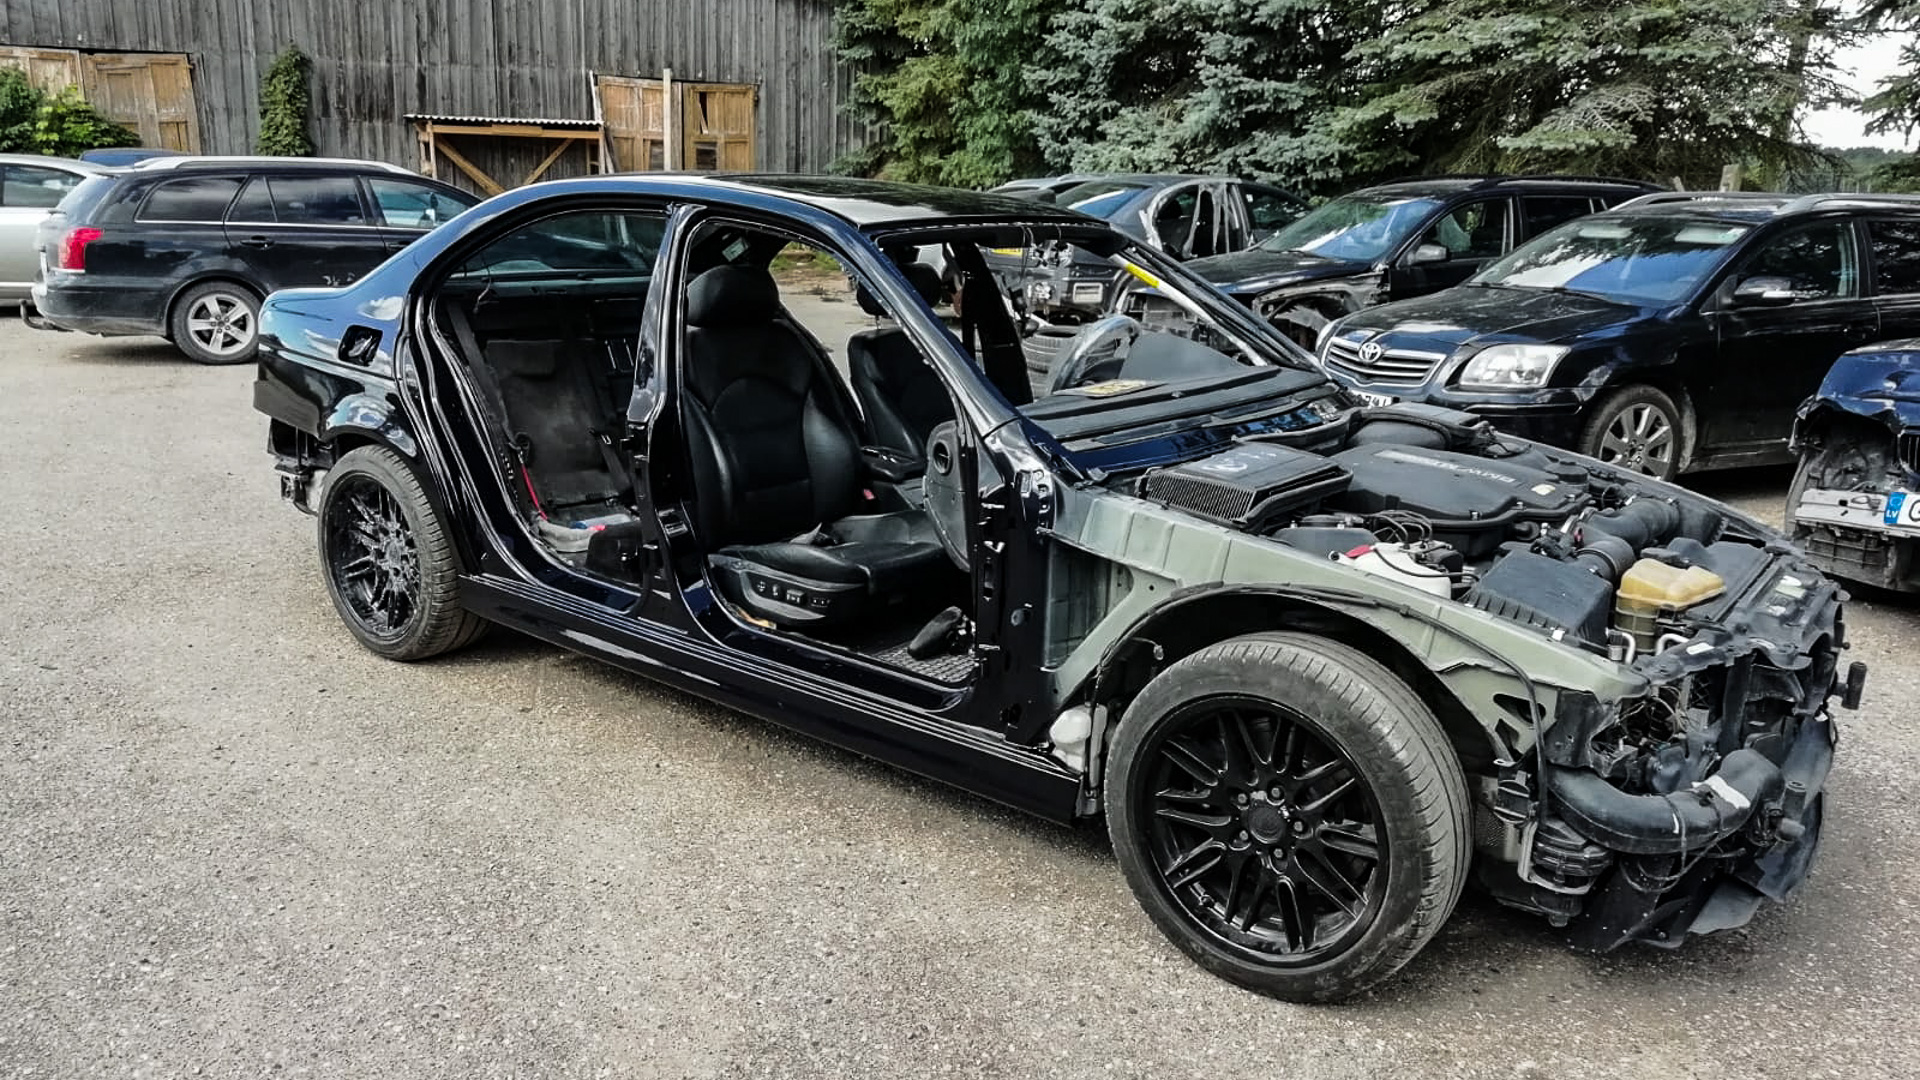
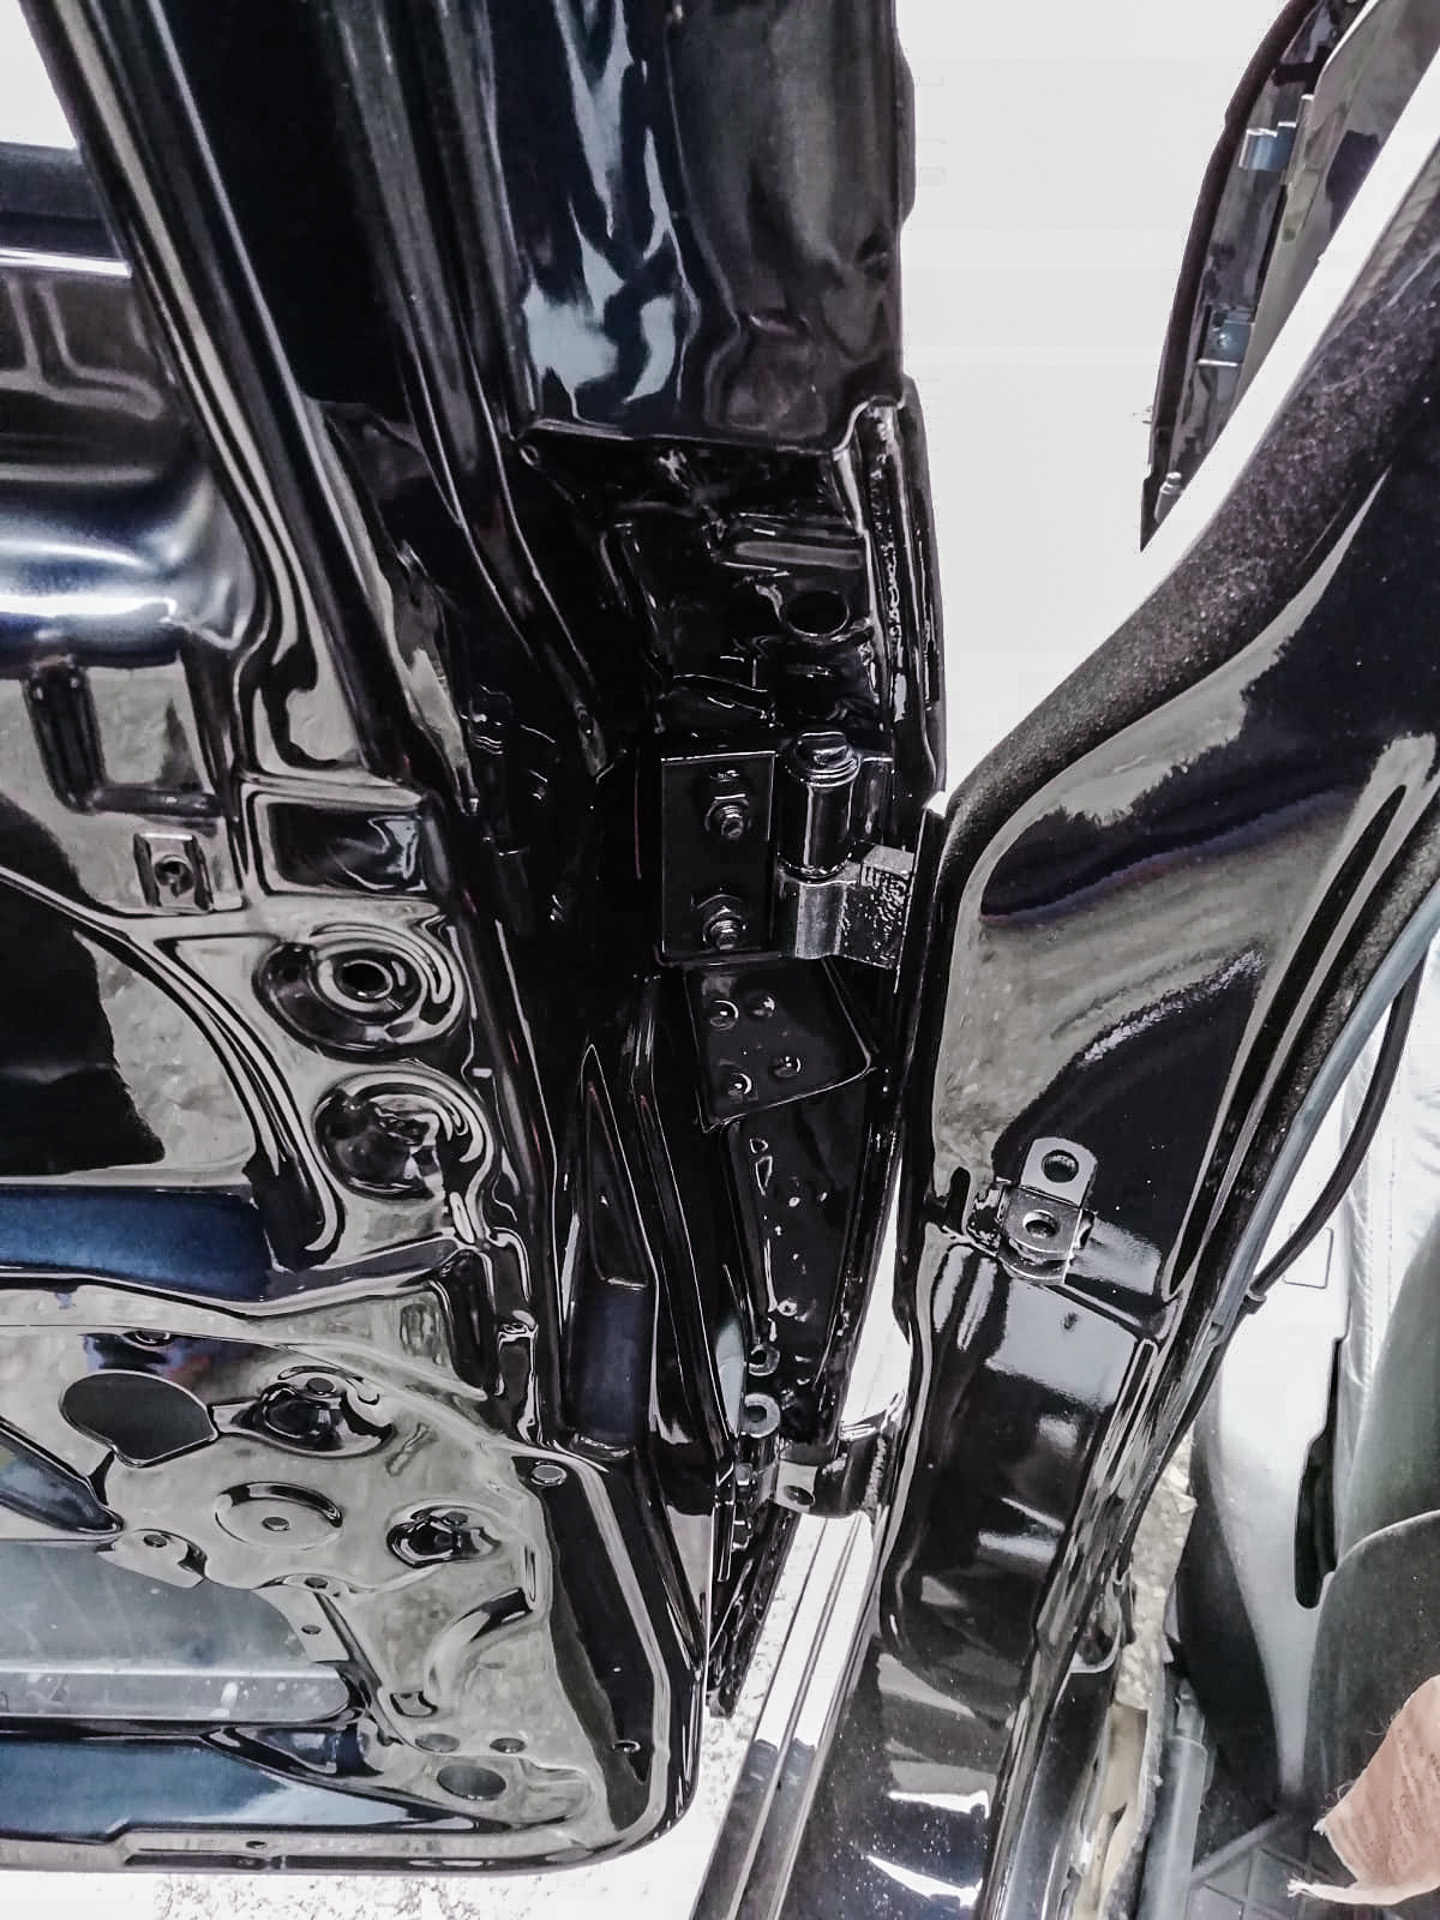
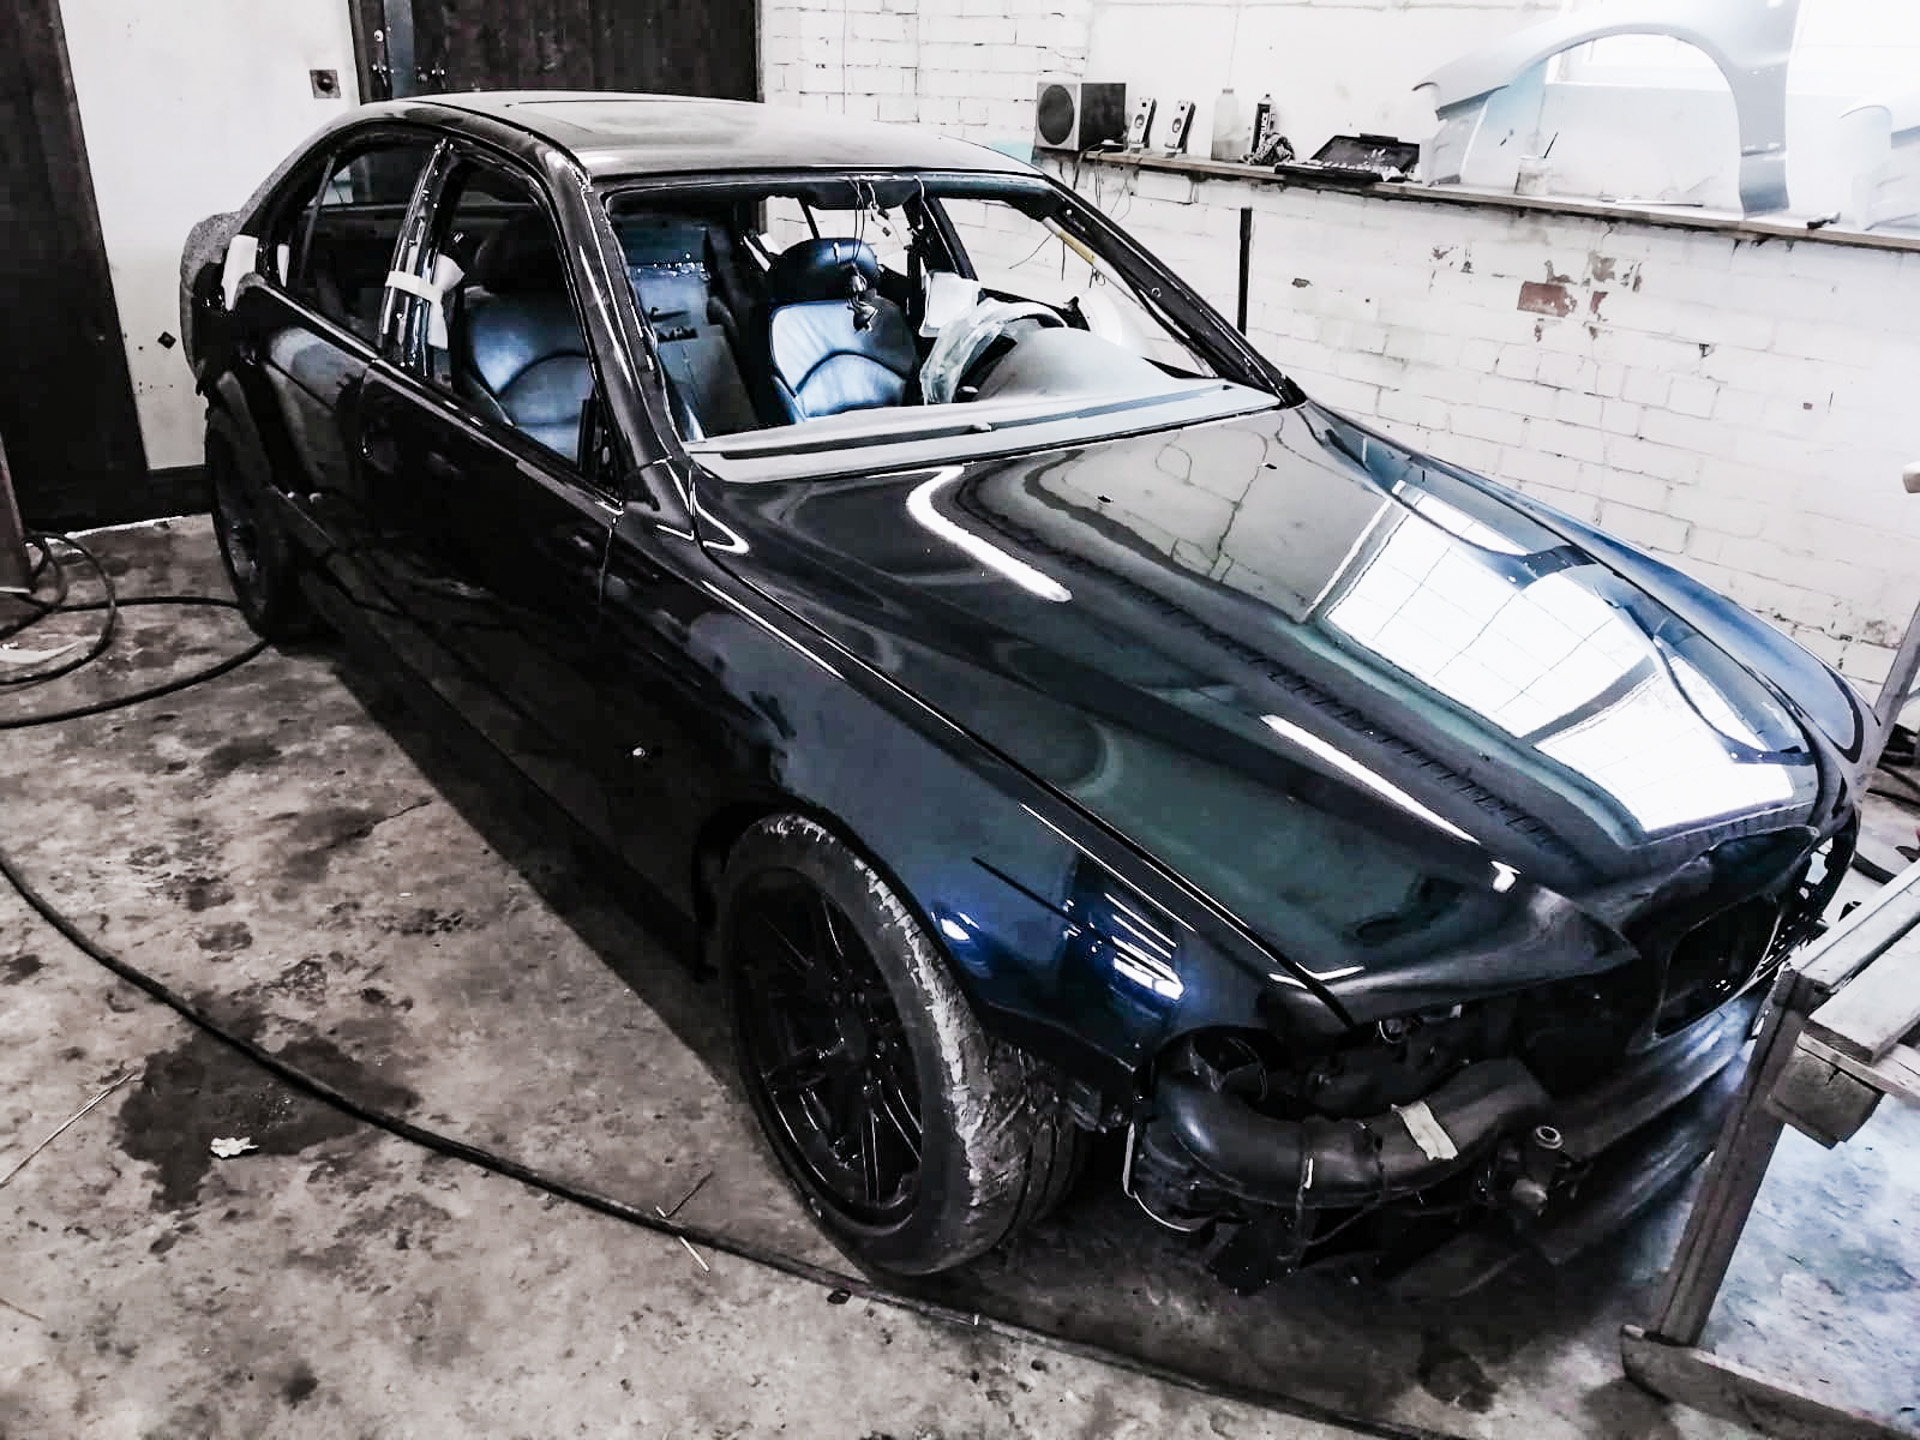
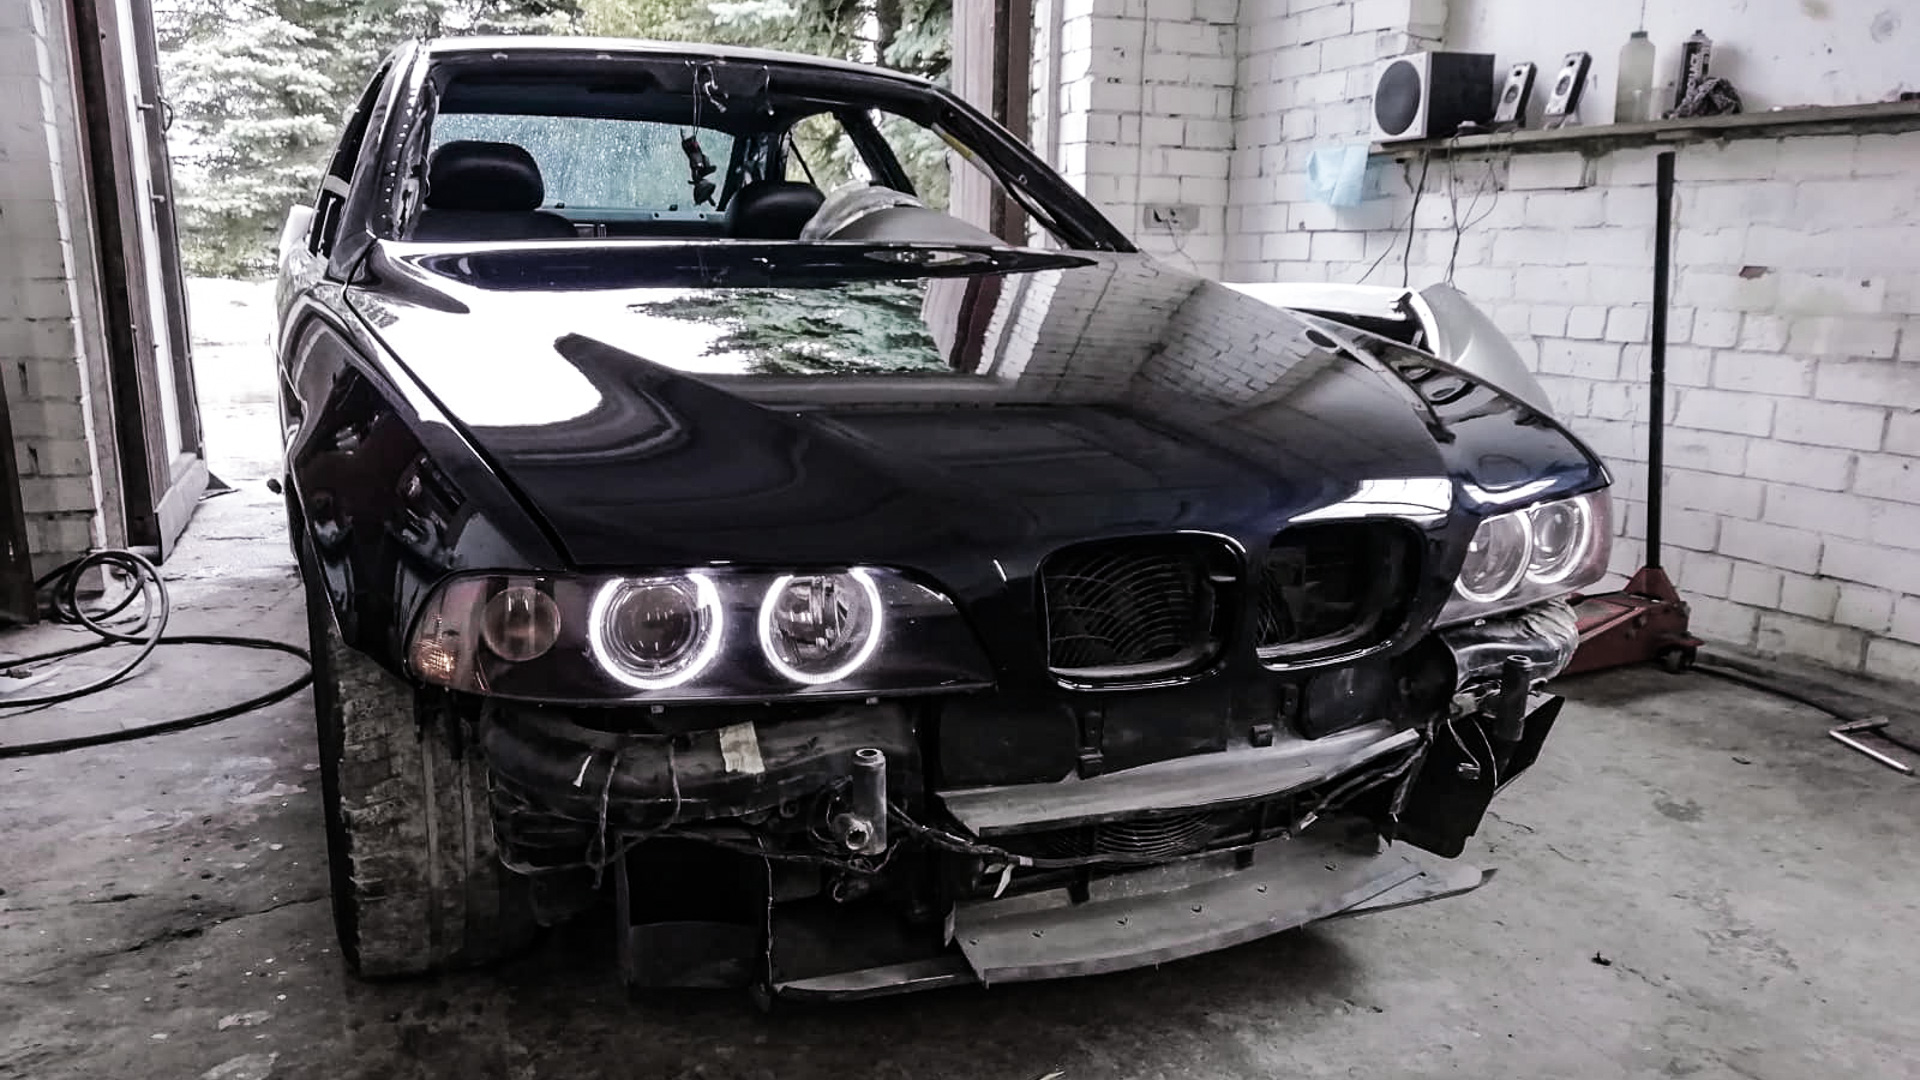
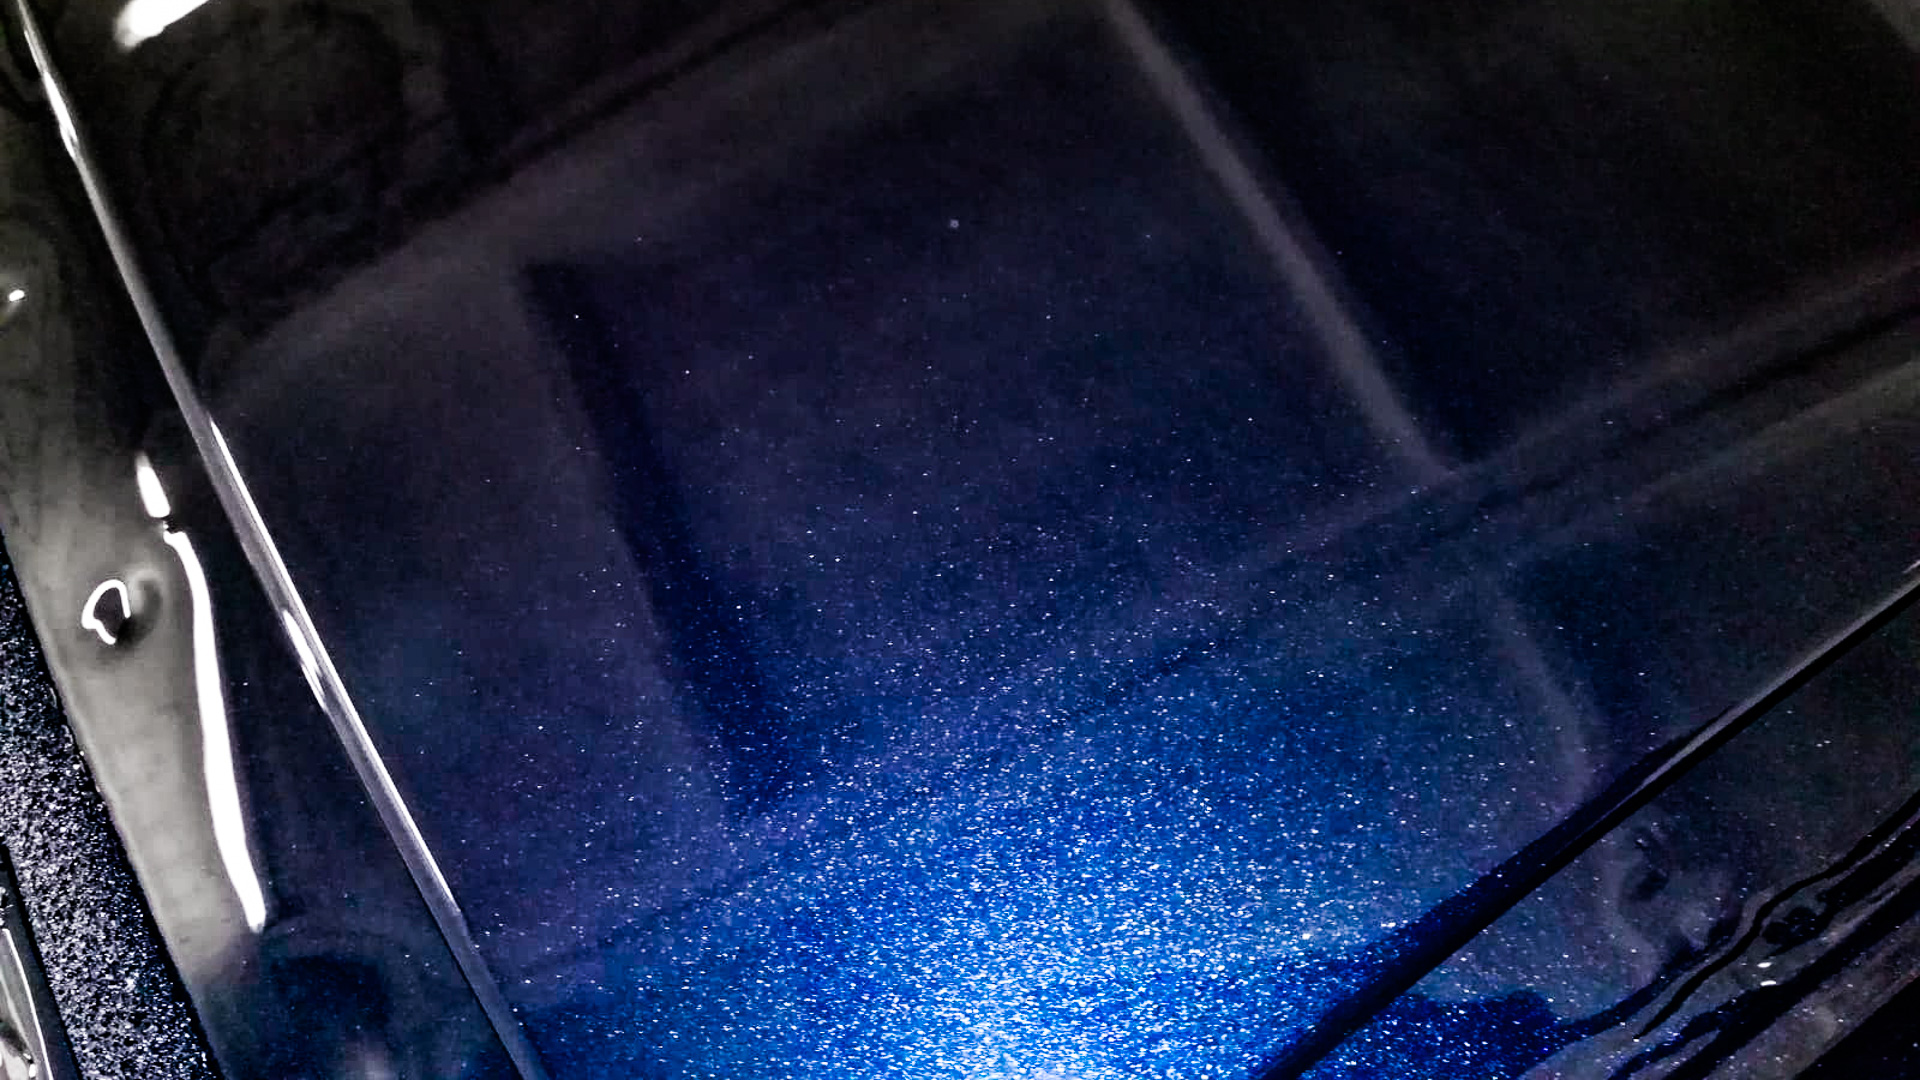
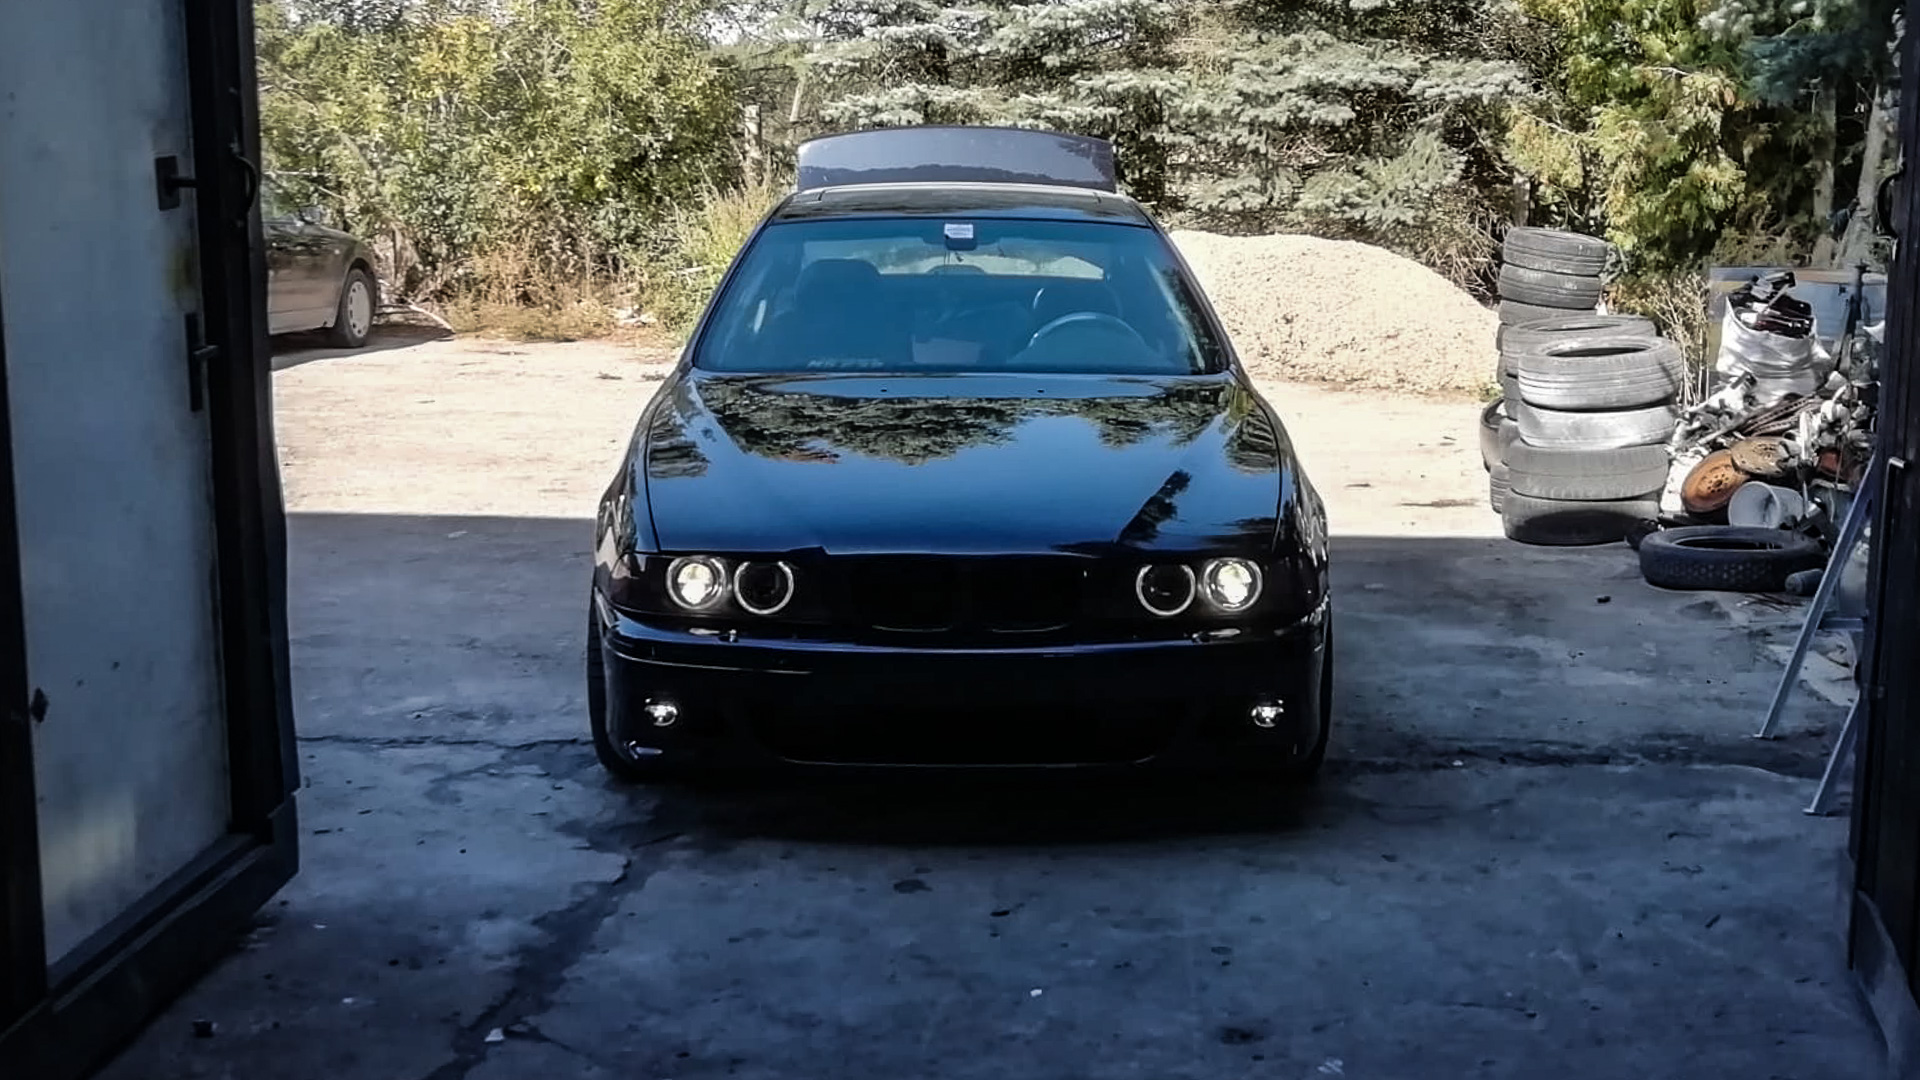
Seeing the meticulous work the painter is doing on the fuel tank area and roof rails, it became clear that it will be a shame to paint the car Hot Rod Flatz after all this work put in, and that what needs to be done is to rather have the car painted the original color, which is BMW Carbon Black.
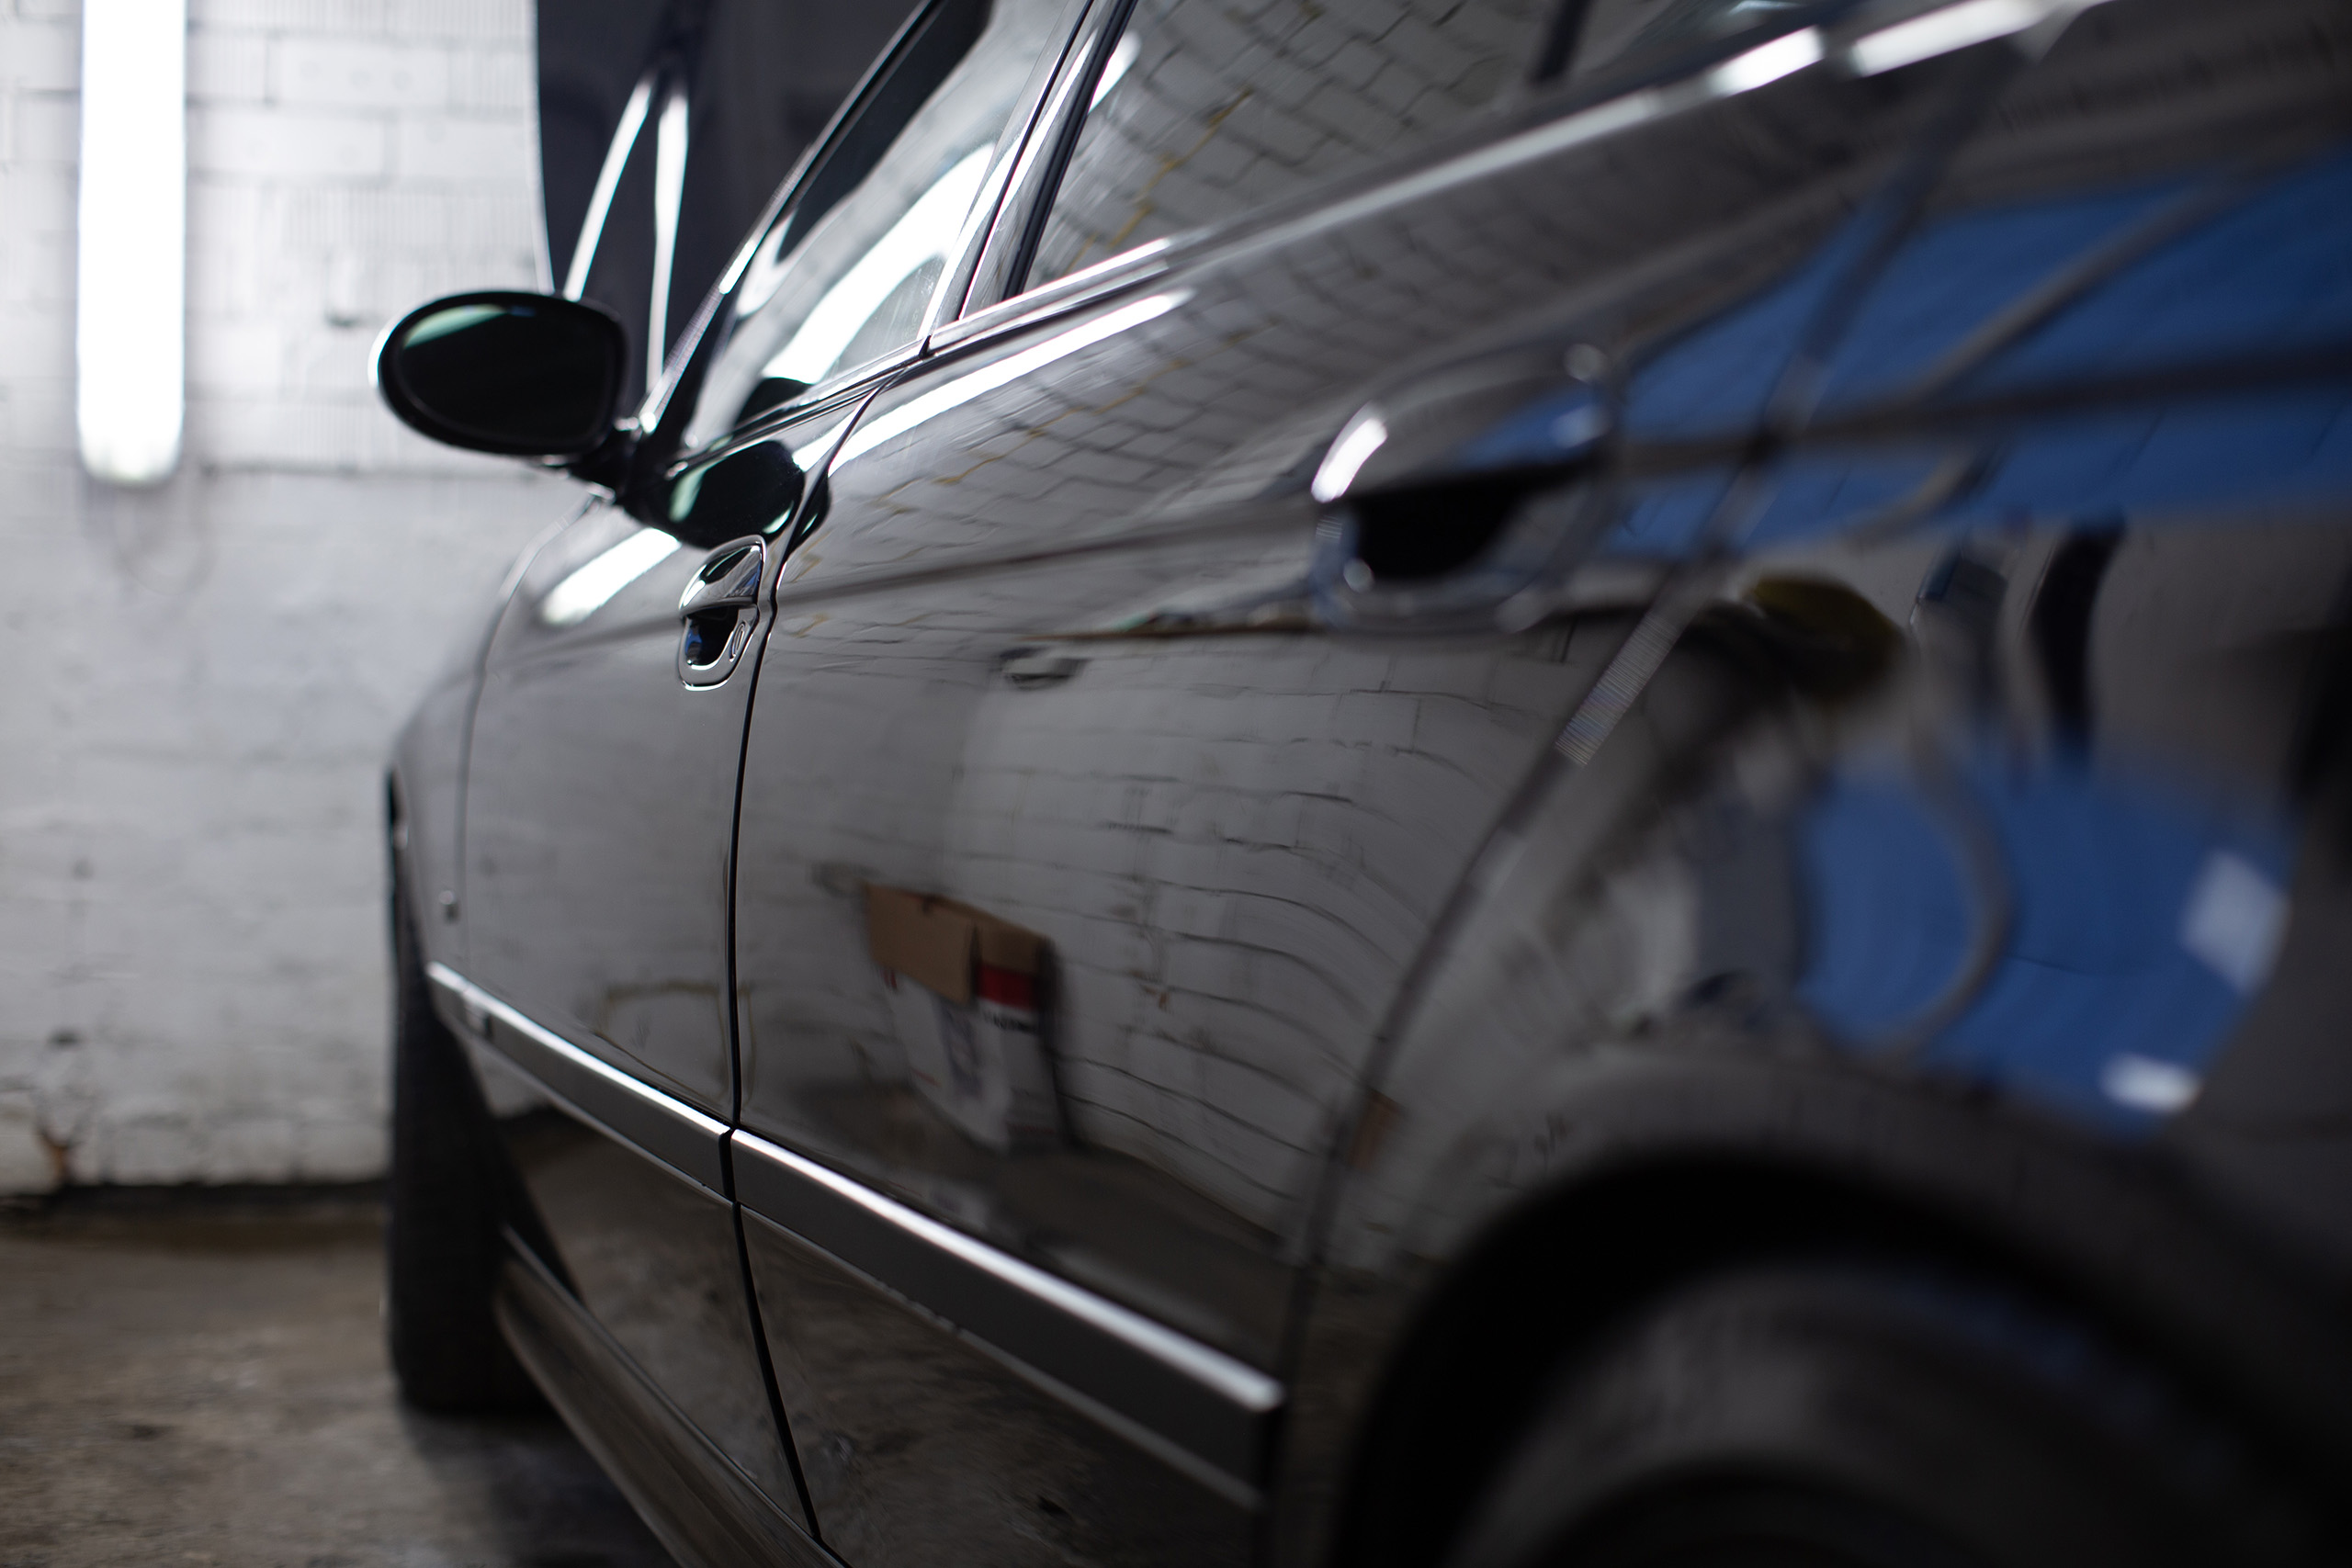
Another push that tipped toward repainting the car in original color is that Hot Rod Flatz, no matter how decent the paint is out the box, matte black paints can not be repaired and polished when scratches occur. Unless the car is a show-car only, or total garage queen, then it will be driven, and then you will get scratches. The facts in front of me, I realized that I do not want to fly to San Diego to pick up Hot Rod Flatz paint, then ship it as hazardous materials to wherever the car is, and have exactly the same spray-gun with me (in order to get the matte texture to match) and try to match exact same paint/drying temperatures in order to get same shine, just to fix a scratch on the fender that could just be buffed out on regular shiny paint.
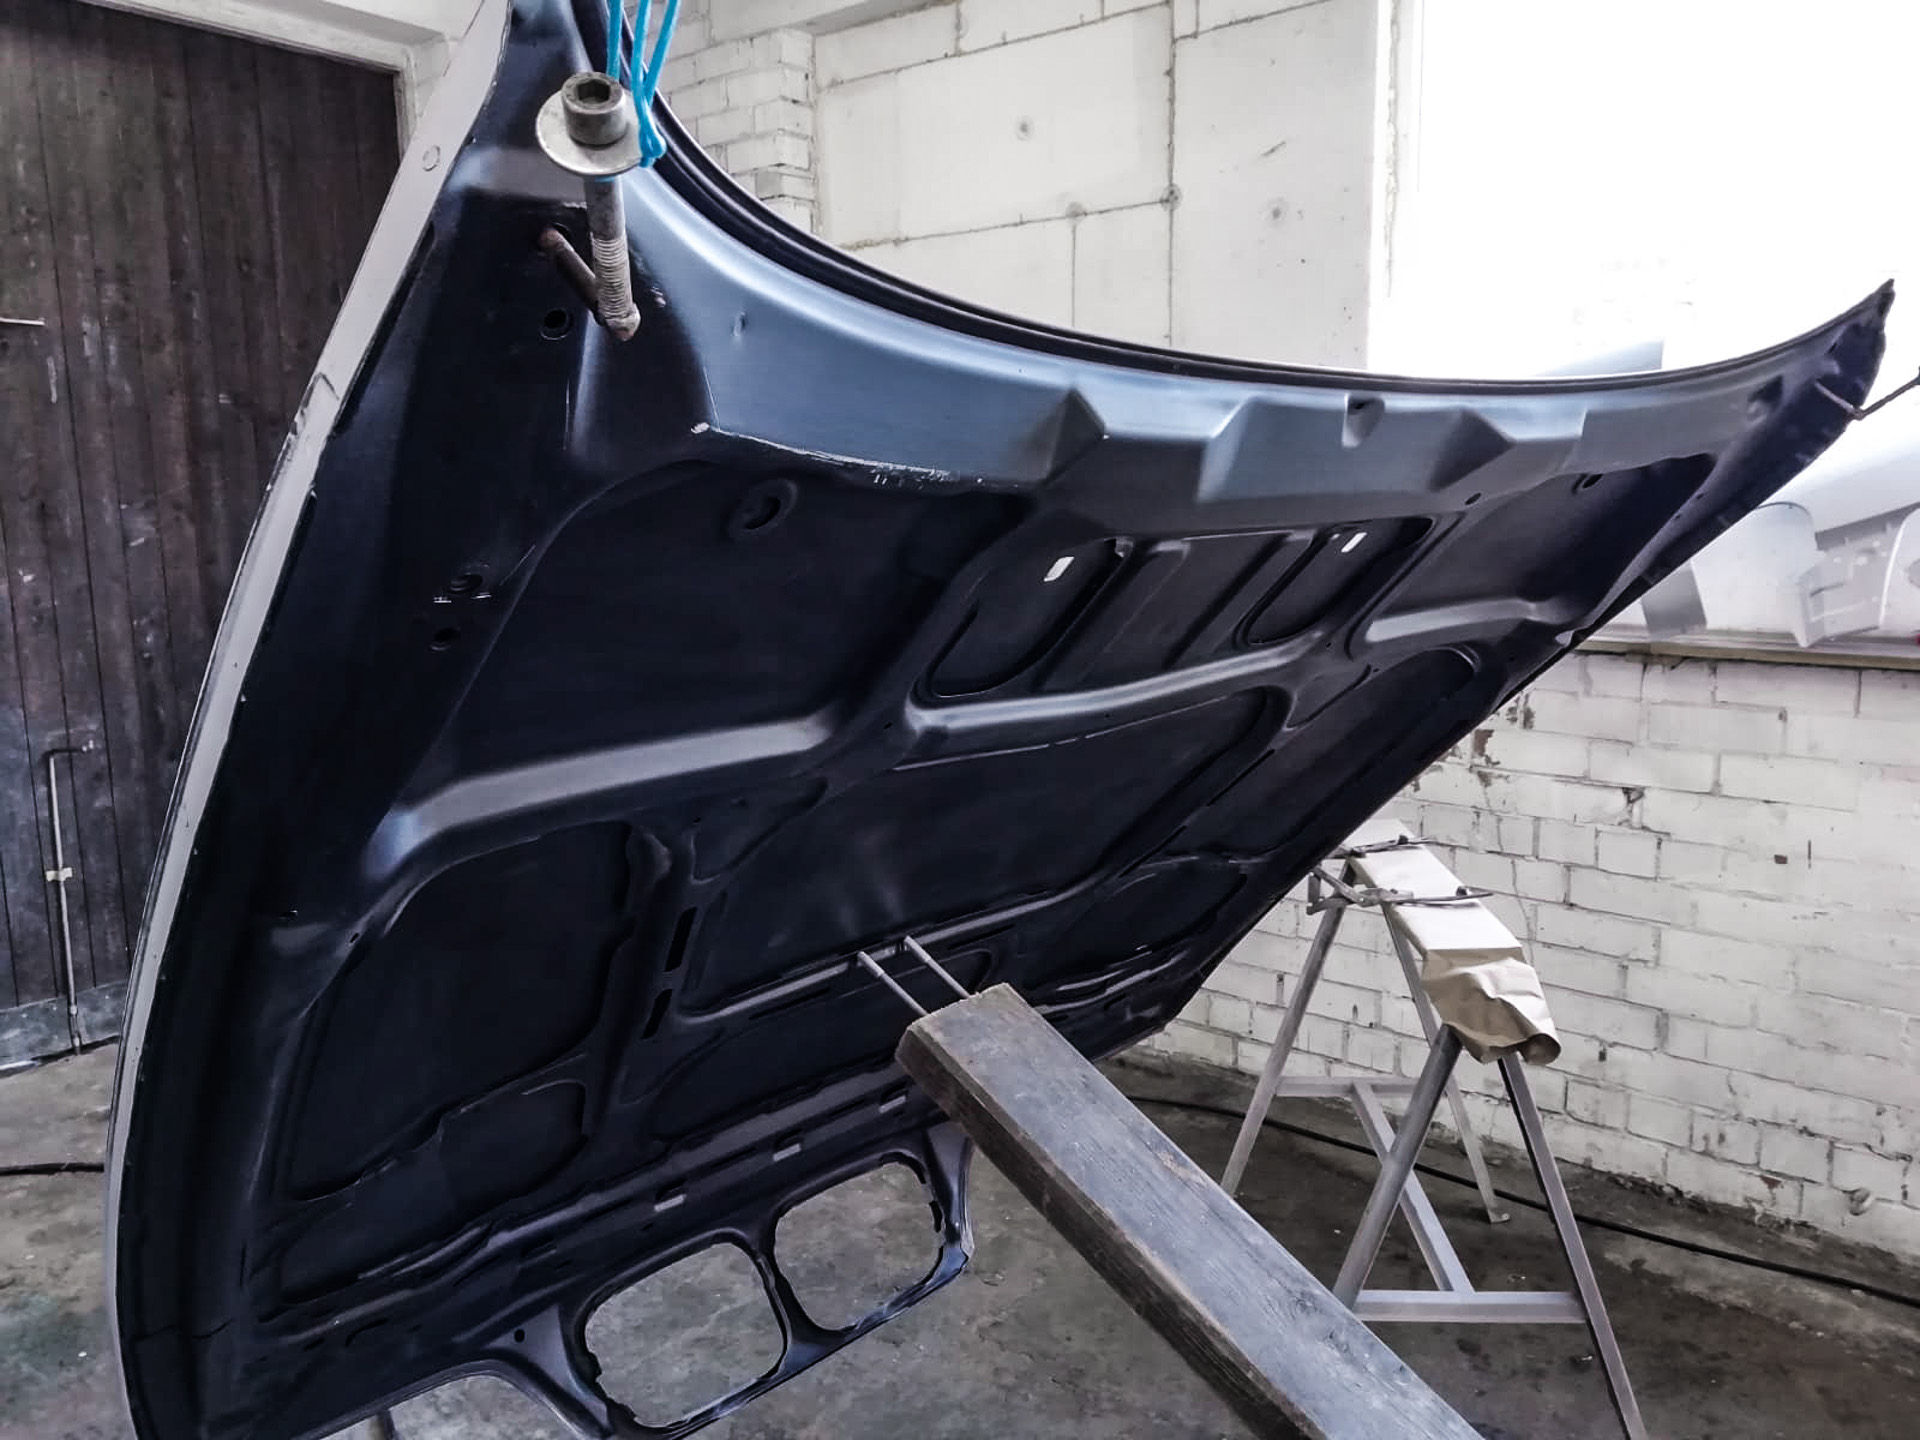
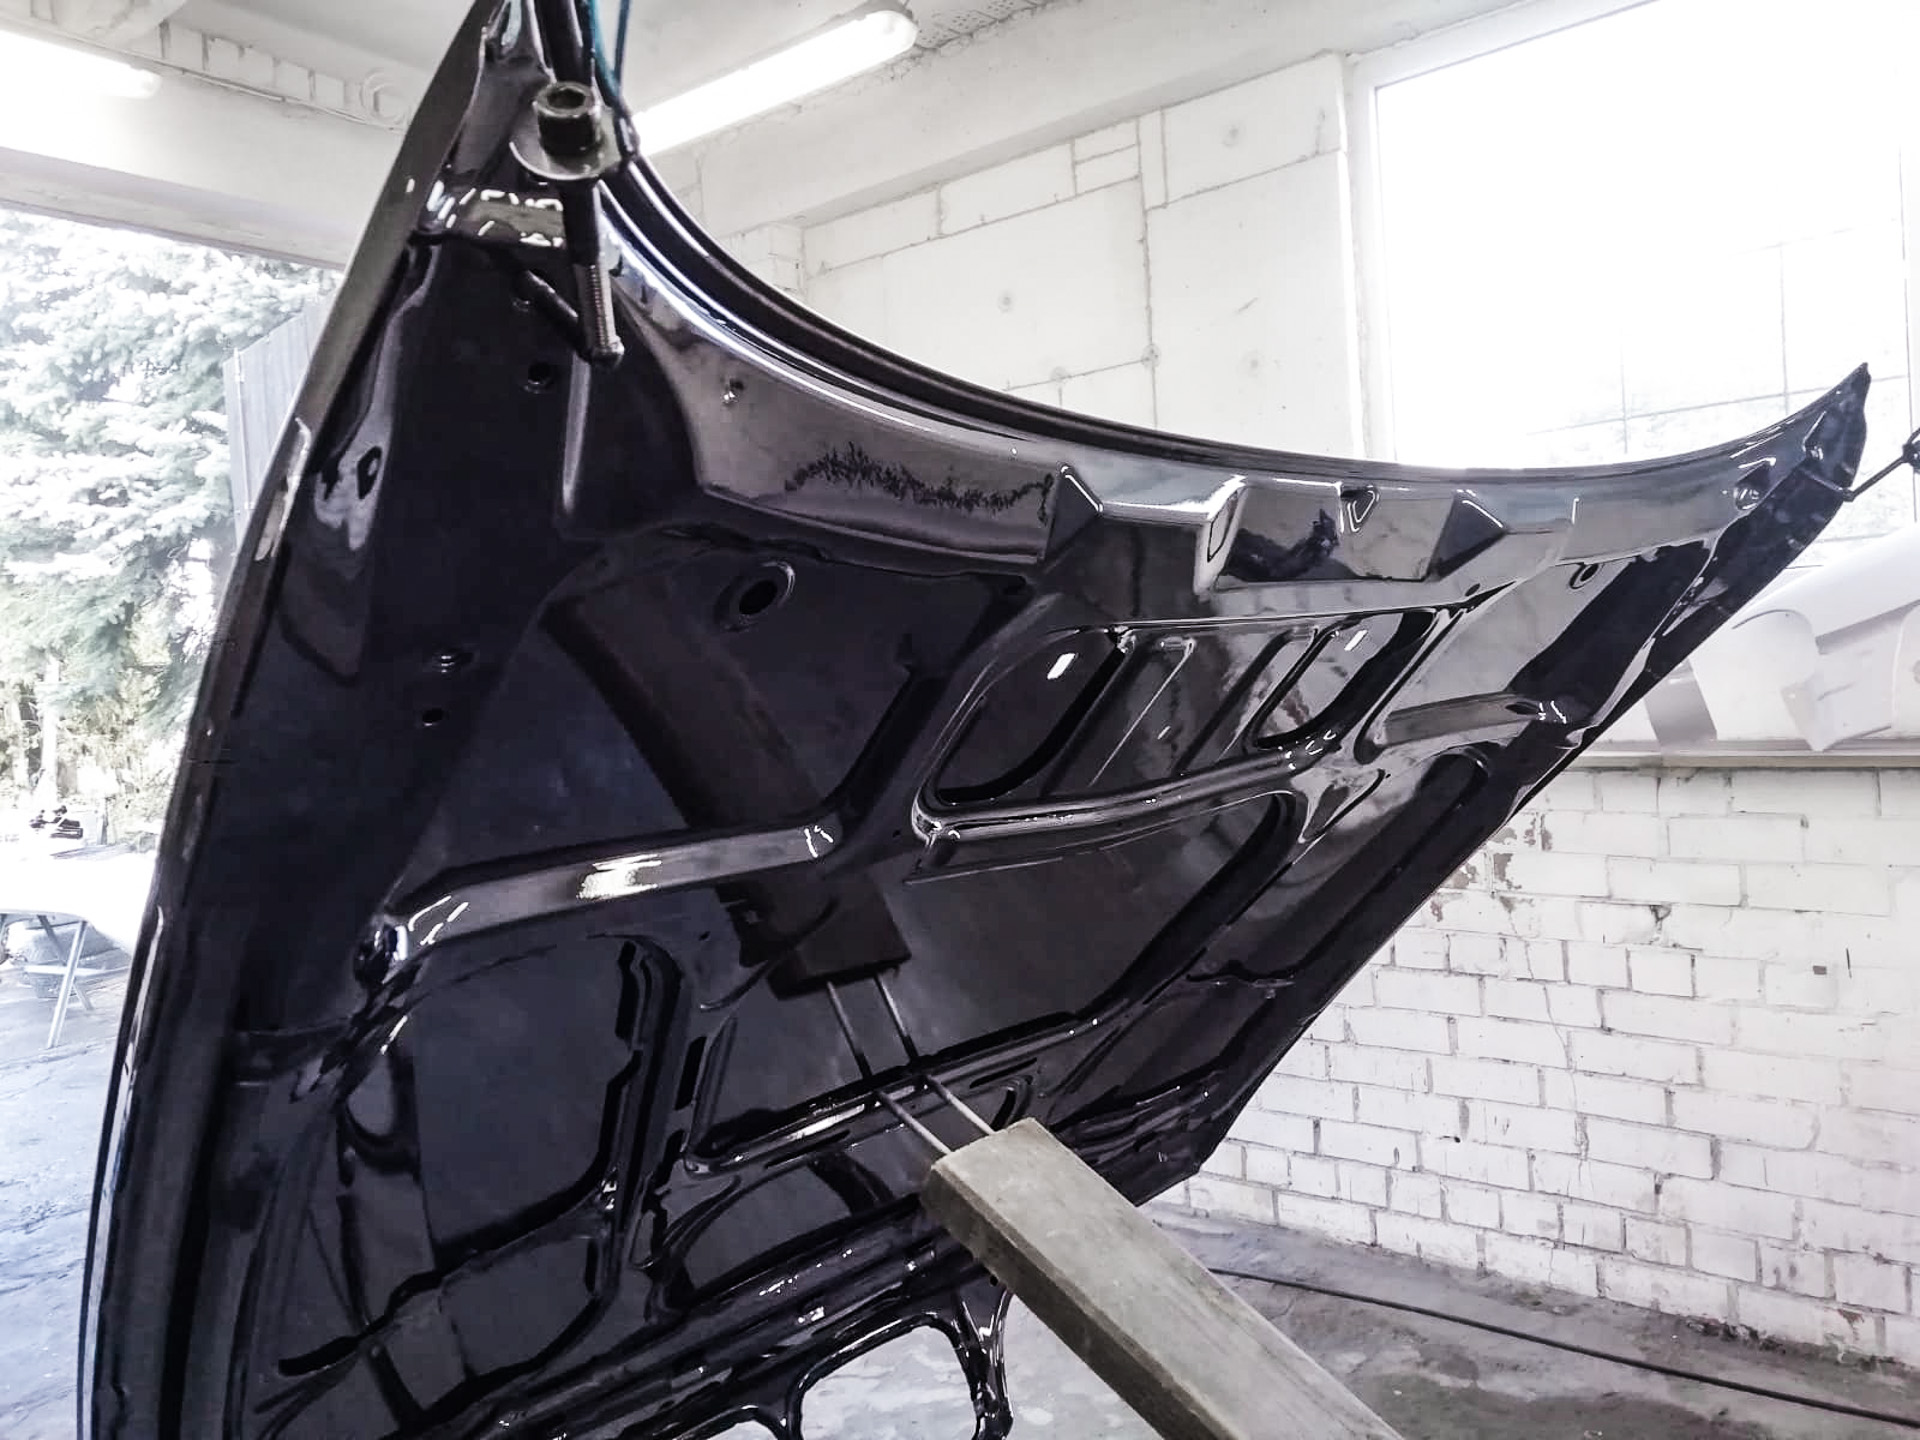
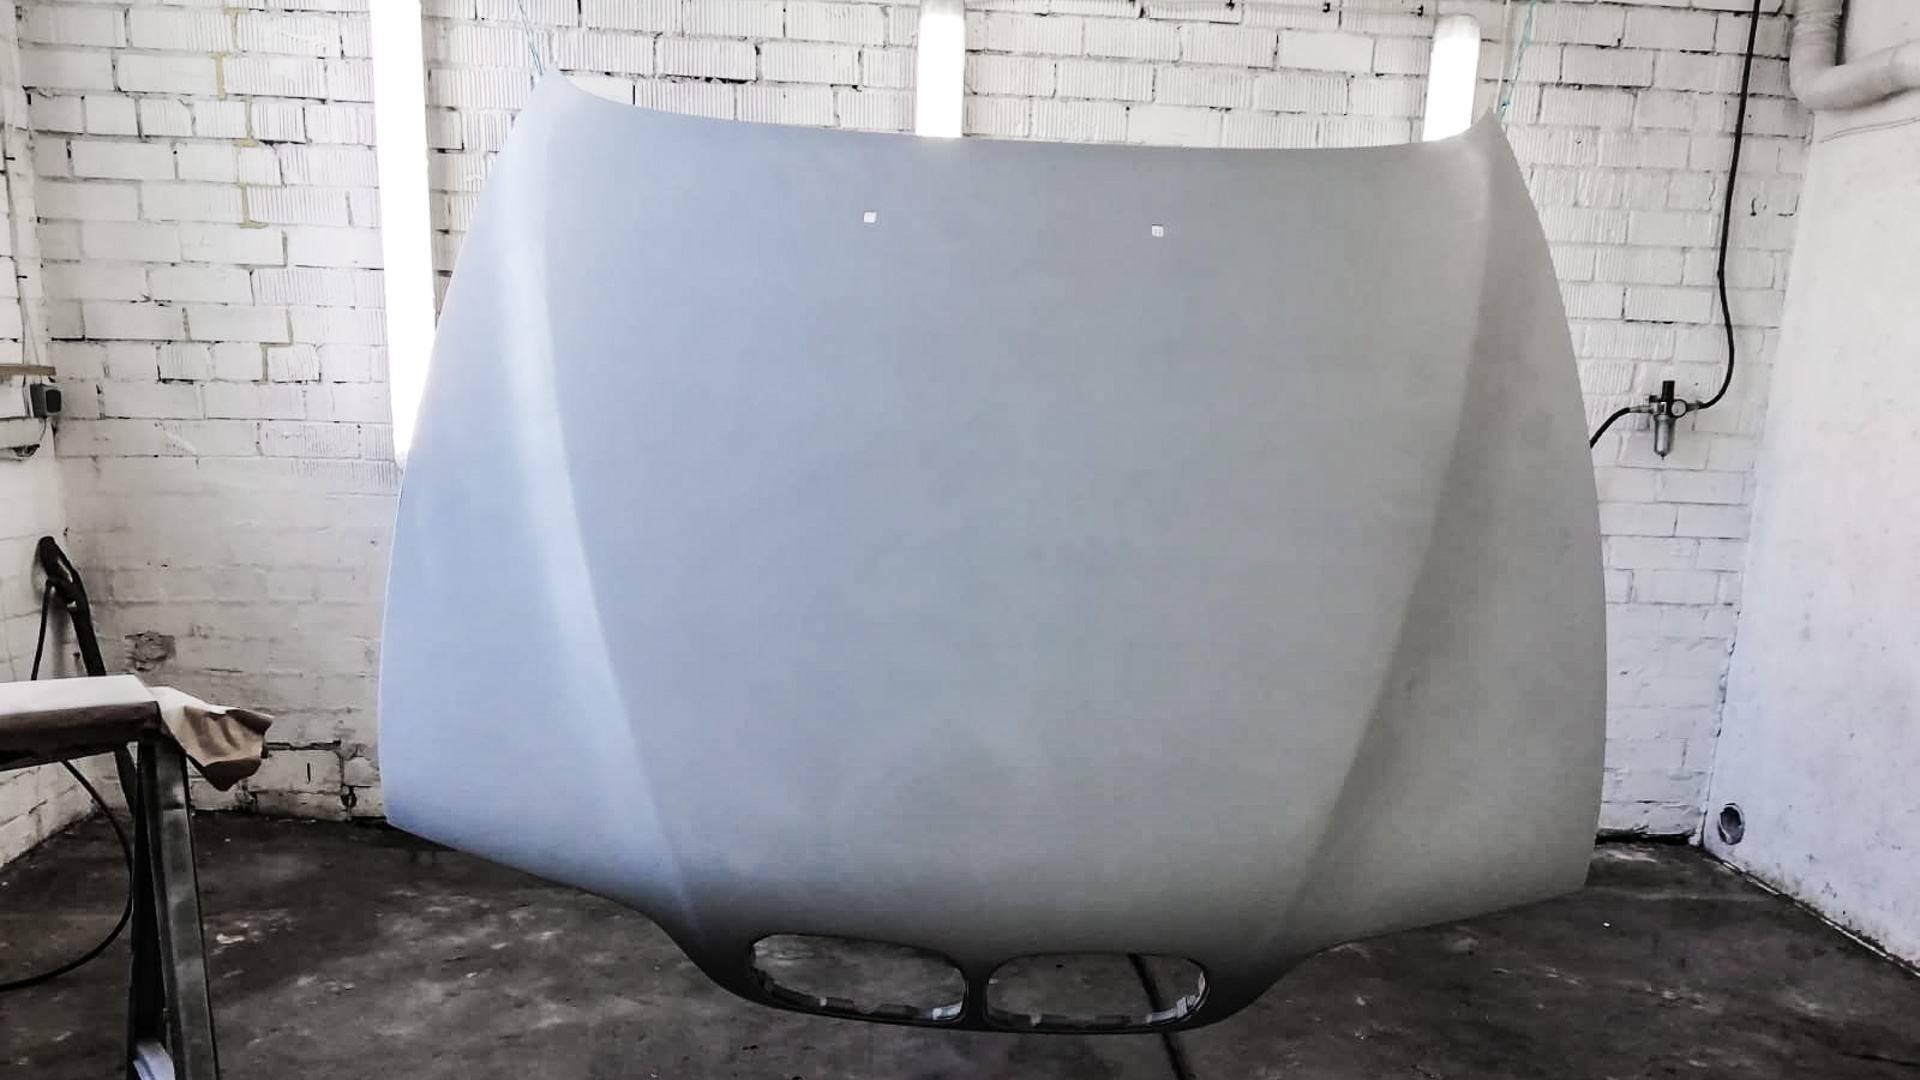
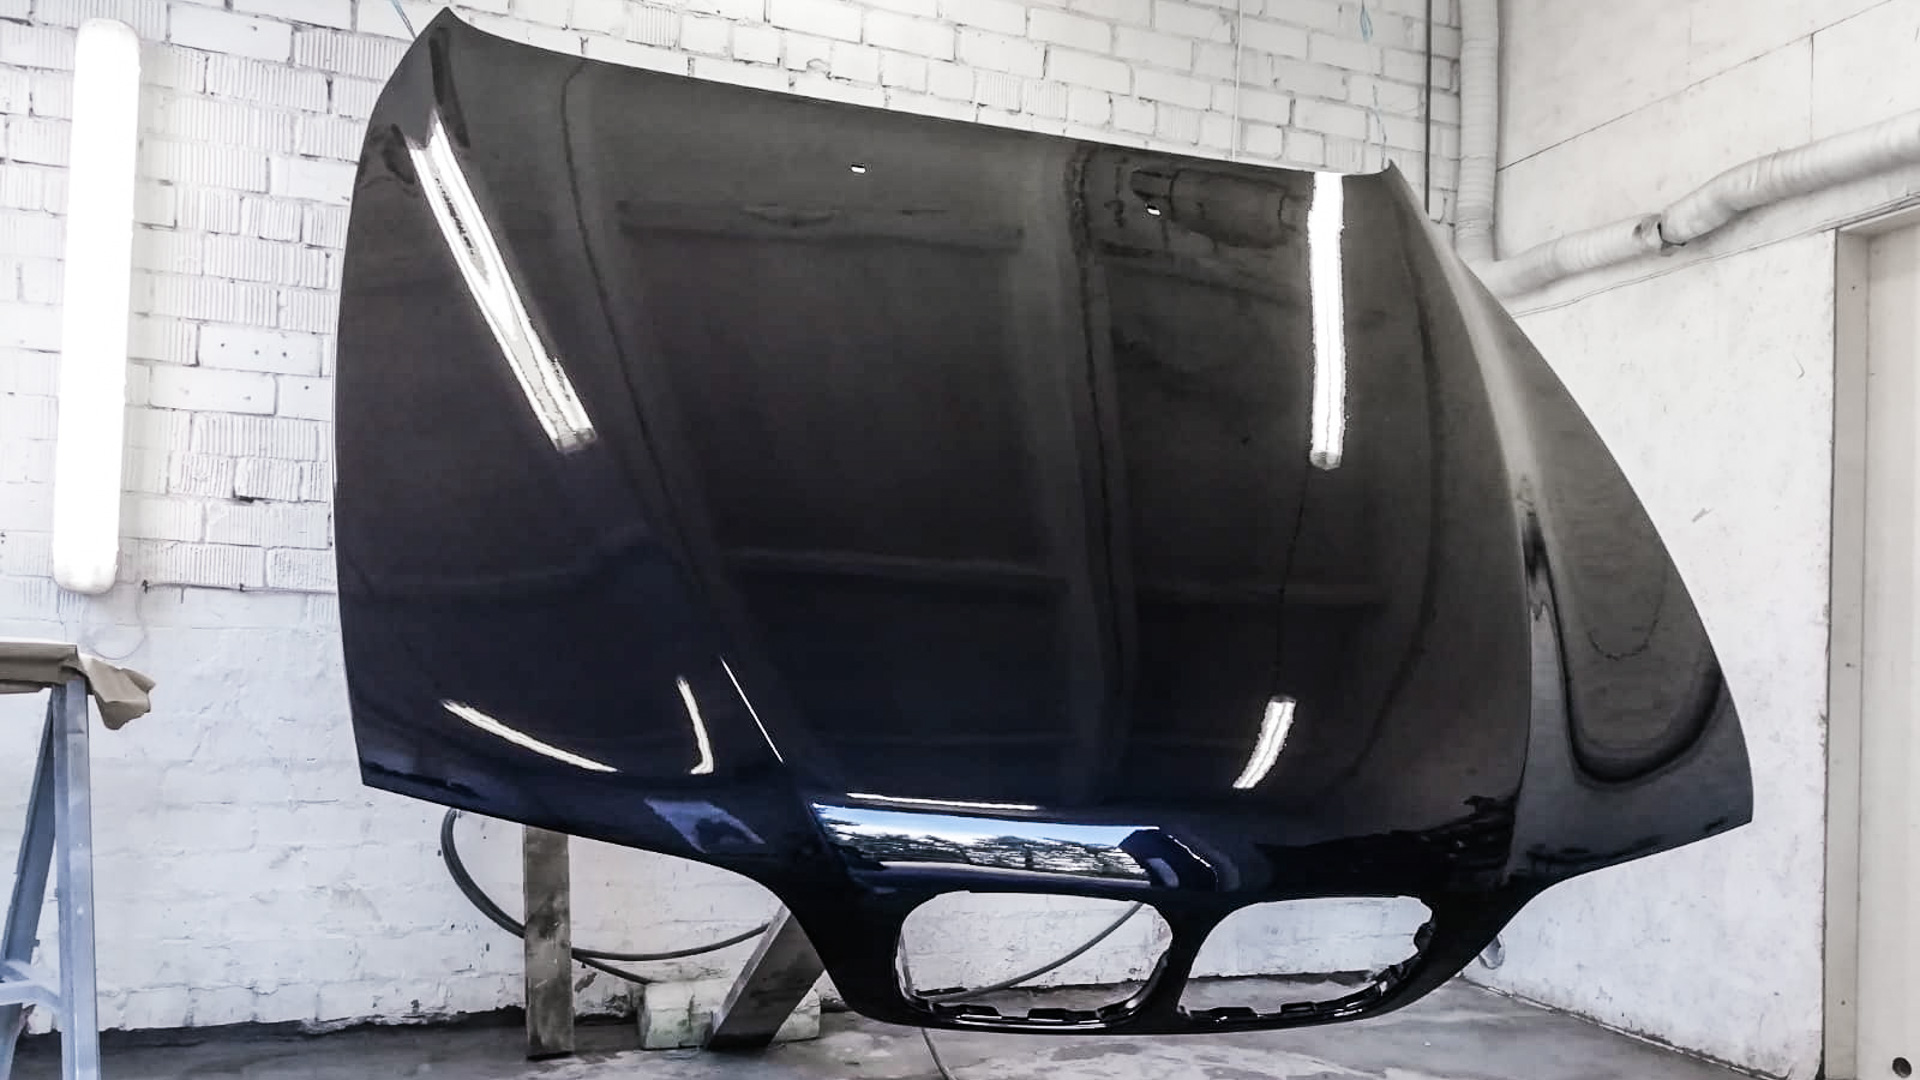
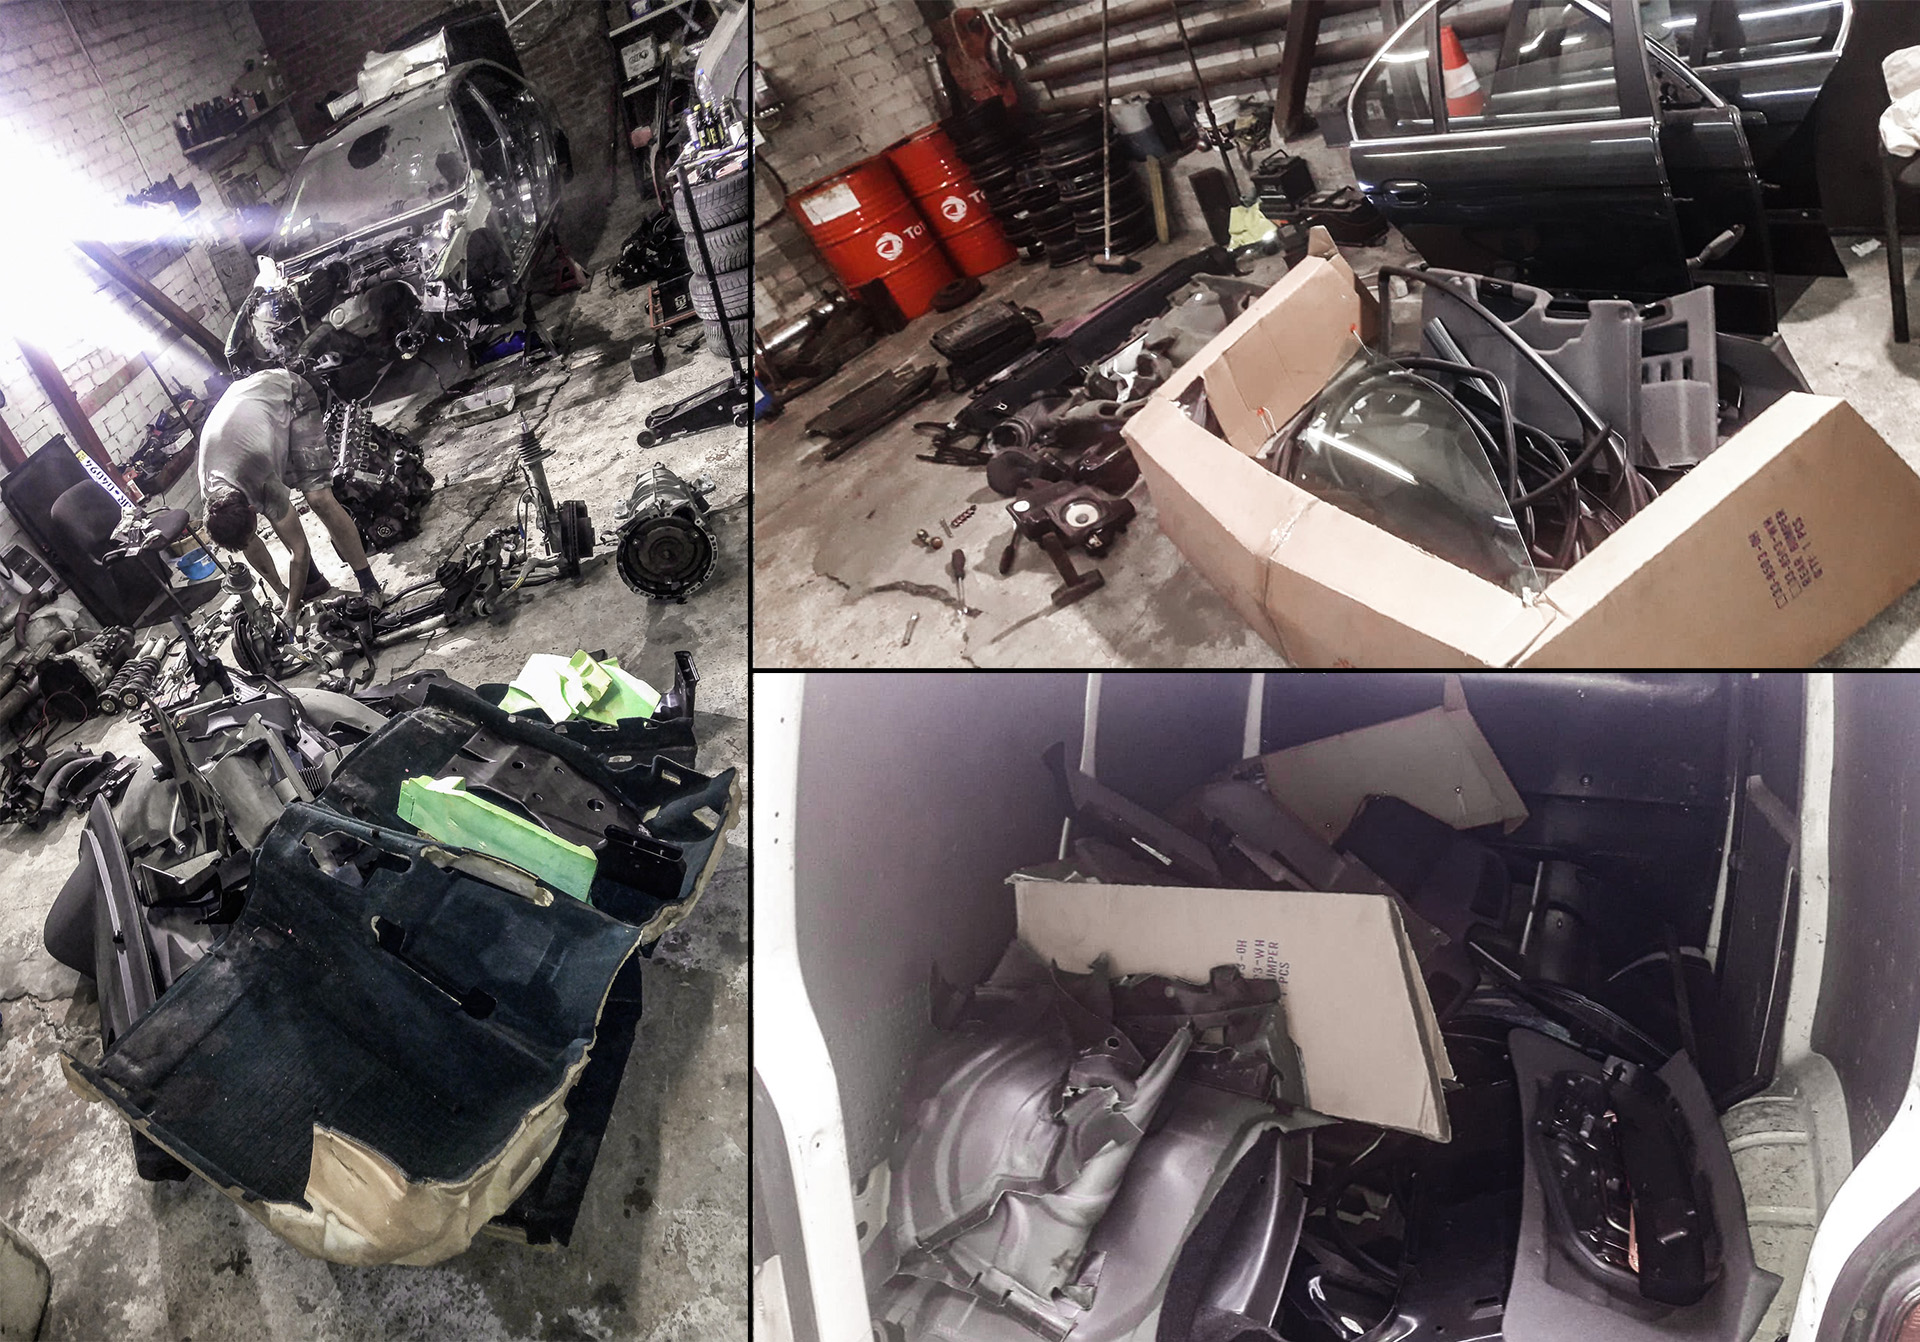
Layes of Primer
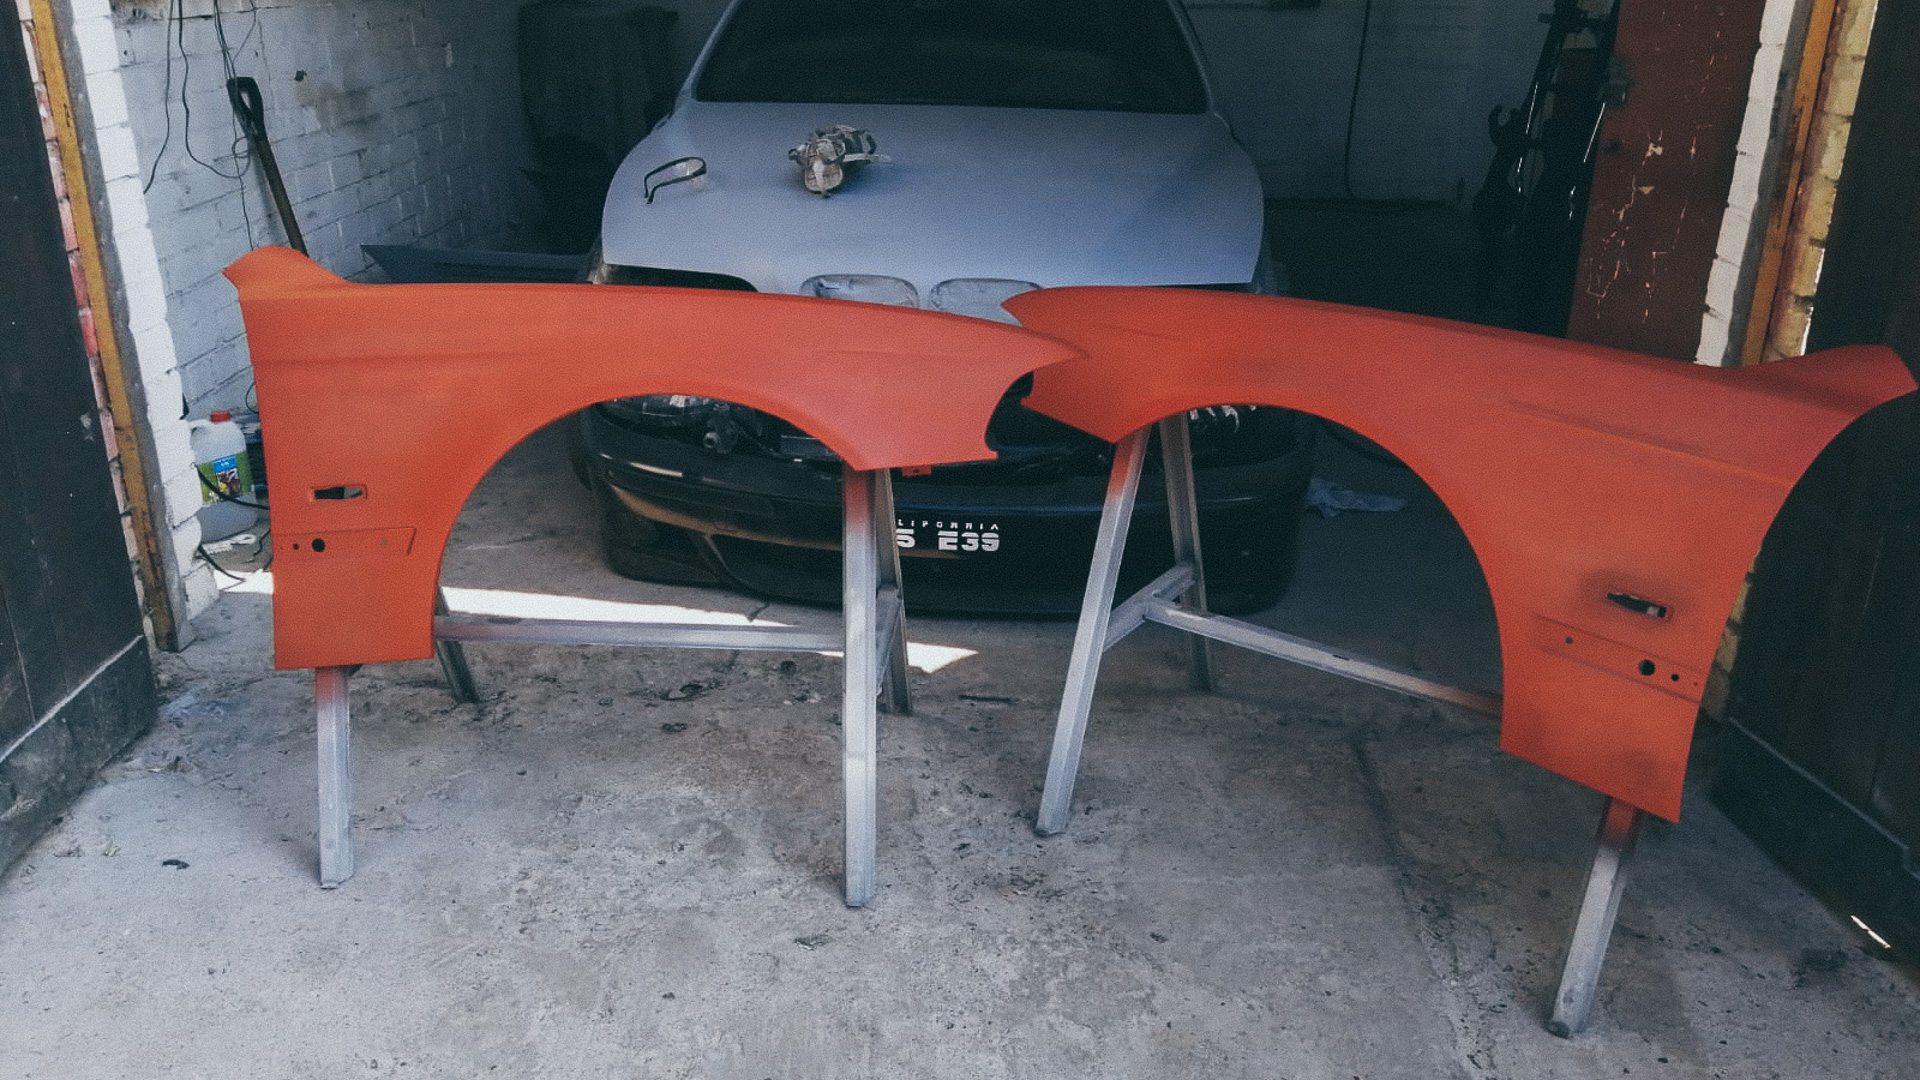

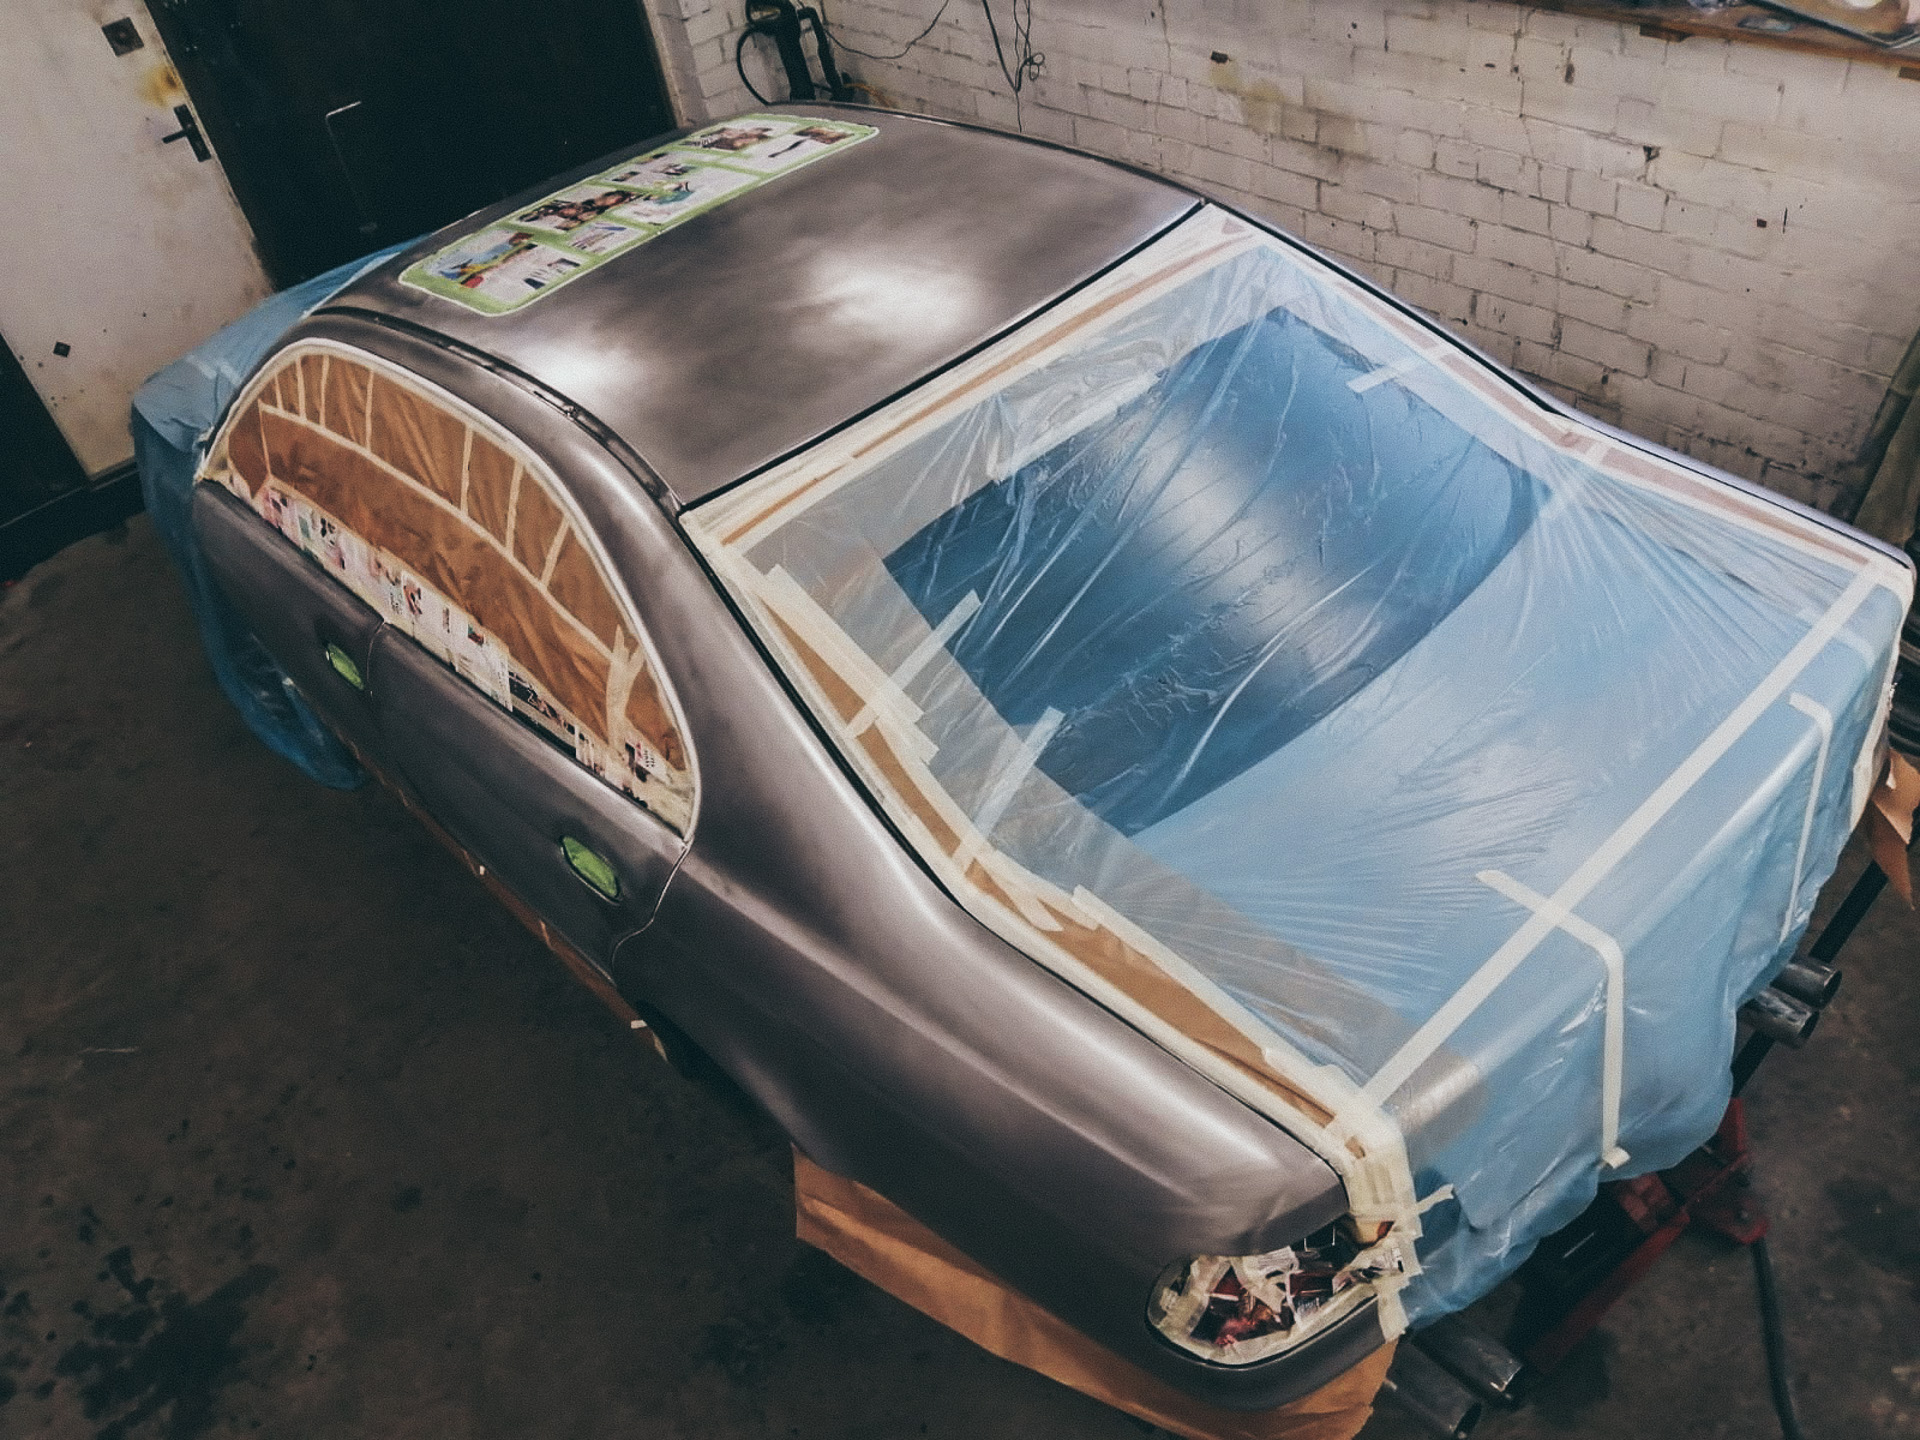
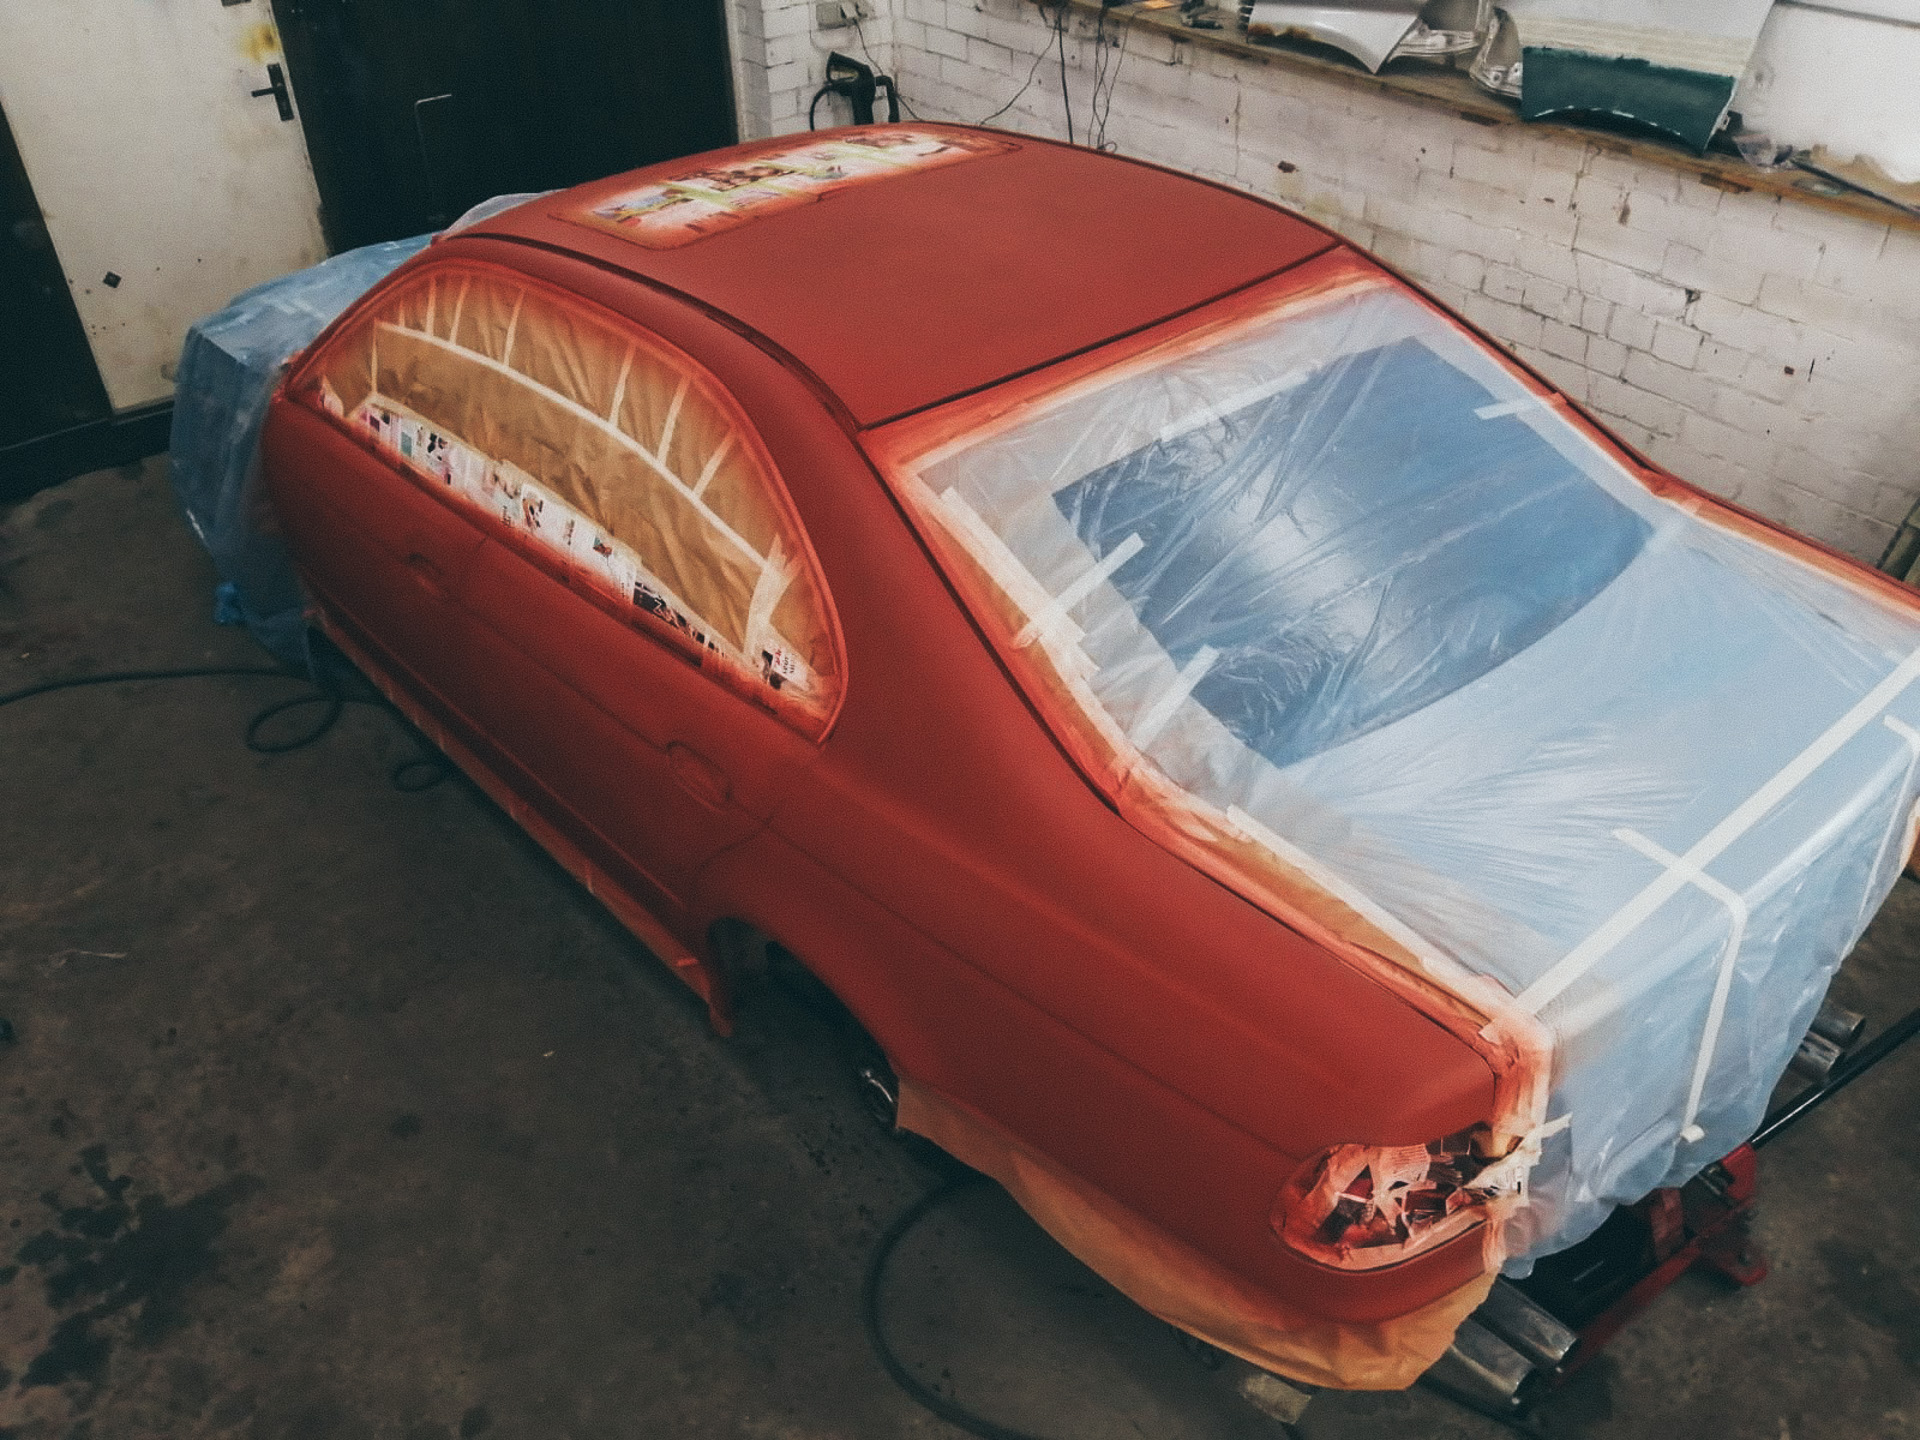
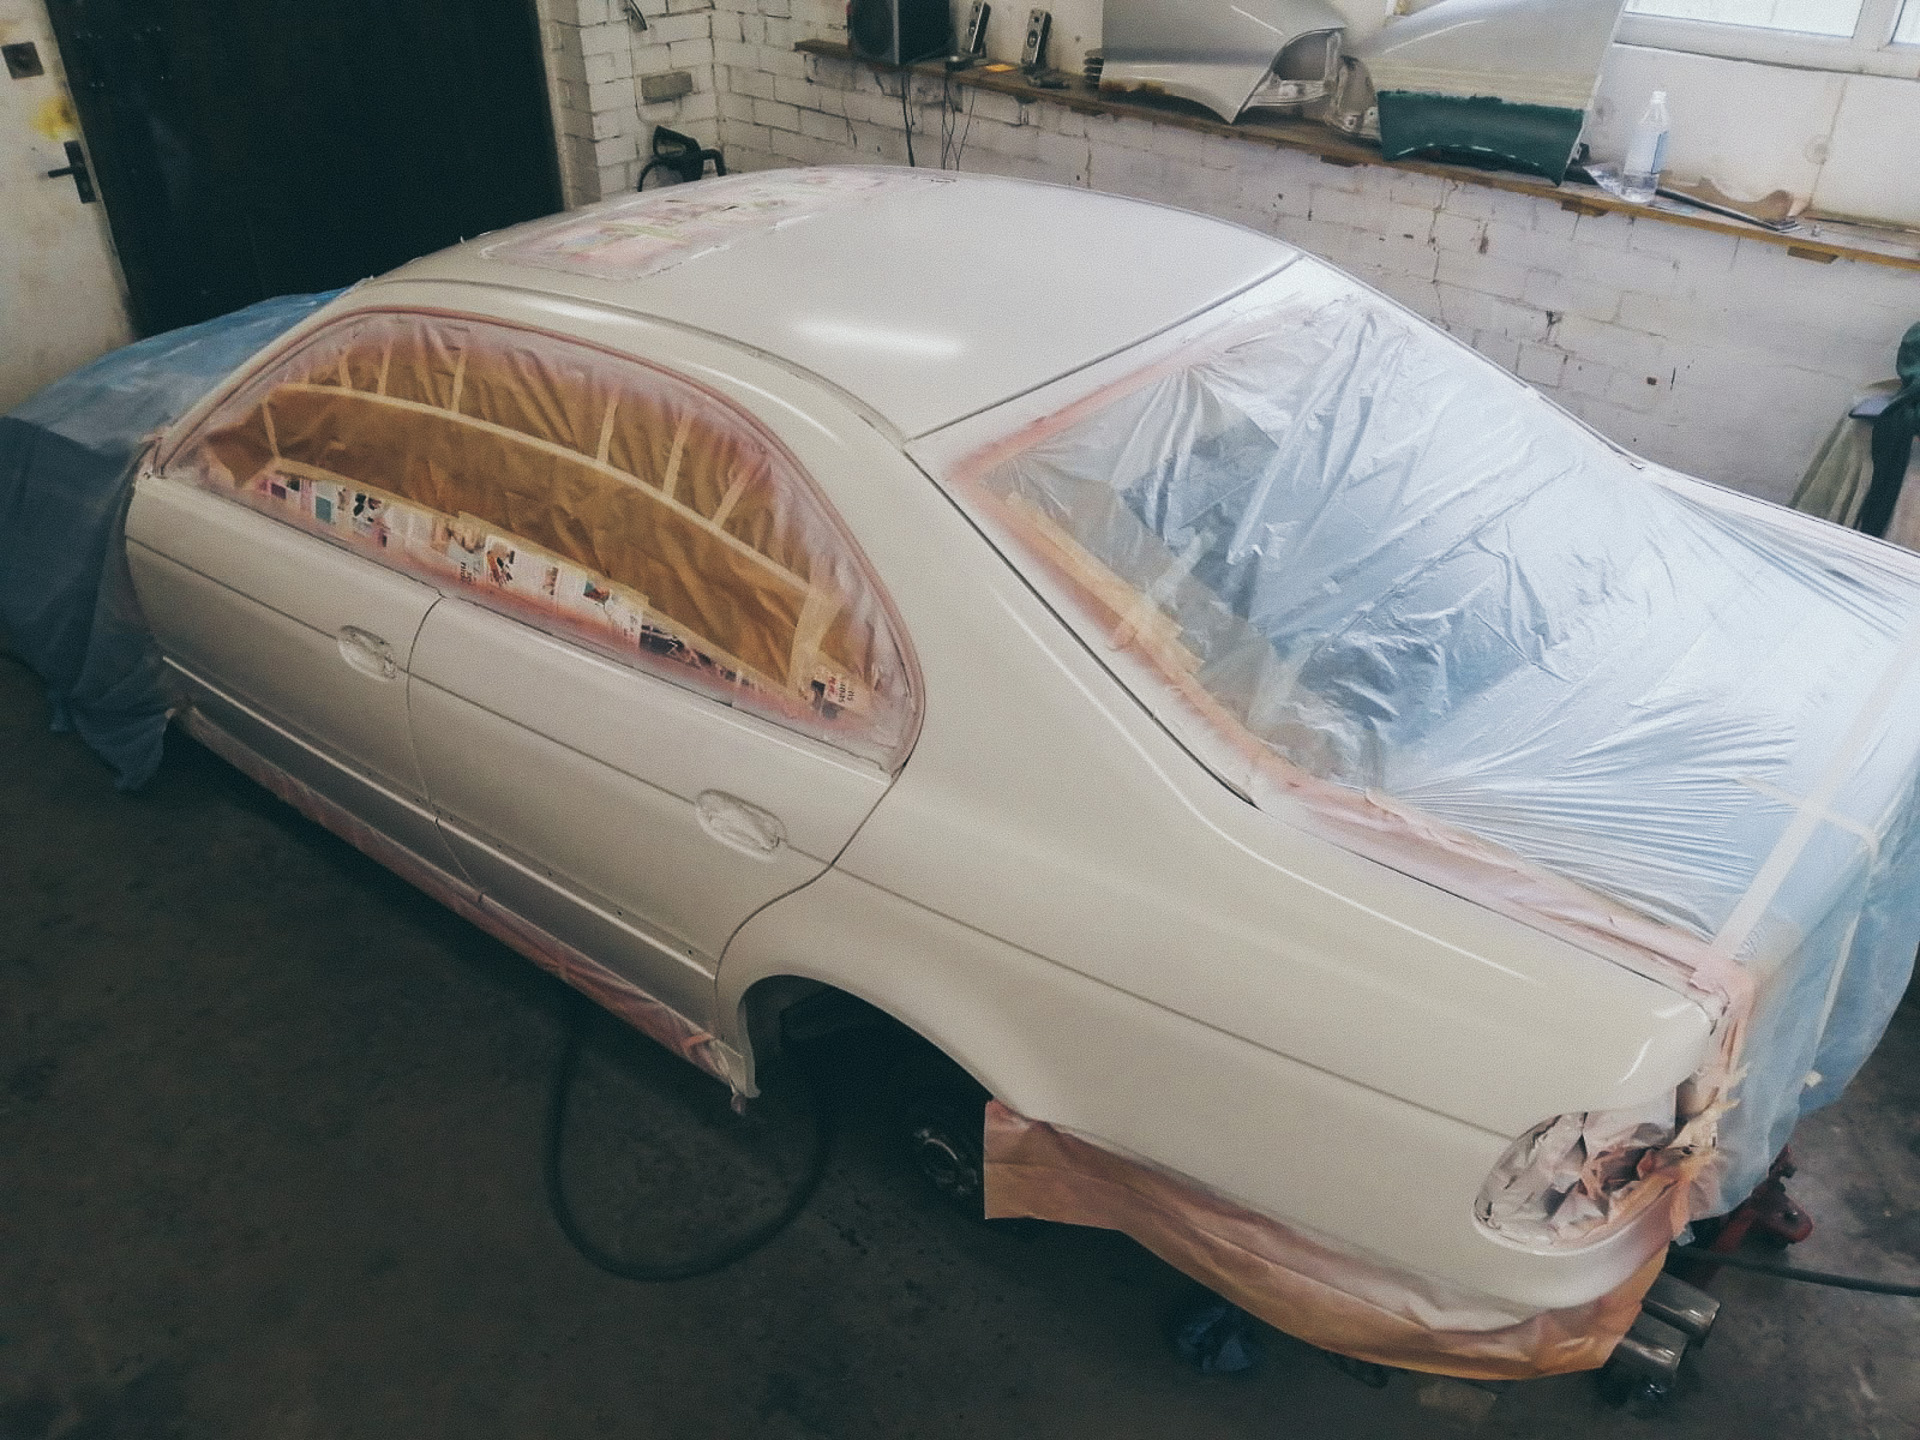
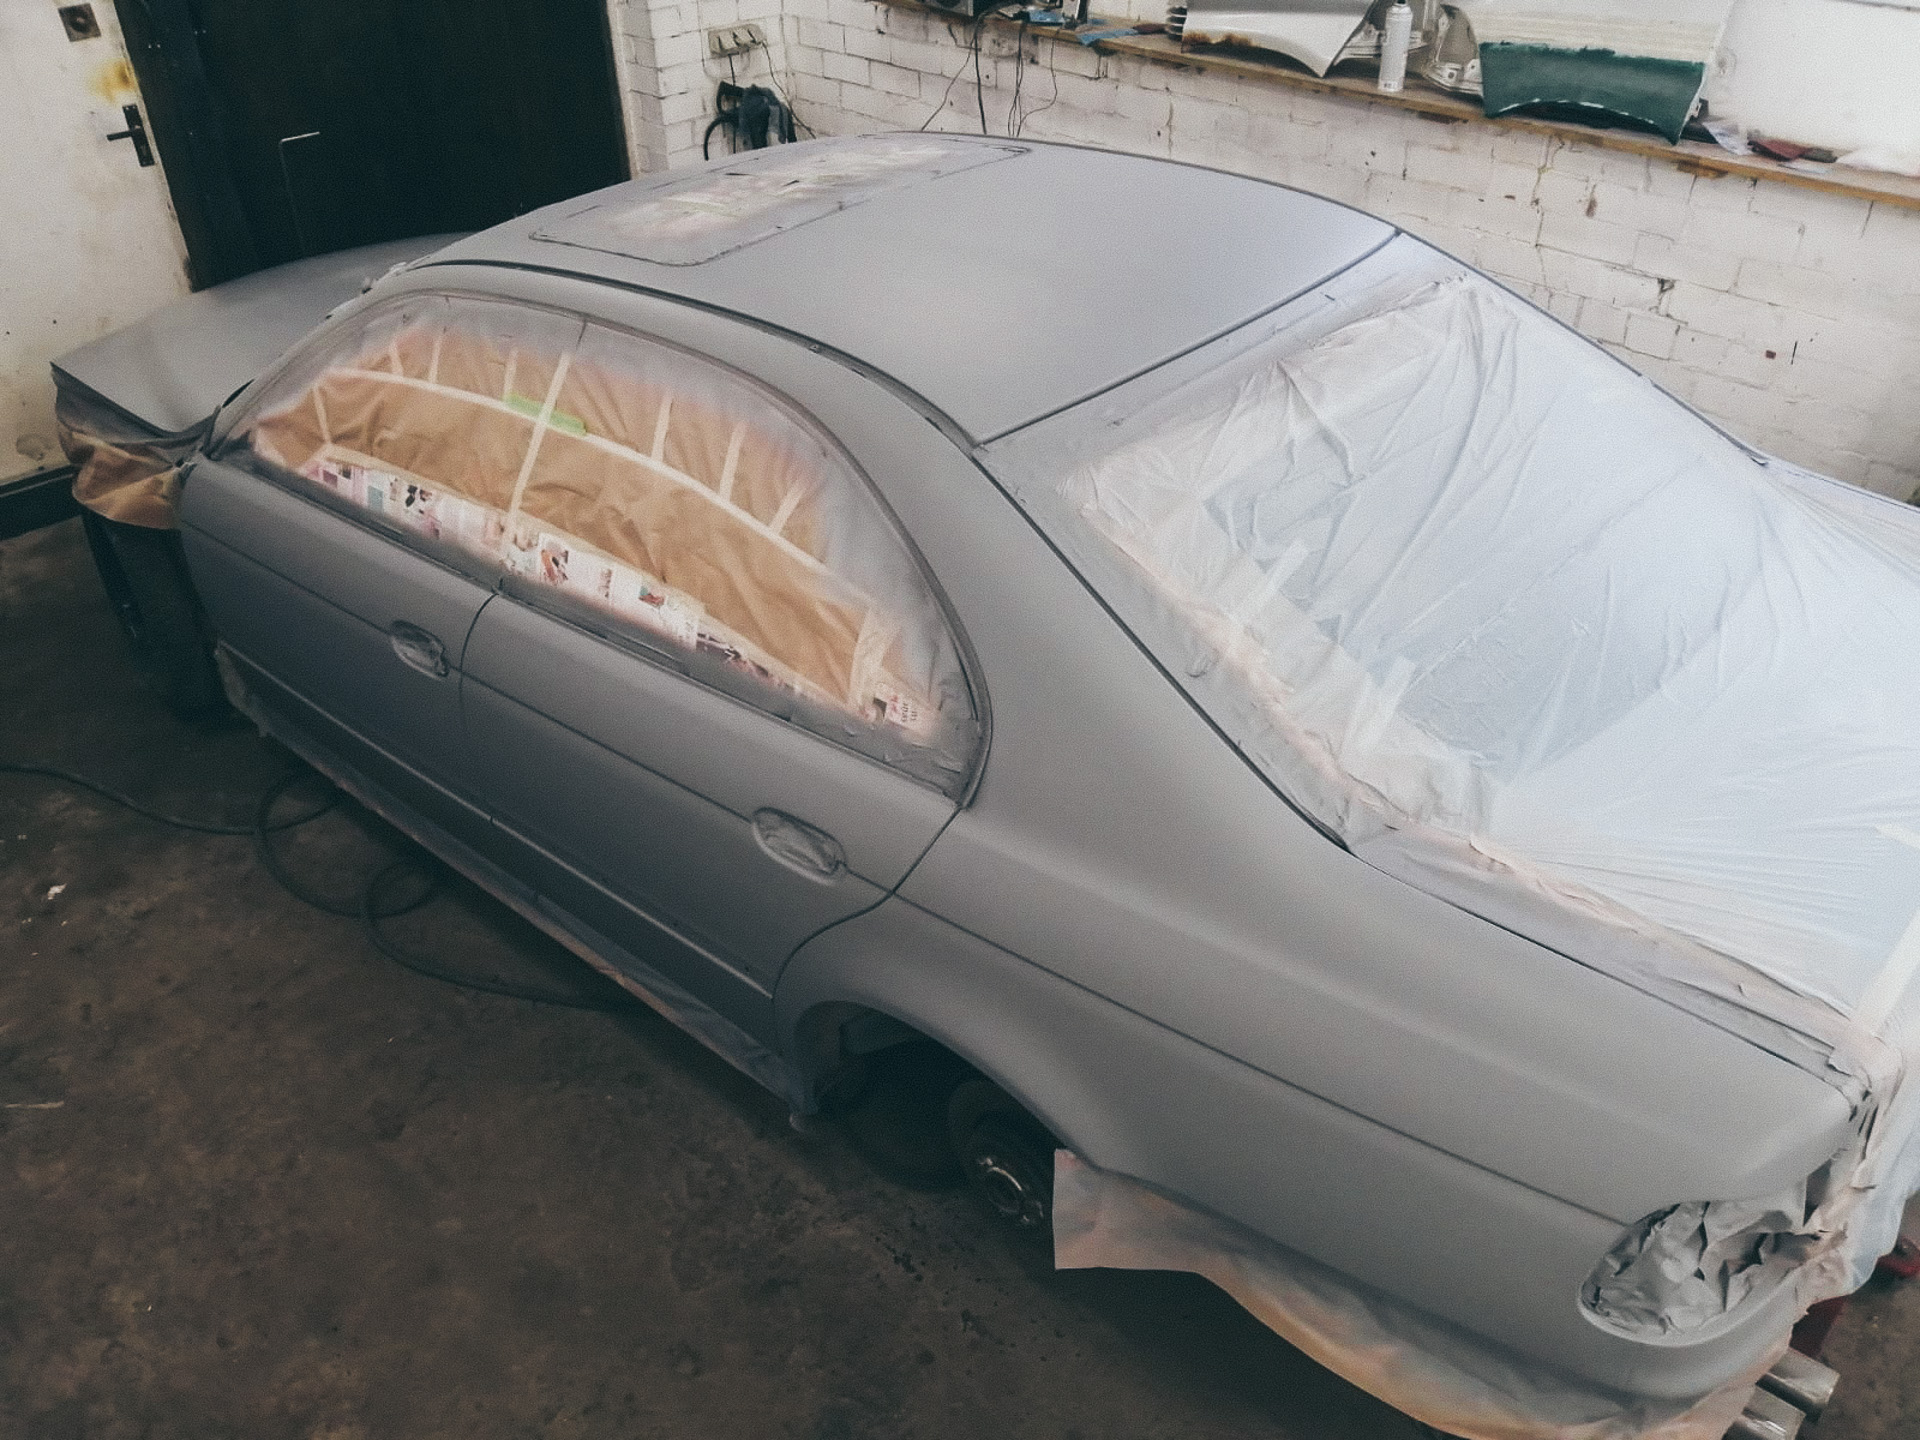
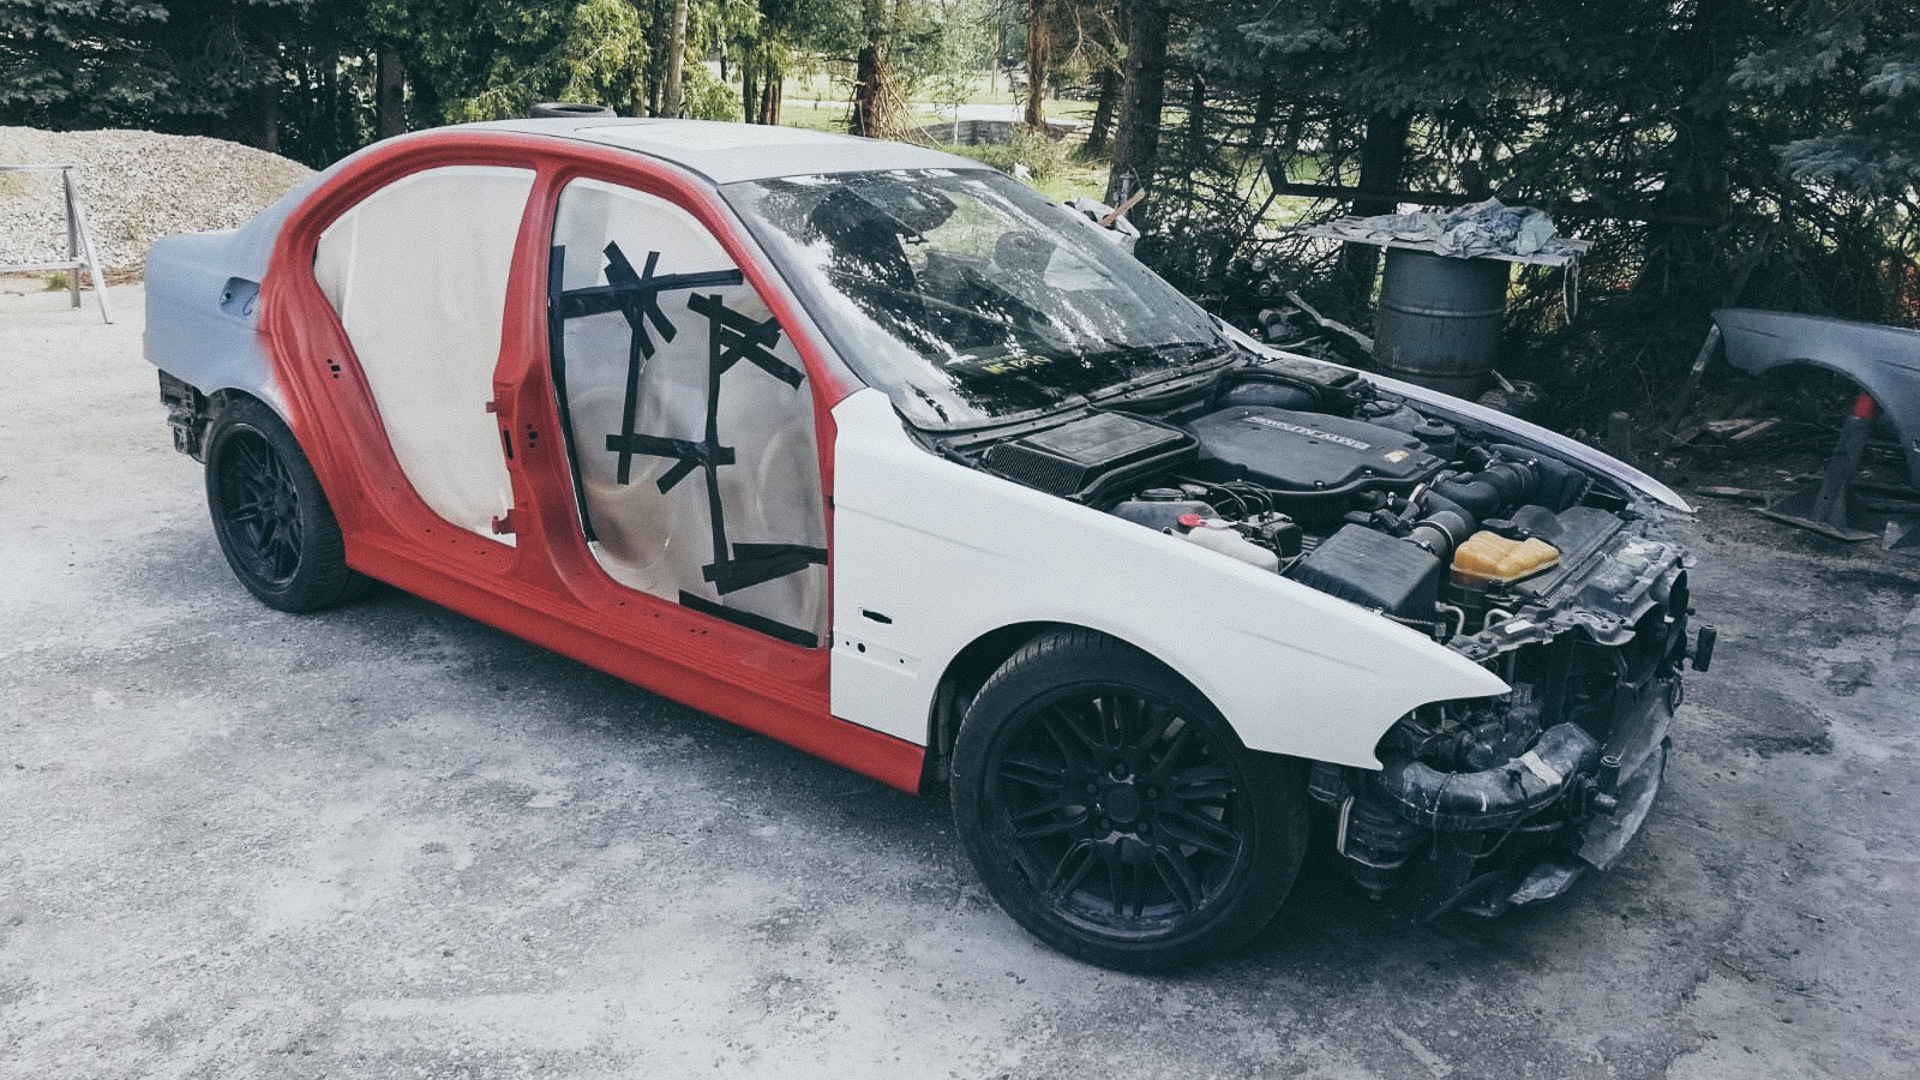
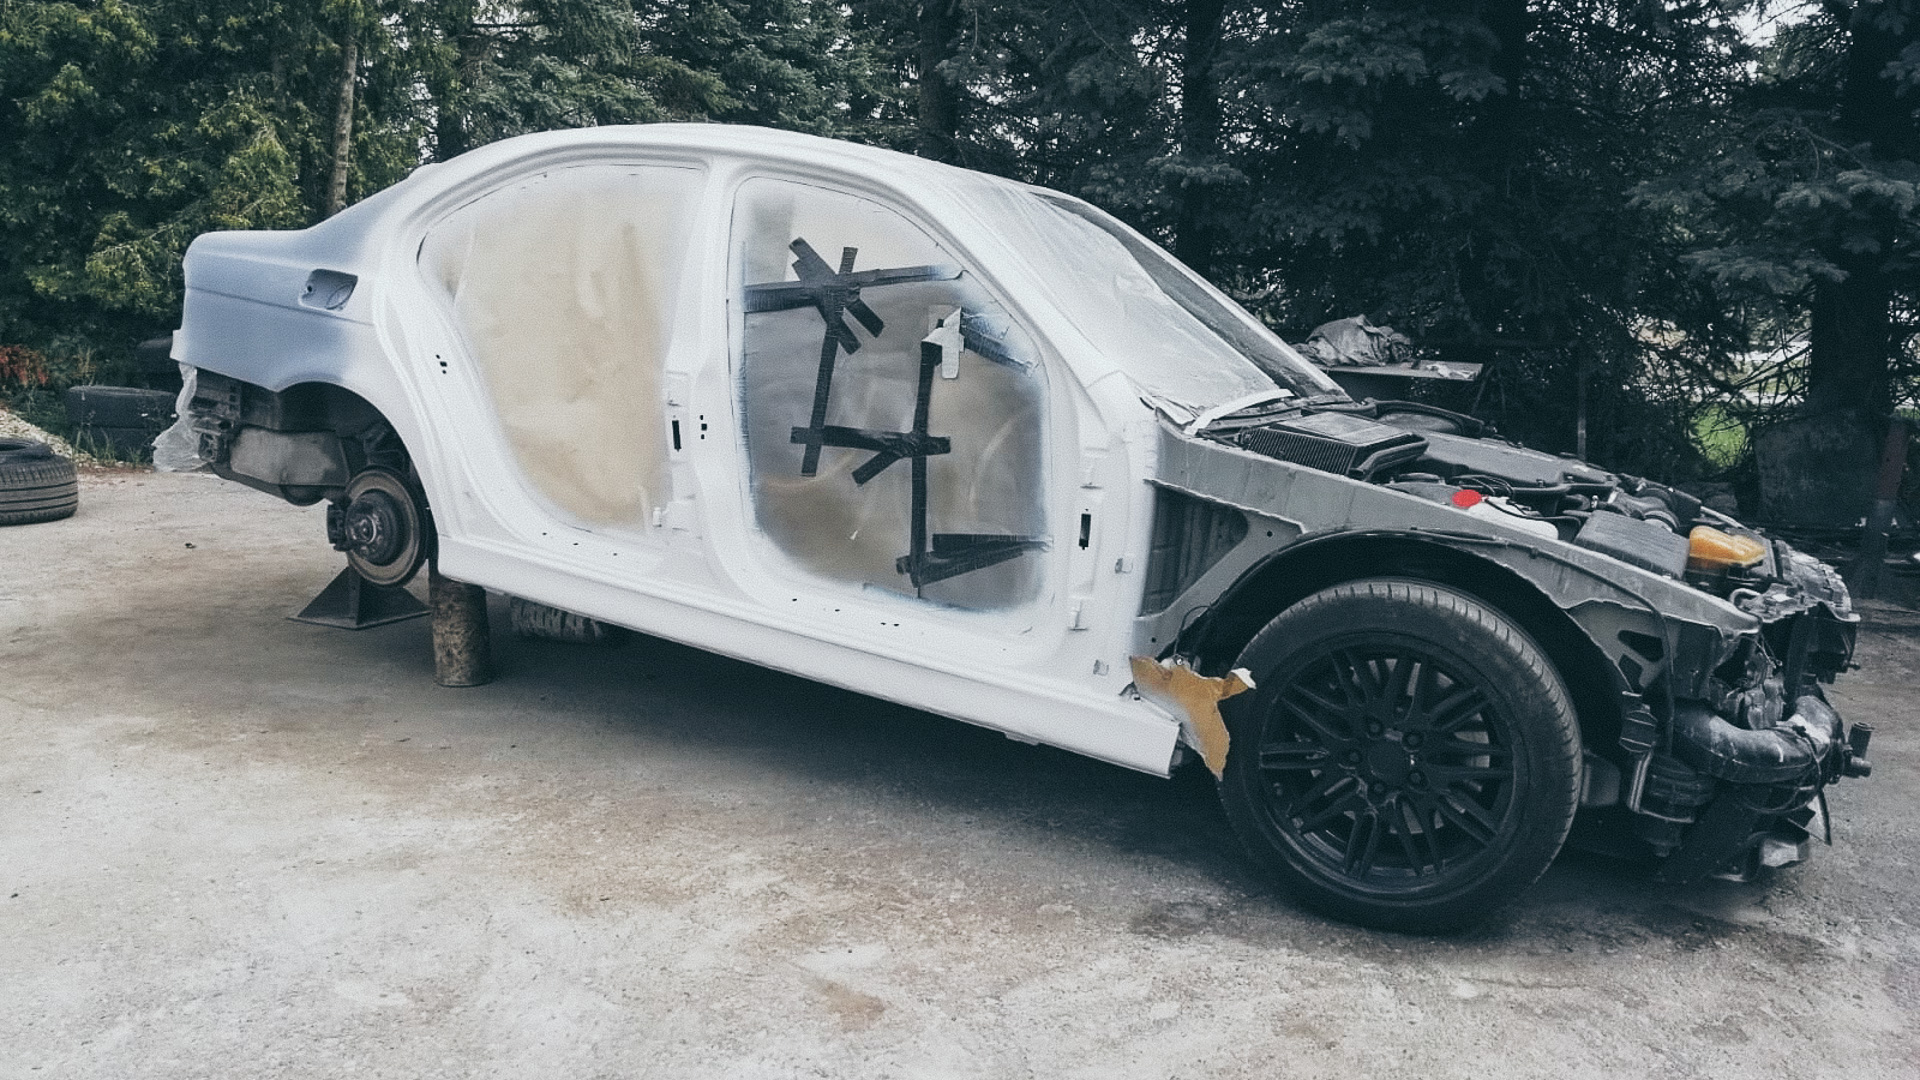
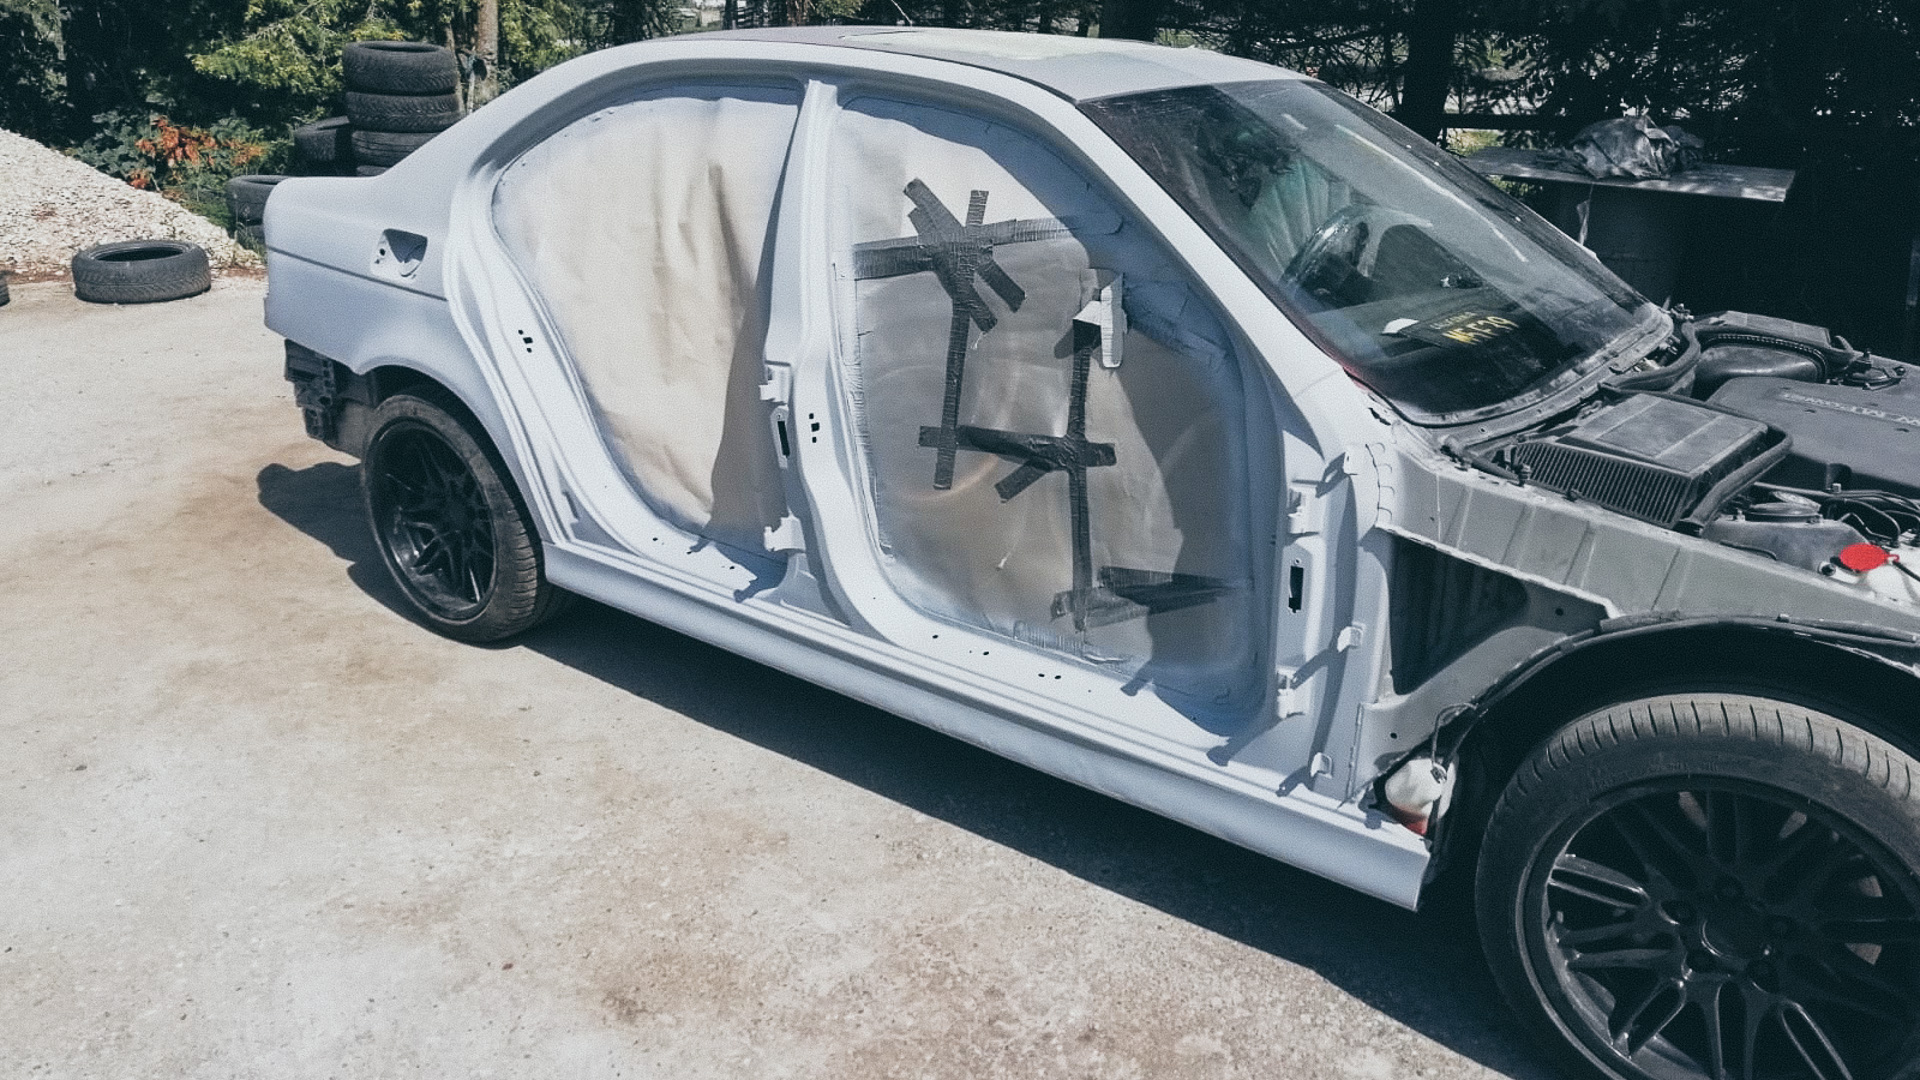
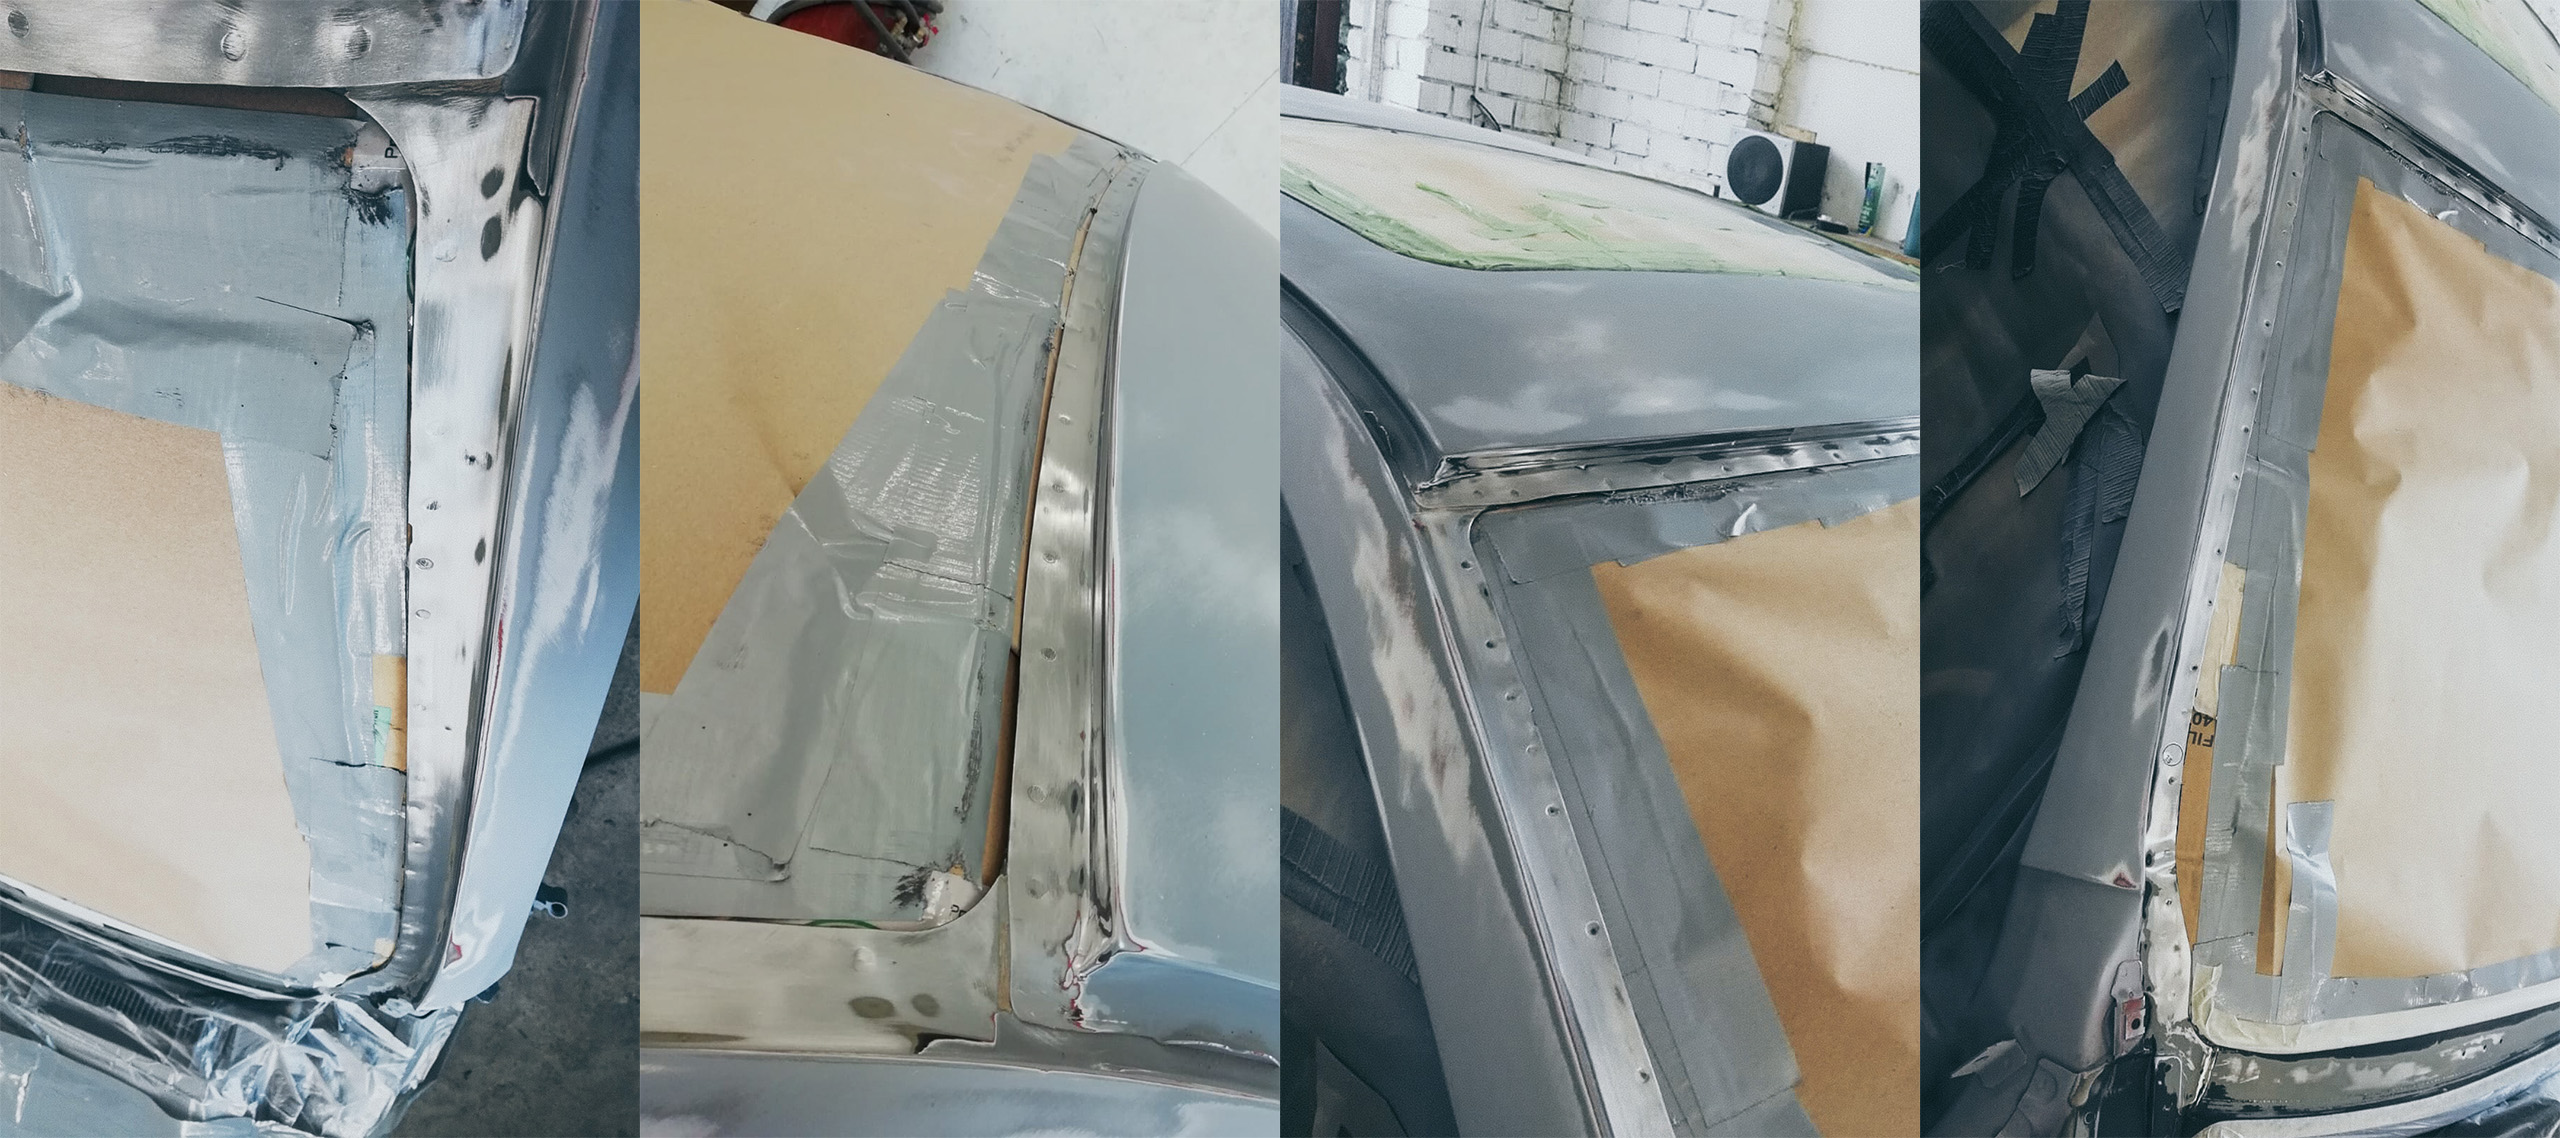
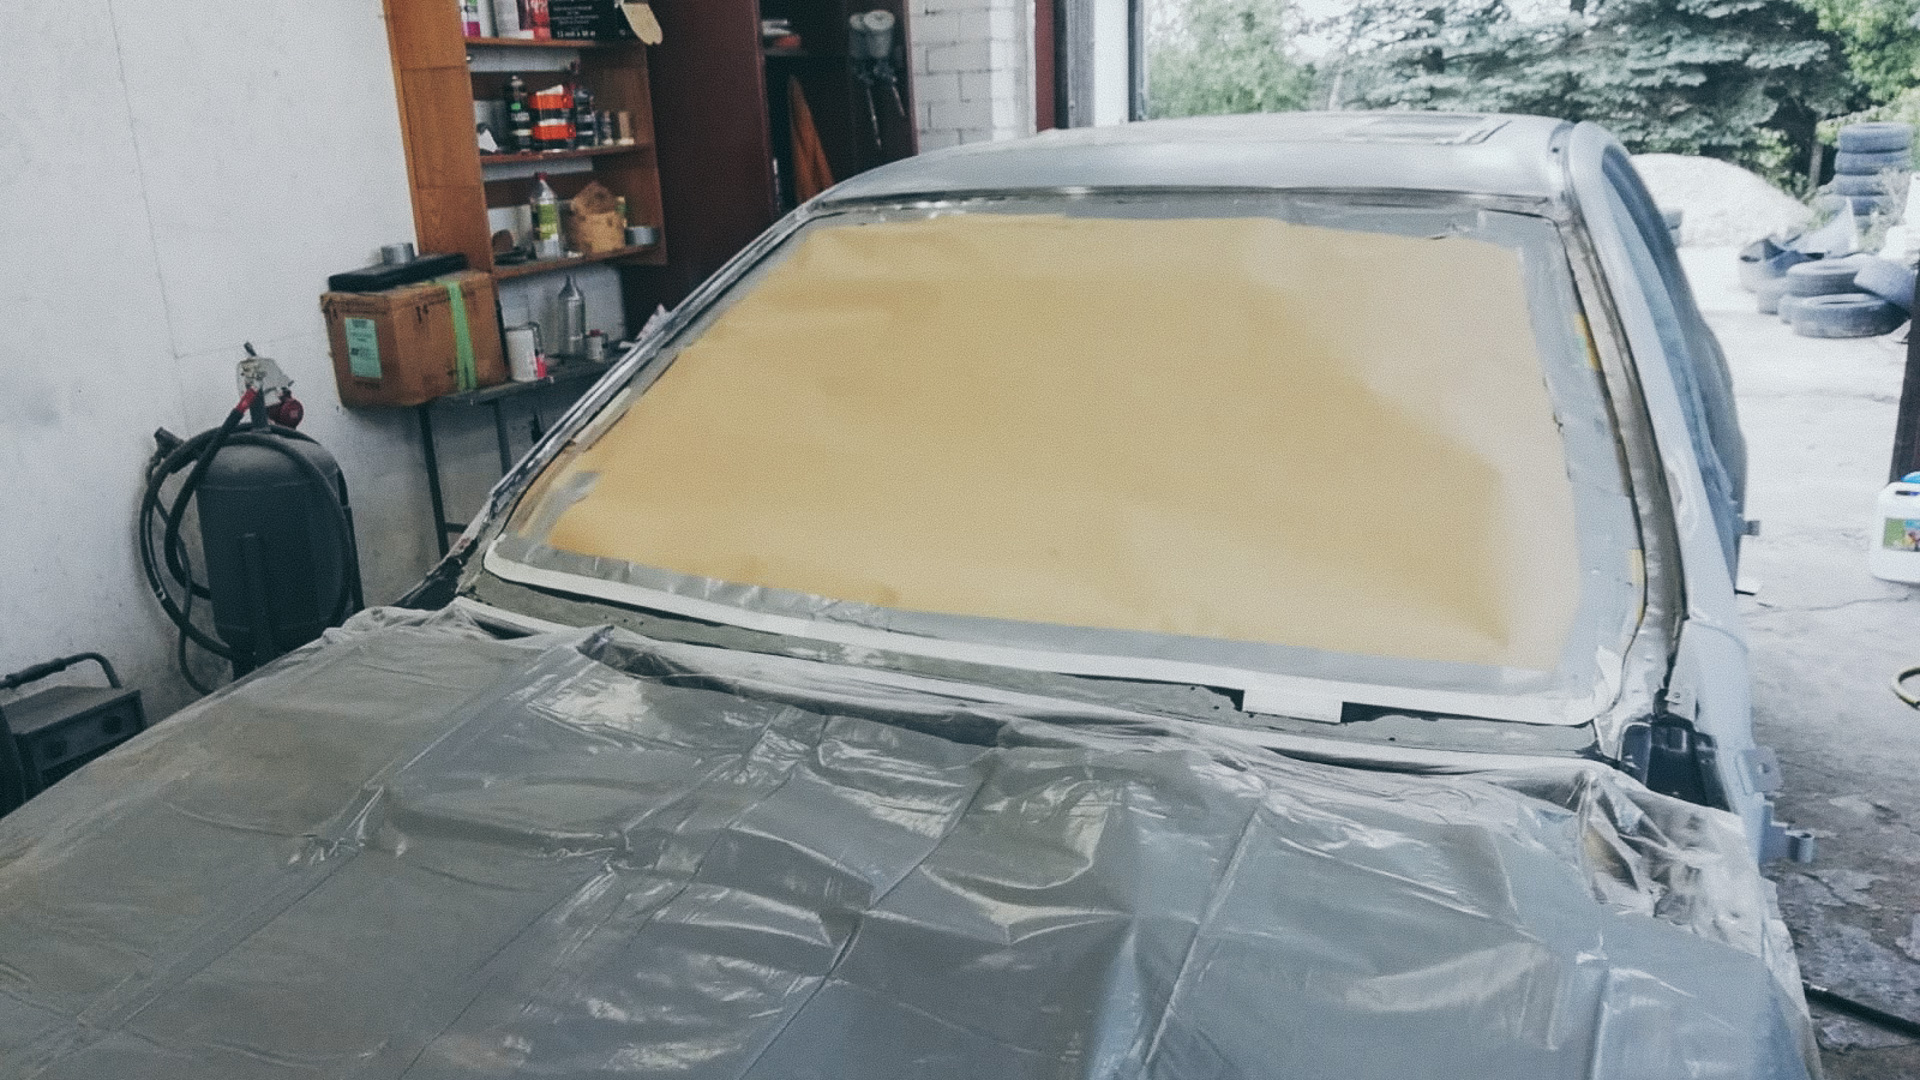
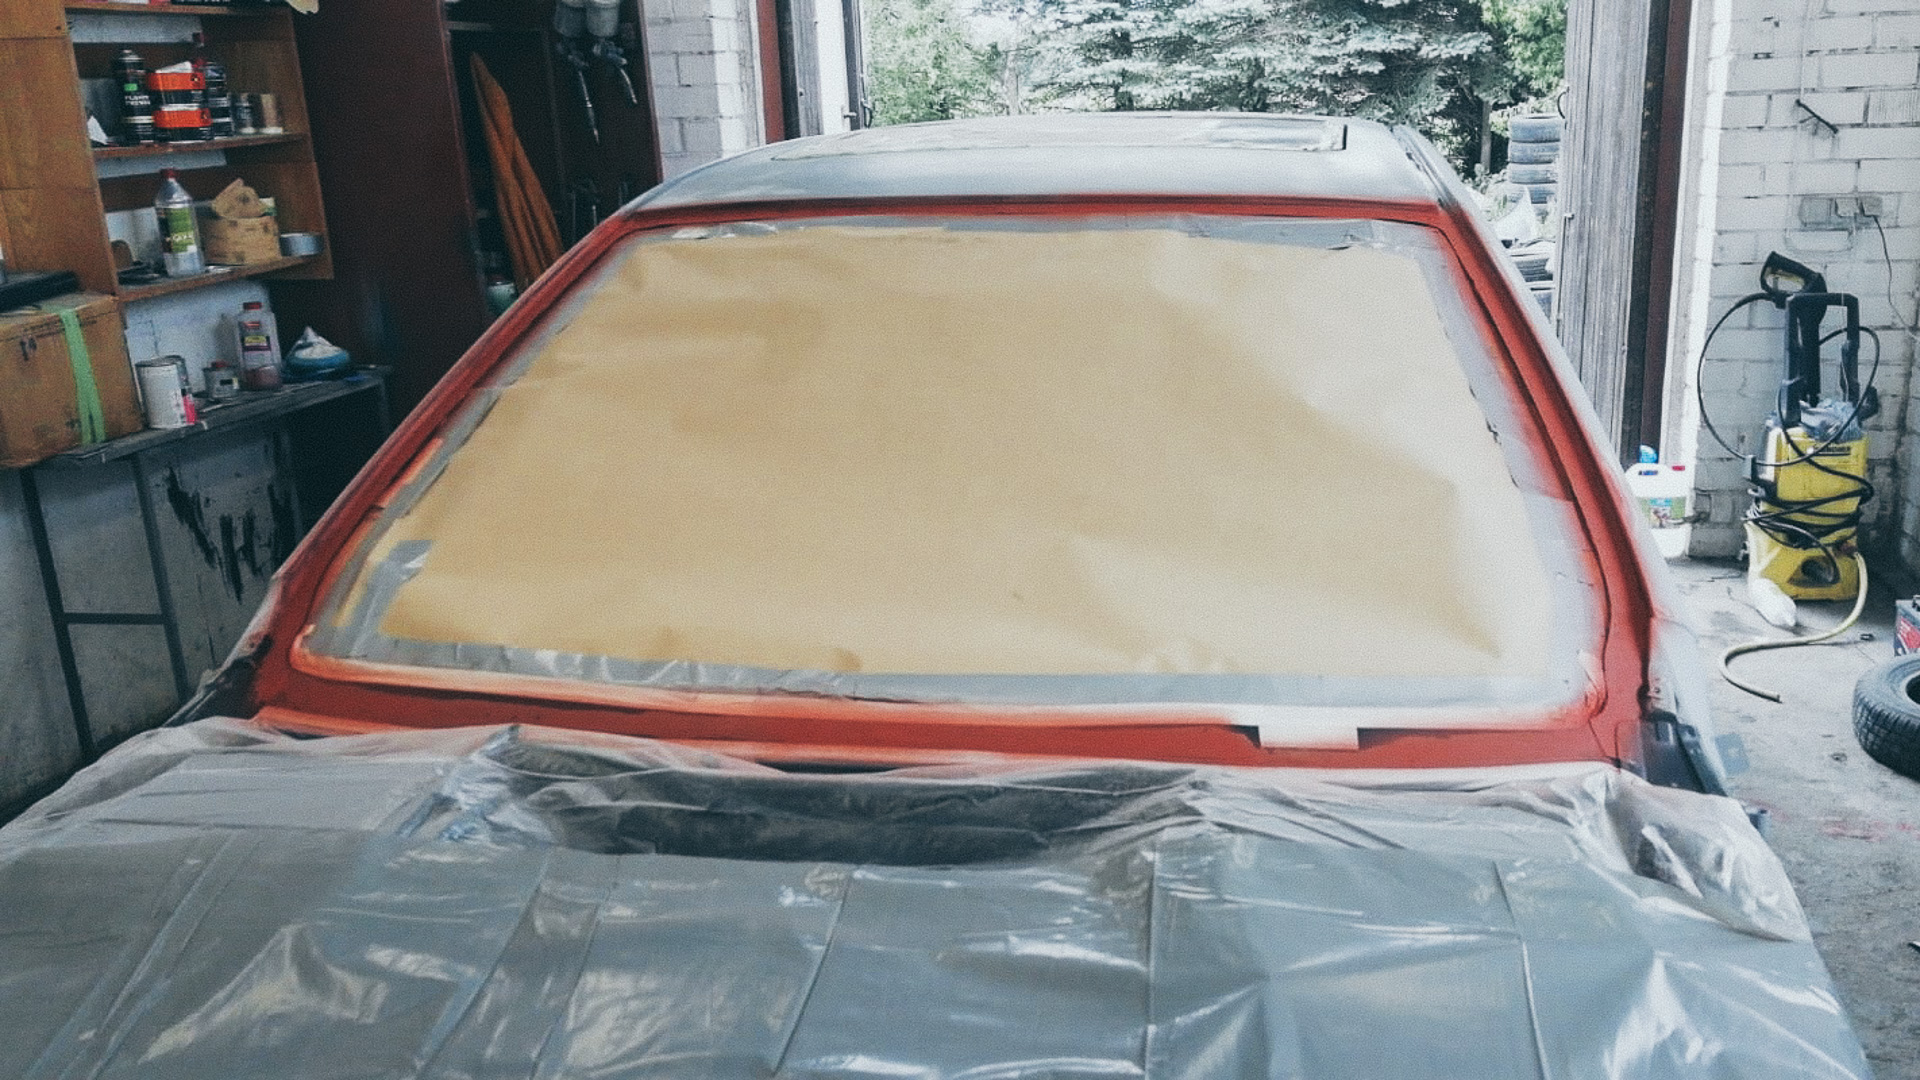
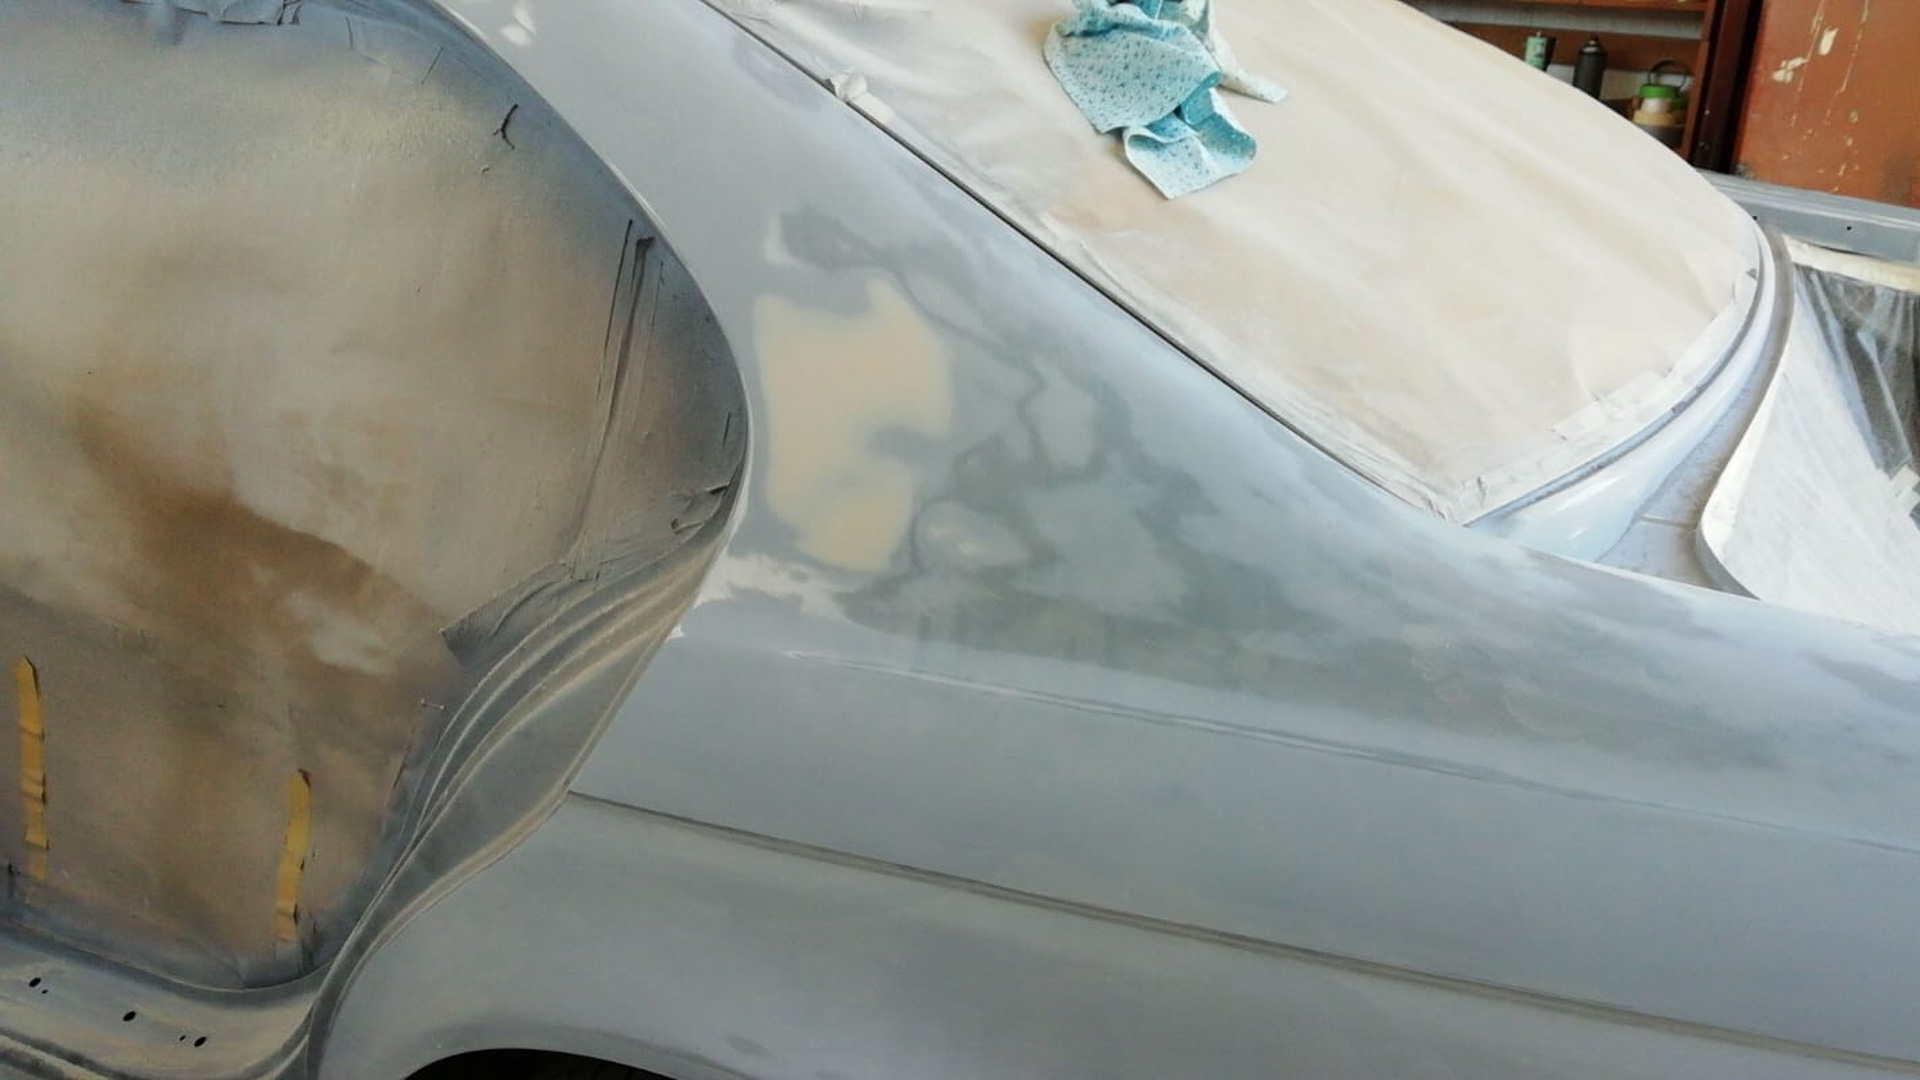
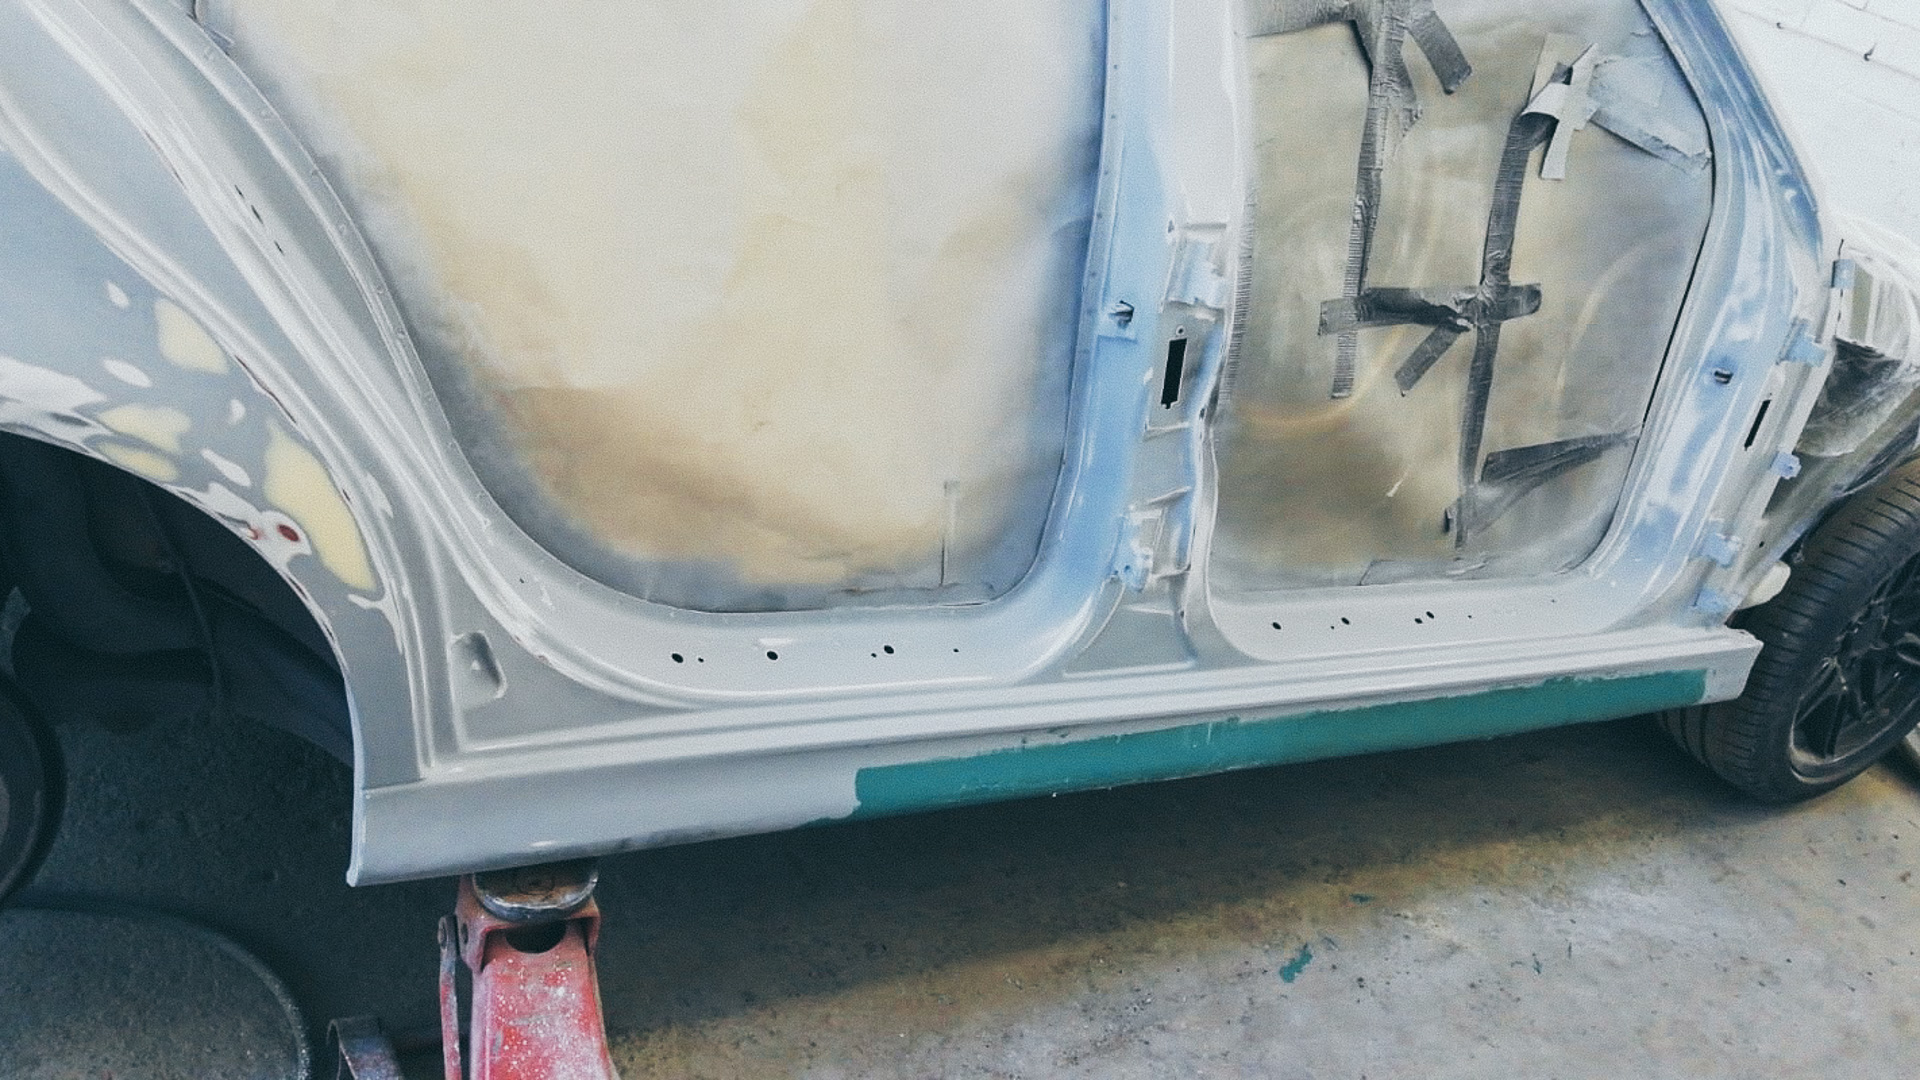
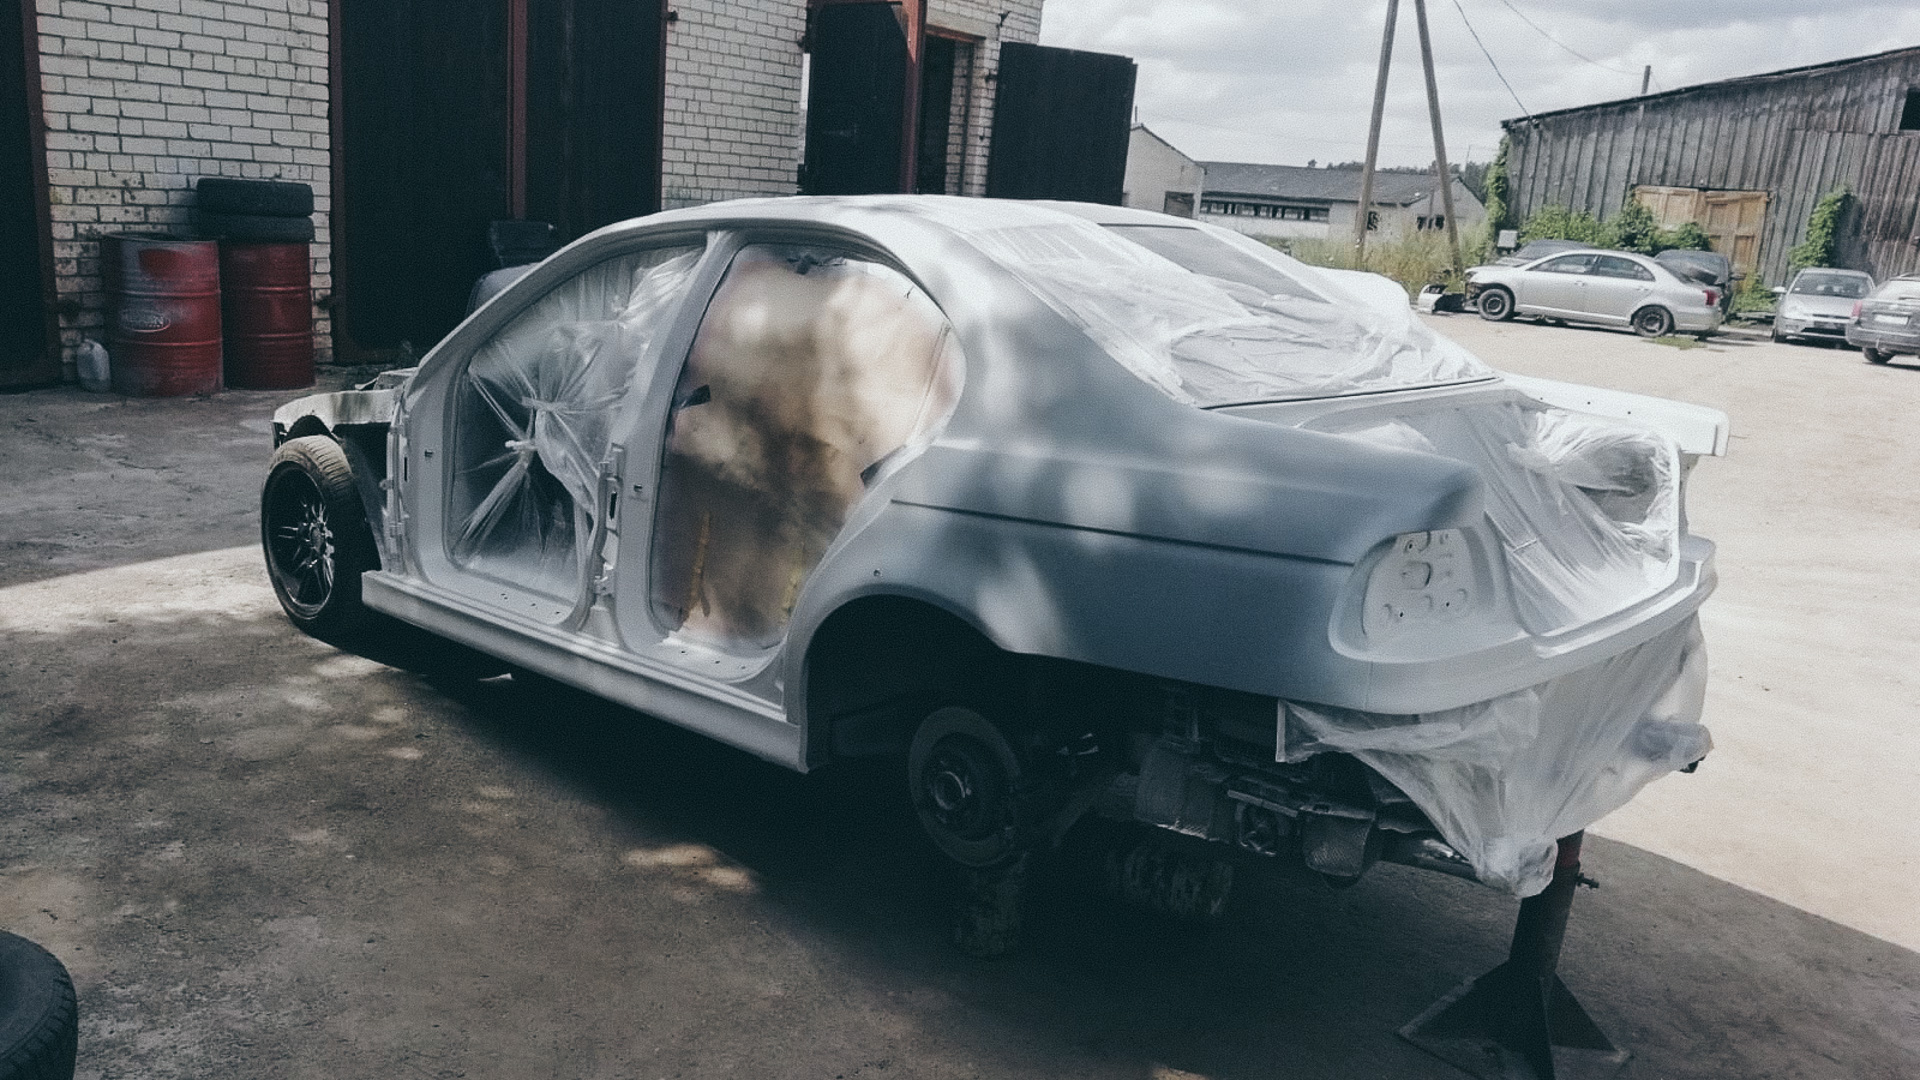
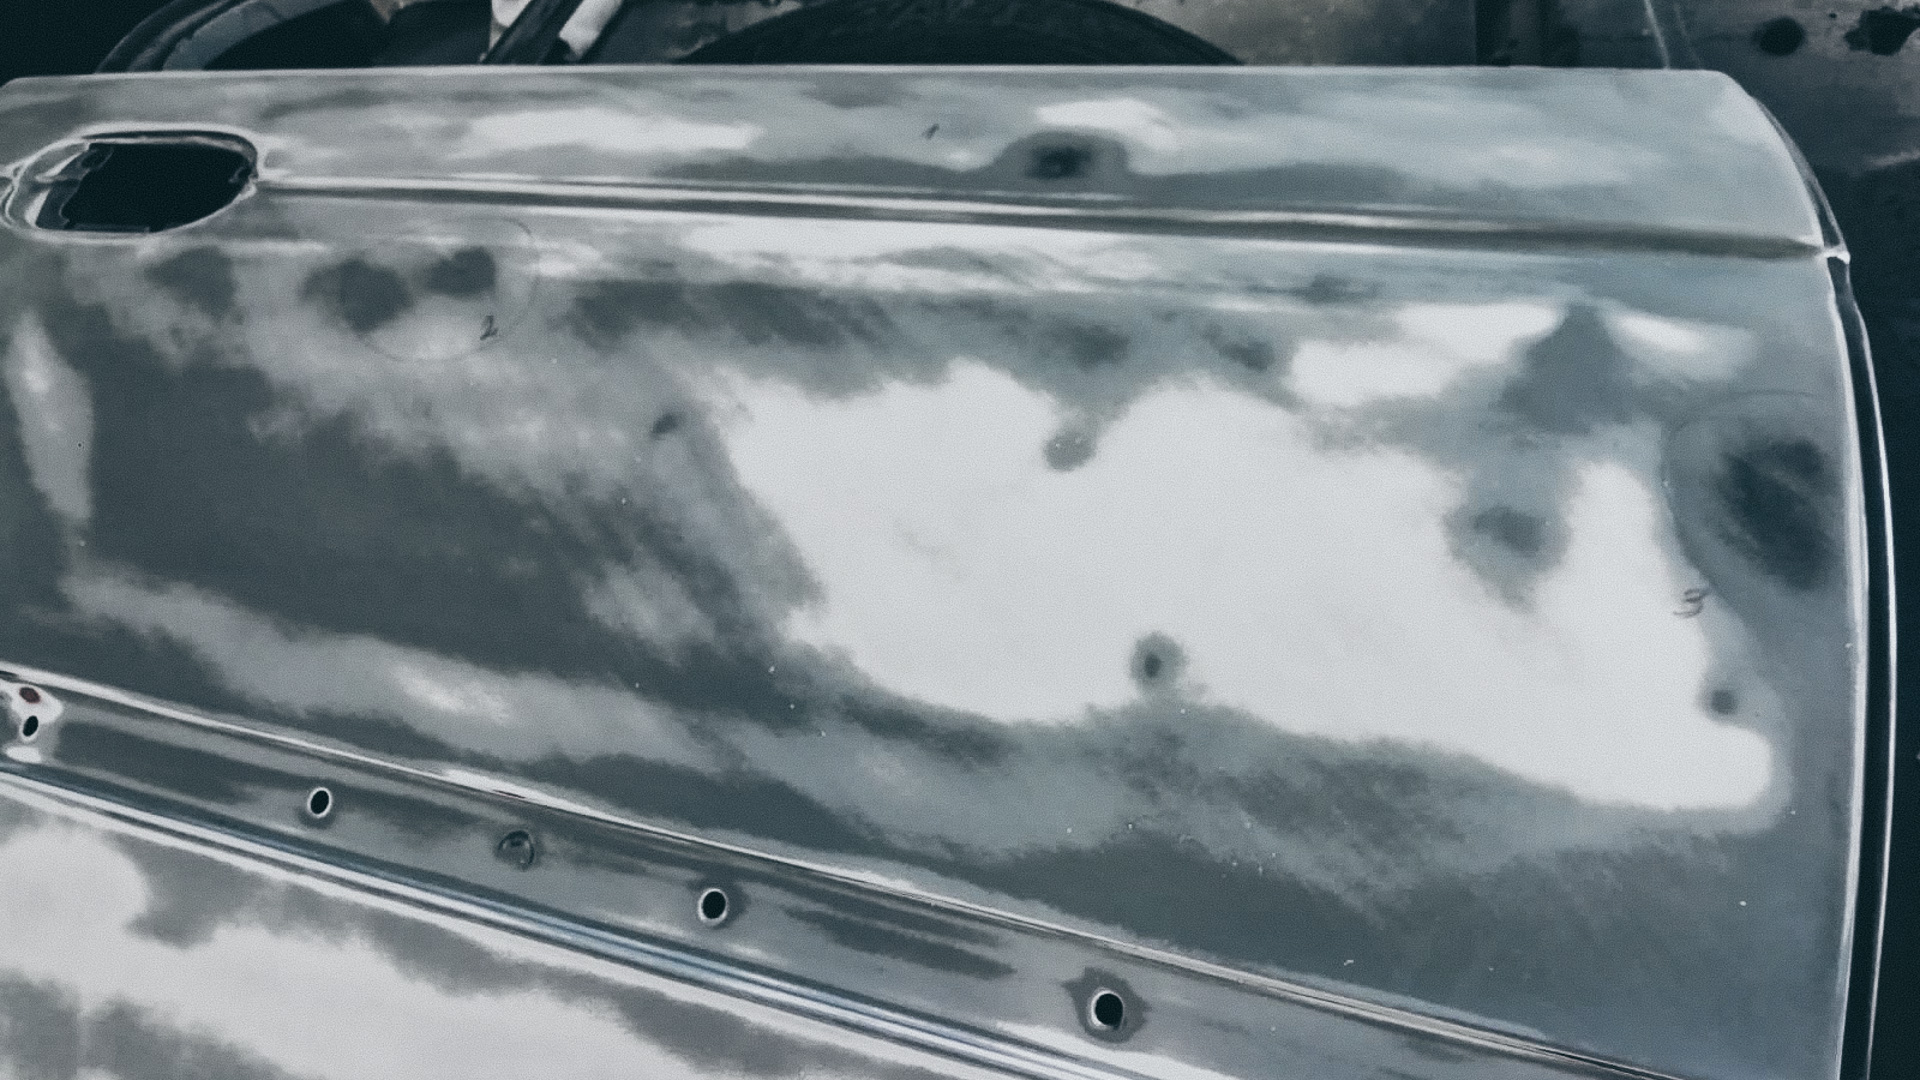
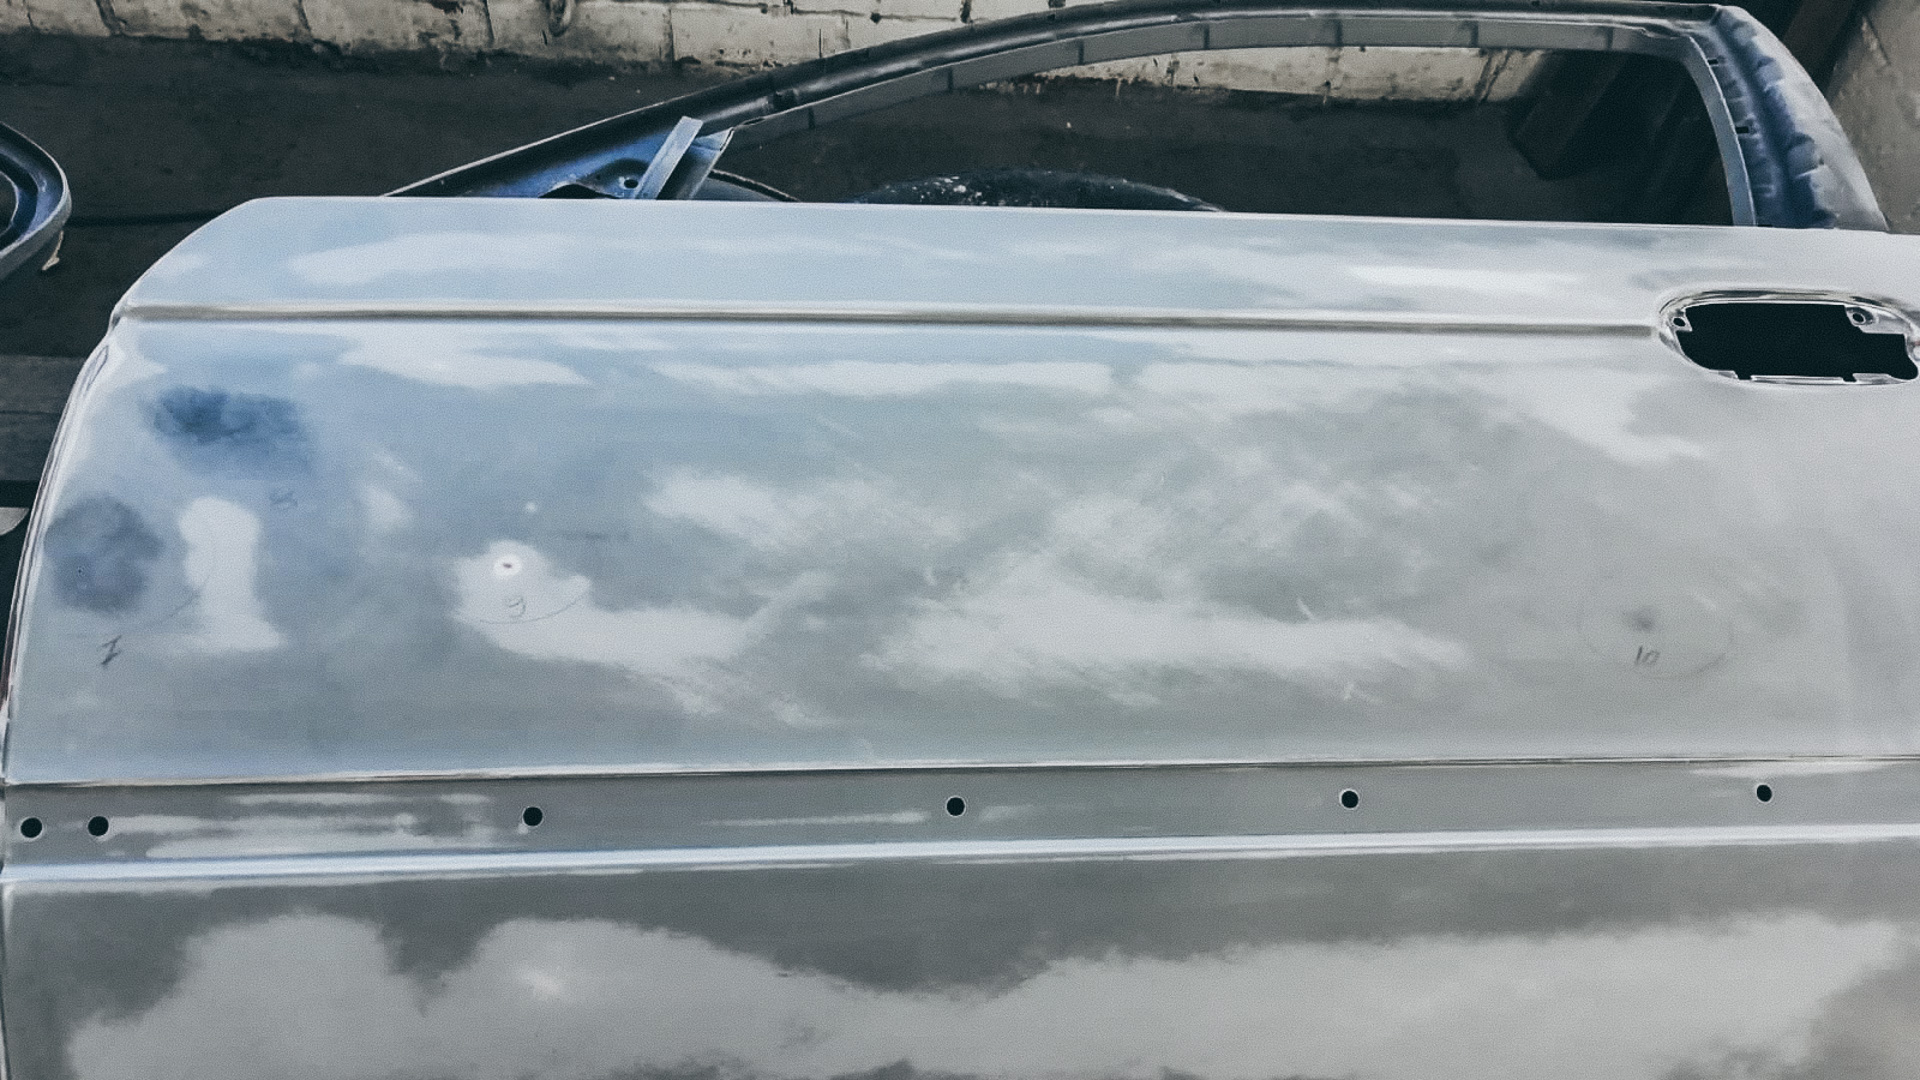
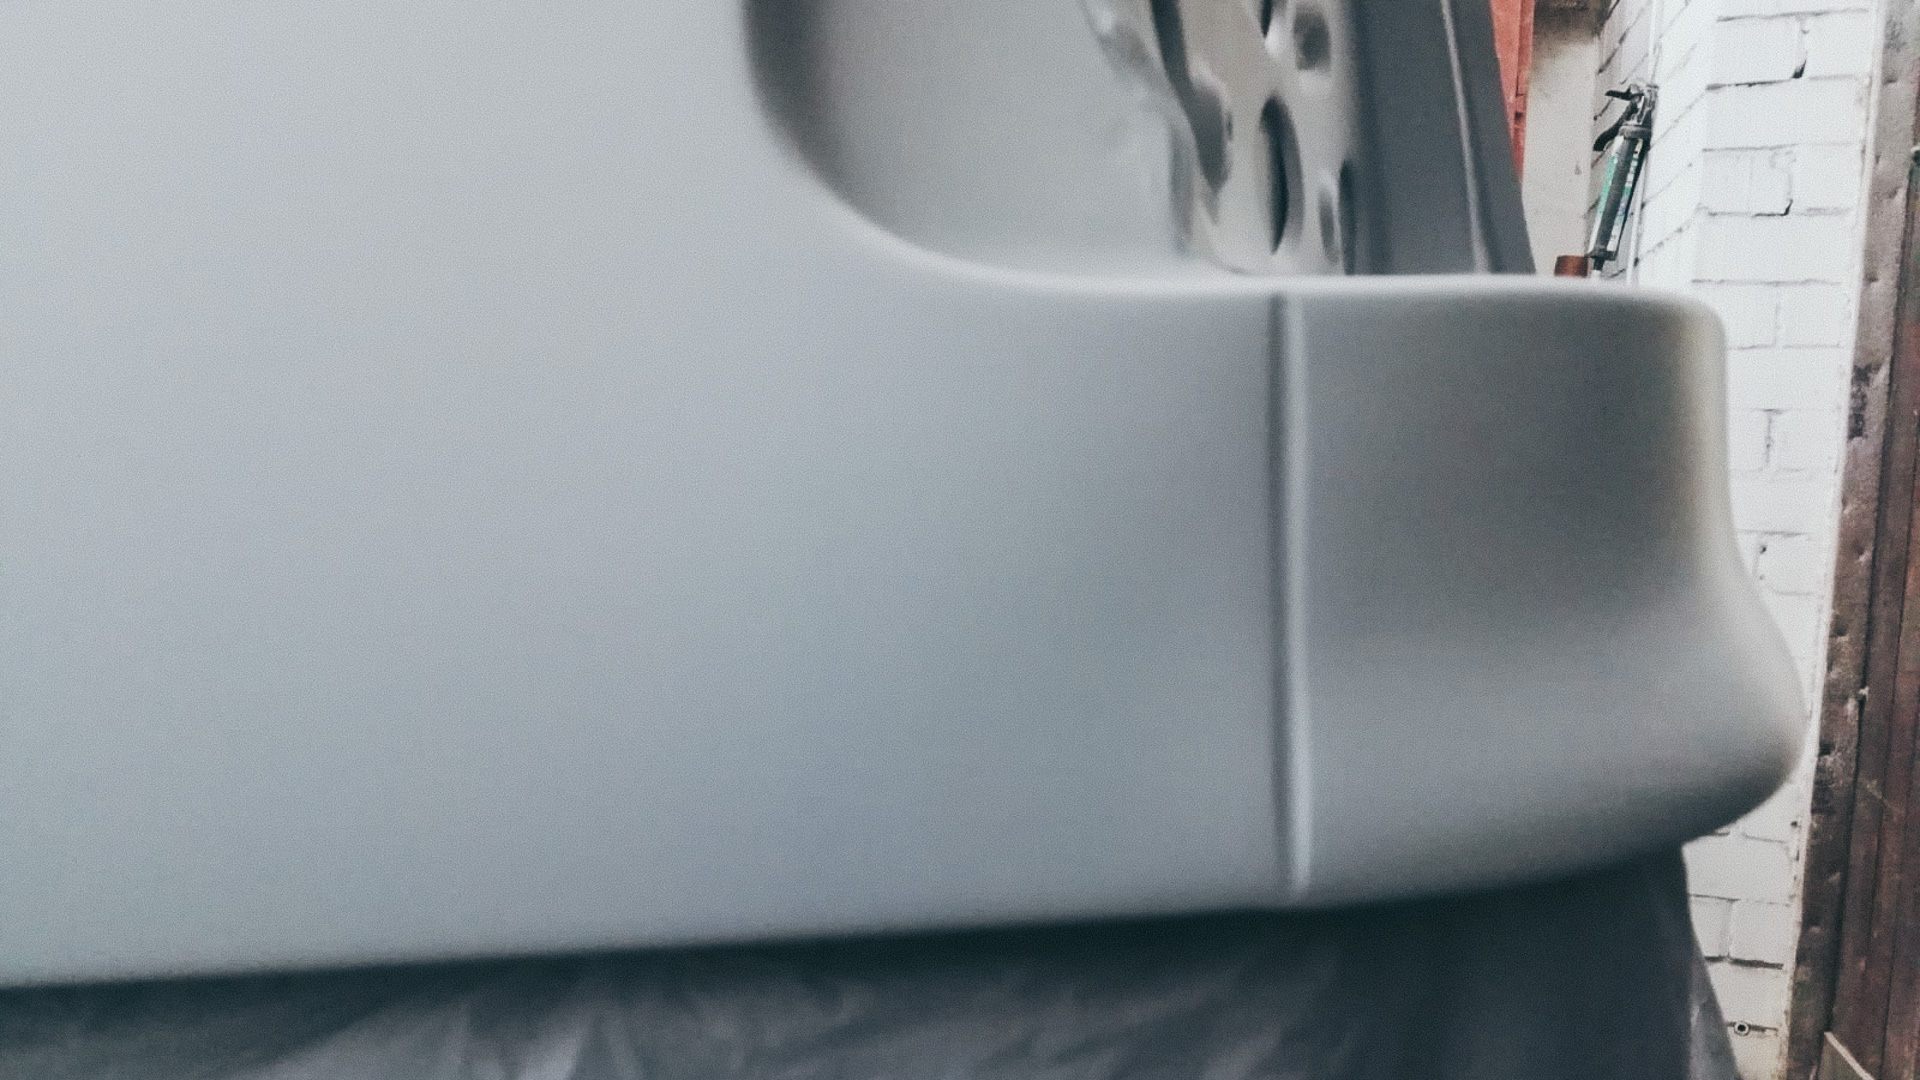
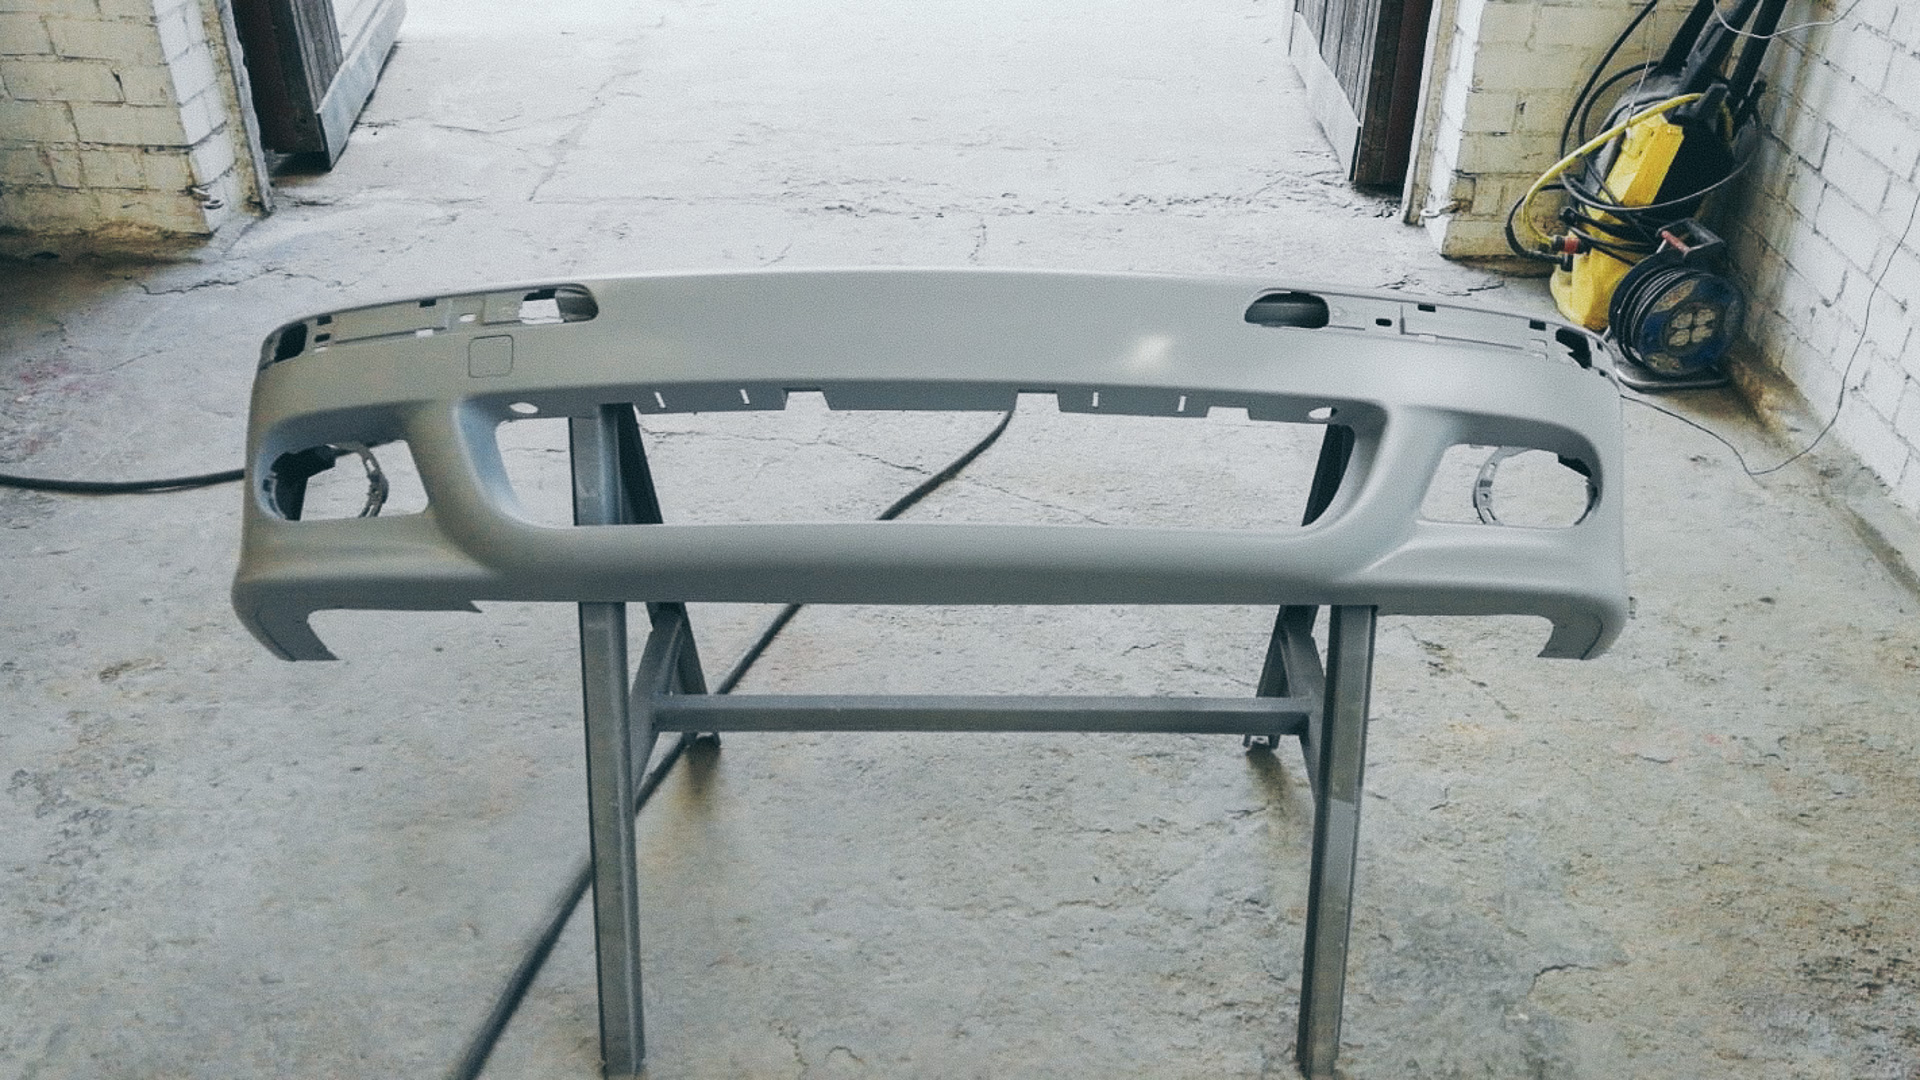
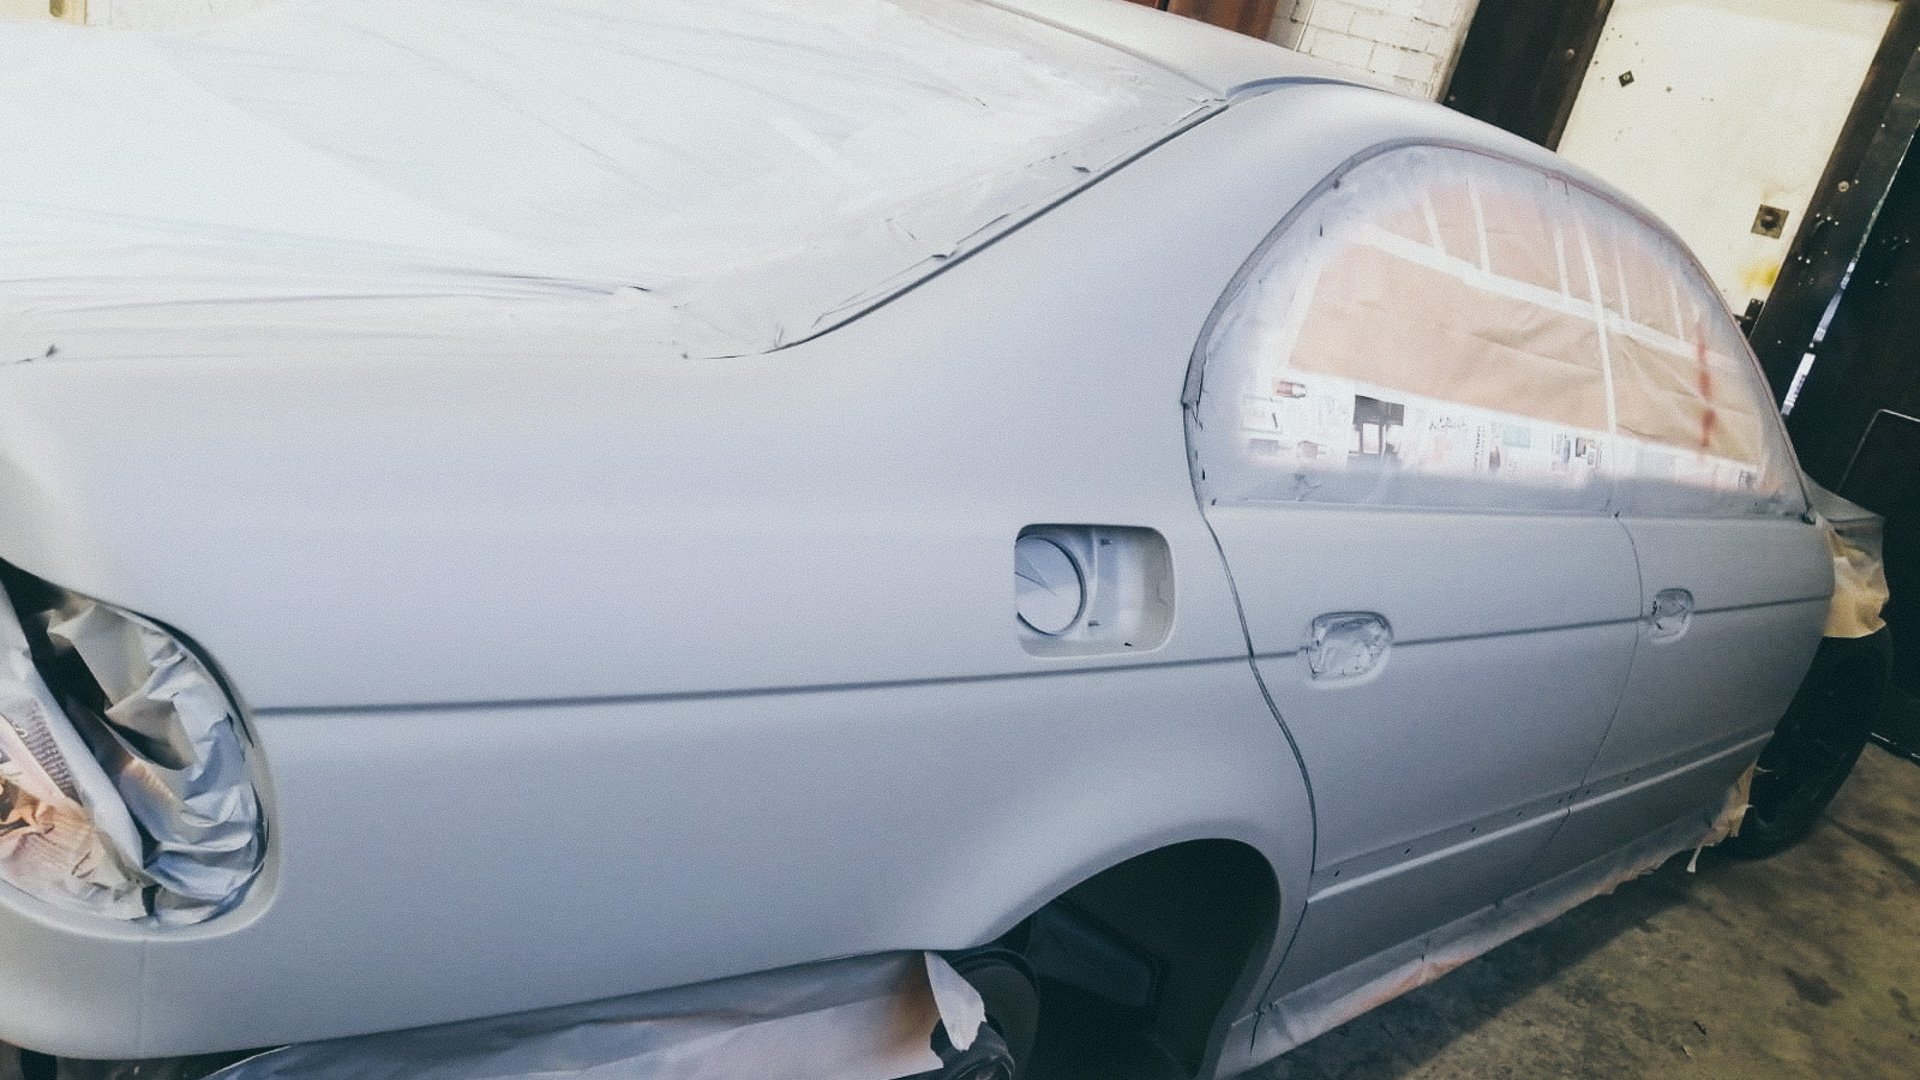
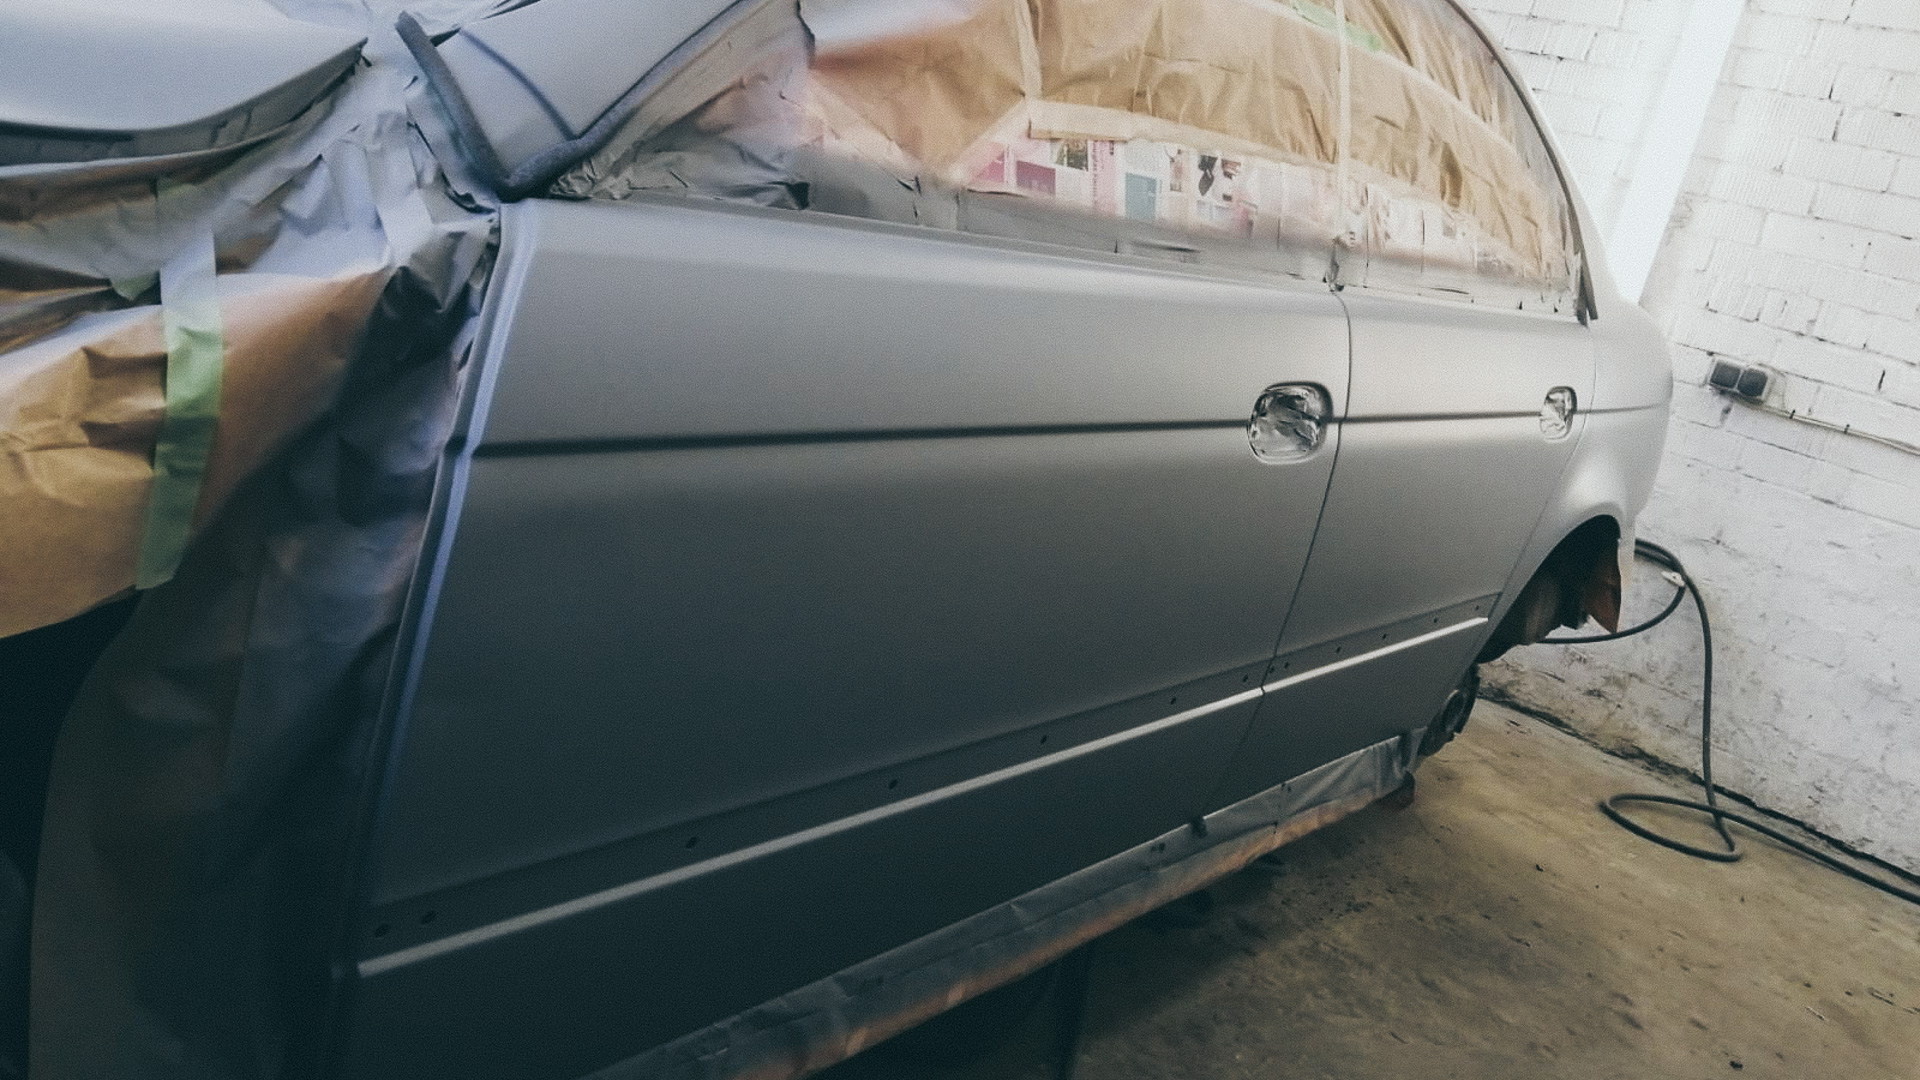
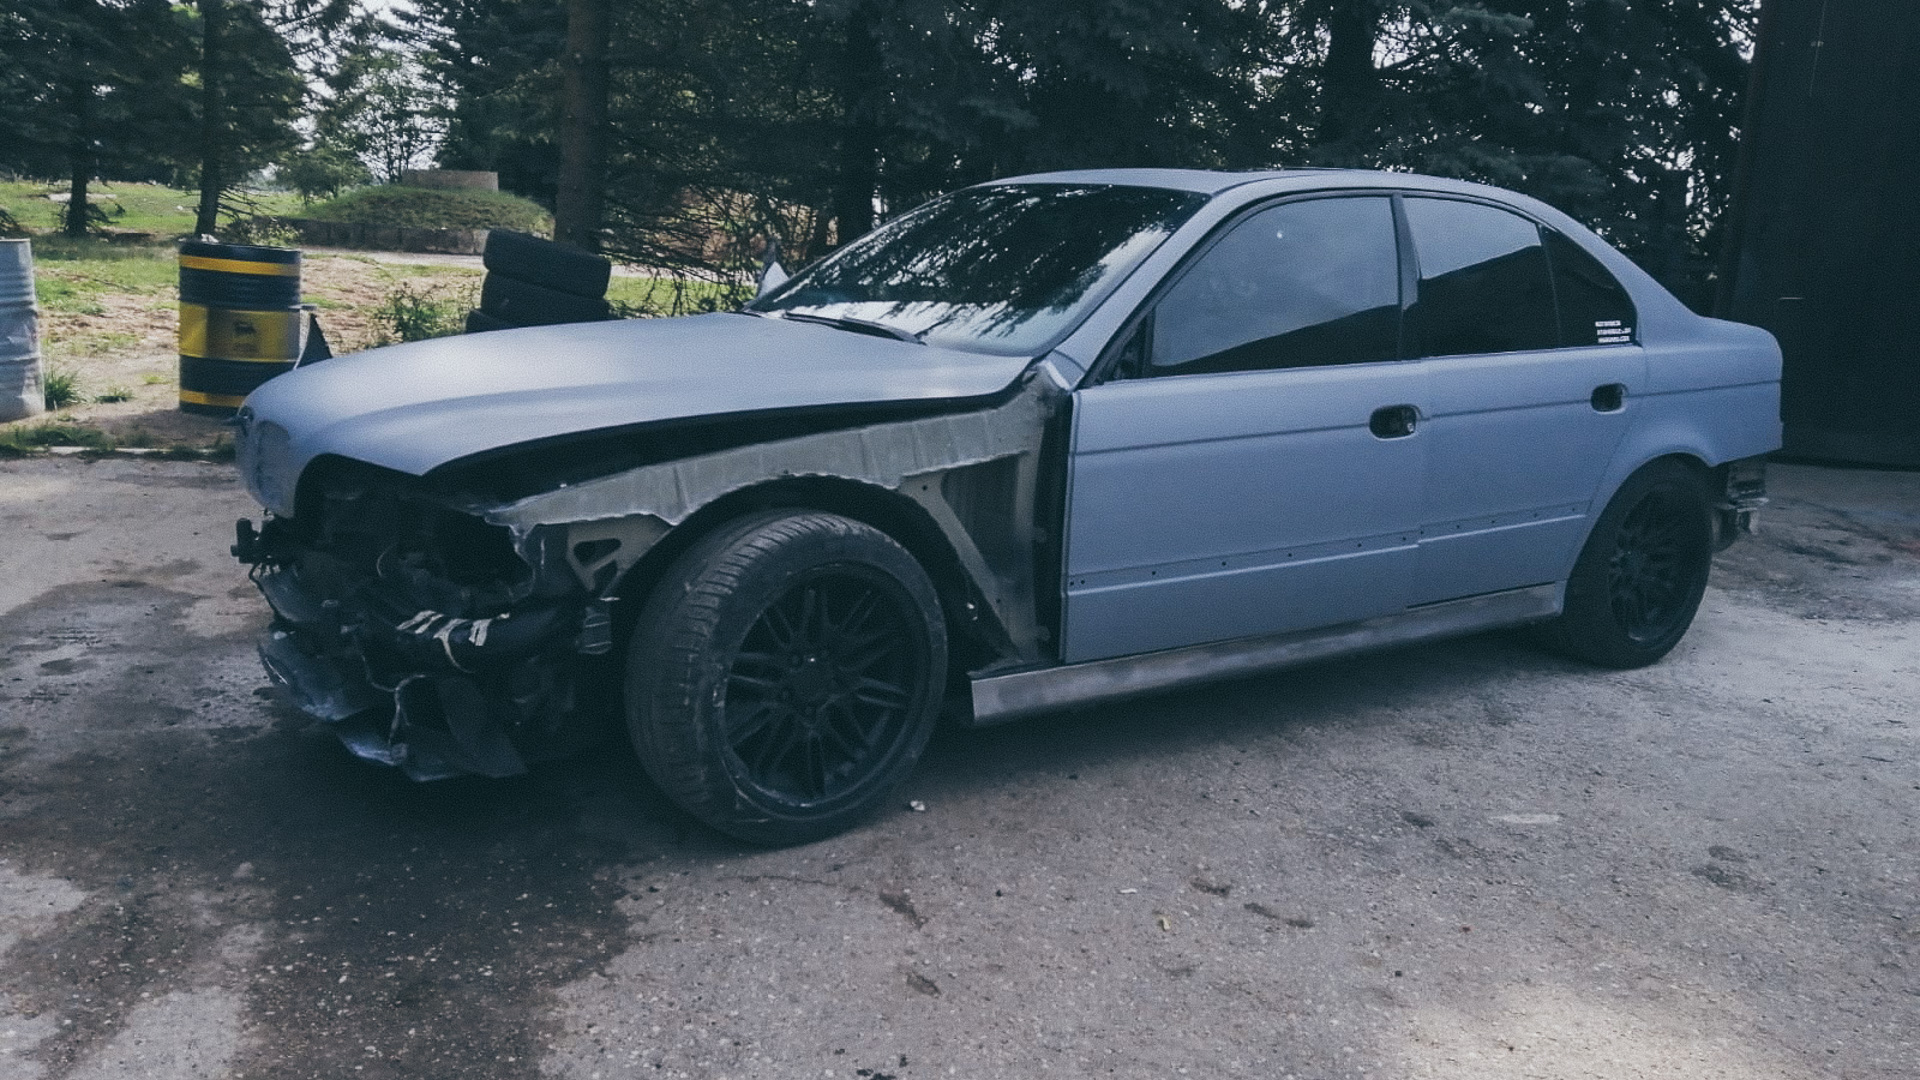
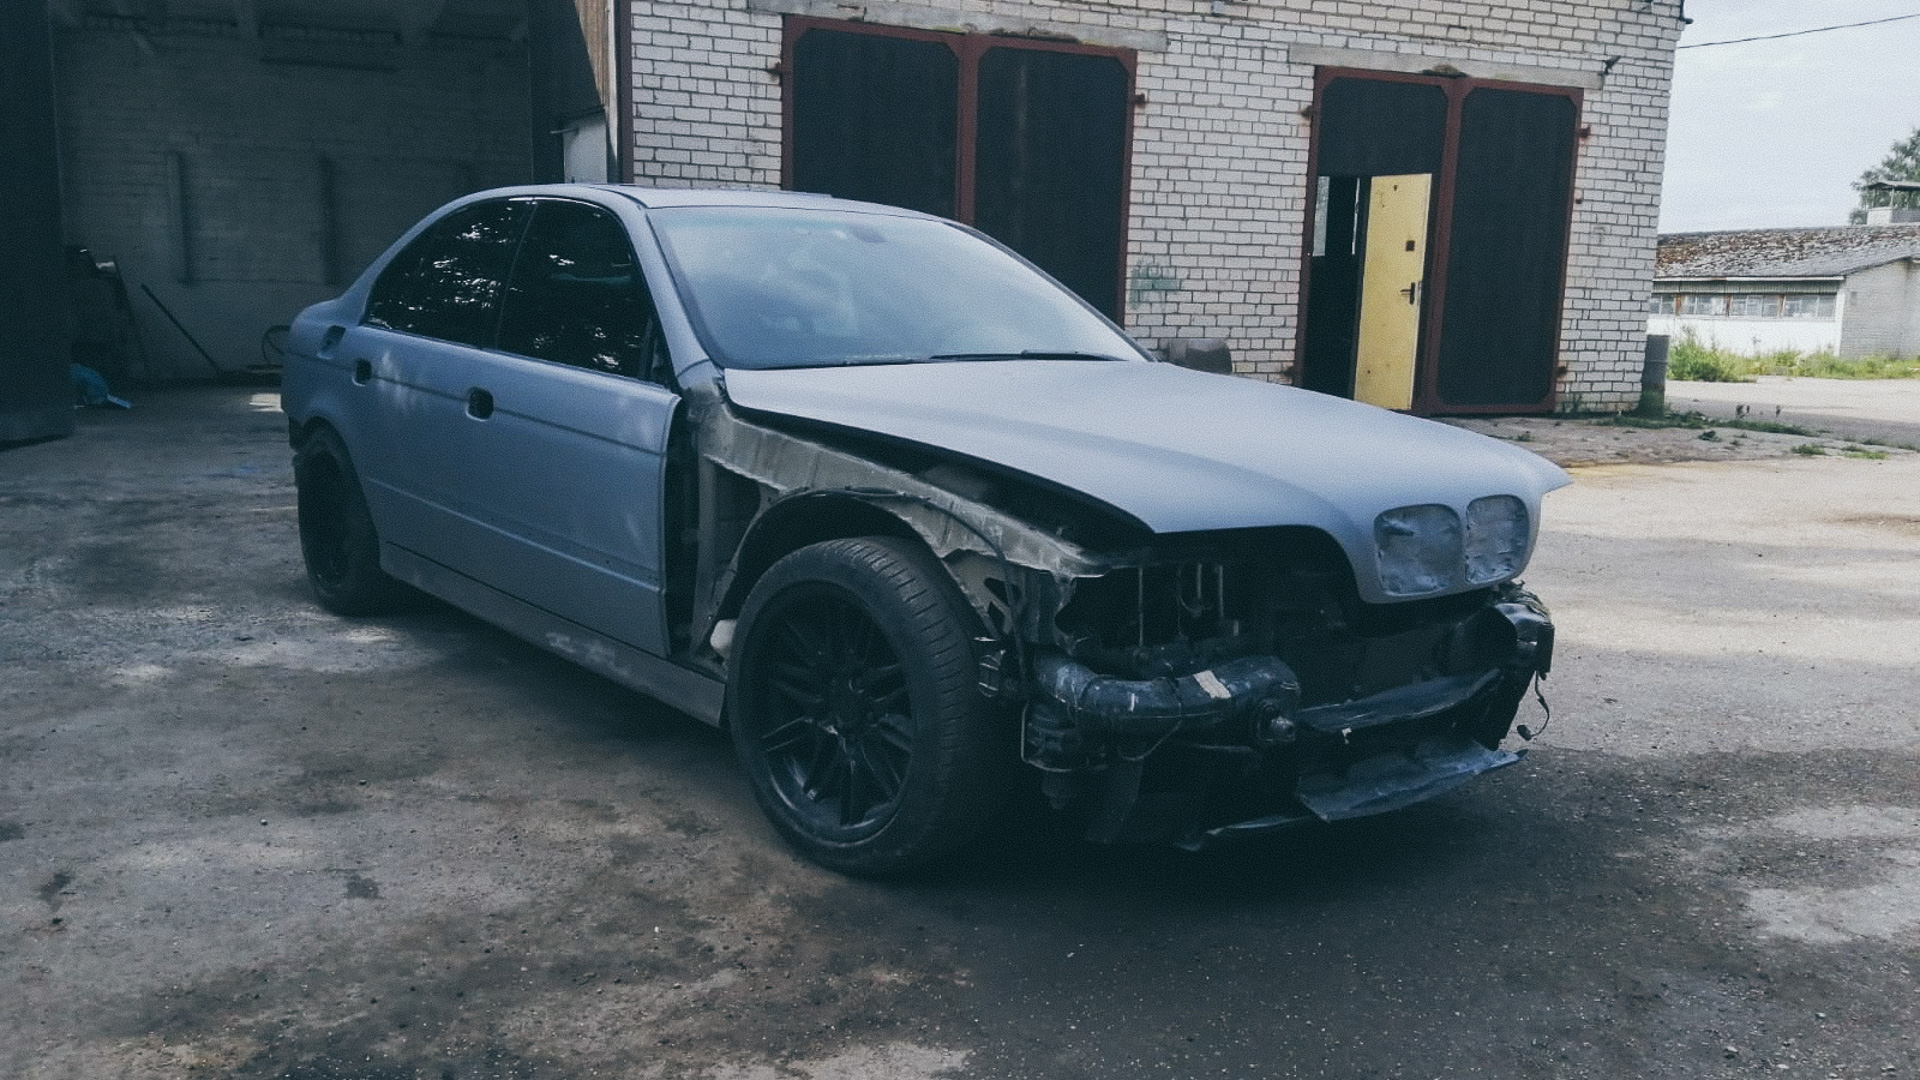
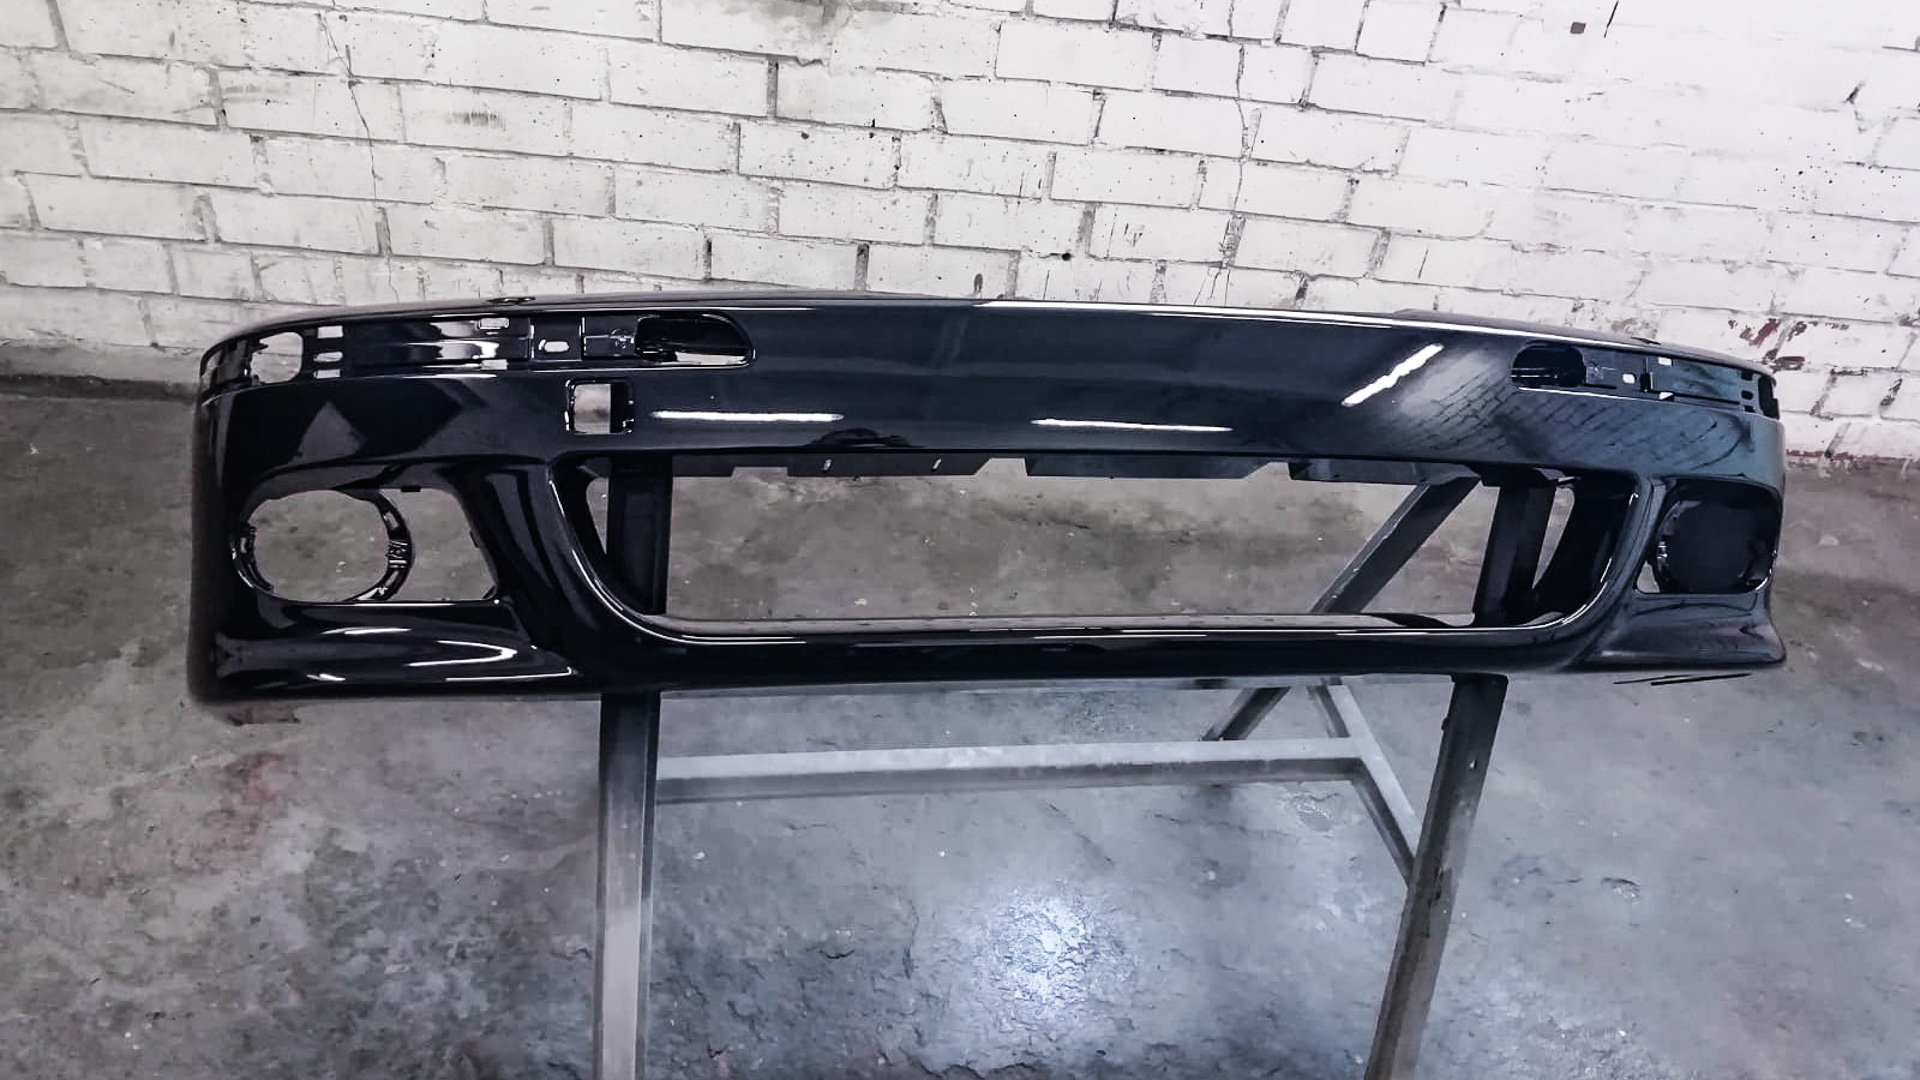
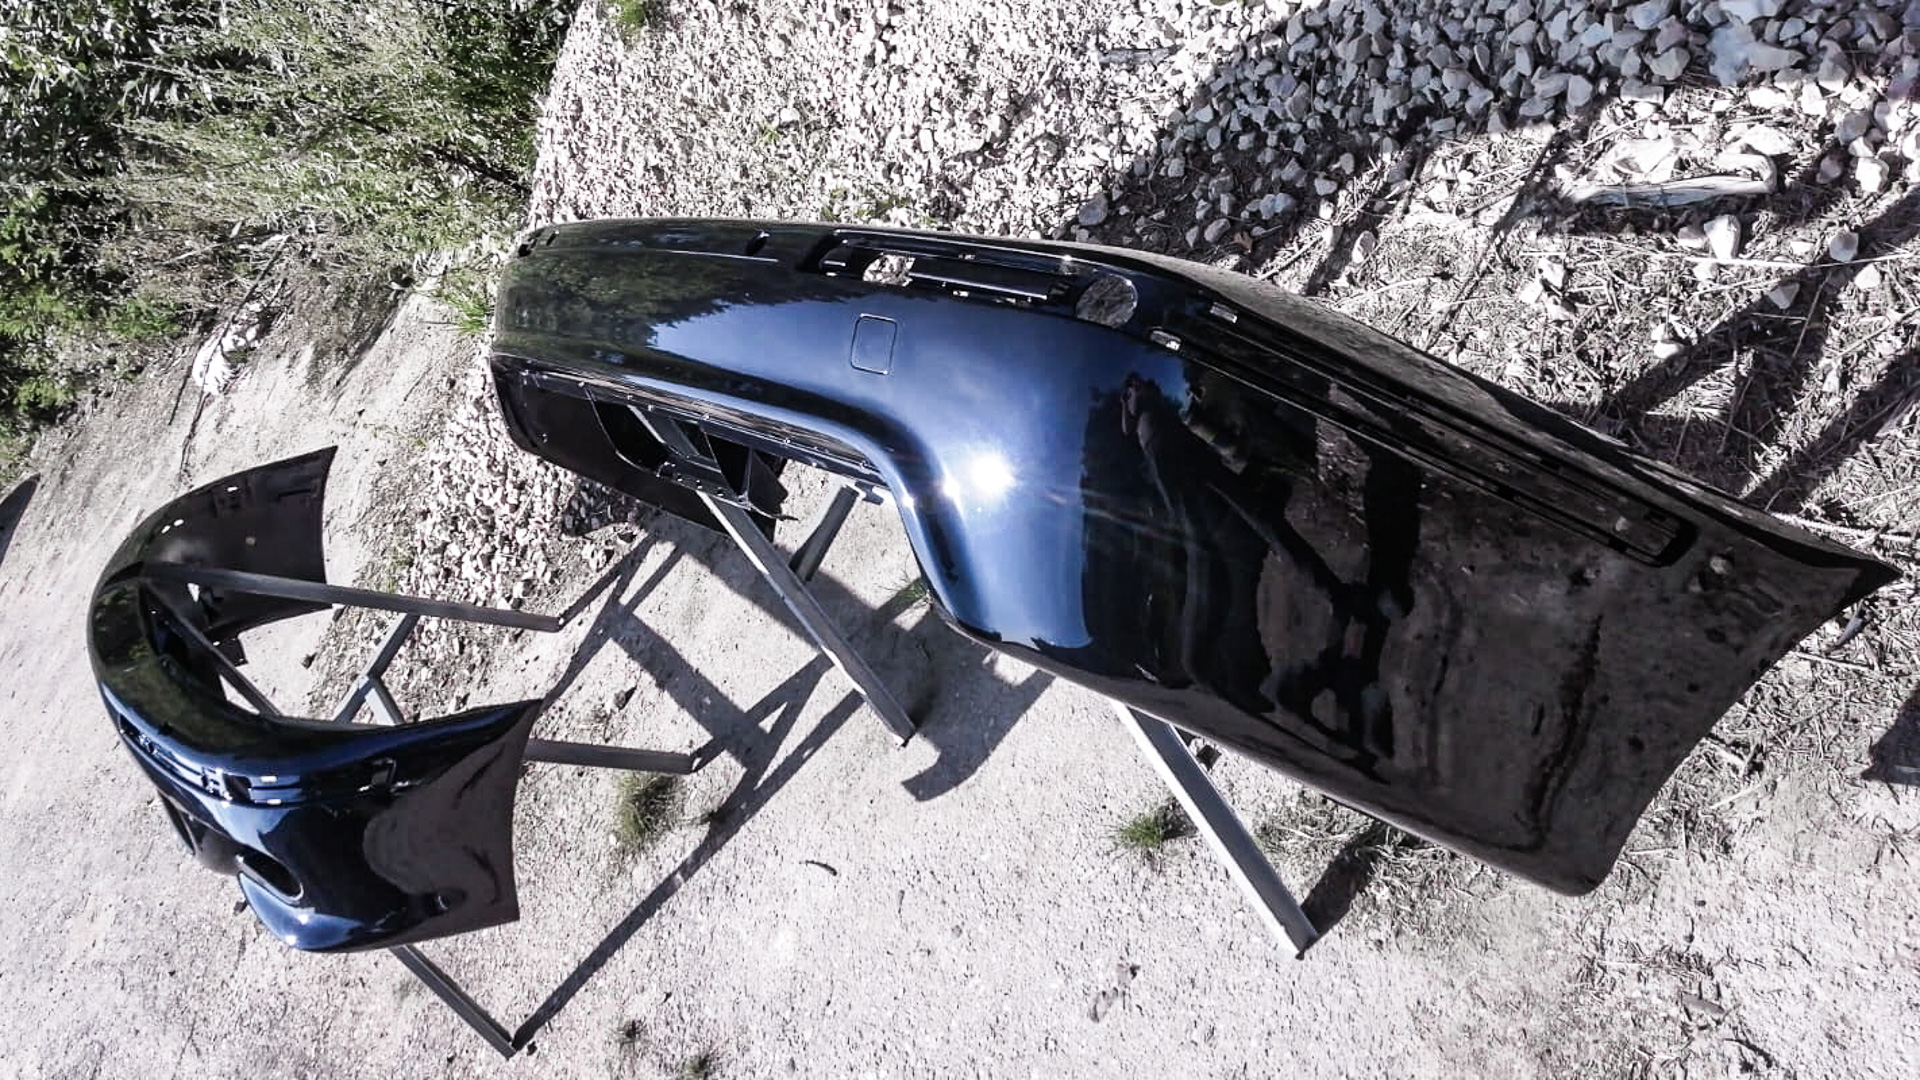
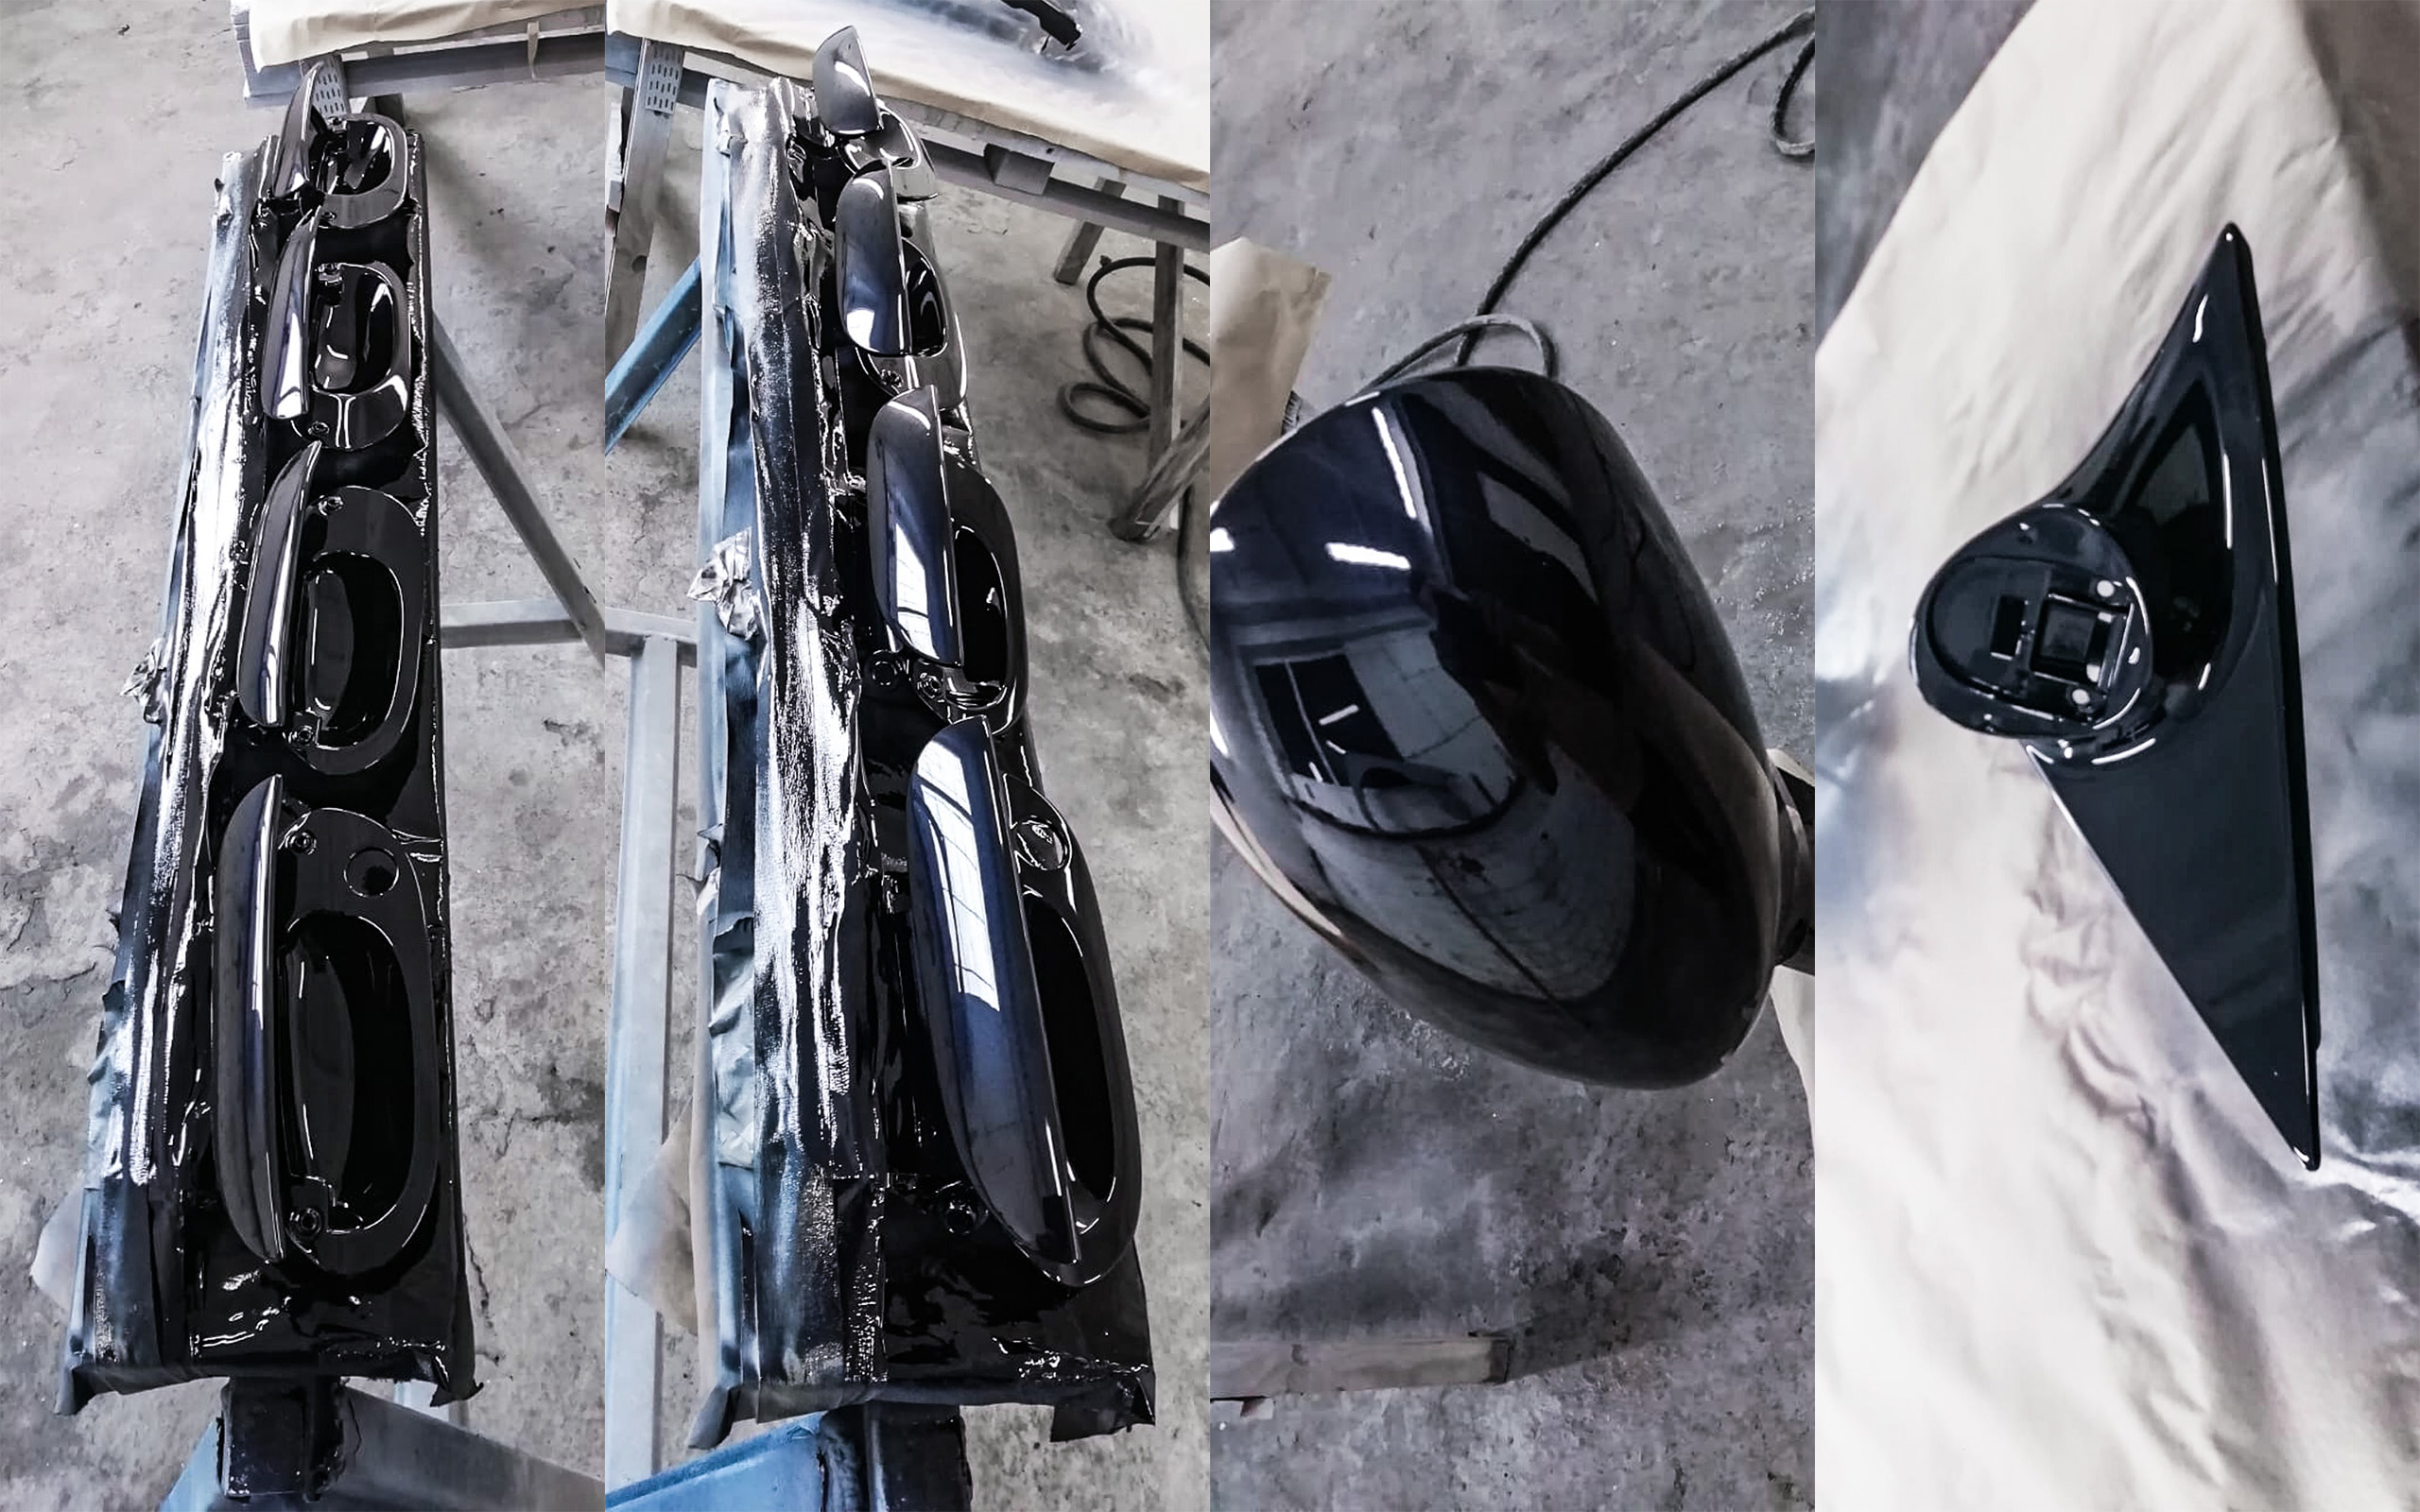
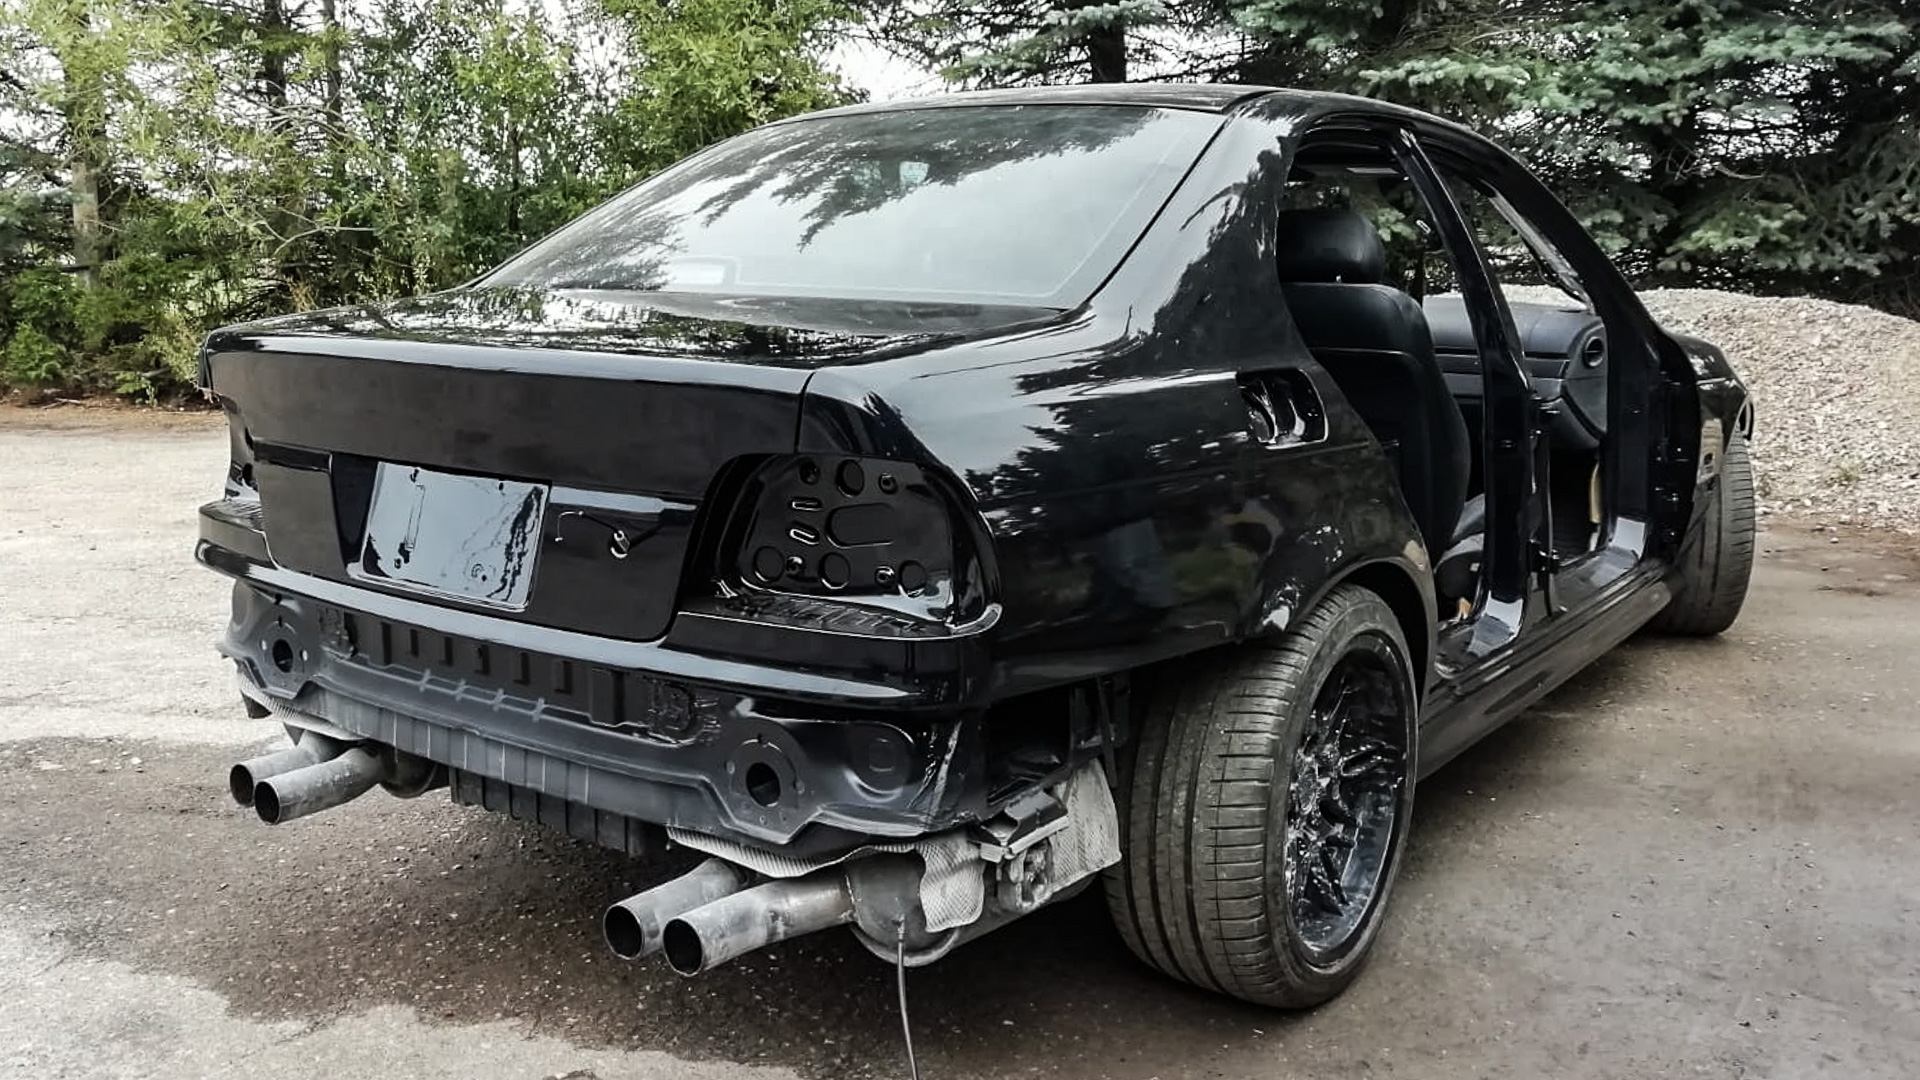
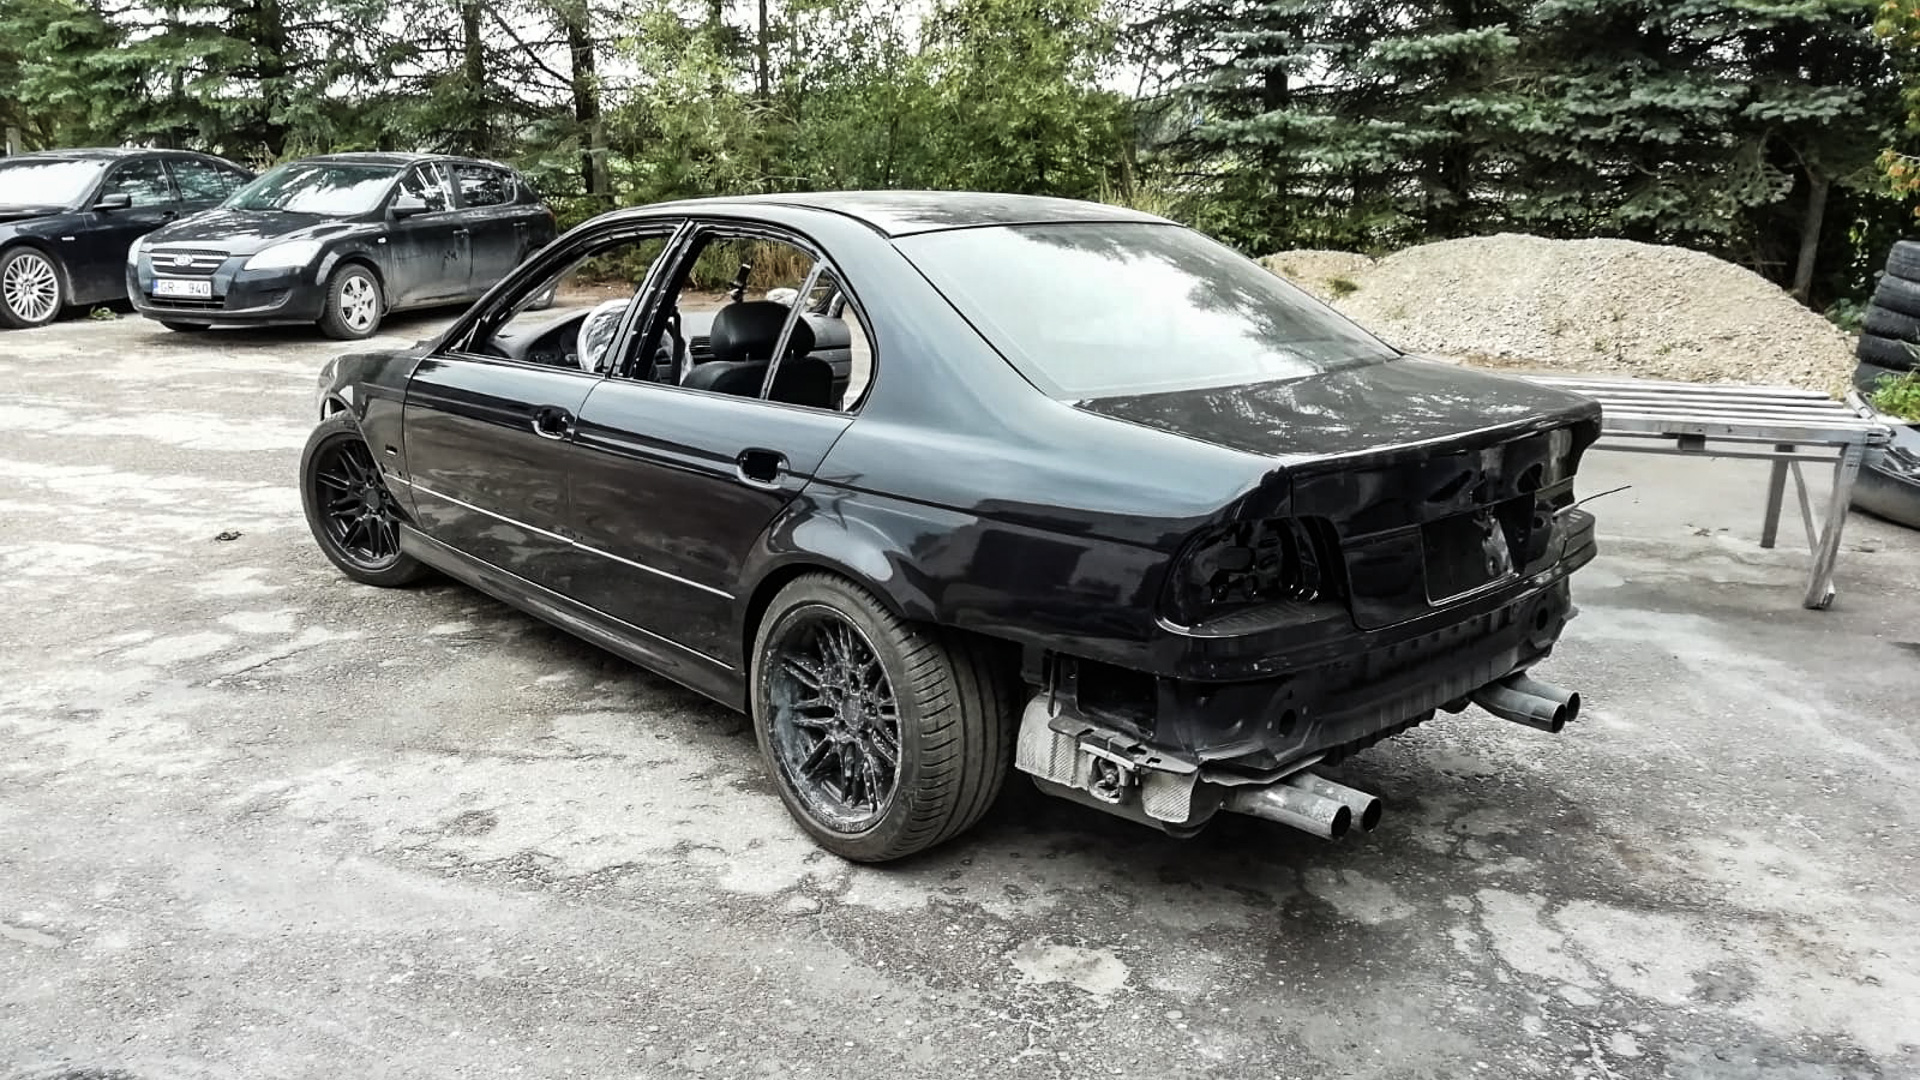
The M5 Paint Process
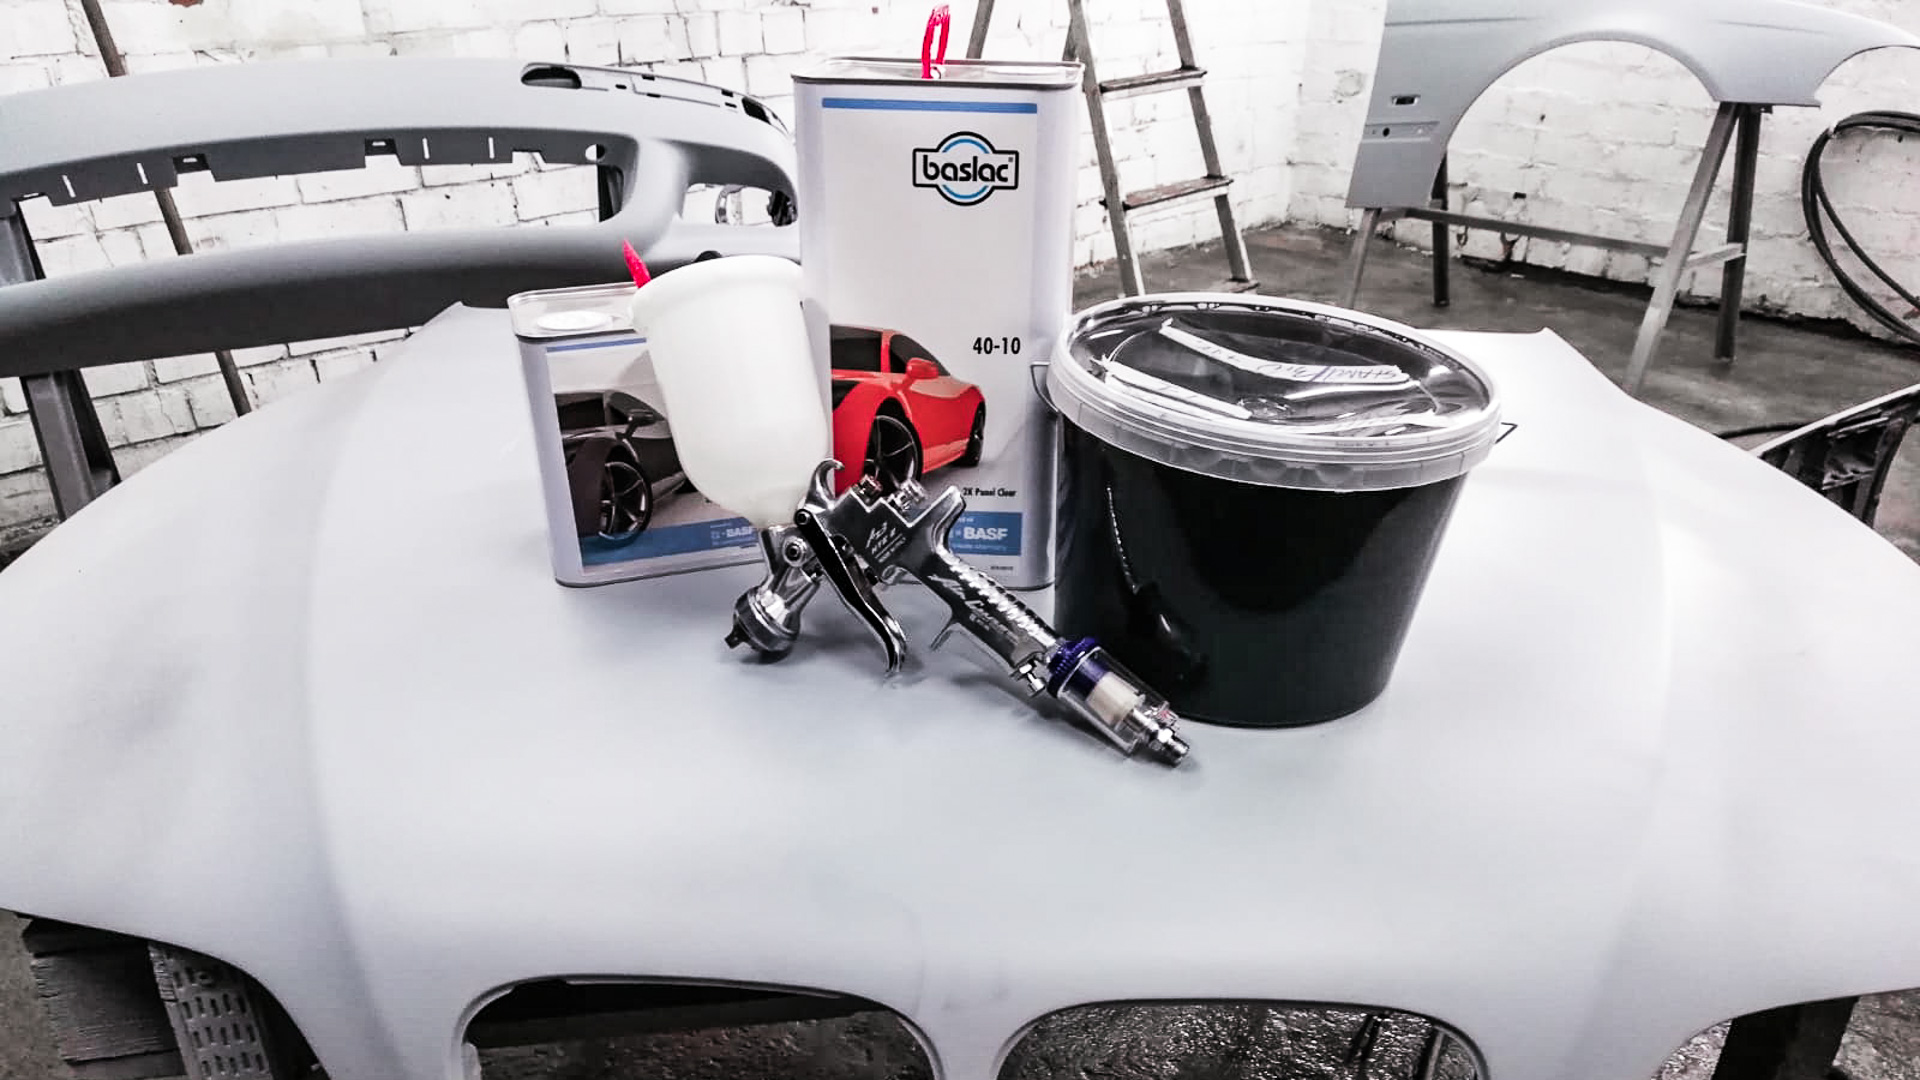
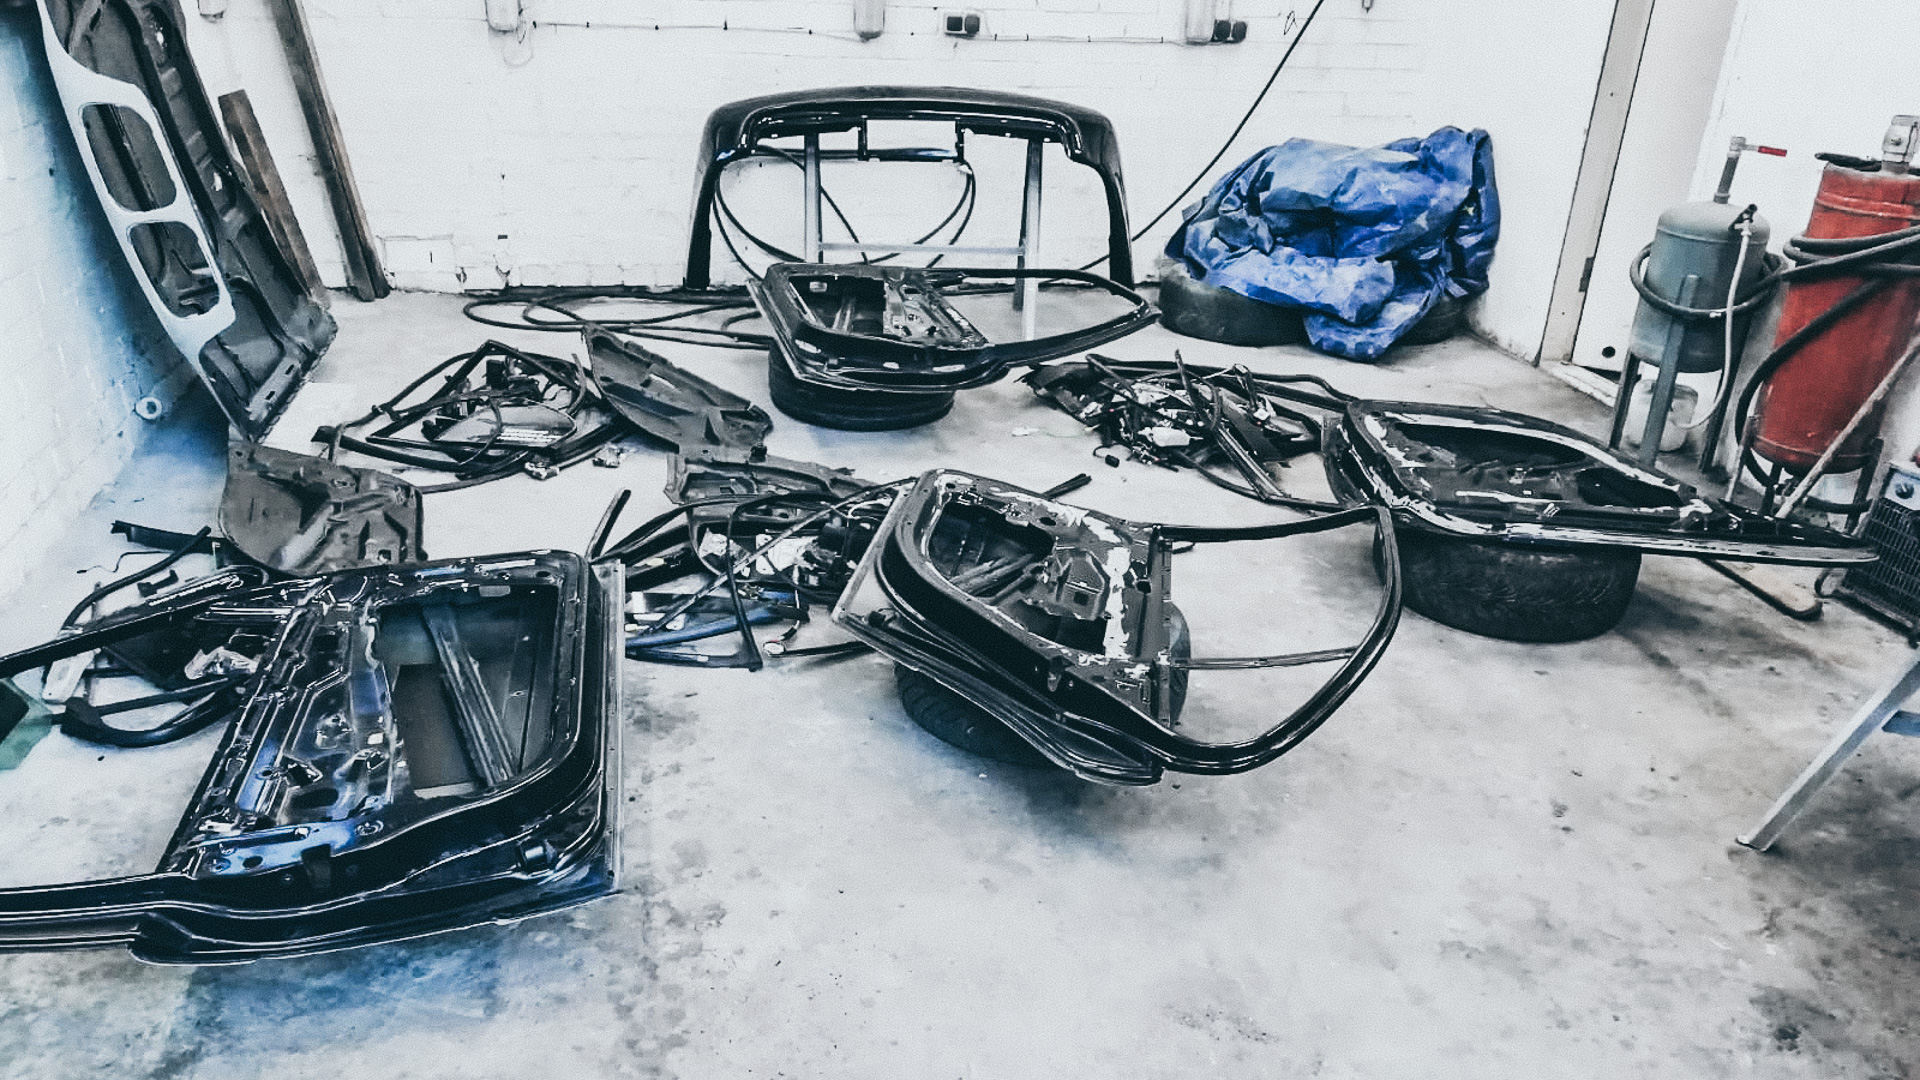
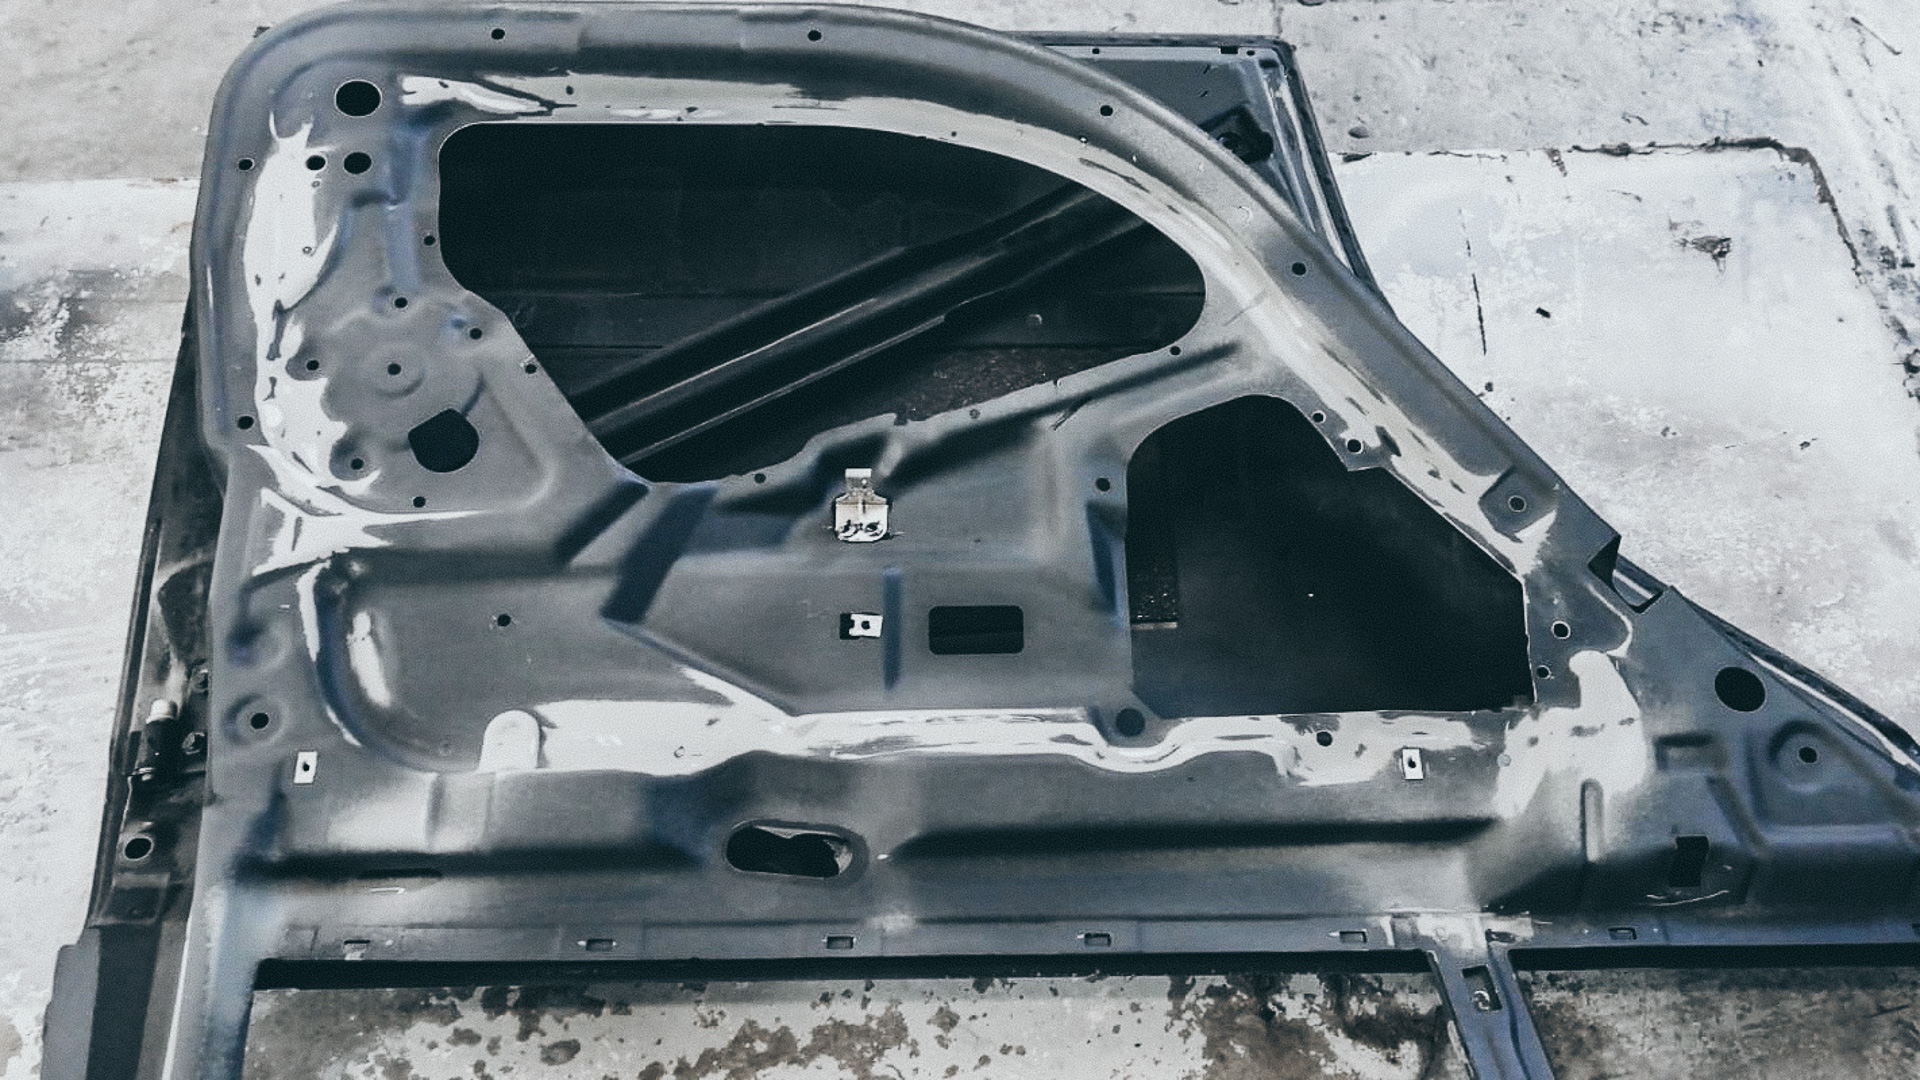
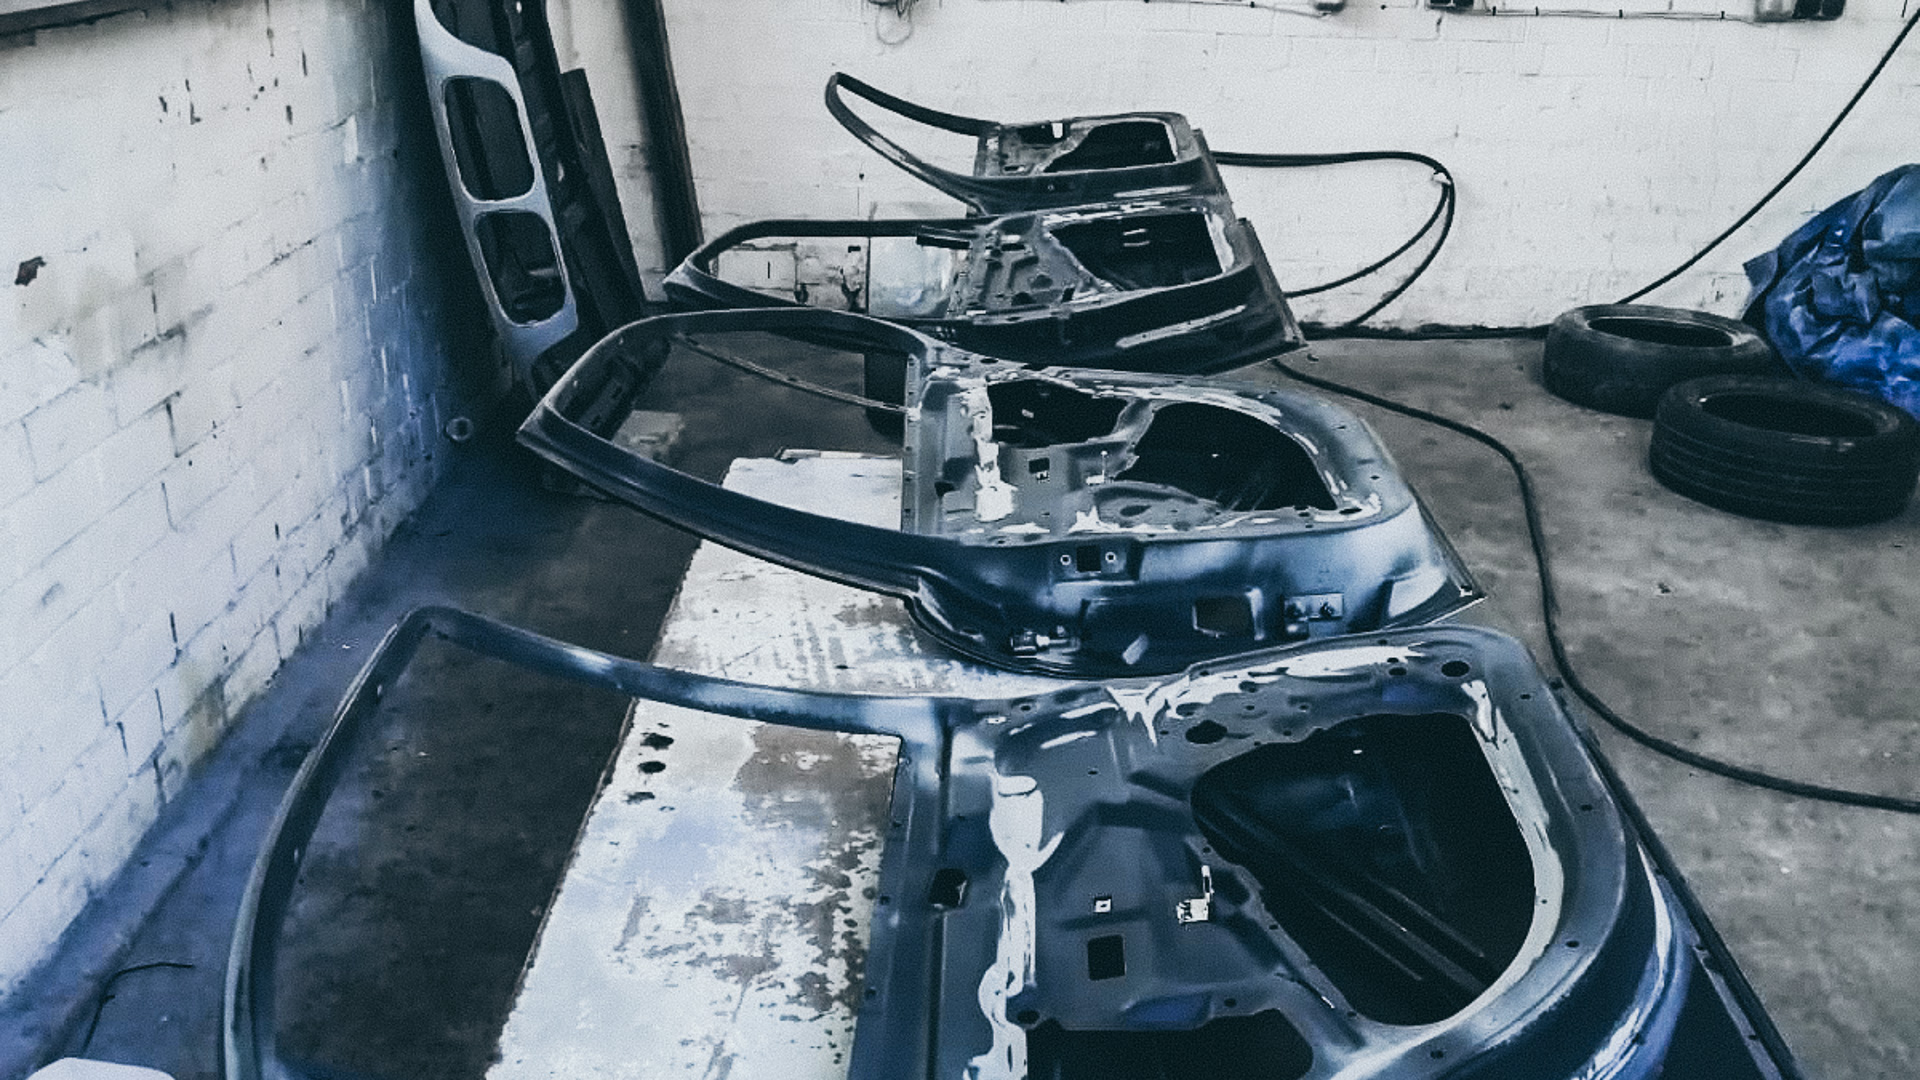
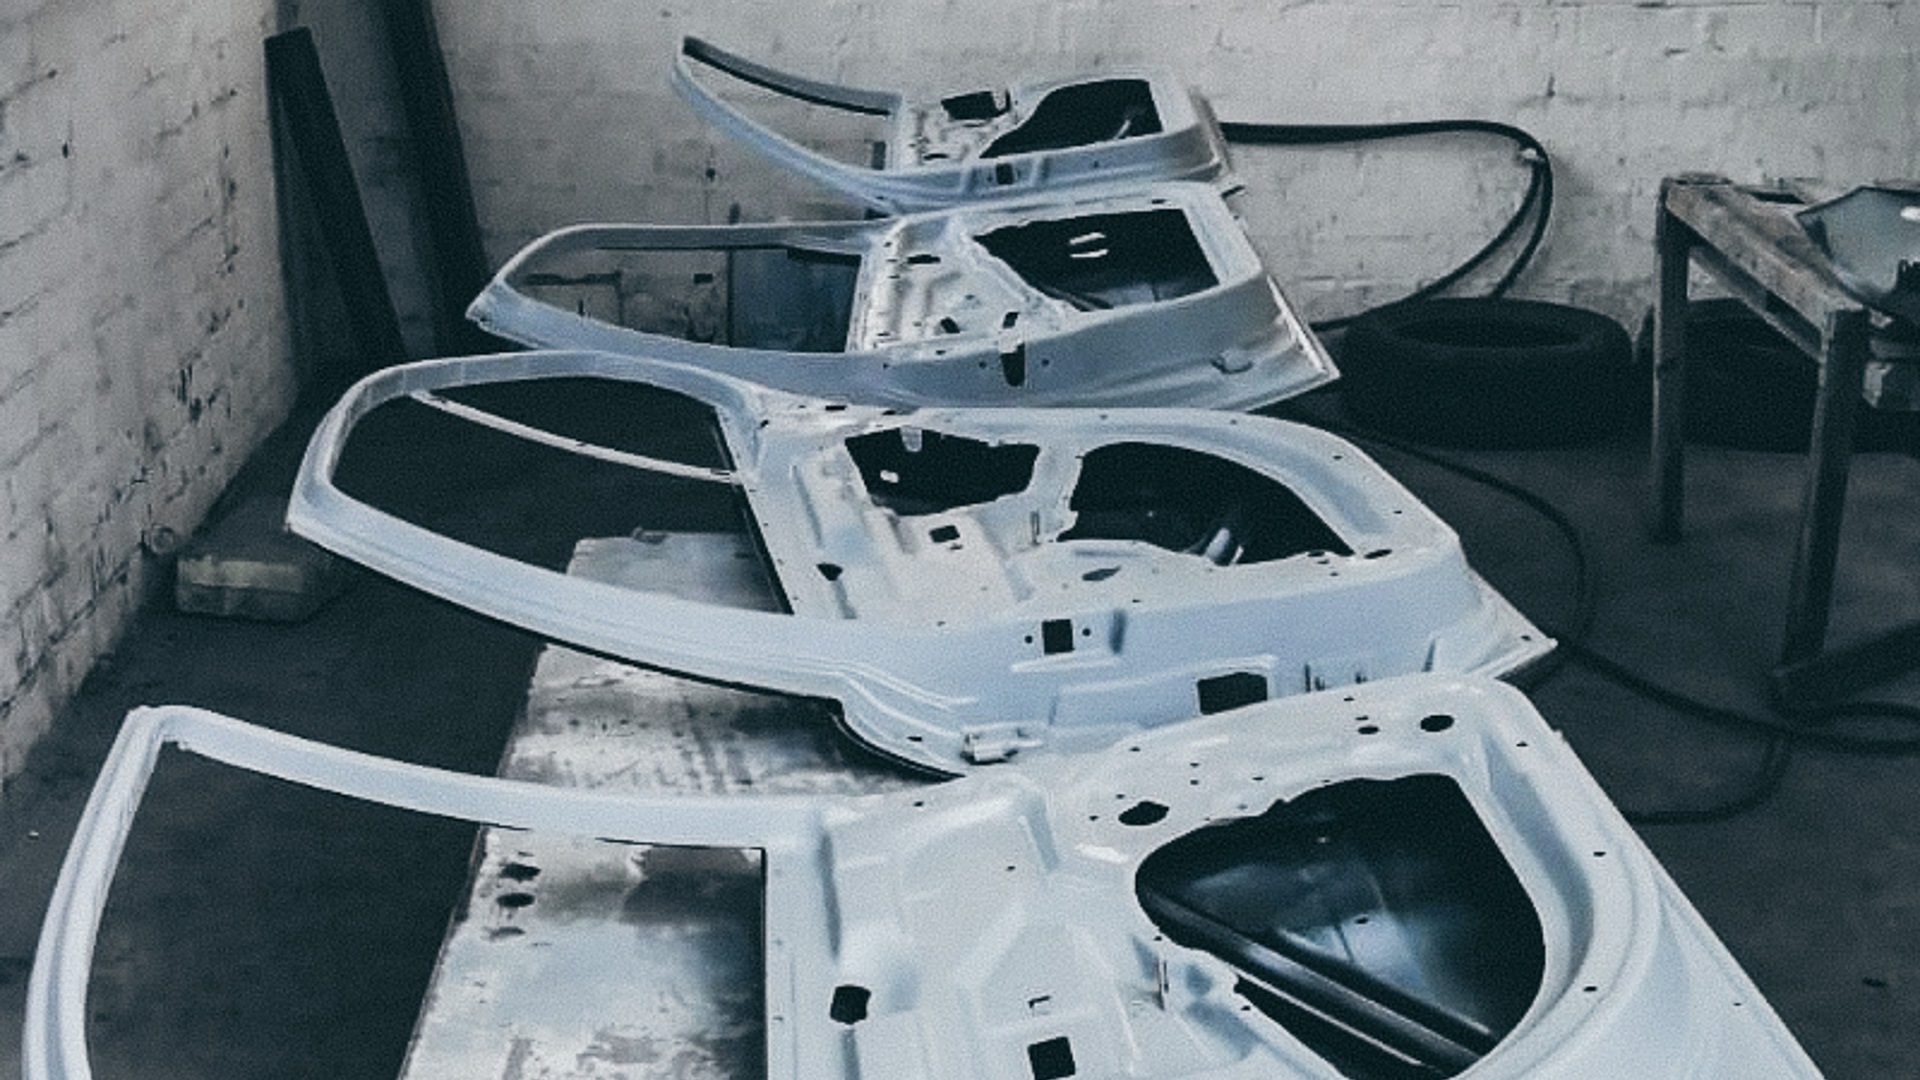

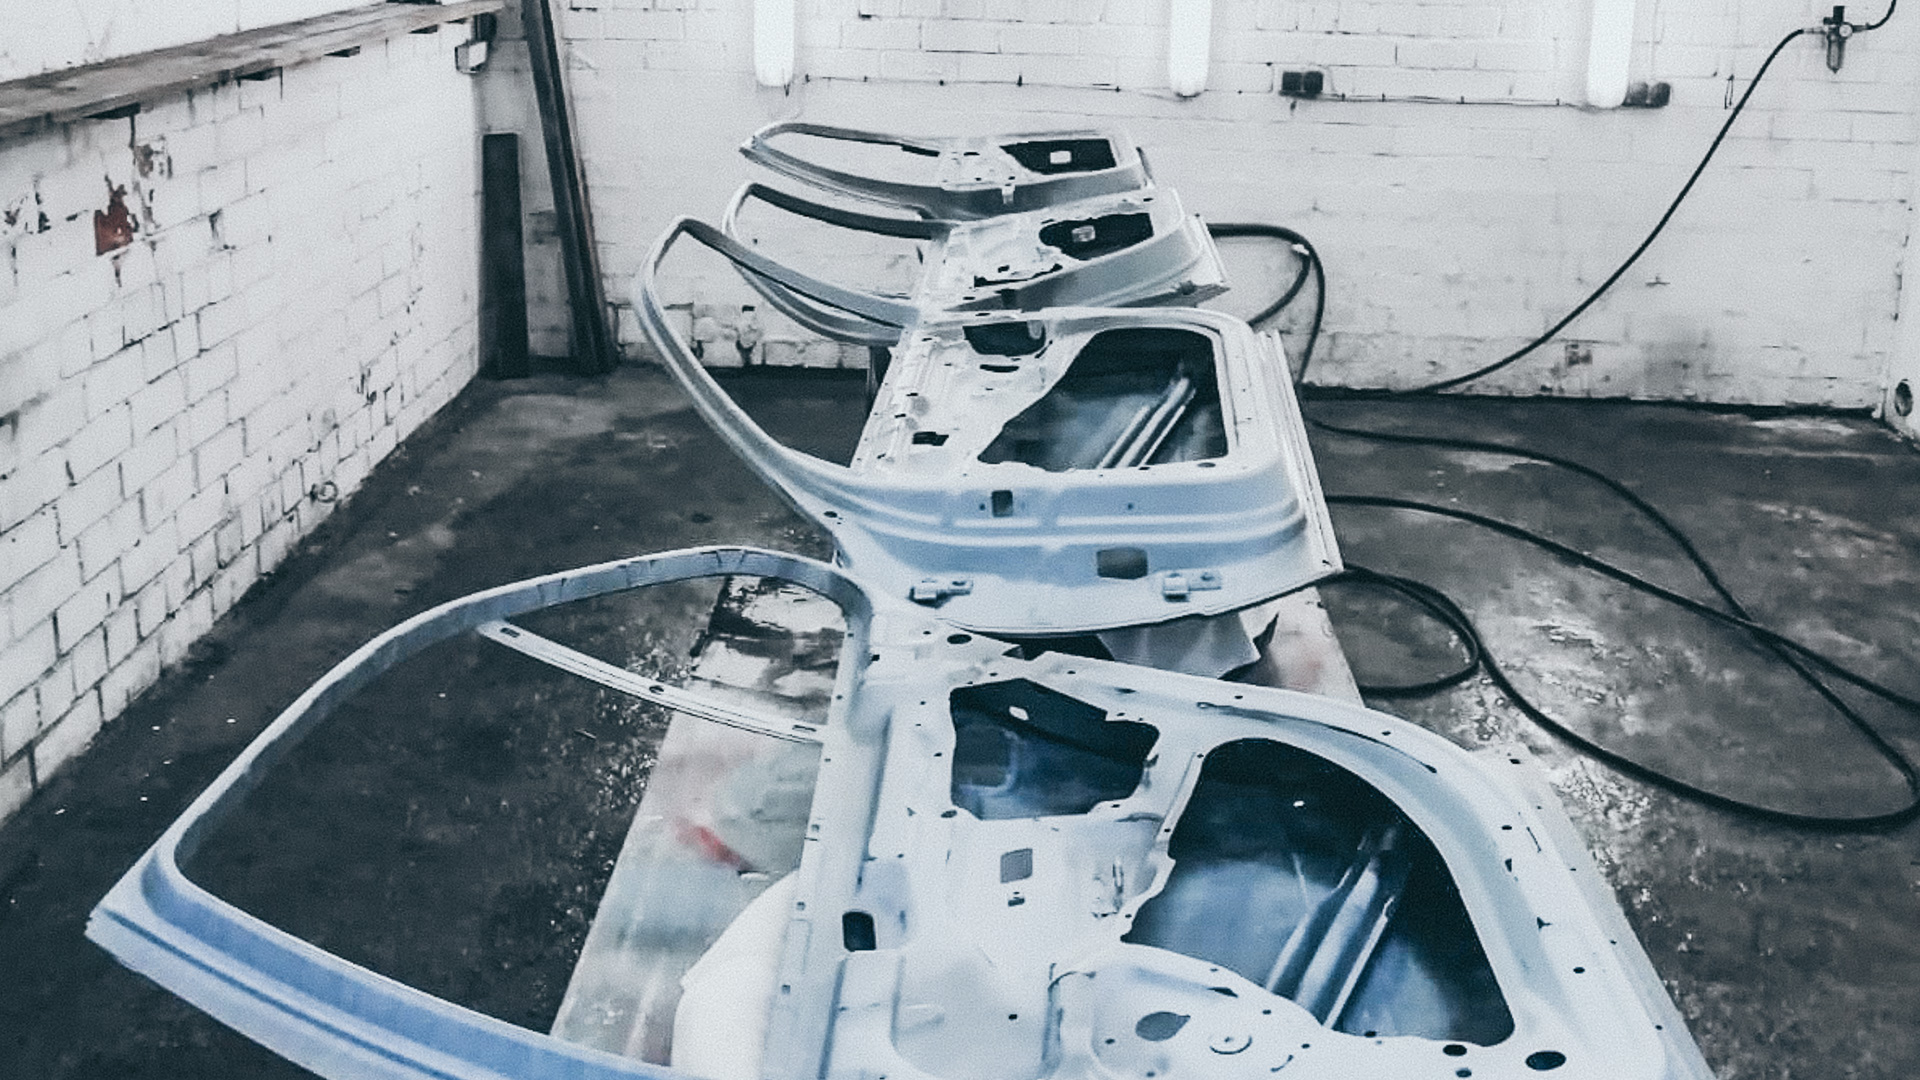
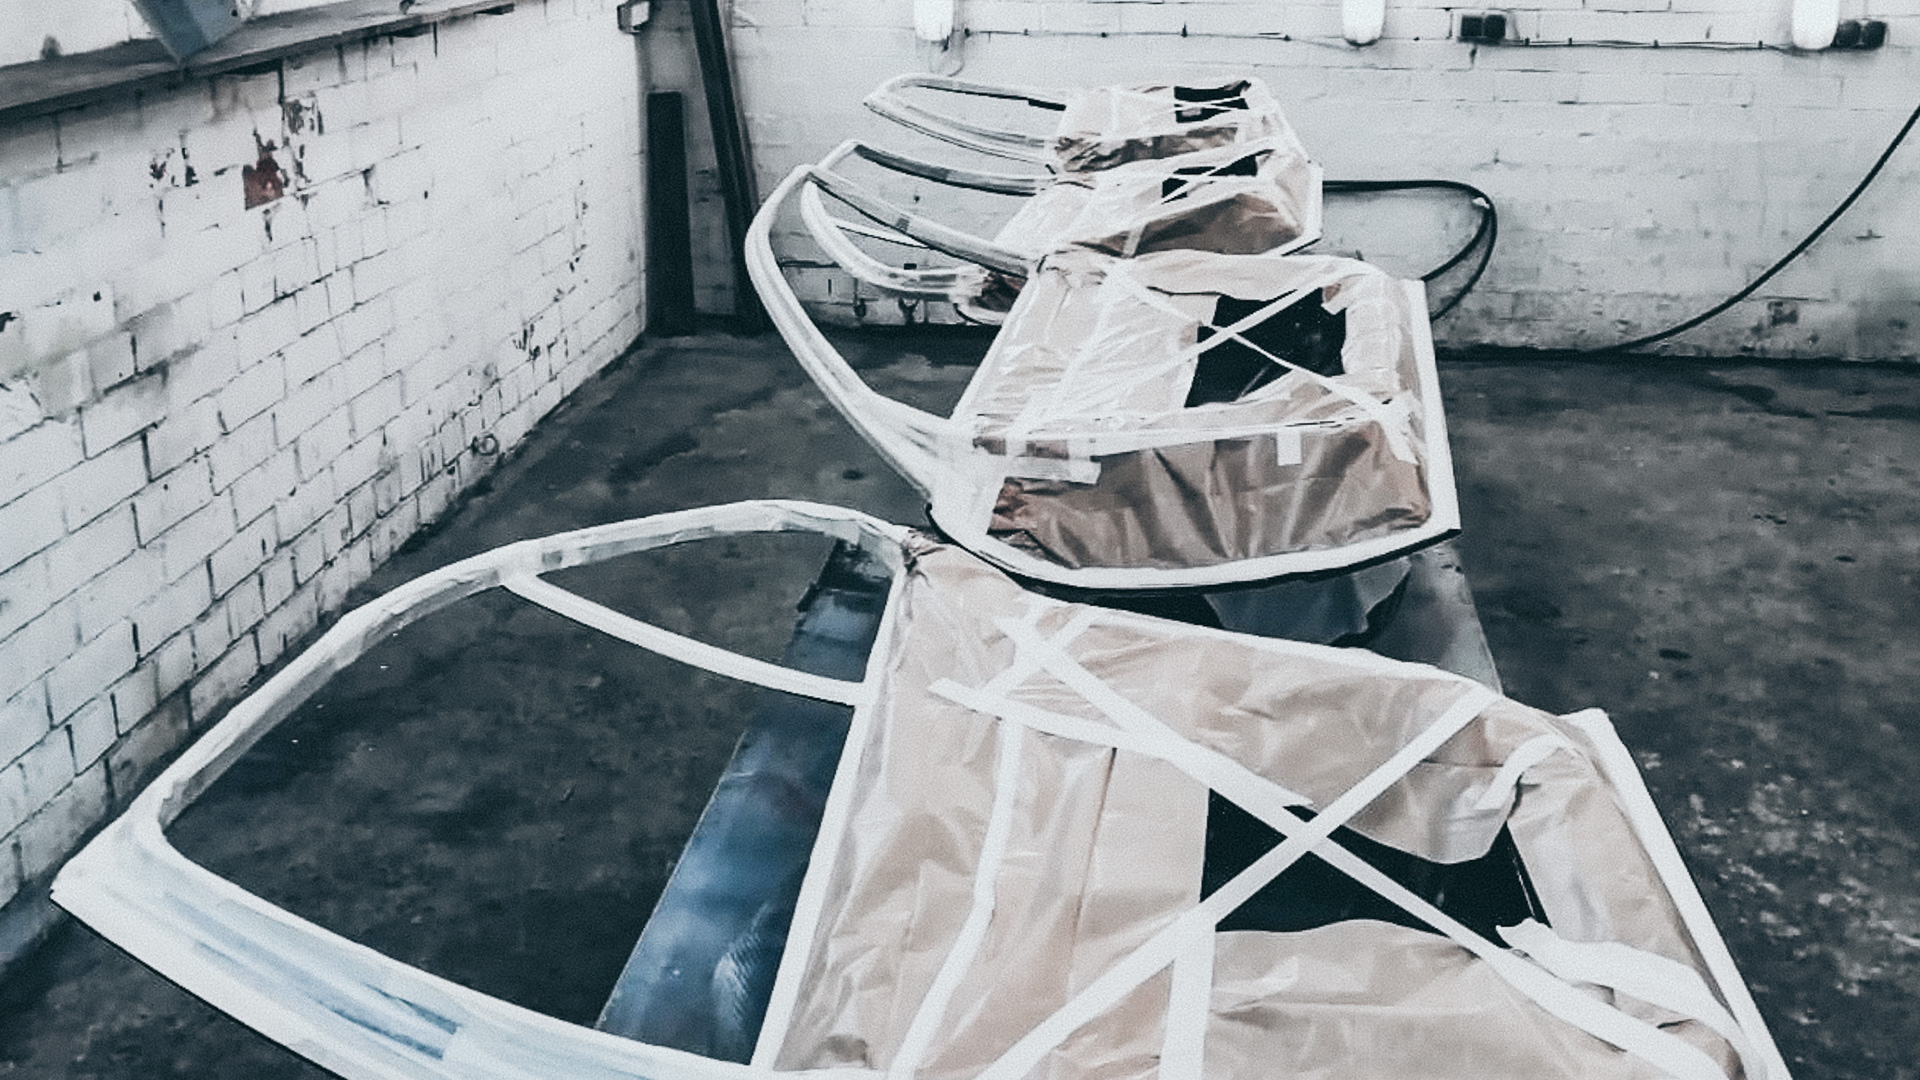
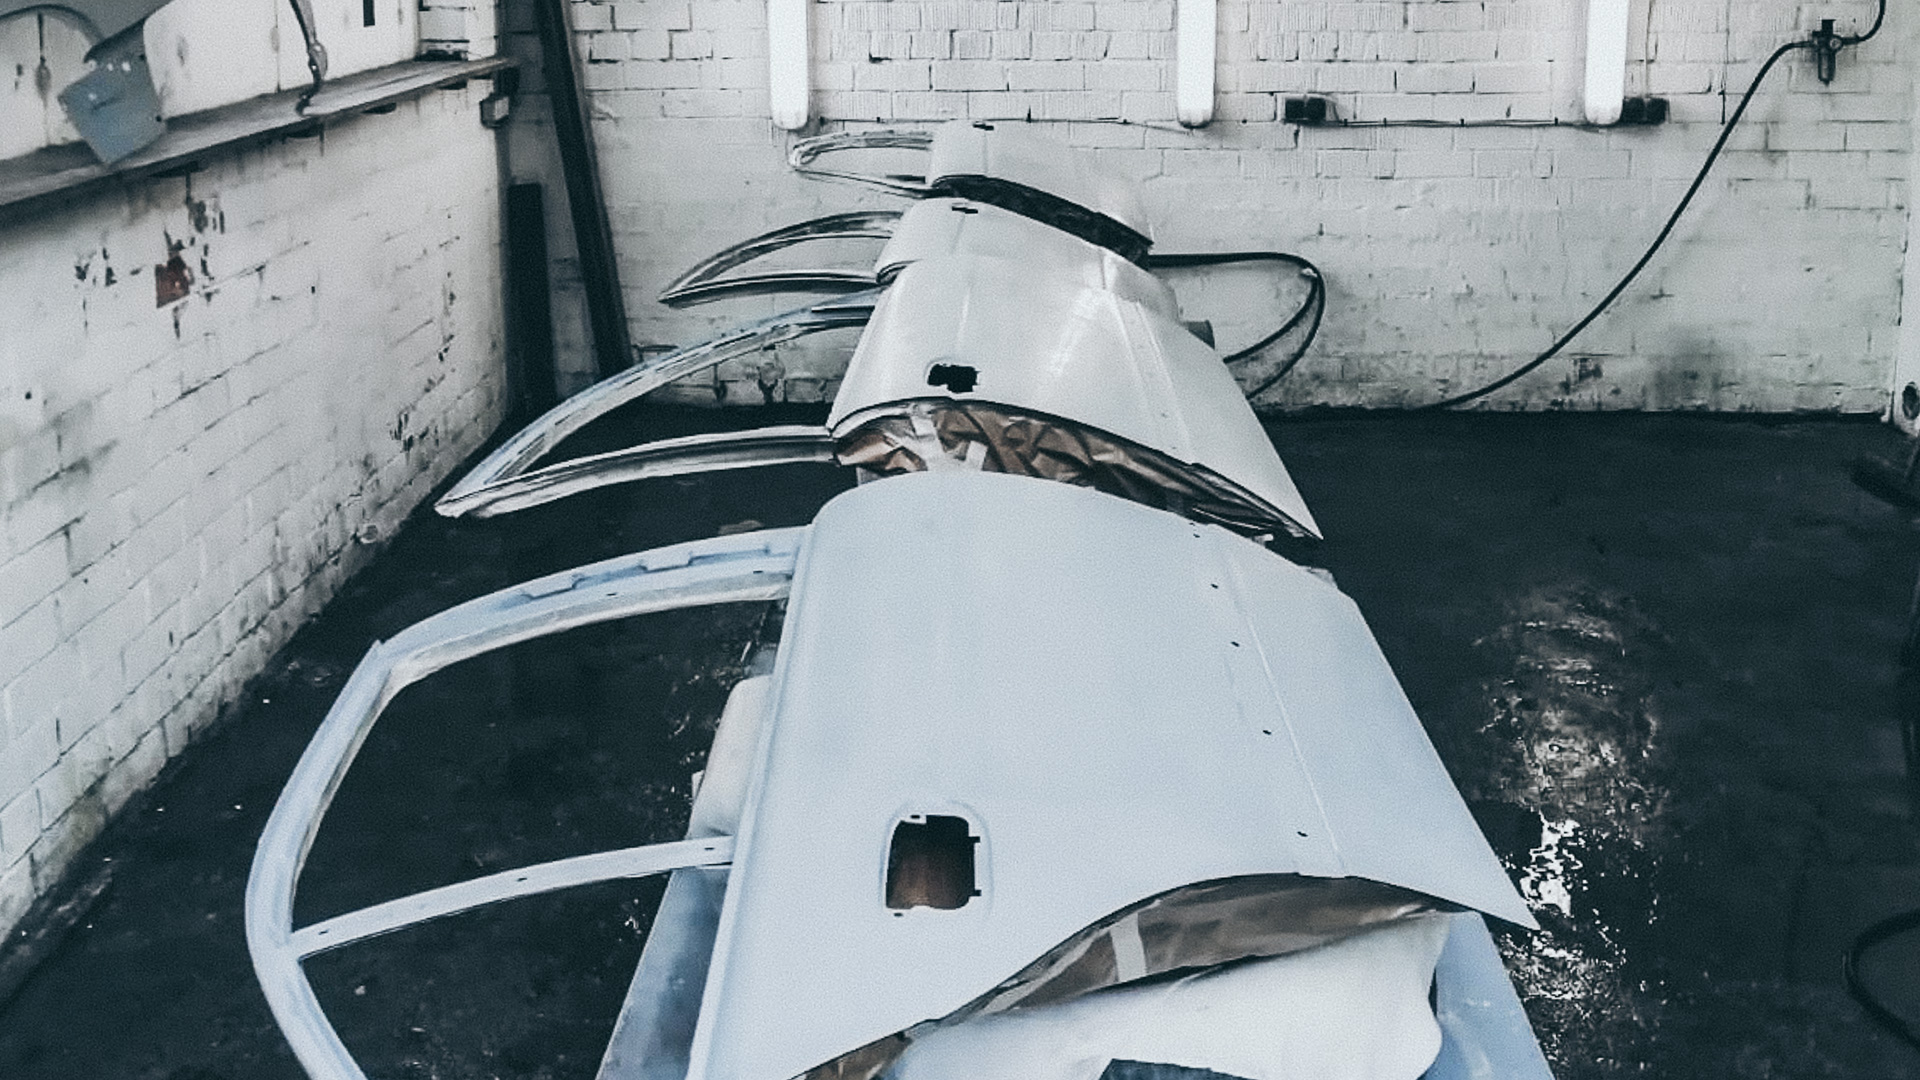
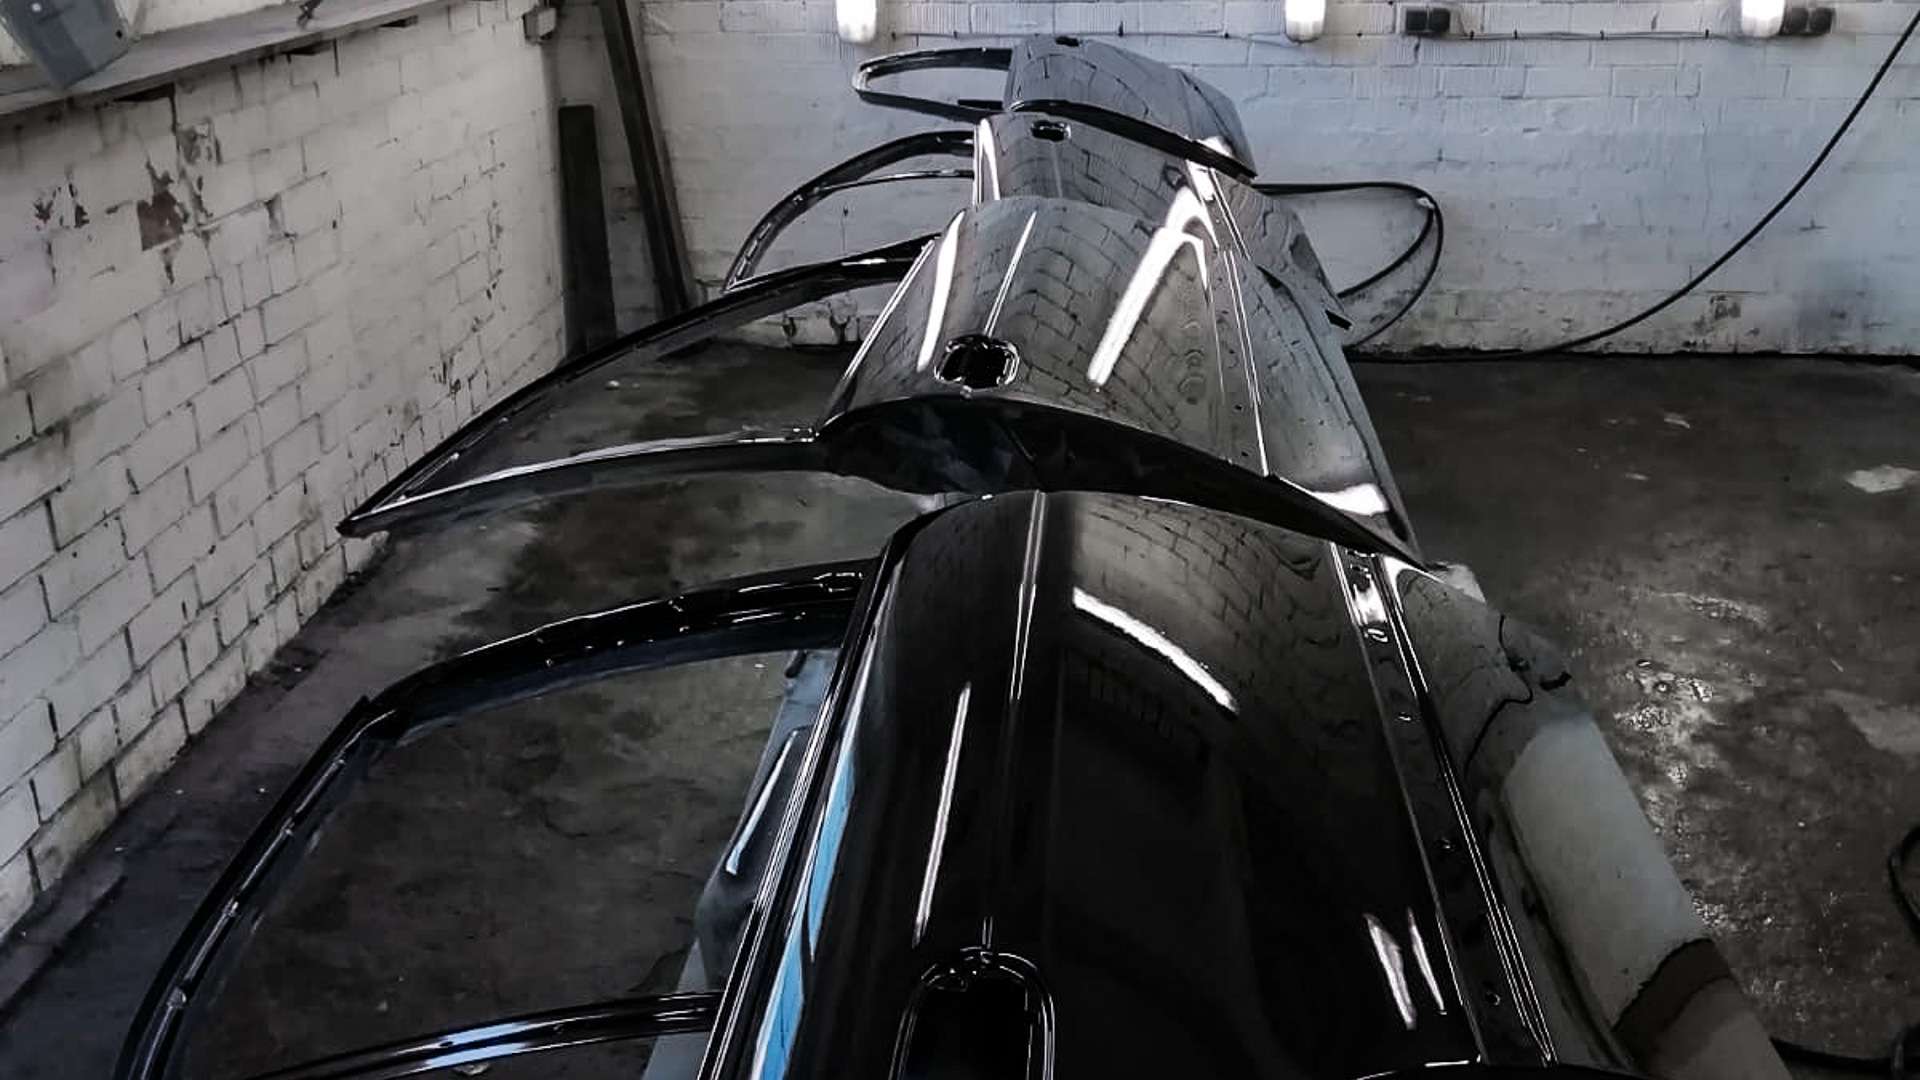


M5 E39 replacement parts & details

E39 fuel tank door rust problem fixed forever.
As mentioned earlier in this post, the E39 has a design fault that leads to rust in the fuel cap area.
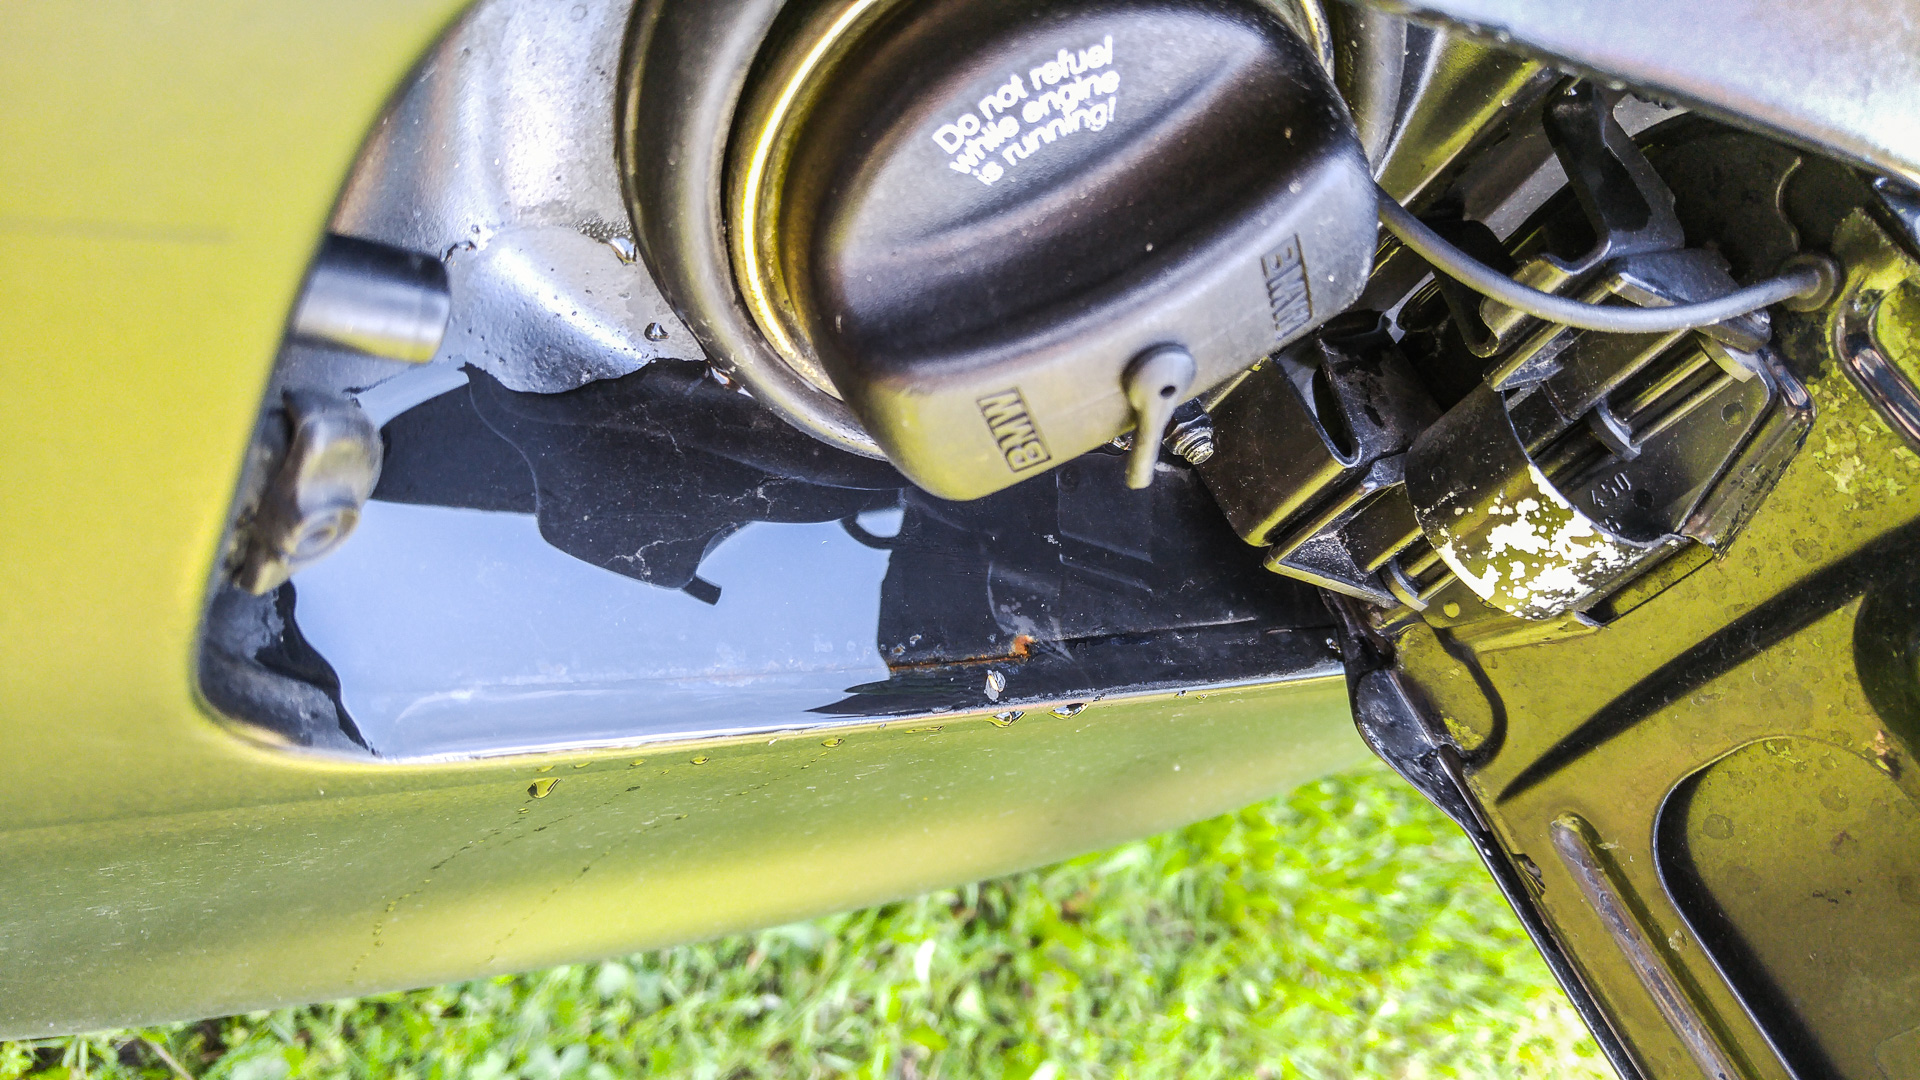
Once the paint was totally stripped, a small water-run-off outlet was revealed below the paint inside fuel cap area, sealed by rubber from the factory. Turns out that BMW initially had intended to do a proper solution so the water can run off and the metal seam between the panels would not rust from water accumulation. BMW ended up apparently just sealing the small hole with some rubber and painting it over, cutting corners. The water would have nowhere to run off once inside both panels, and would continue to accumulate there and eventually rust. Proper way would been to install a drainage channel that goes to bottom of car, but apparently considering the tight spaces and volume of E39 mass production most likely this option was deemed too expensive, resulting in rust accumulation on almost all E39’s in the fuel cap area.

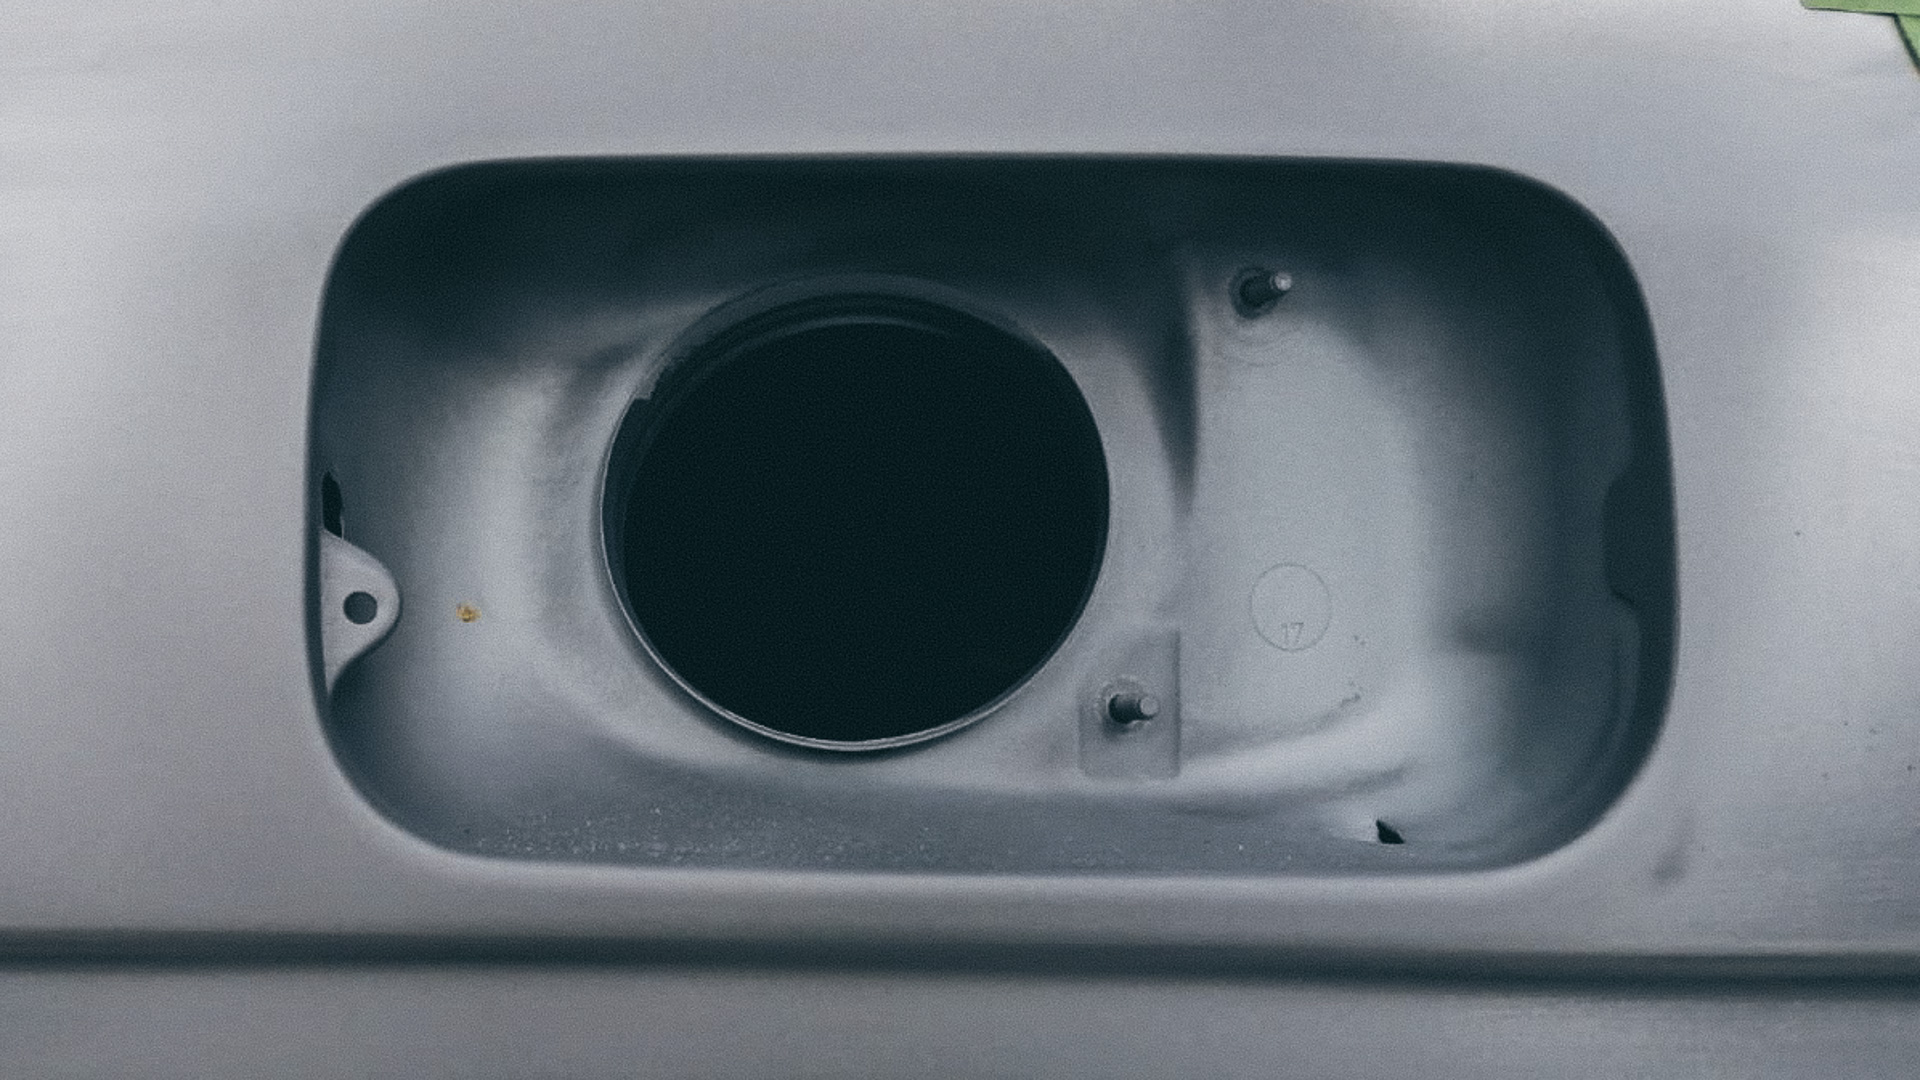
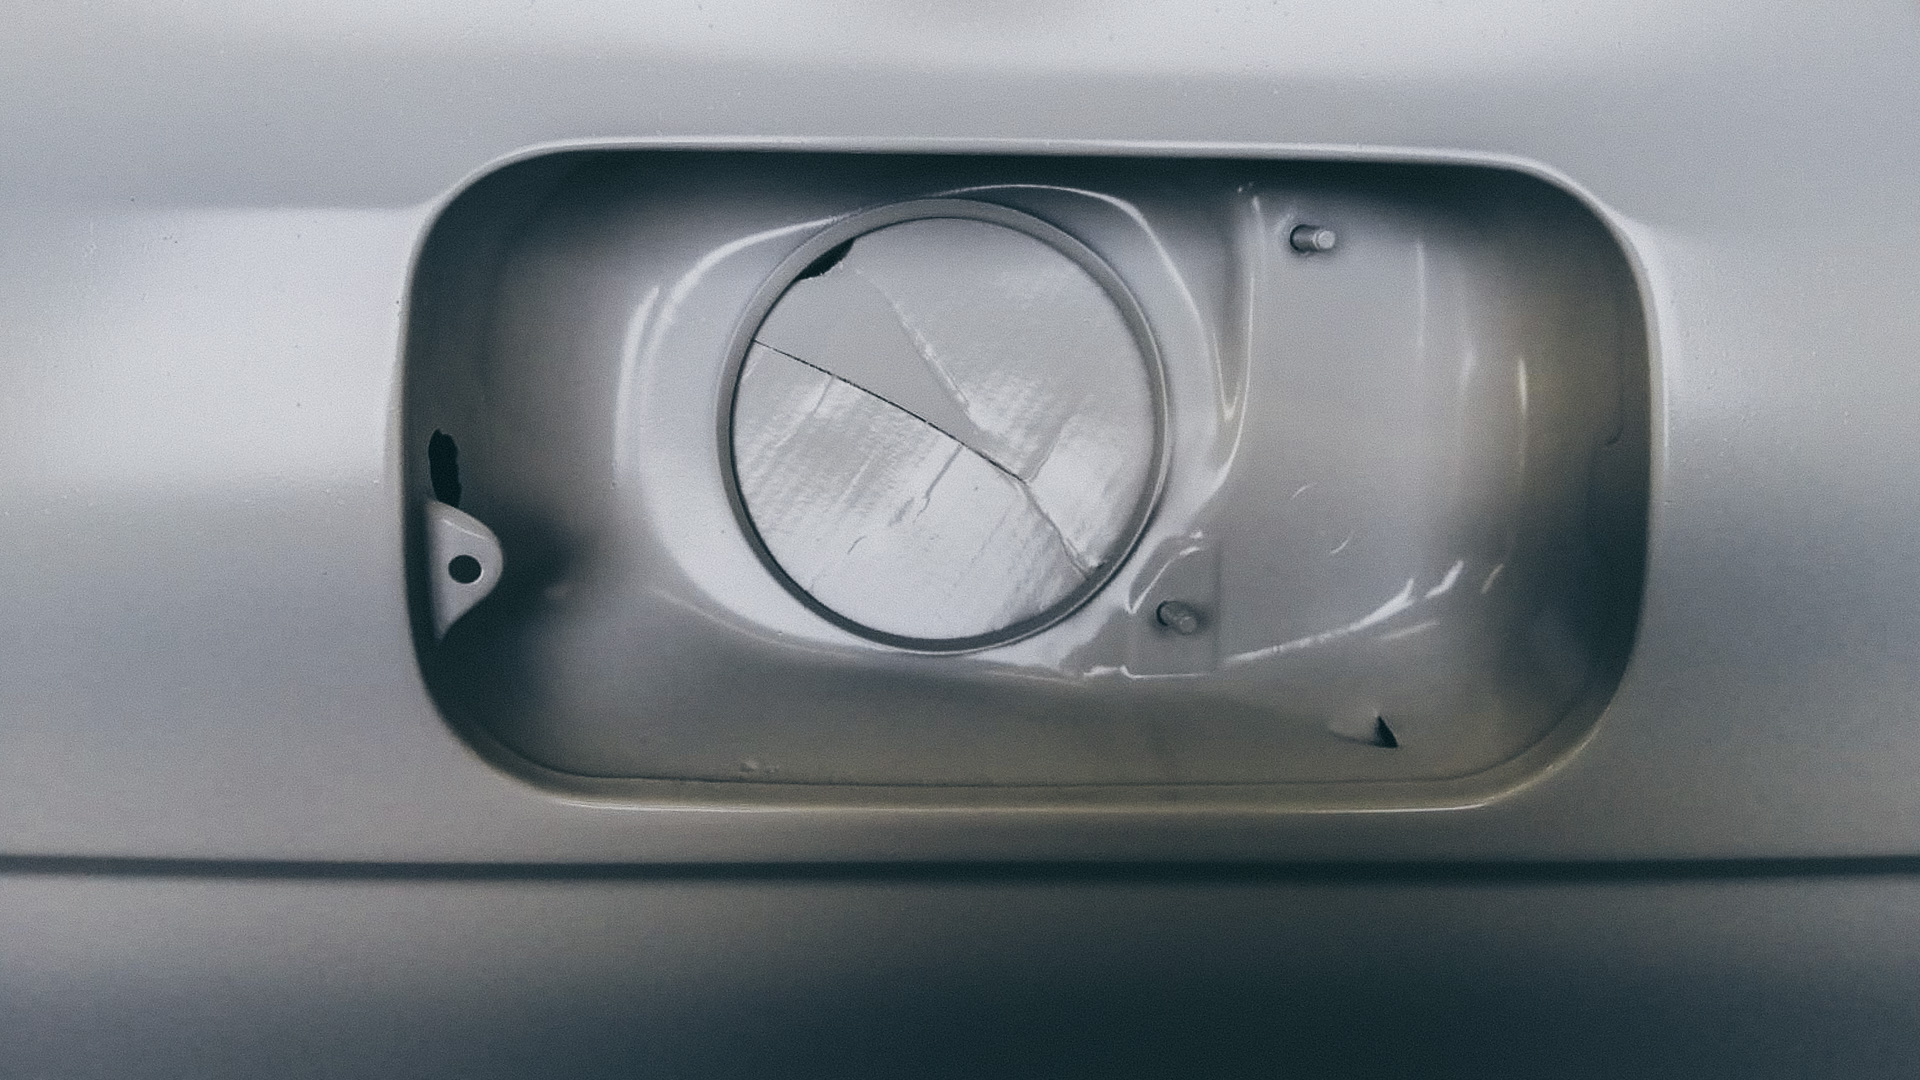
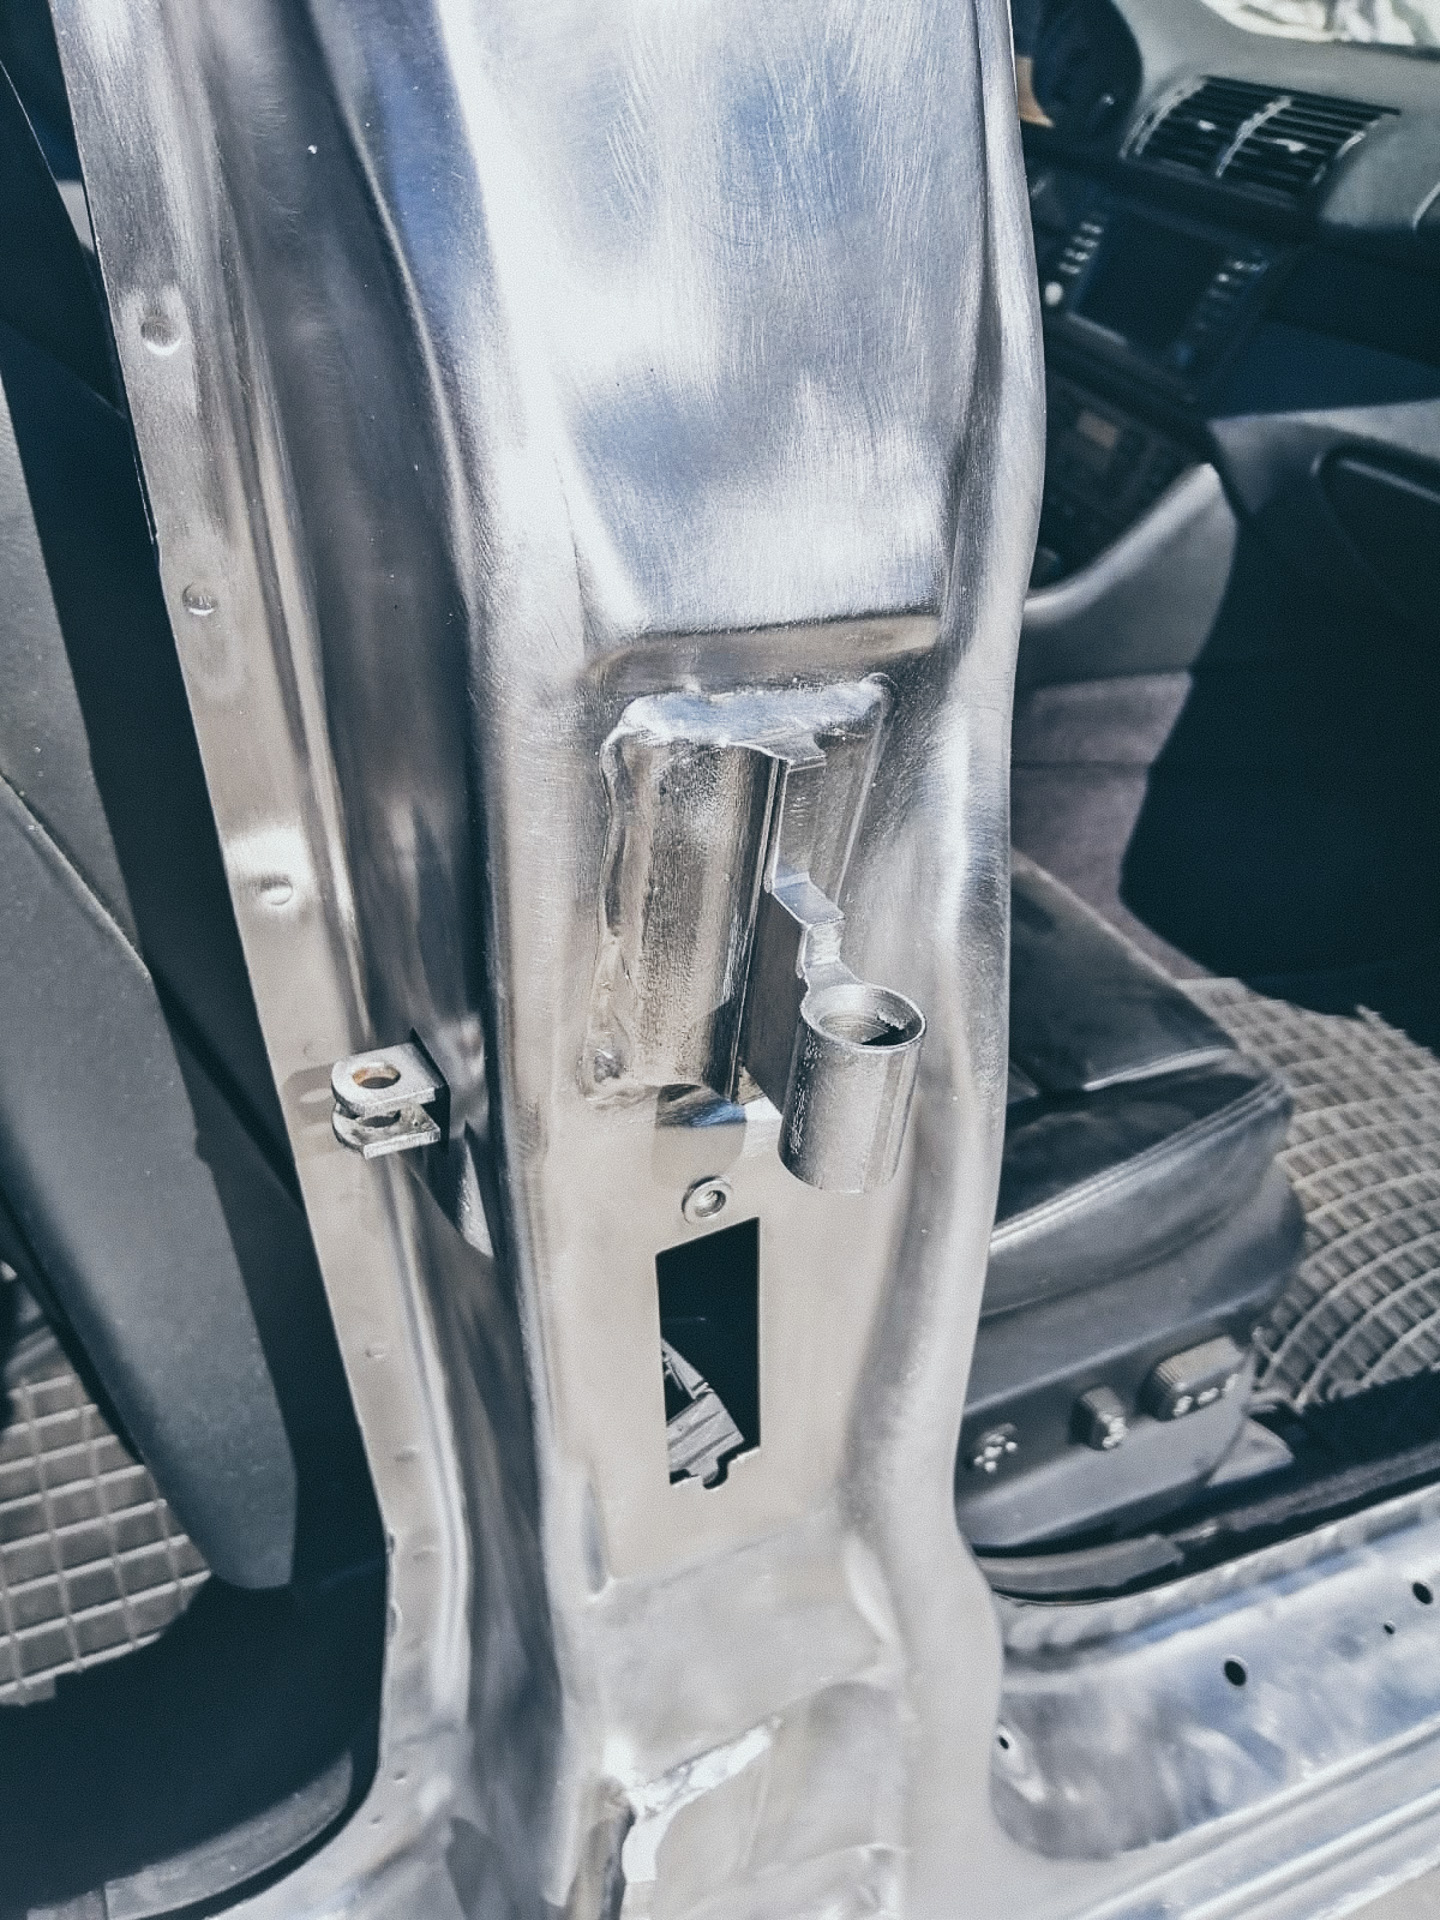
I told the painter Ainars to clean everything out and bondo the area, so there is seam visible and nowhere for the water to catch and can run freely out from the fuel cap area.
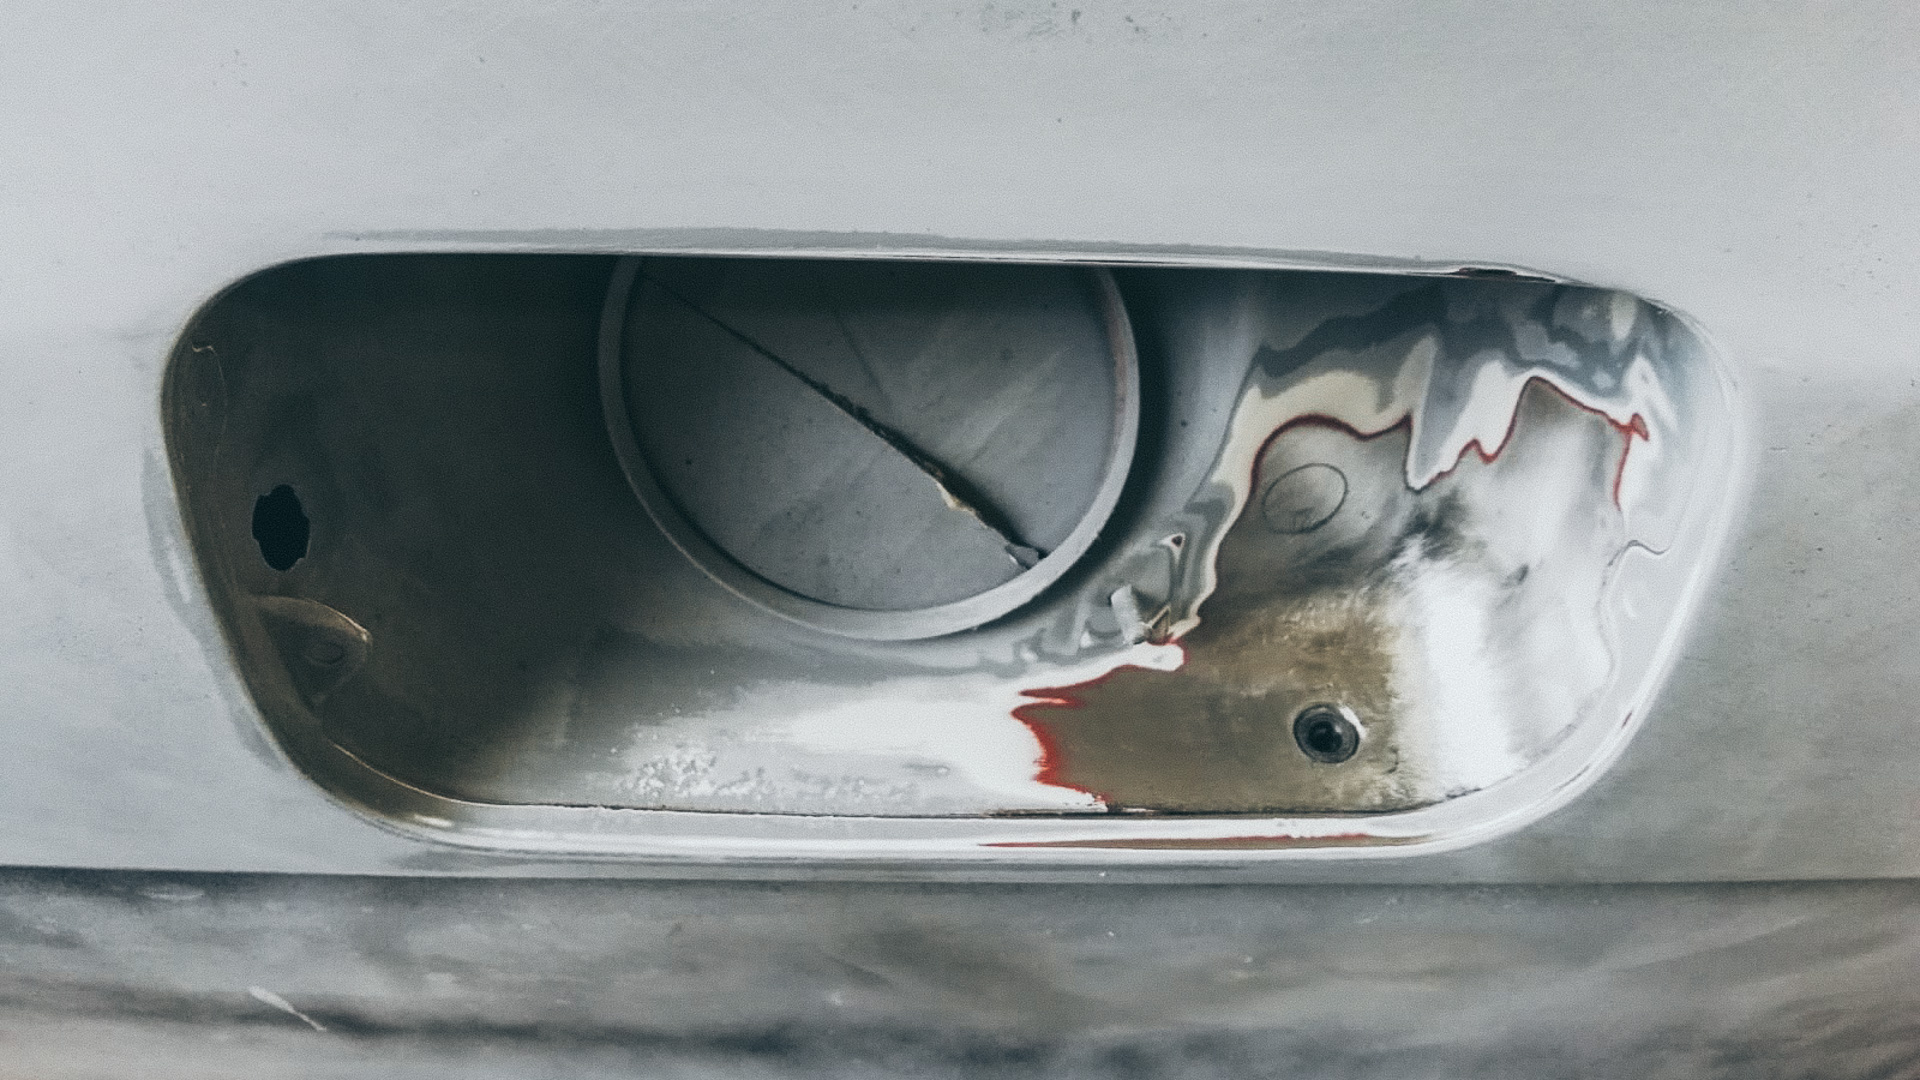
The painter spent couple days creating a properly designed drainage channel with funnel and piping. Parts were sourced from other manufacturers that have something like this in their vehicles.
E39 M5 mirror mechanism repair
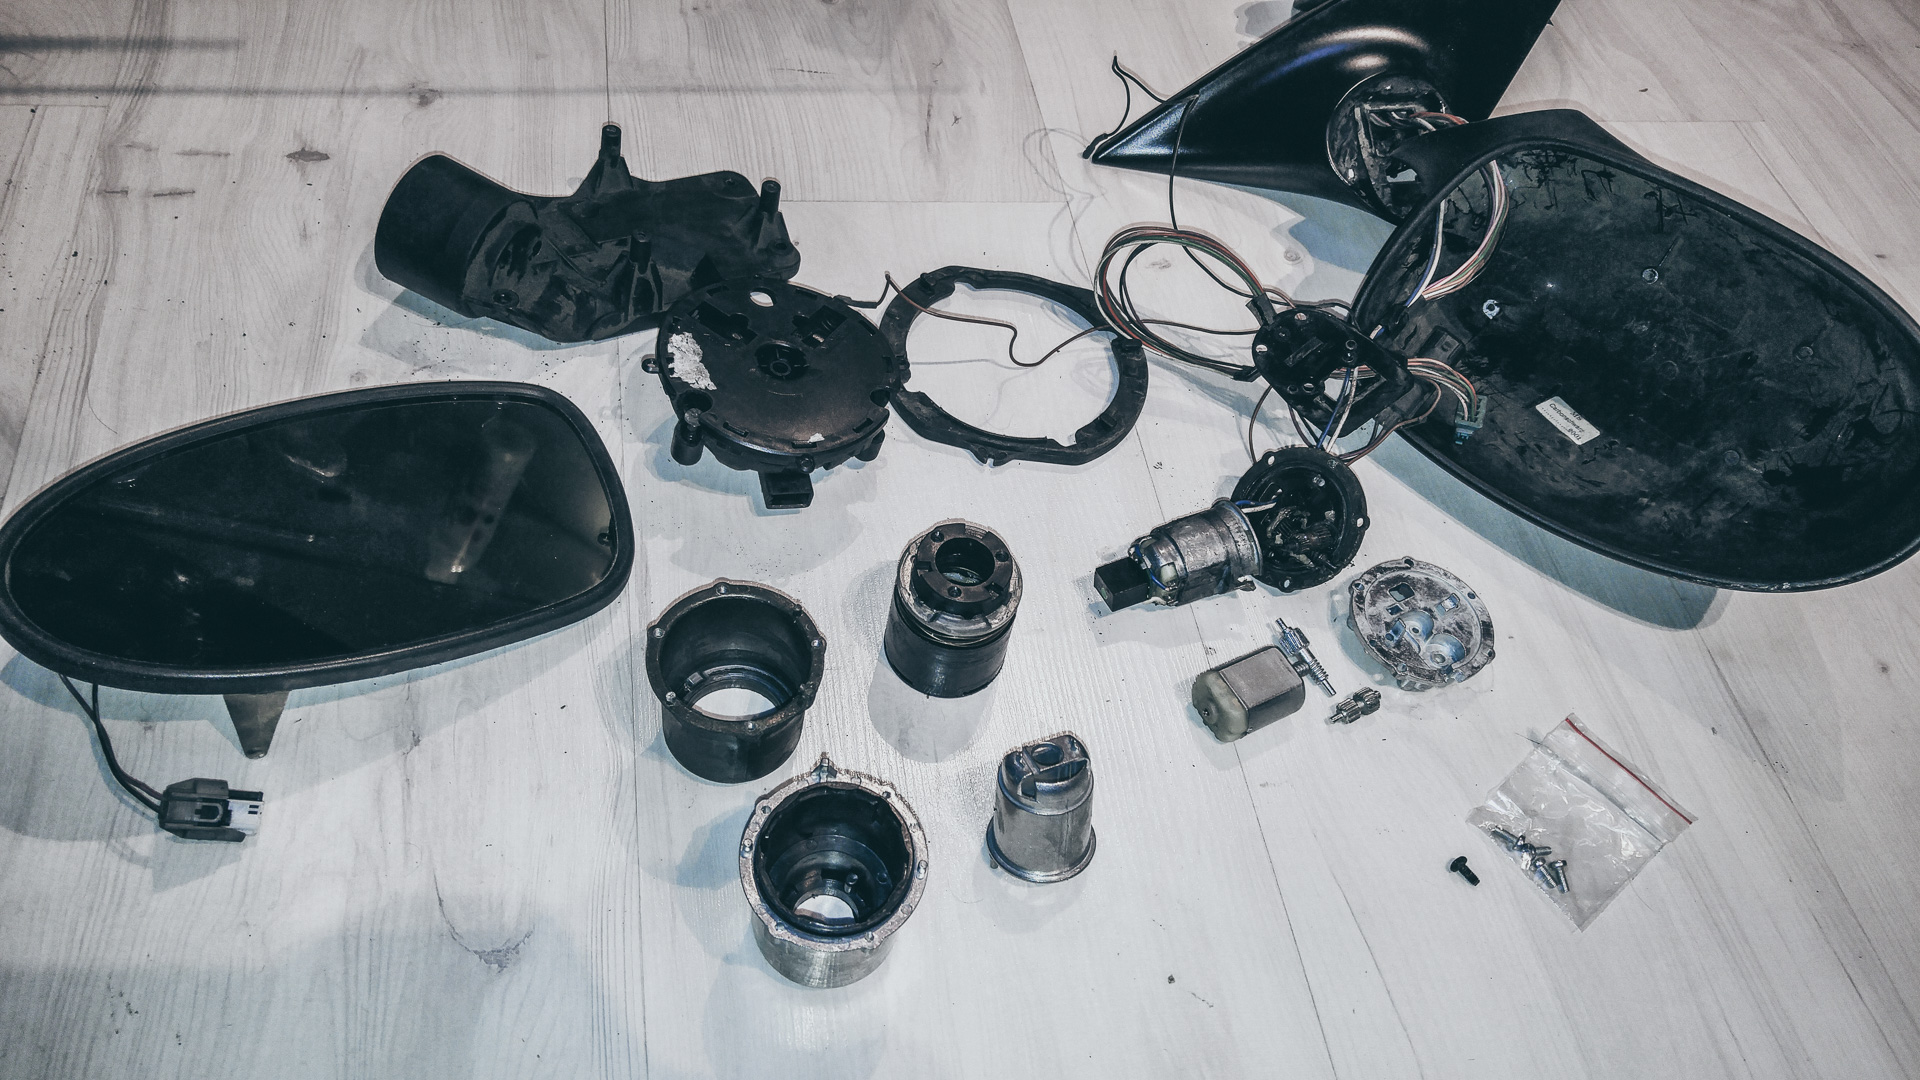
The driver door mirror became ‘loose’ with a minor wobble at any time, after being hit by someone in a Las Vegas parking garage.
The problem is OEM mirrors are quite expensive, often in wrong color and mechanism is often worn or also compromised somehow.
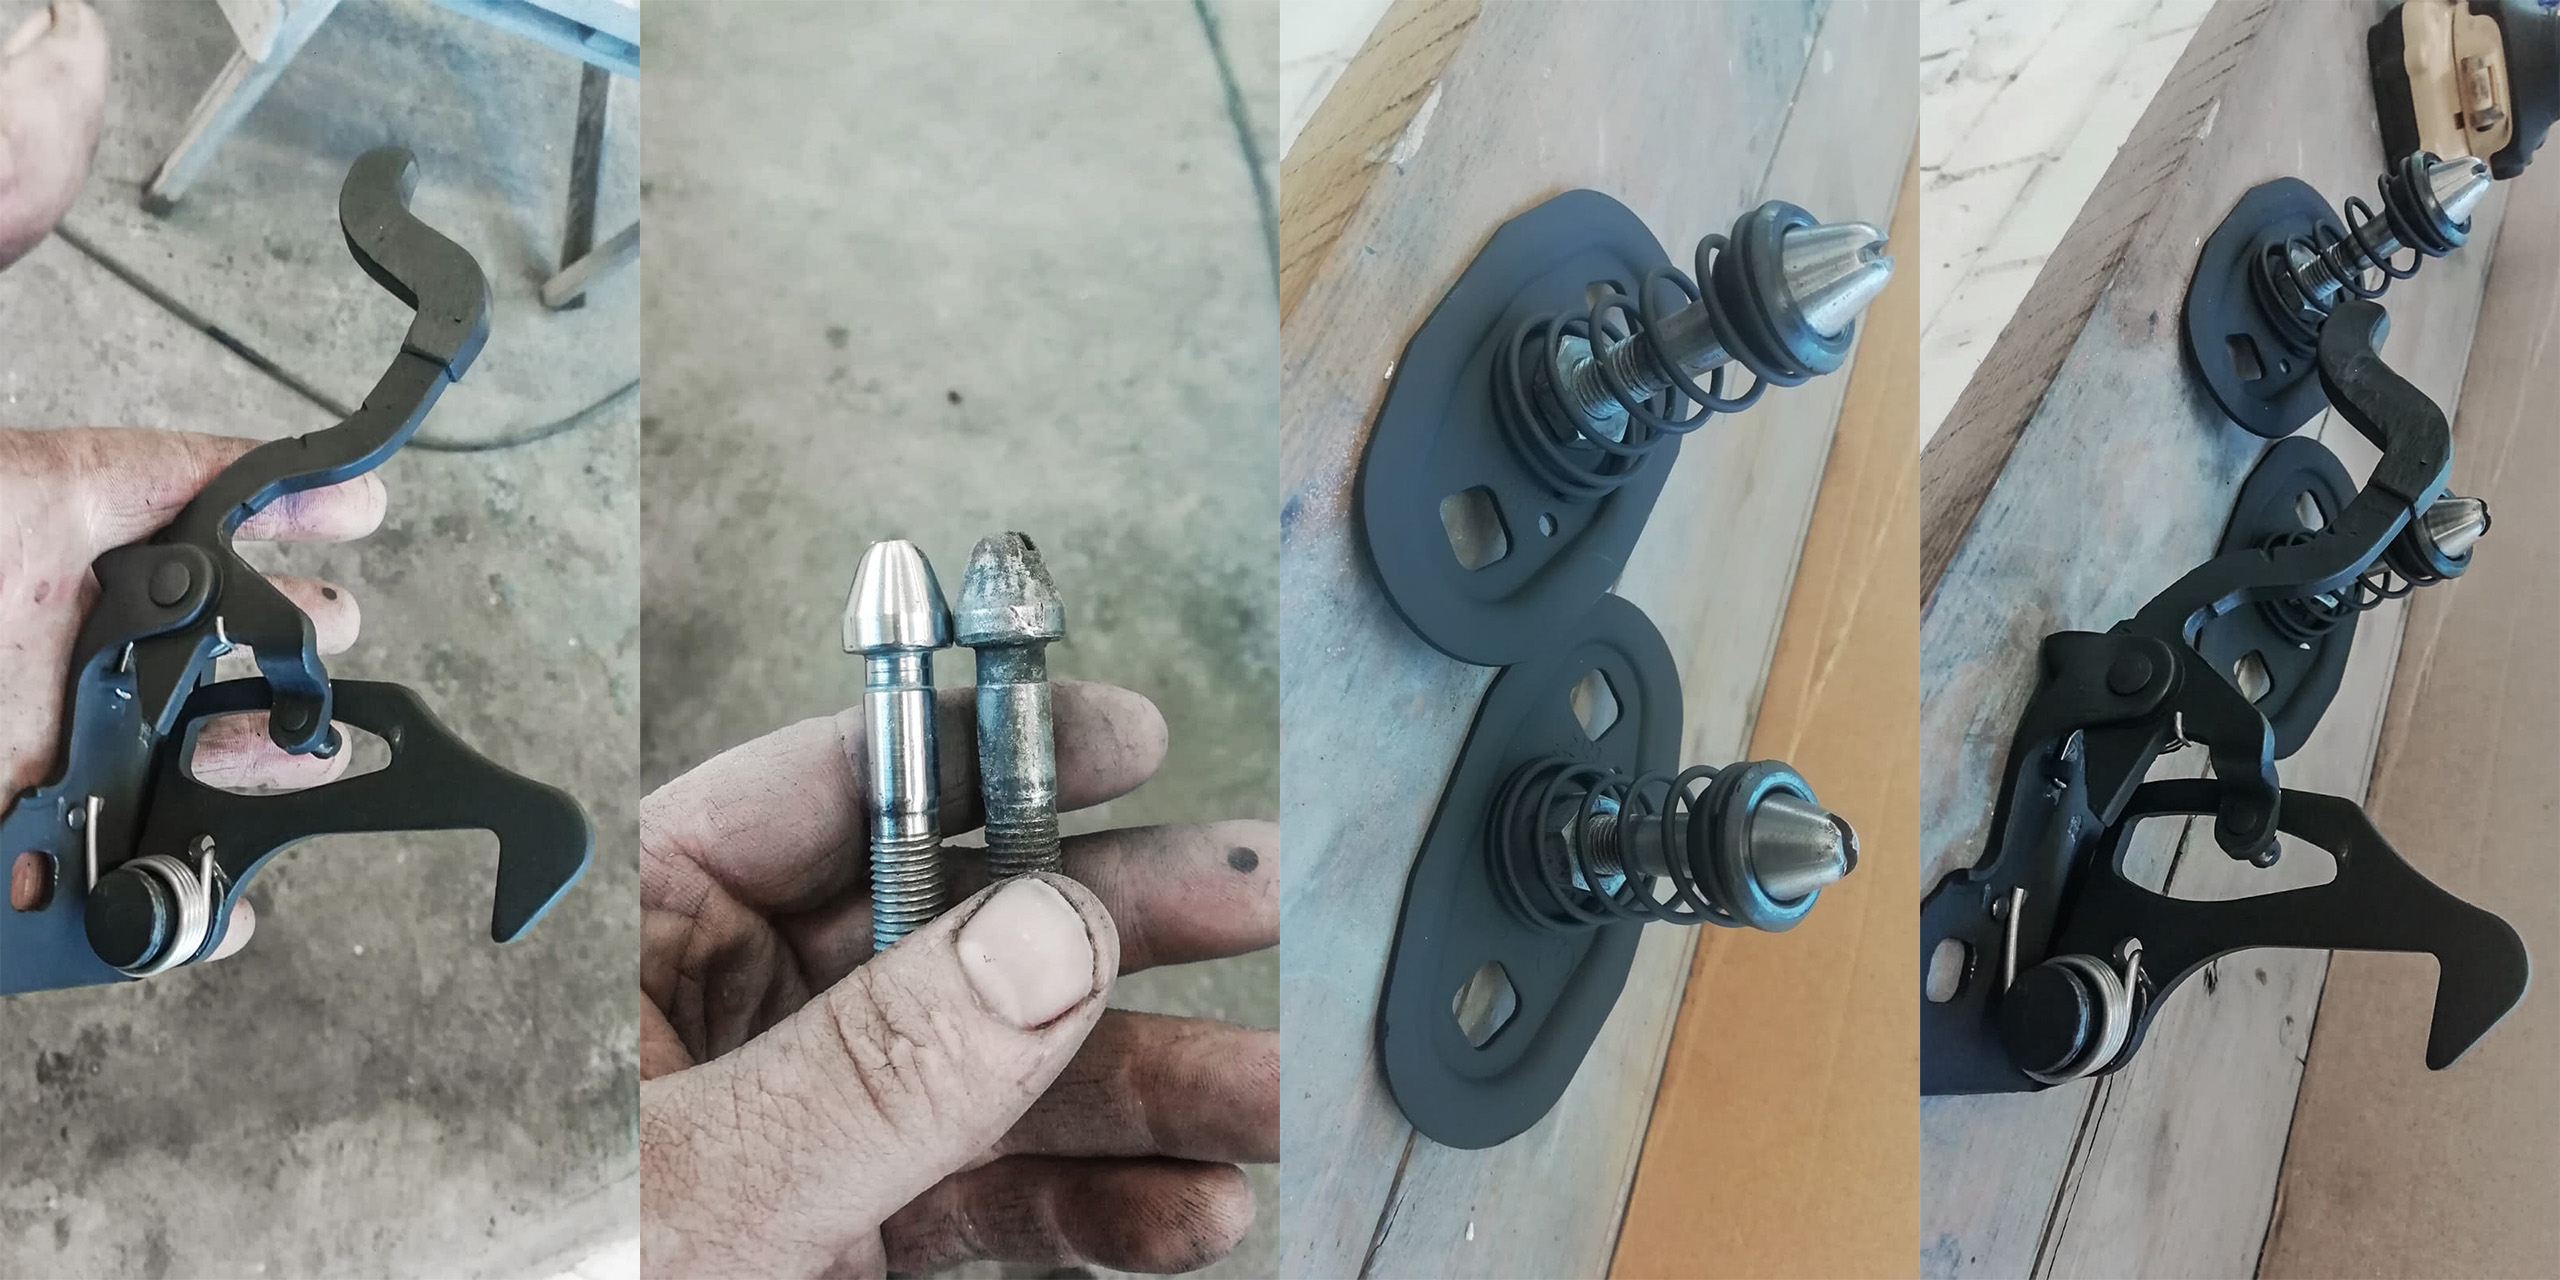
I bought an Amazon after-market repair kit for E39 M5 mirror for $50, from China. I must have taken the mirror apart about 35-40 times myself, 20 times to begin with at home, and another 15-20 times at the painter. Then the painter, spent another full day disassembling and assembling another 20 times. We really learned how to take the mirrors apart and put them together really well. We simply could not get it to work properly with the repair kit.
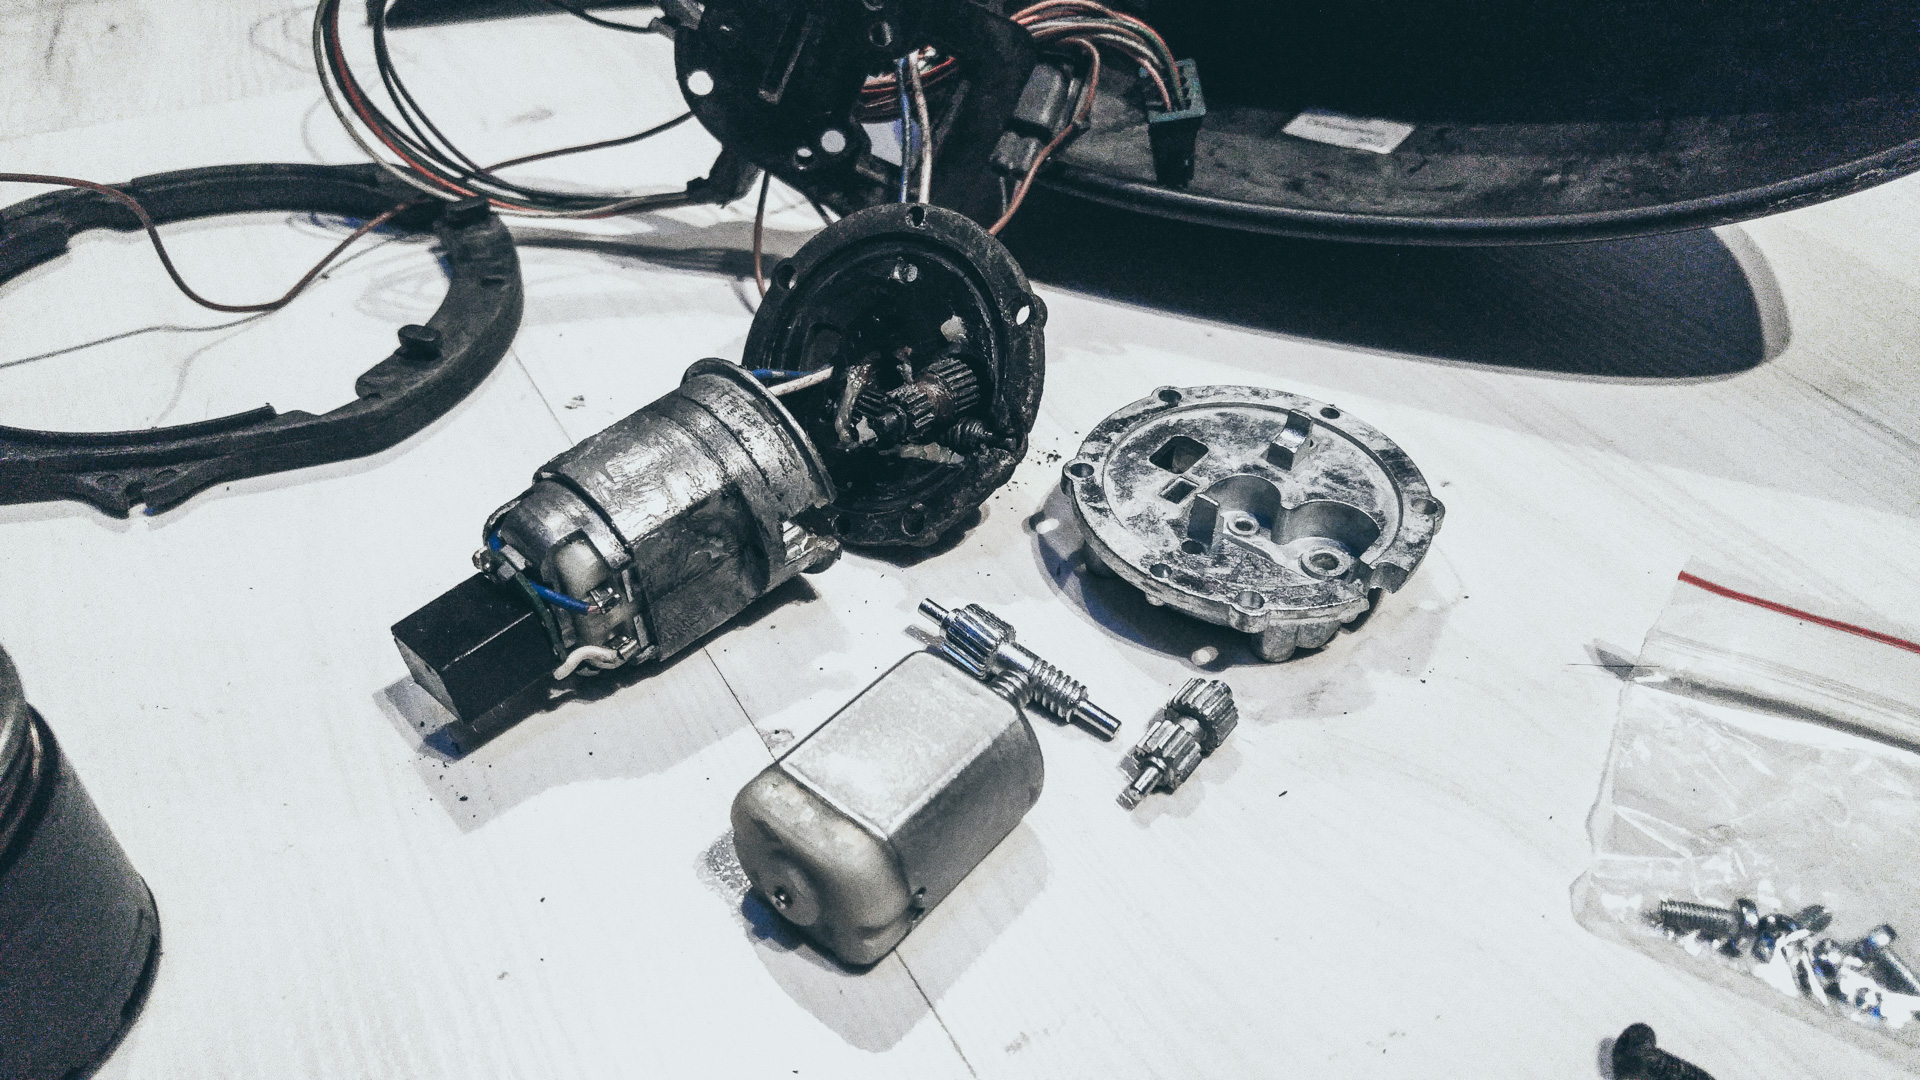
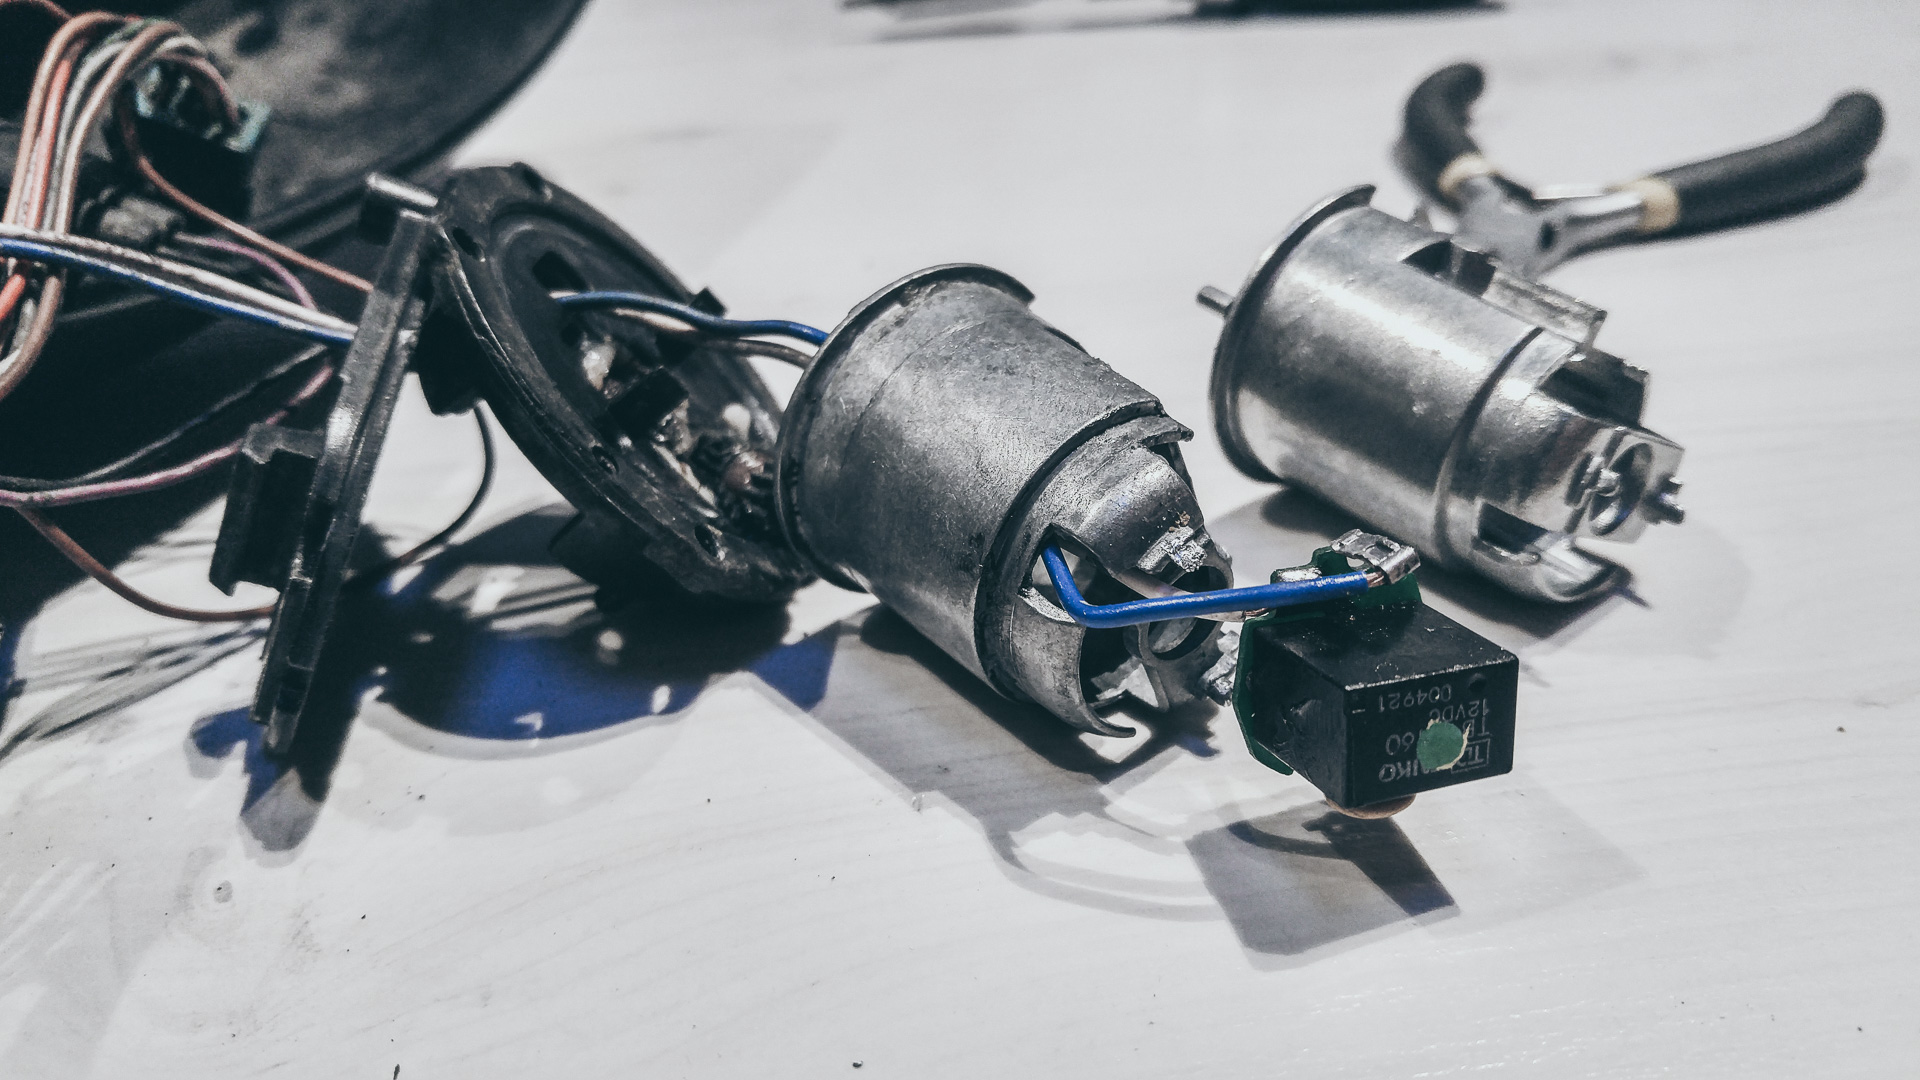

The small pin was broken off by someone hitting the mirror hard while walking pass the car and since one of the pins was loose, the mirror was always slightly loose/wobbly and did not want to rotate properly without making a clicking noise.
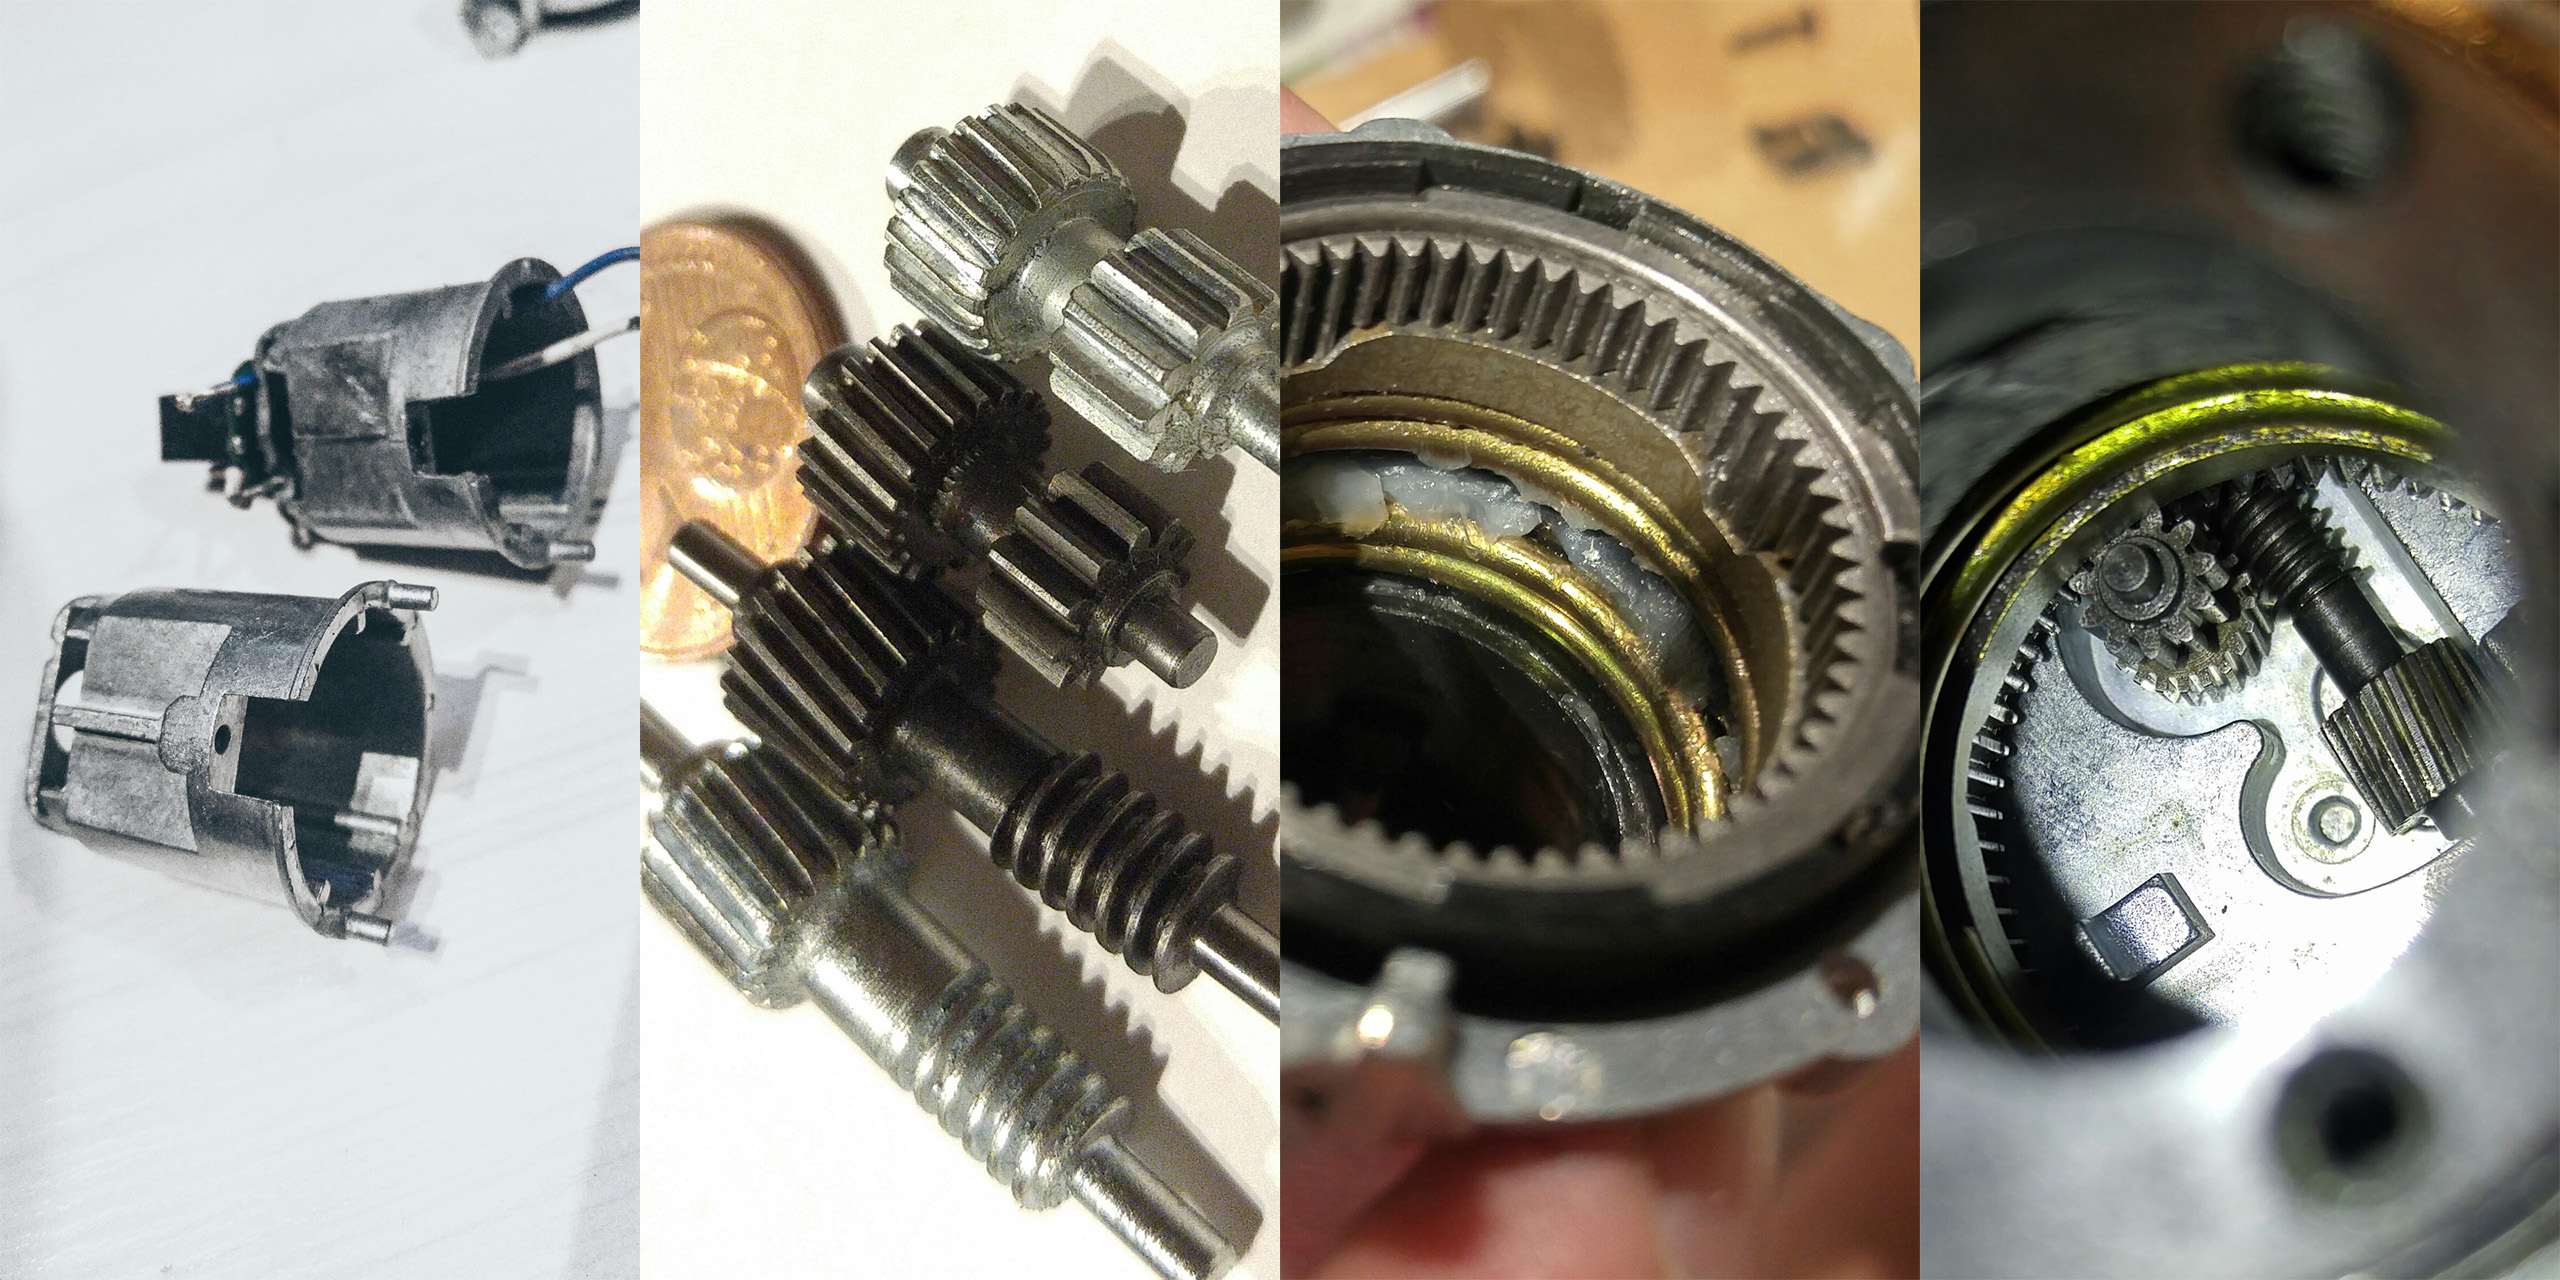
The M5 mirrors are quite an engineering feat. Very complicated for the very simple function of rotation. Apparently totally over engineered and complex, but when working properly, it is a beautiful mechanism.
On image two the difference between Chinese aftermarket (bright metal) and BMW OEM (dark metal) parts are clearly visible. The original parts are far superior in precision, and these parts are very tiny as noted by the penny in background for size reference. The original parts have corners so sharp them 90 degree turns catch the finger like a knife’s blade would do.
Initially put in the aftermarket gears and housing, put the mirror fully together and it would not move what so ever. Then proceed by taking everything apart and examining what is wrong and re-assembling, again. Again and again. Then the gears were removed and replaced with original gears, since the difference in precision was noted and lack of precision prevented gear mechanism from turning properly.
The mechanism was assembled with aftermarket motor & housing, but OEM gears, and still would not turn over. The mirror was then again disassembled, aftermarket motor replaced with OEM motor (aftermarket motor’s spiral gear at end was less precise than OEM motor’s). Still would not turn over, and to make matters worse, the mirror still was wobbly with new aftermarket housing with pins that are not broken, although less wobbly.
Then mechanism was disassembled, and only motor plugged into the car mirror controller, and the rotation function tested, at each step, with bare motor (spinning), then adding the OEM gears, spinning, adding aftermarket housing, still spinning, tightening down the aftermarket housing, then stopped spinning.
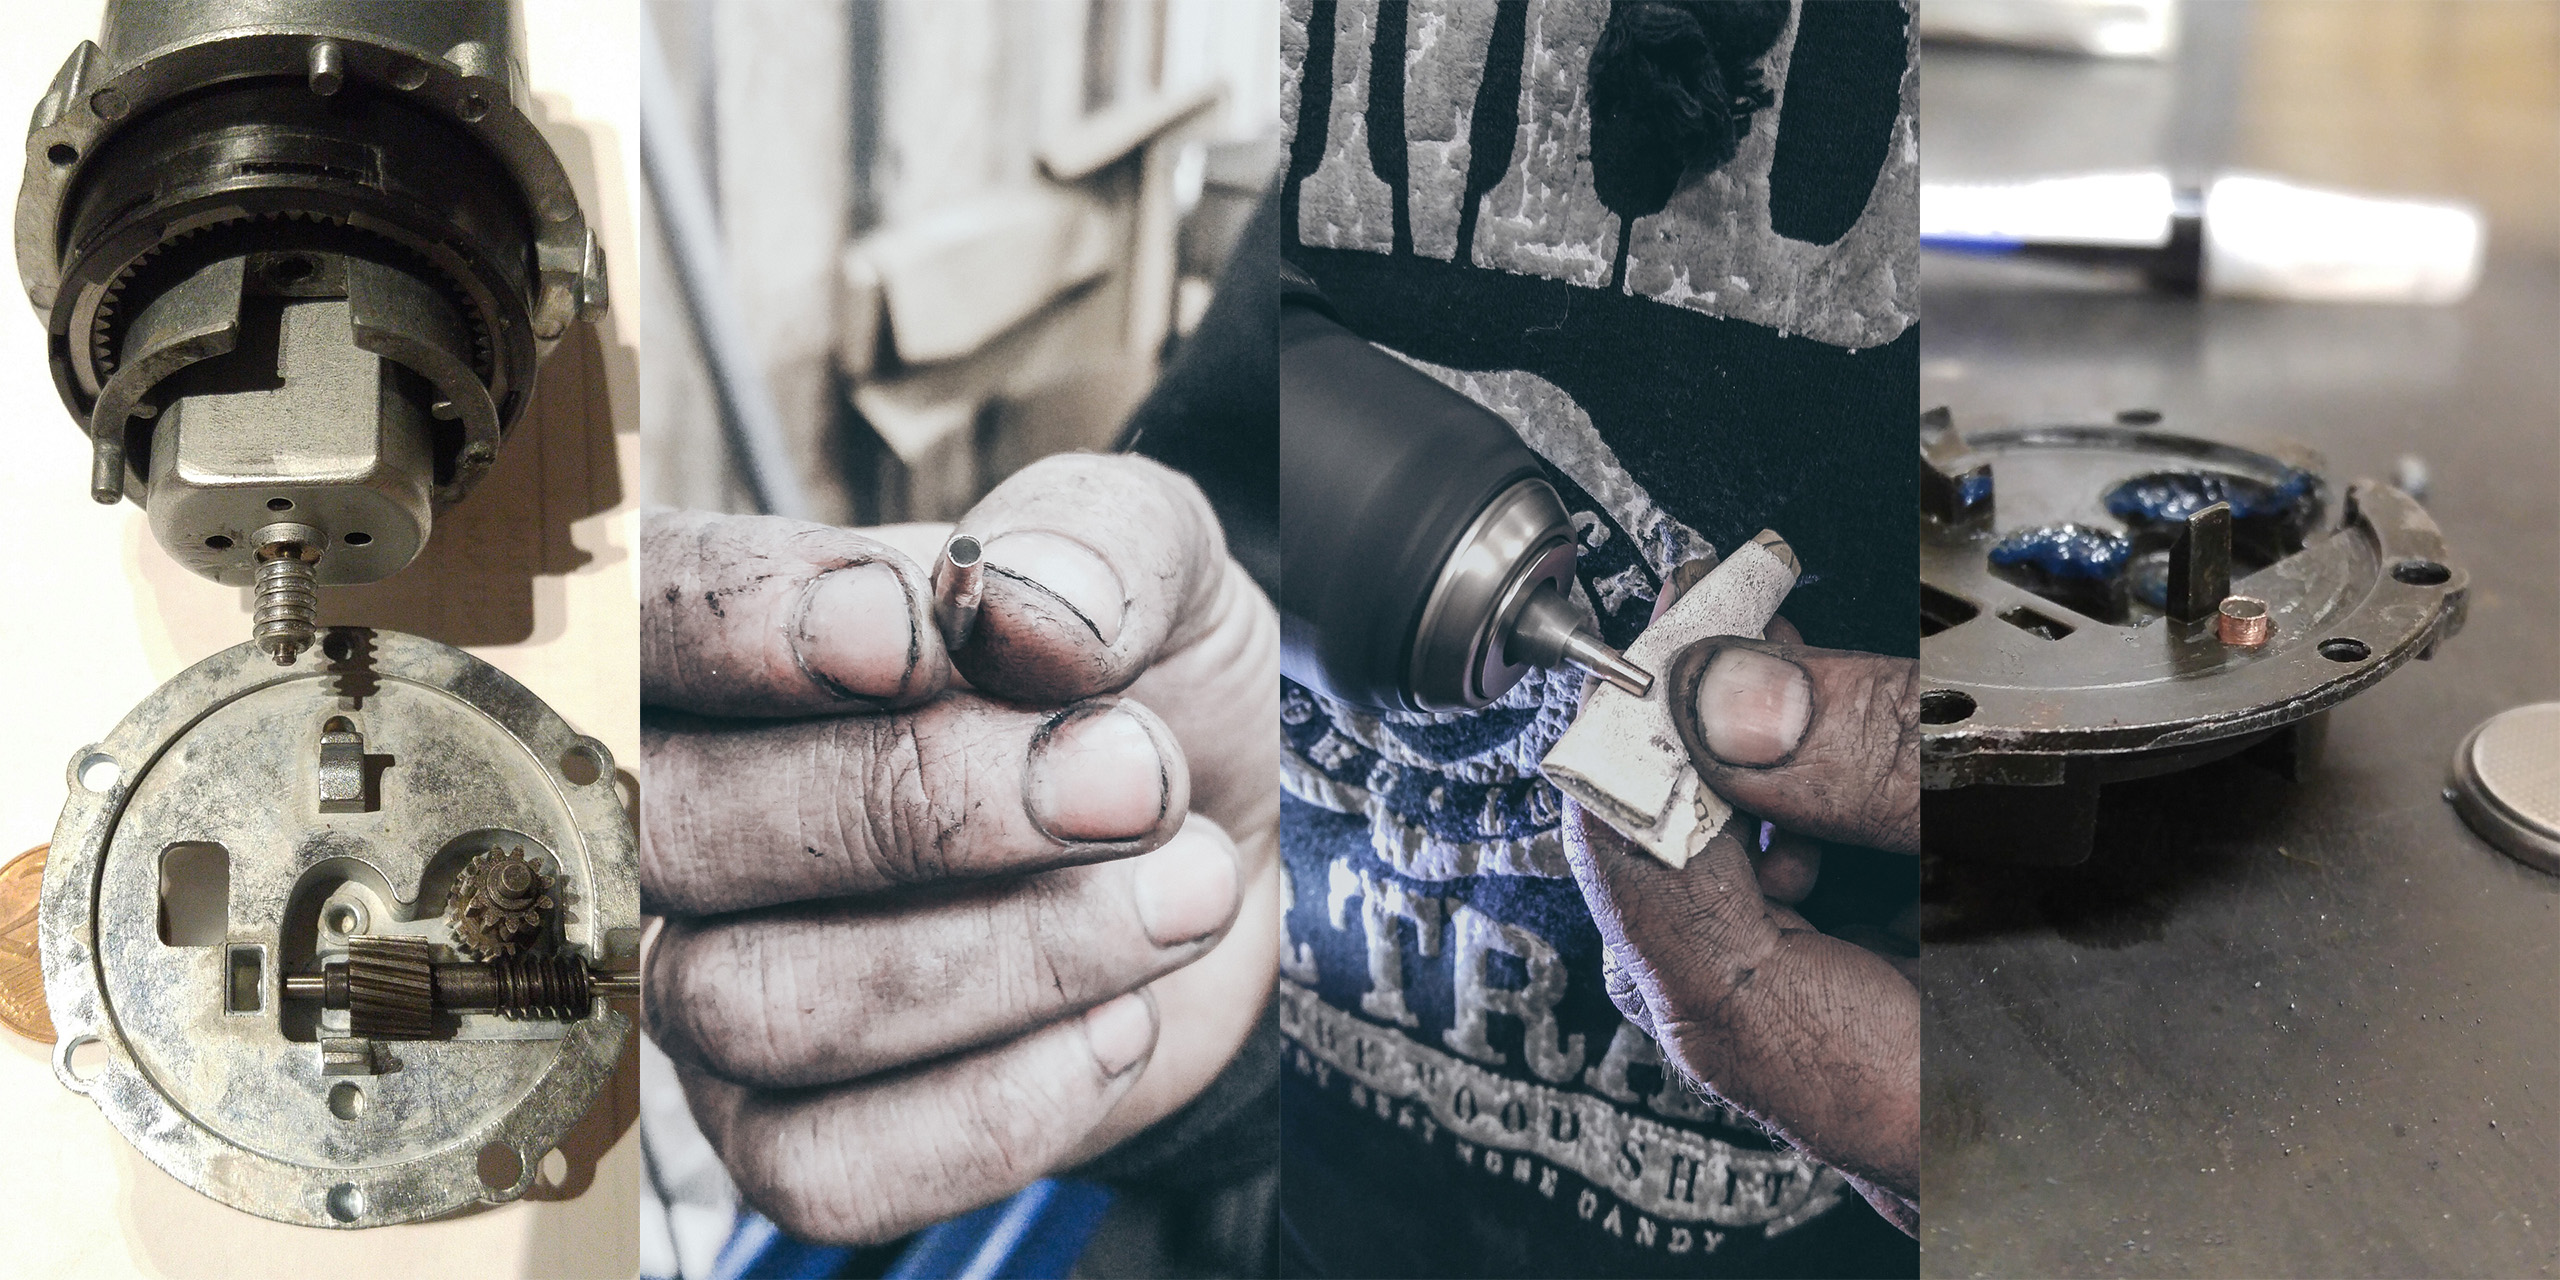
Turns out the mechanism was loose/ wobbly with new aftermarket housing because the aftermarket housing has lower precision/tolerance, and the pins are couple microns less in diameter, and that tiny tiny little difference transfers to significant wobble in rotational mechanism once mirror is assembled. We ended up making new tiny spacers from tiny copper pipe that we shaved down, to be worn as sleeves on the aftermarket housing’s pins.
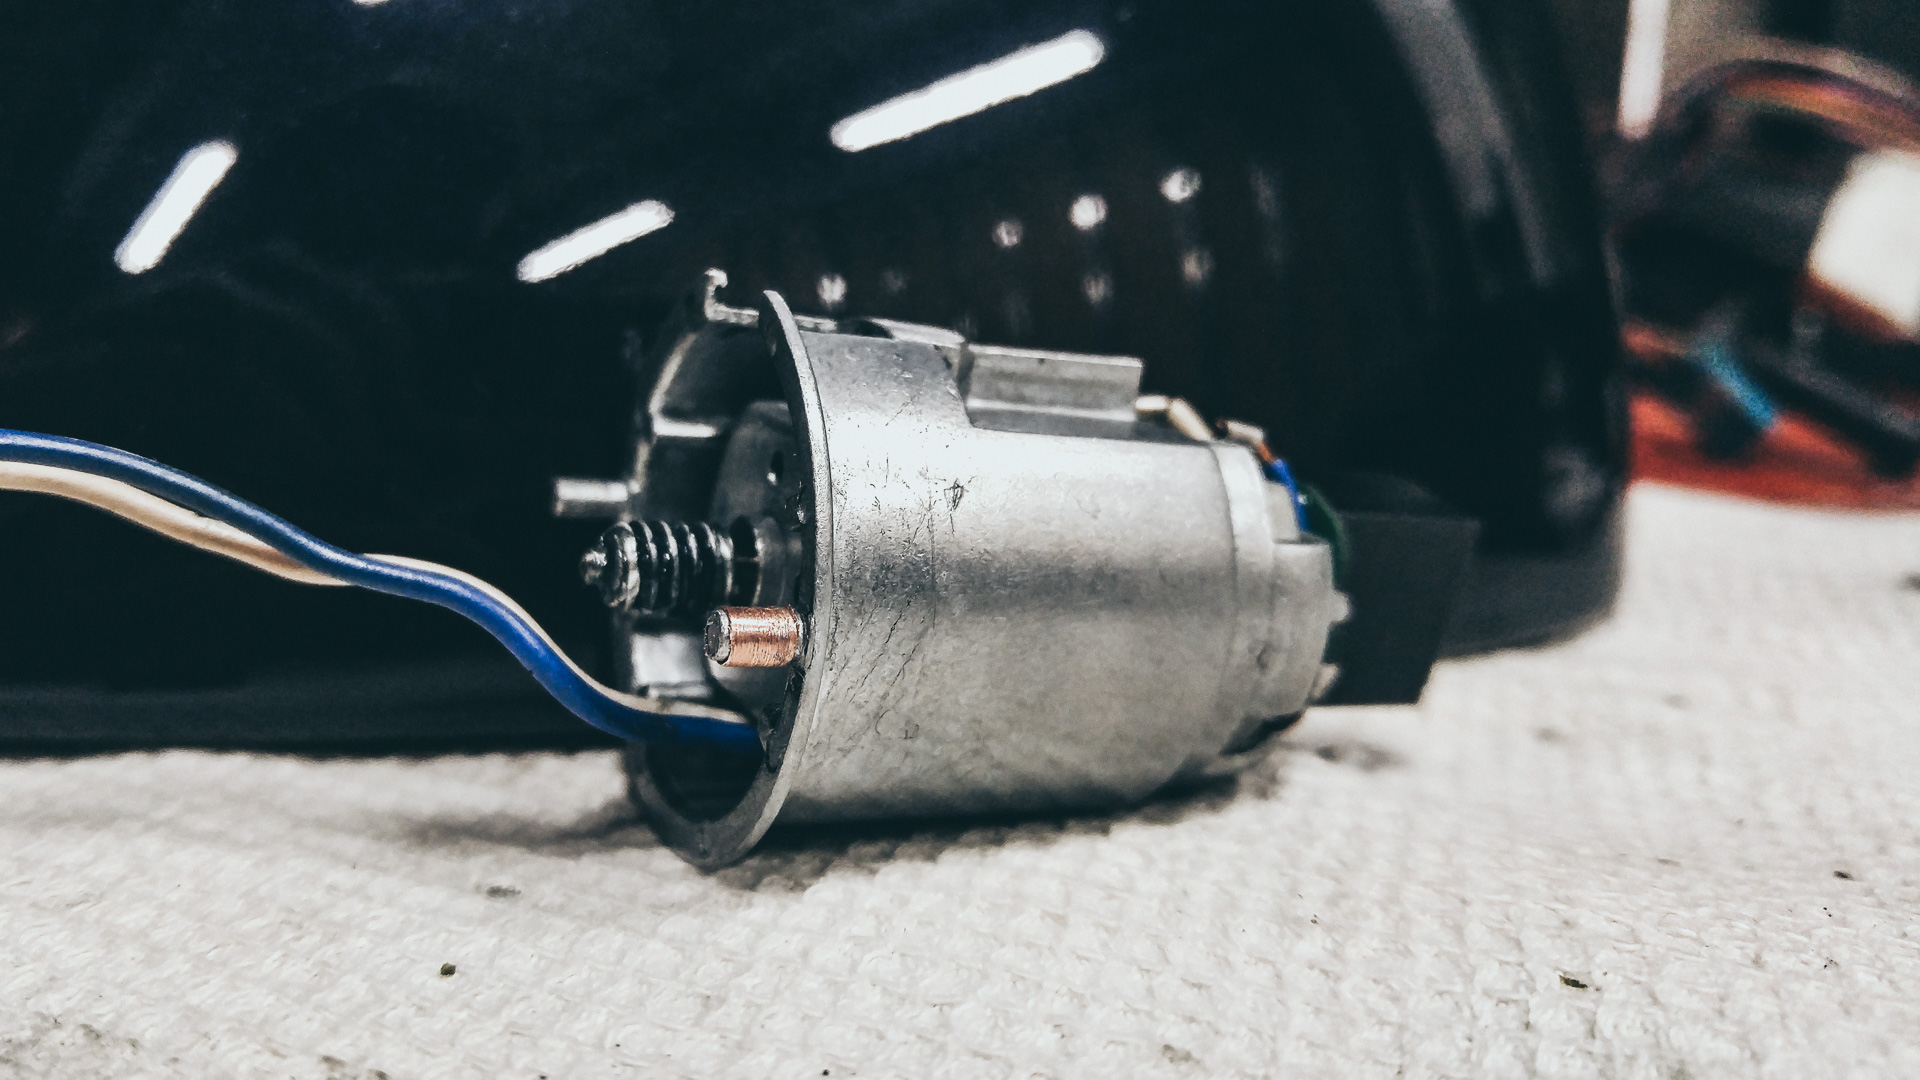
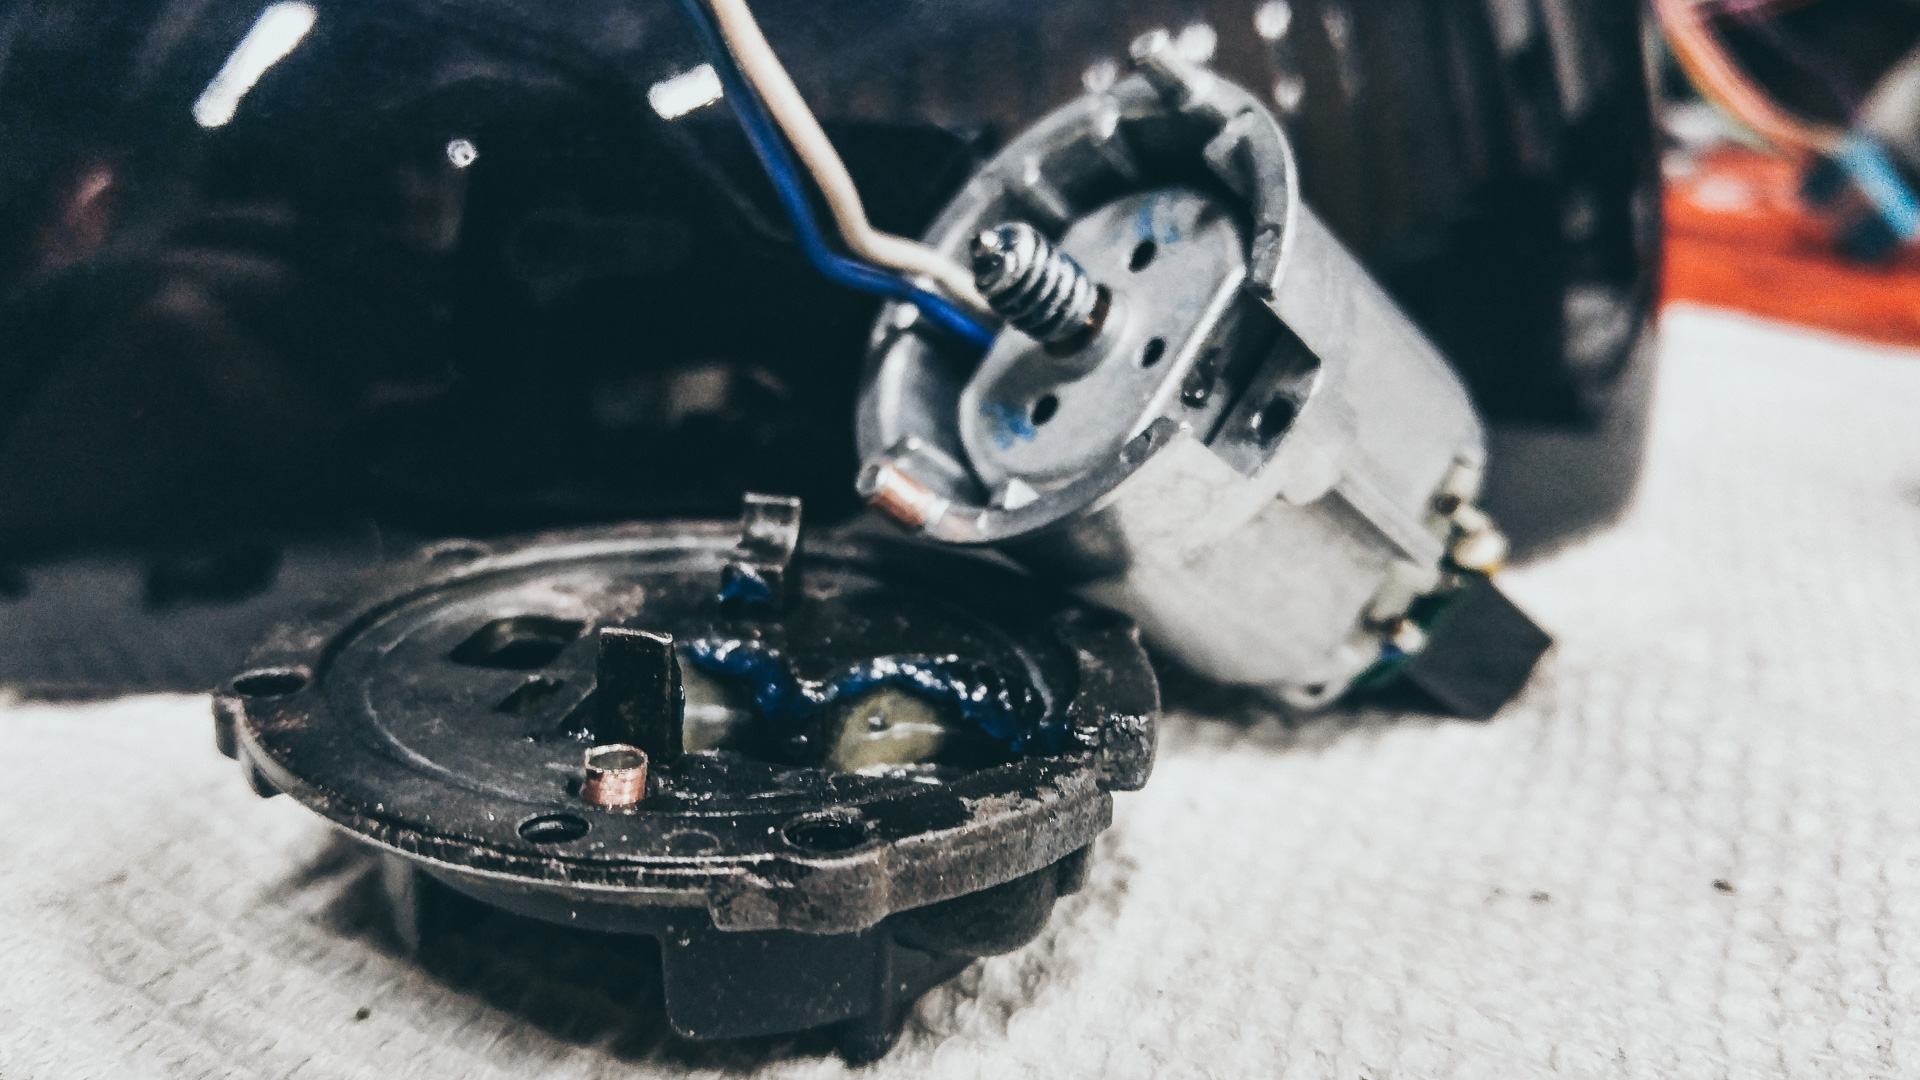
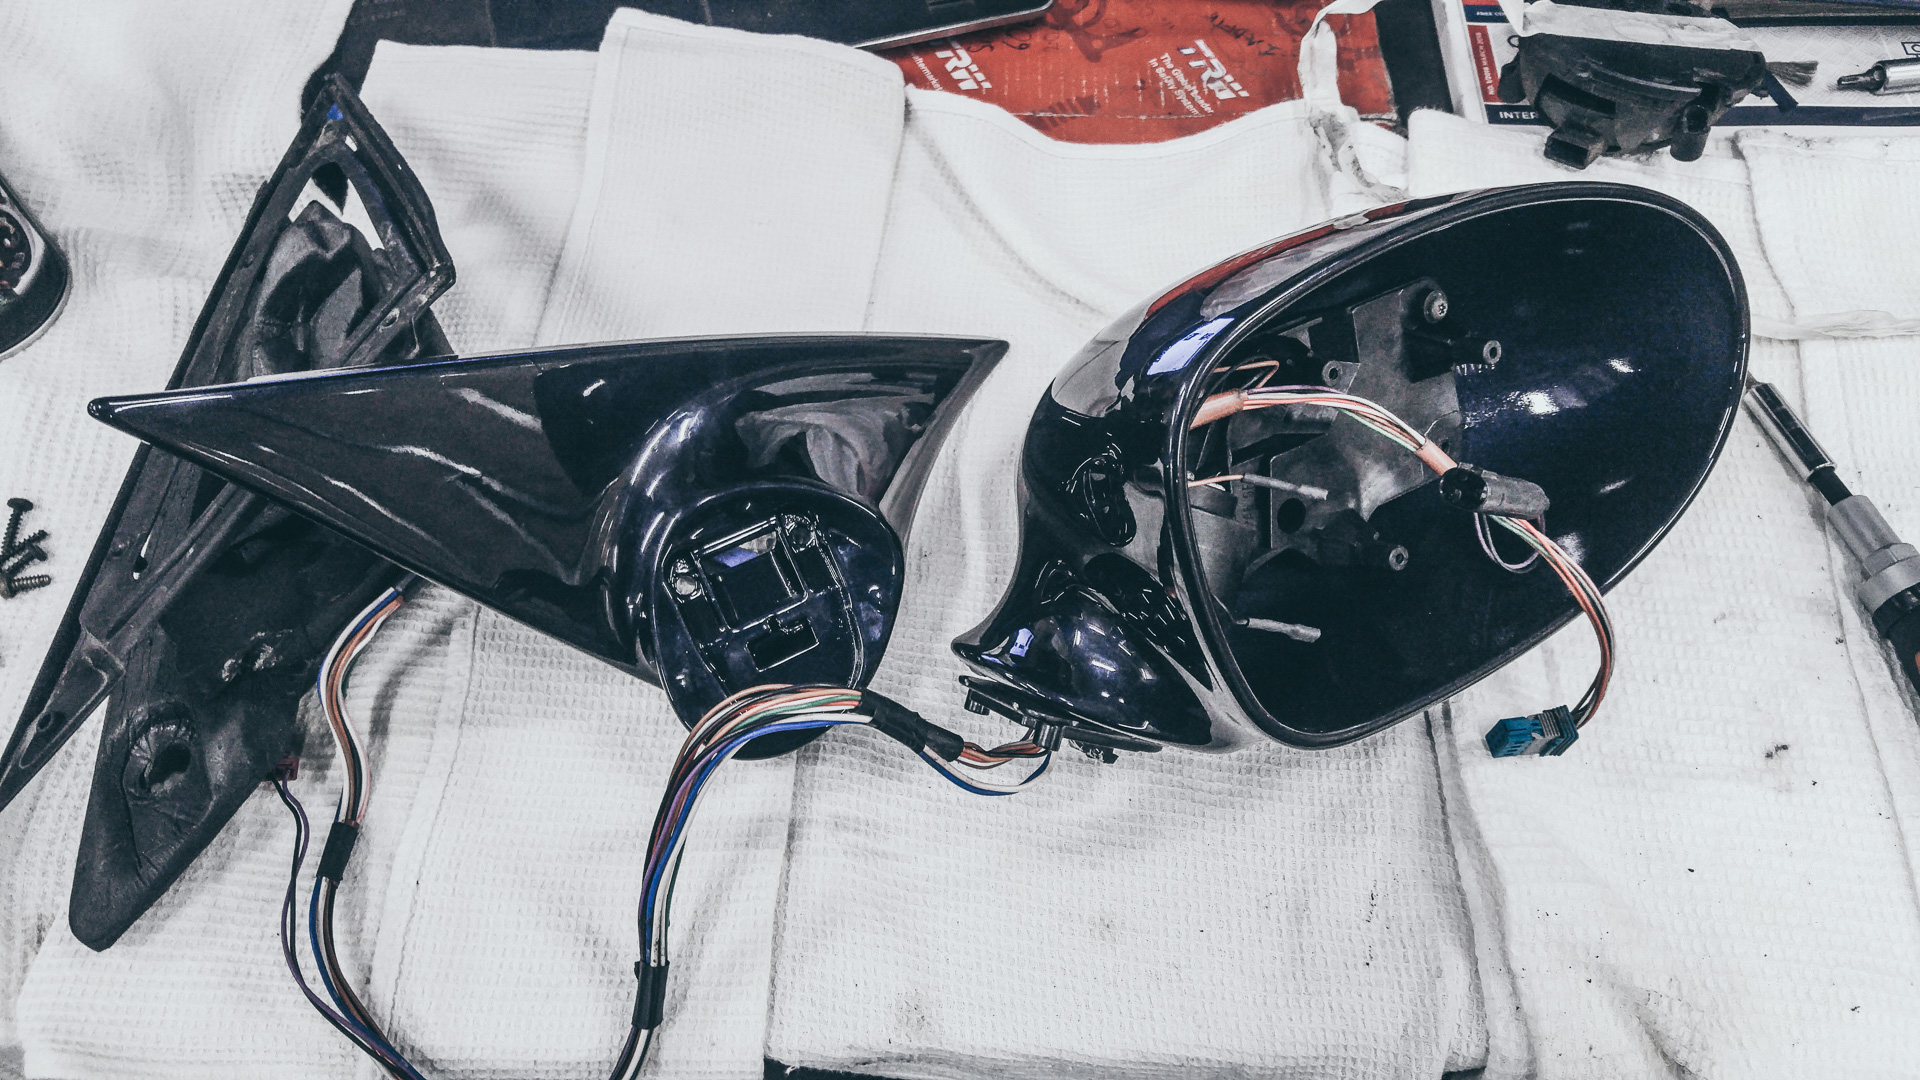
Once assembling the mechanism, and tightening everything down, still the mechanism would not work properly. There is a spring not clearly visible in the images above, that once removed would let the mechanism spin, but needed to be there to keep everything tight. We compressed the spring with 10 ton press in order to make the mechanism spin easier, and it still worked poorly, hearing motor struggling, but things were tight (looseness and wobble gone).
I gave up for the night but the painter proceeded the whole next day to disassemble and assemble the mechanism in order to figure out where the friction was coming from. Turned out that the aftermarket housing for which we built the copper sleeves, was (less than) 1mm too tall, and since in the OEM mechanism everything is near micron precision, that little tiny sub one millimeter difference (even though there is a spring of 5-6mm height there as well), was enough to stop the entire mechanism from functioning. The painter spent the days grinding of microns and re-assembling, disassembling, and so on.. until housing was shaved enough for mechanism to start turning.
Conclusion is that the precision is insane on these OEM mirror mechanisms, and the only way to repair a broken mechanism is to have one or two other donor mirrors in OEM form. The aftermarket repair kits selling for ~$50 are totally useless since literally every single piece (except housing that we shaved) in the repair kit was useless, and the sole reason is lack of precision on the parts. So if you ever decide to repair one of these mirrors, there really is no way of repairing without sourcing OEM donor parts.
We got the mirror working, properly enough, it is nowhere perfect but good enough for the future. The amount of time does not justify the repair. It would been much smarter in retrospect to just order a donor mirror and assemble 1 working from two broken.
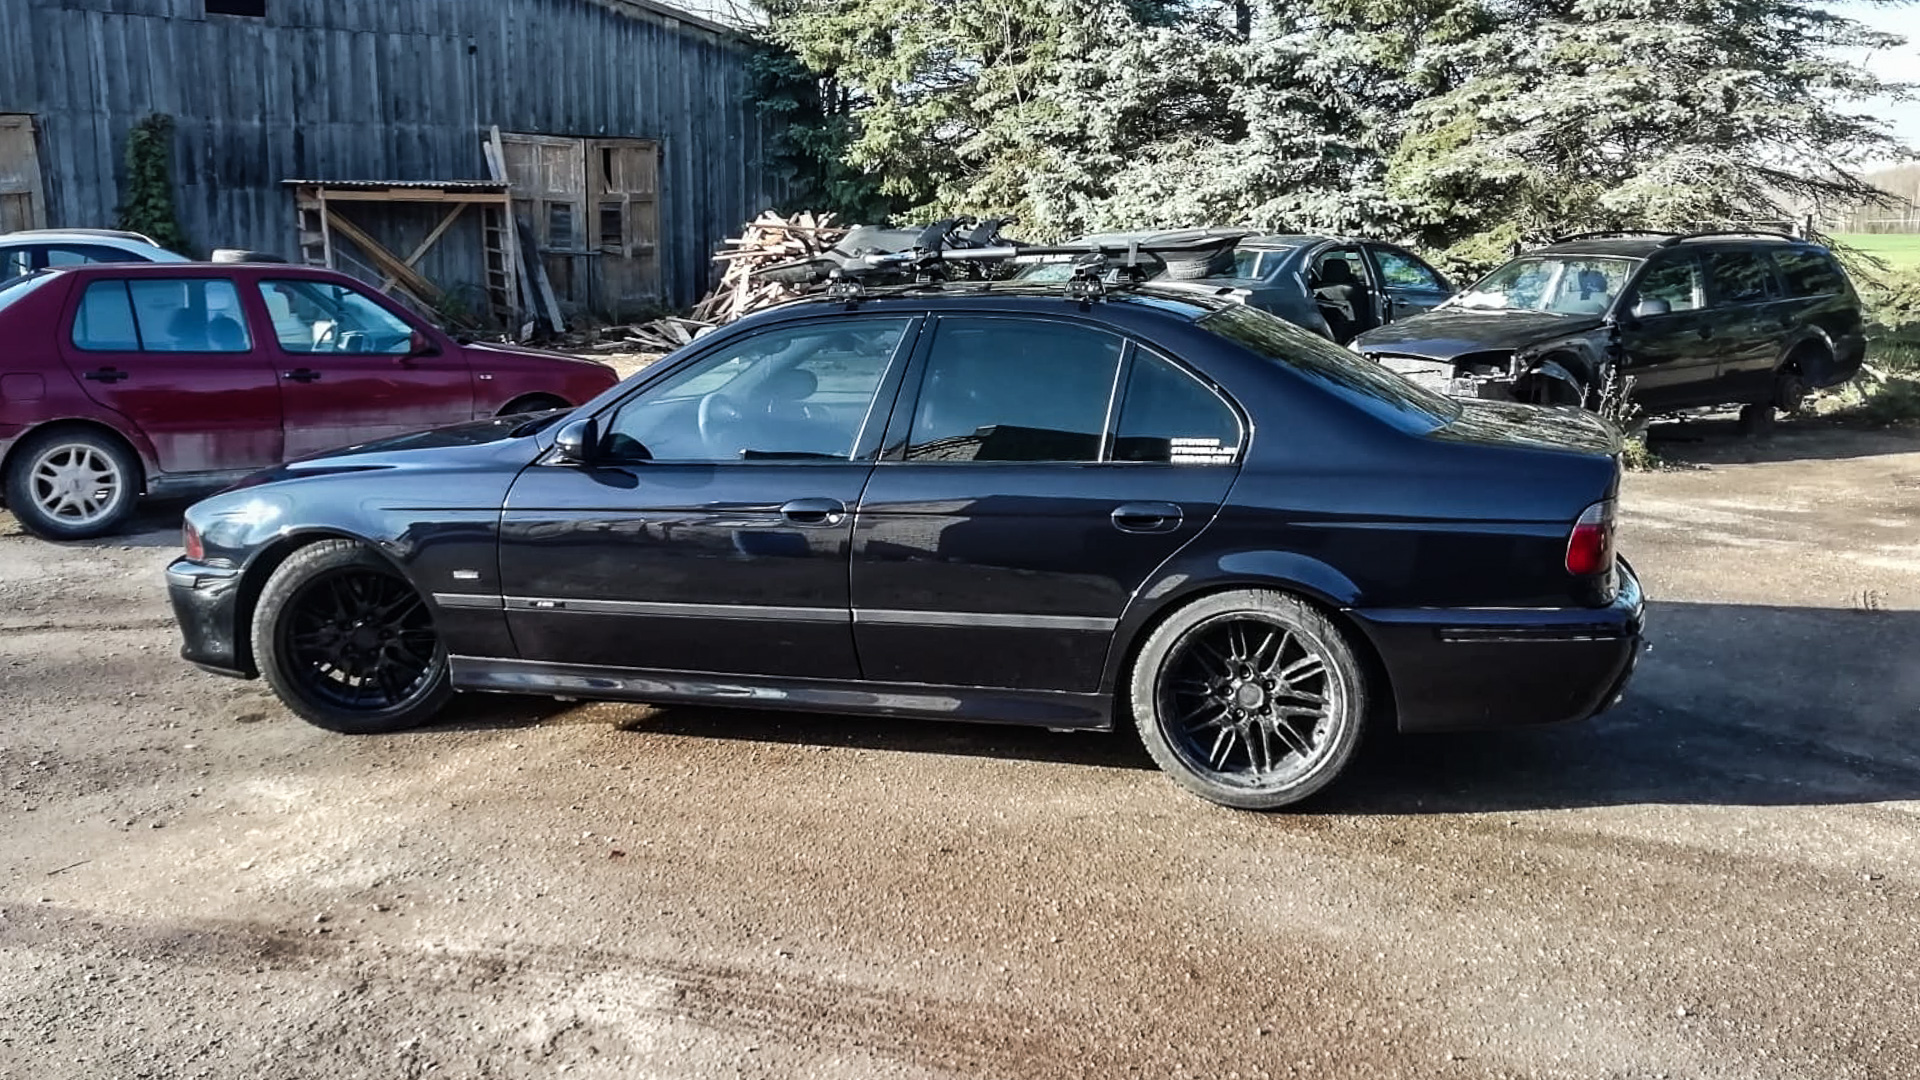
Read more about Volvo restoration here.
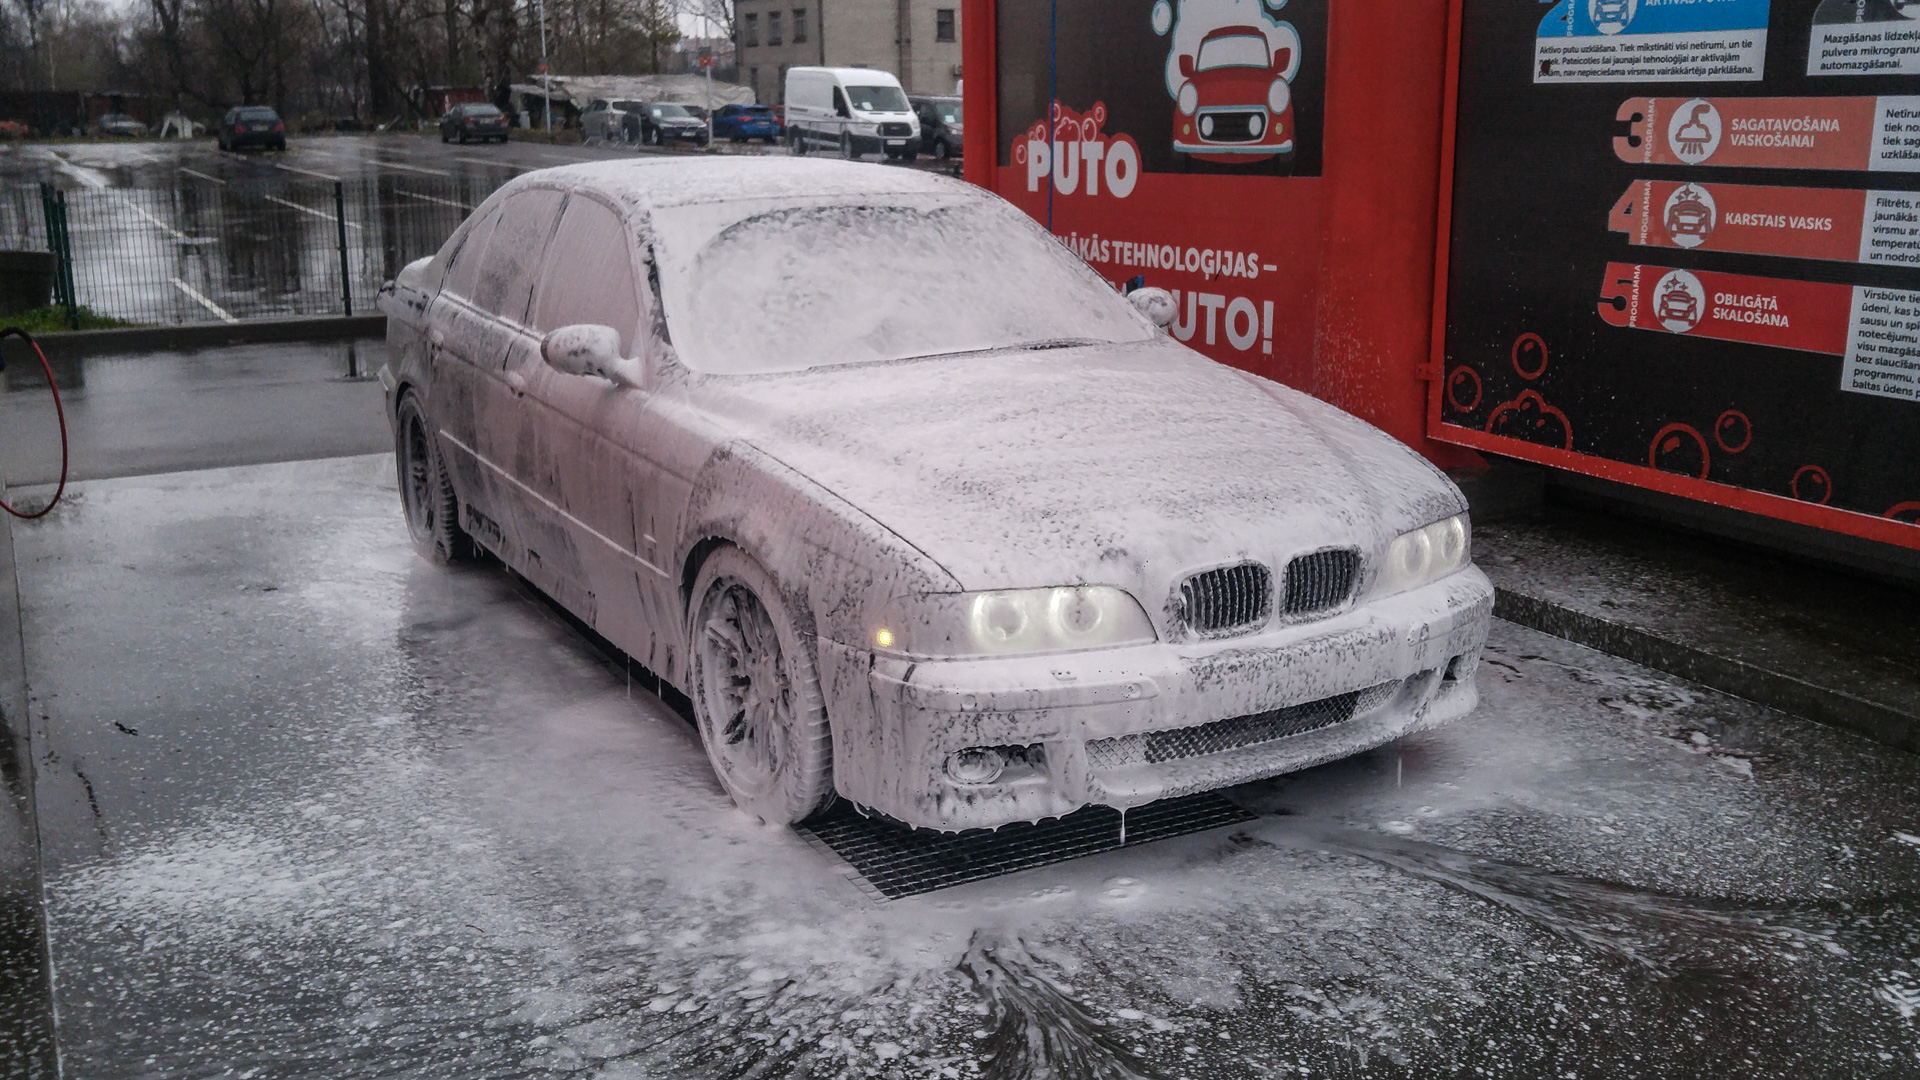
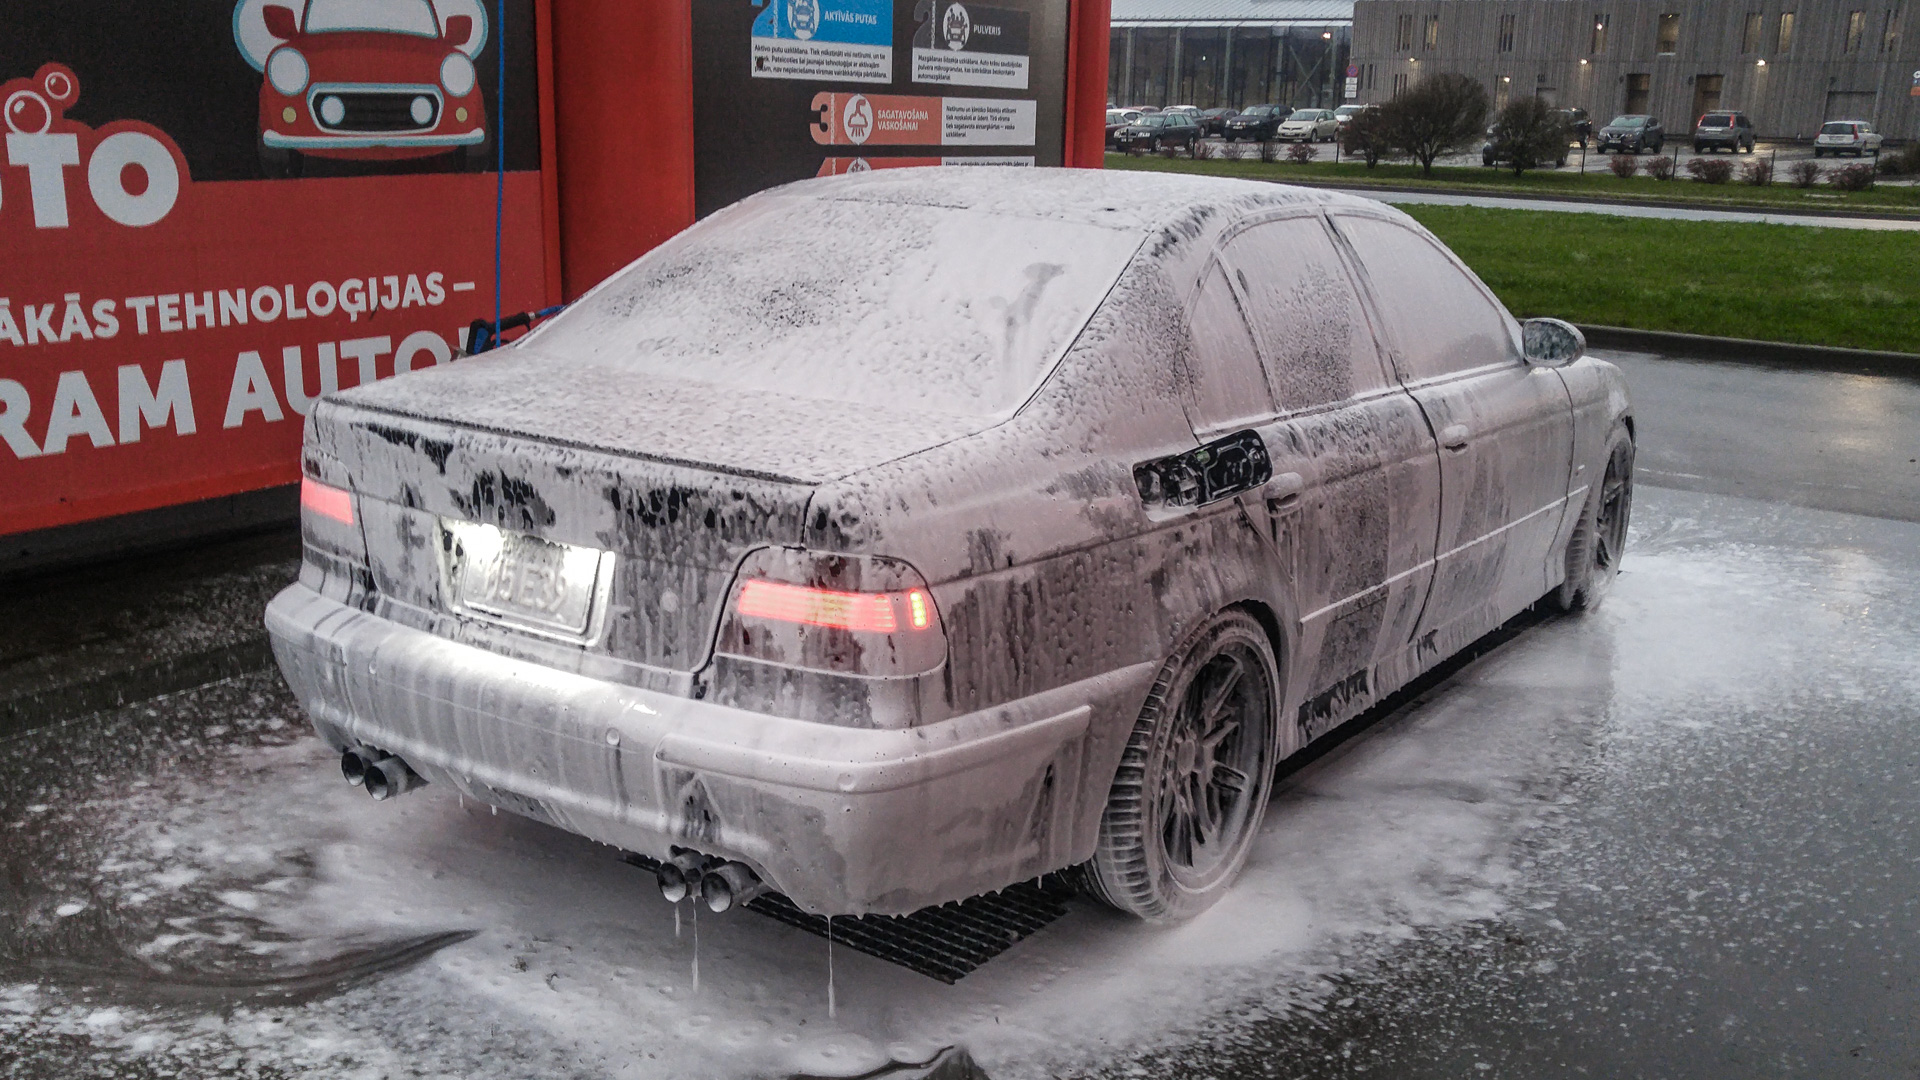
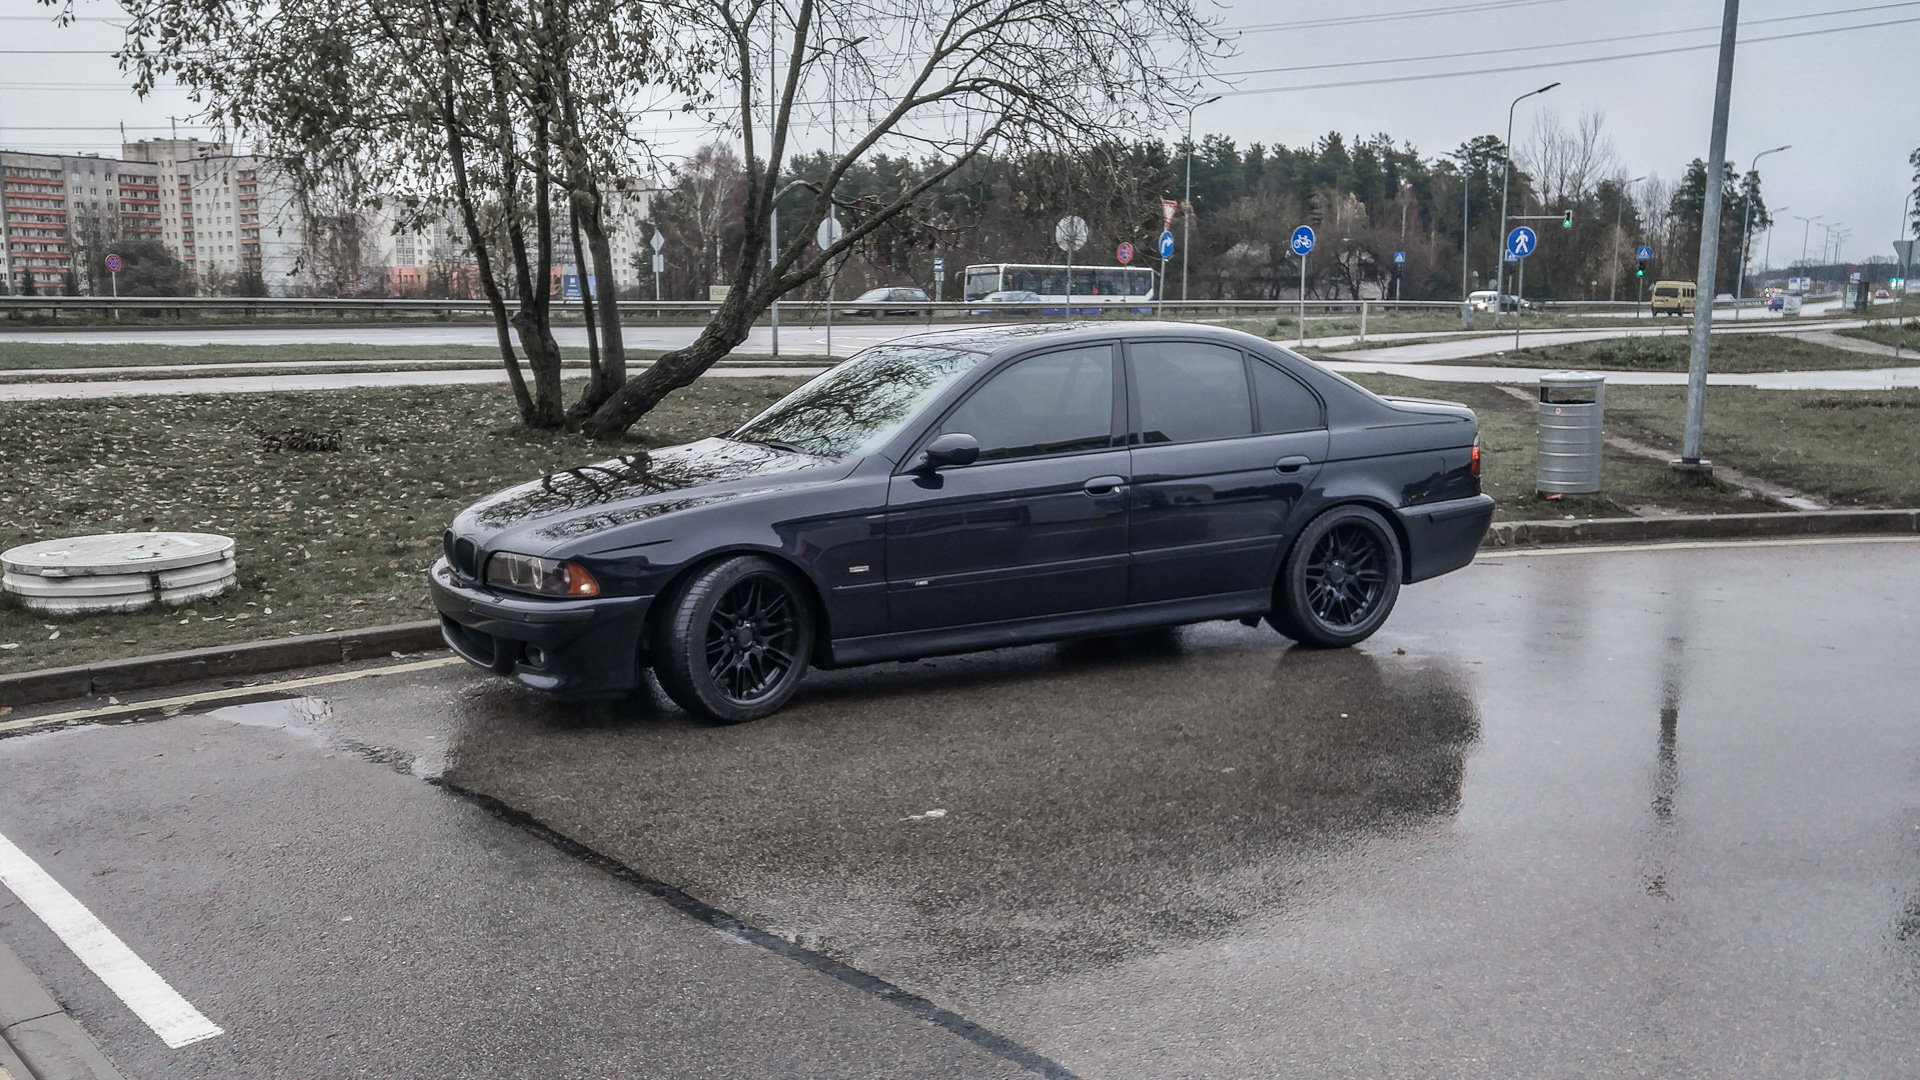
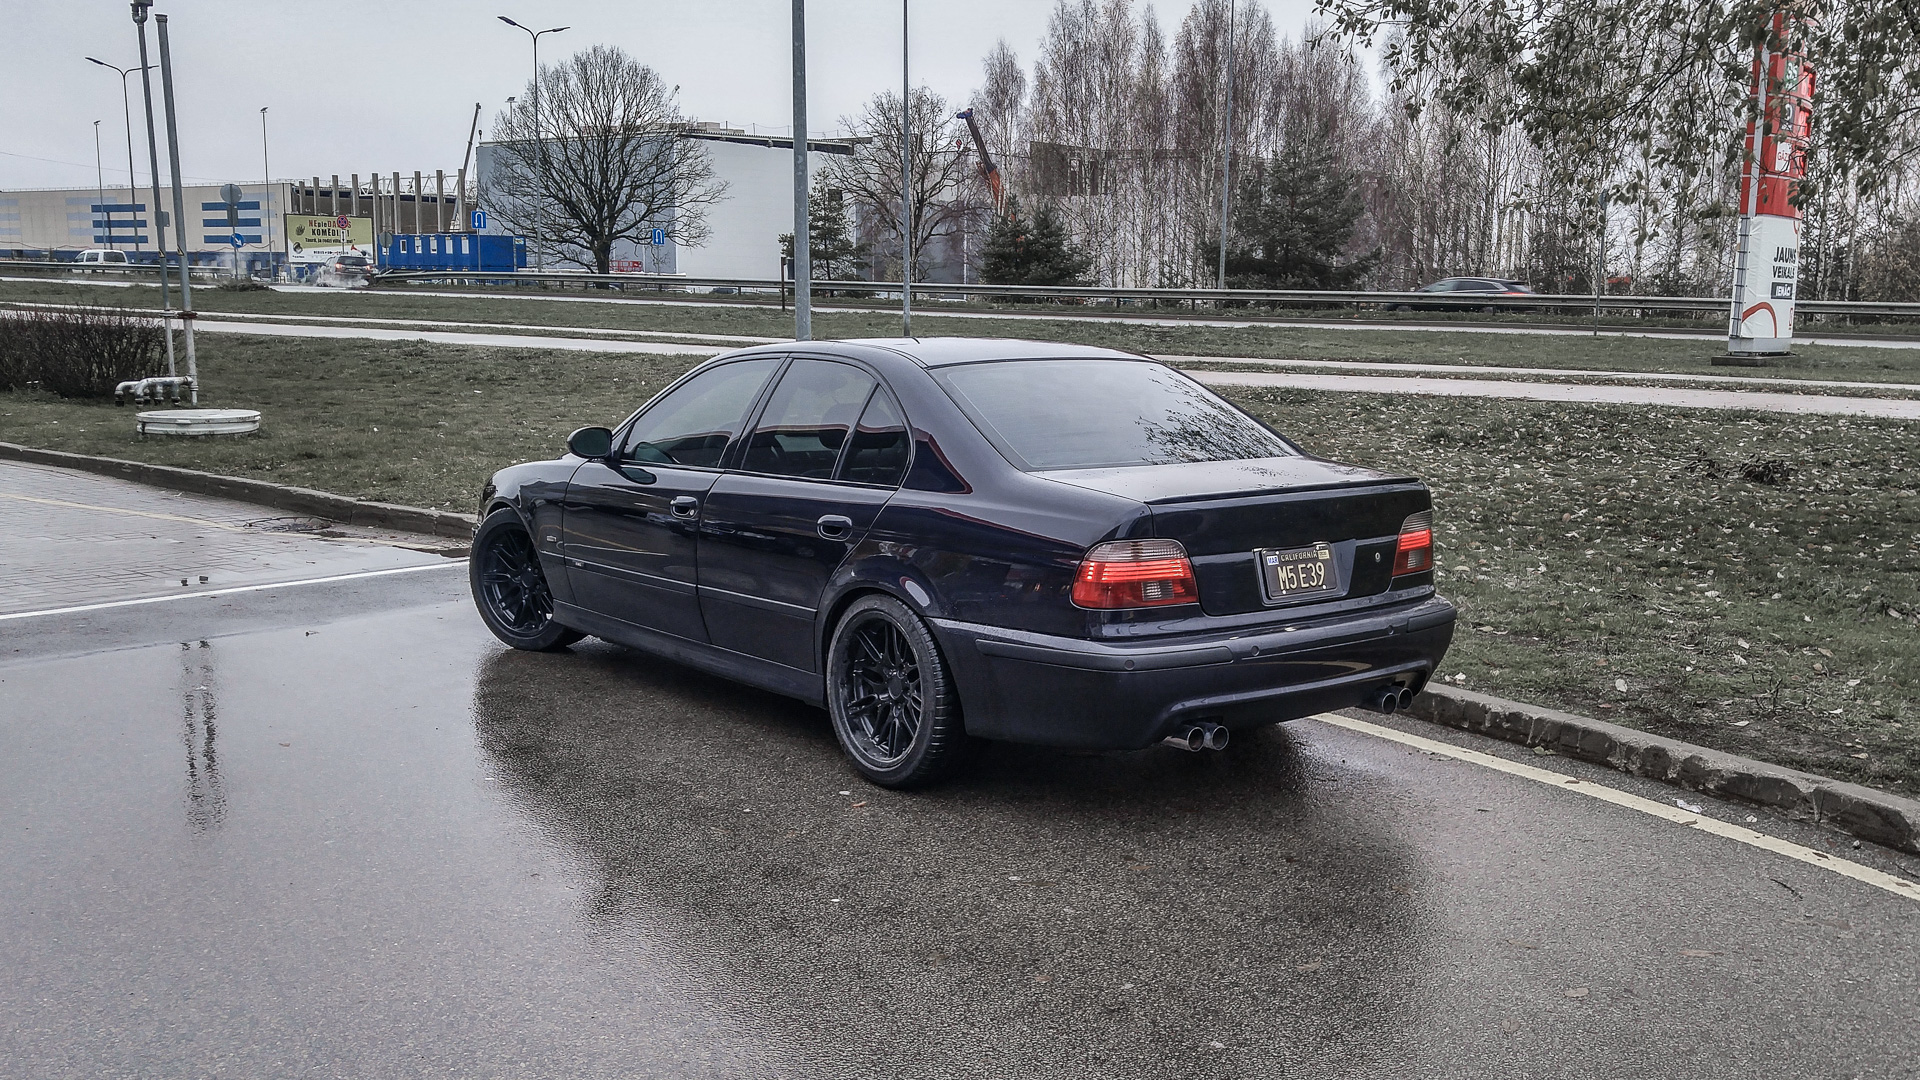
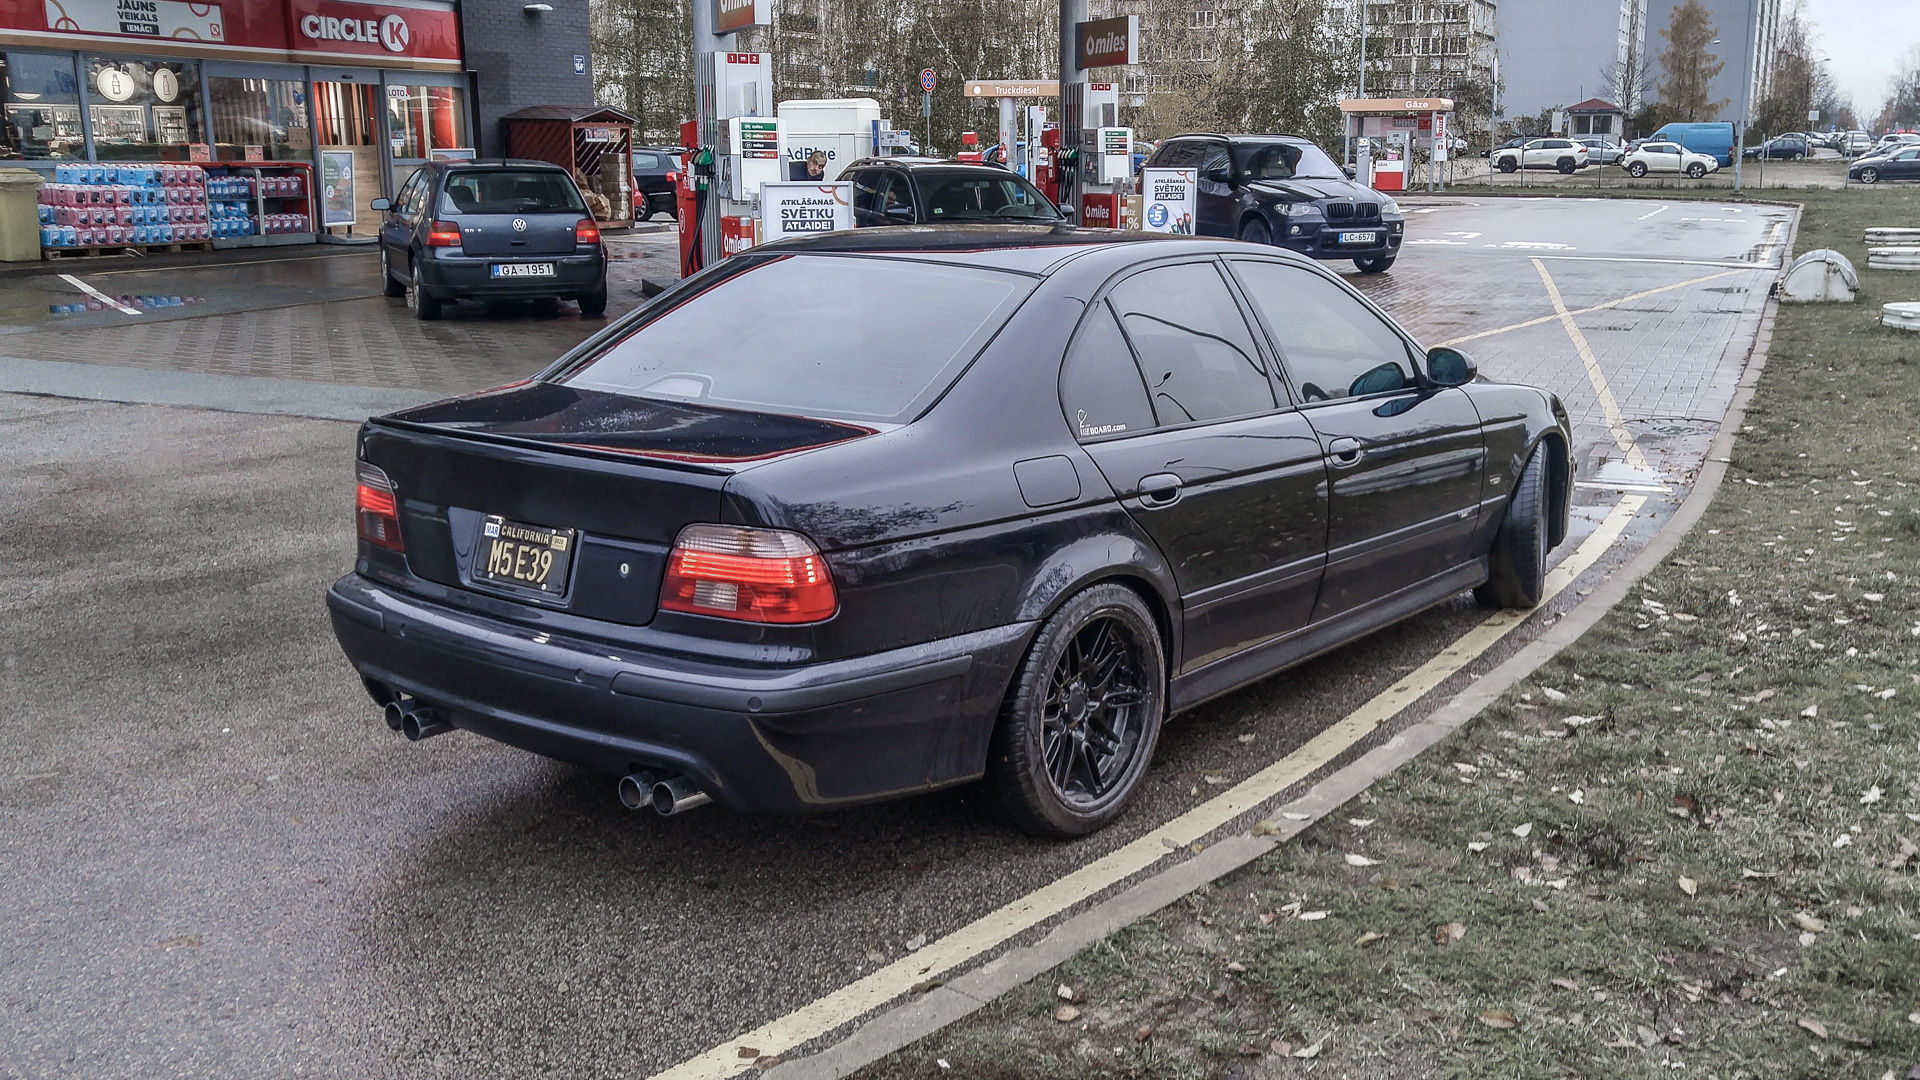
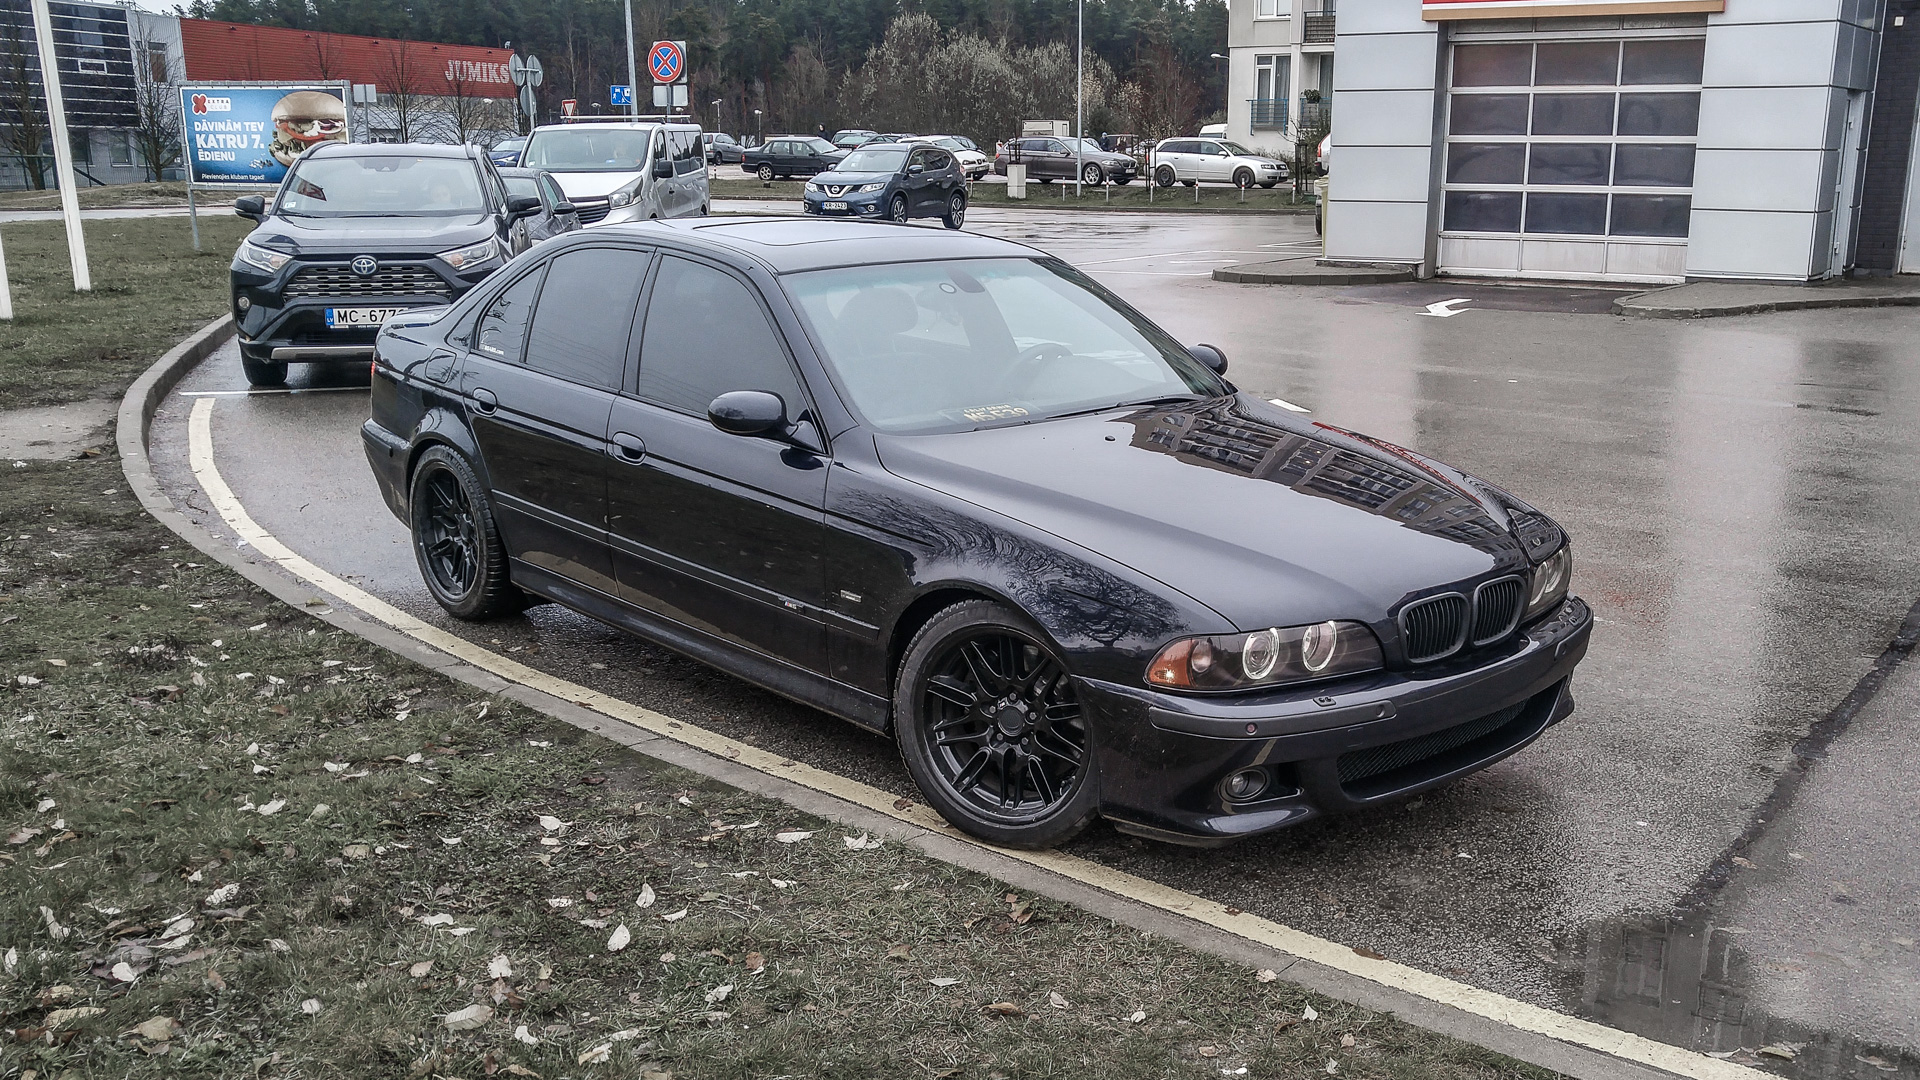
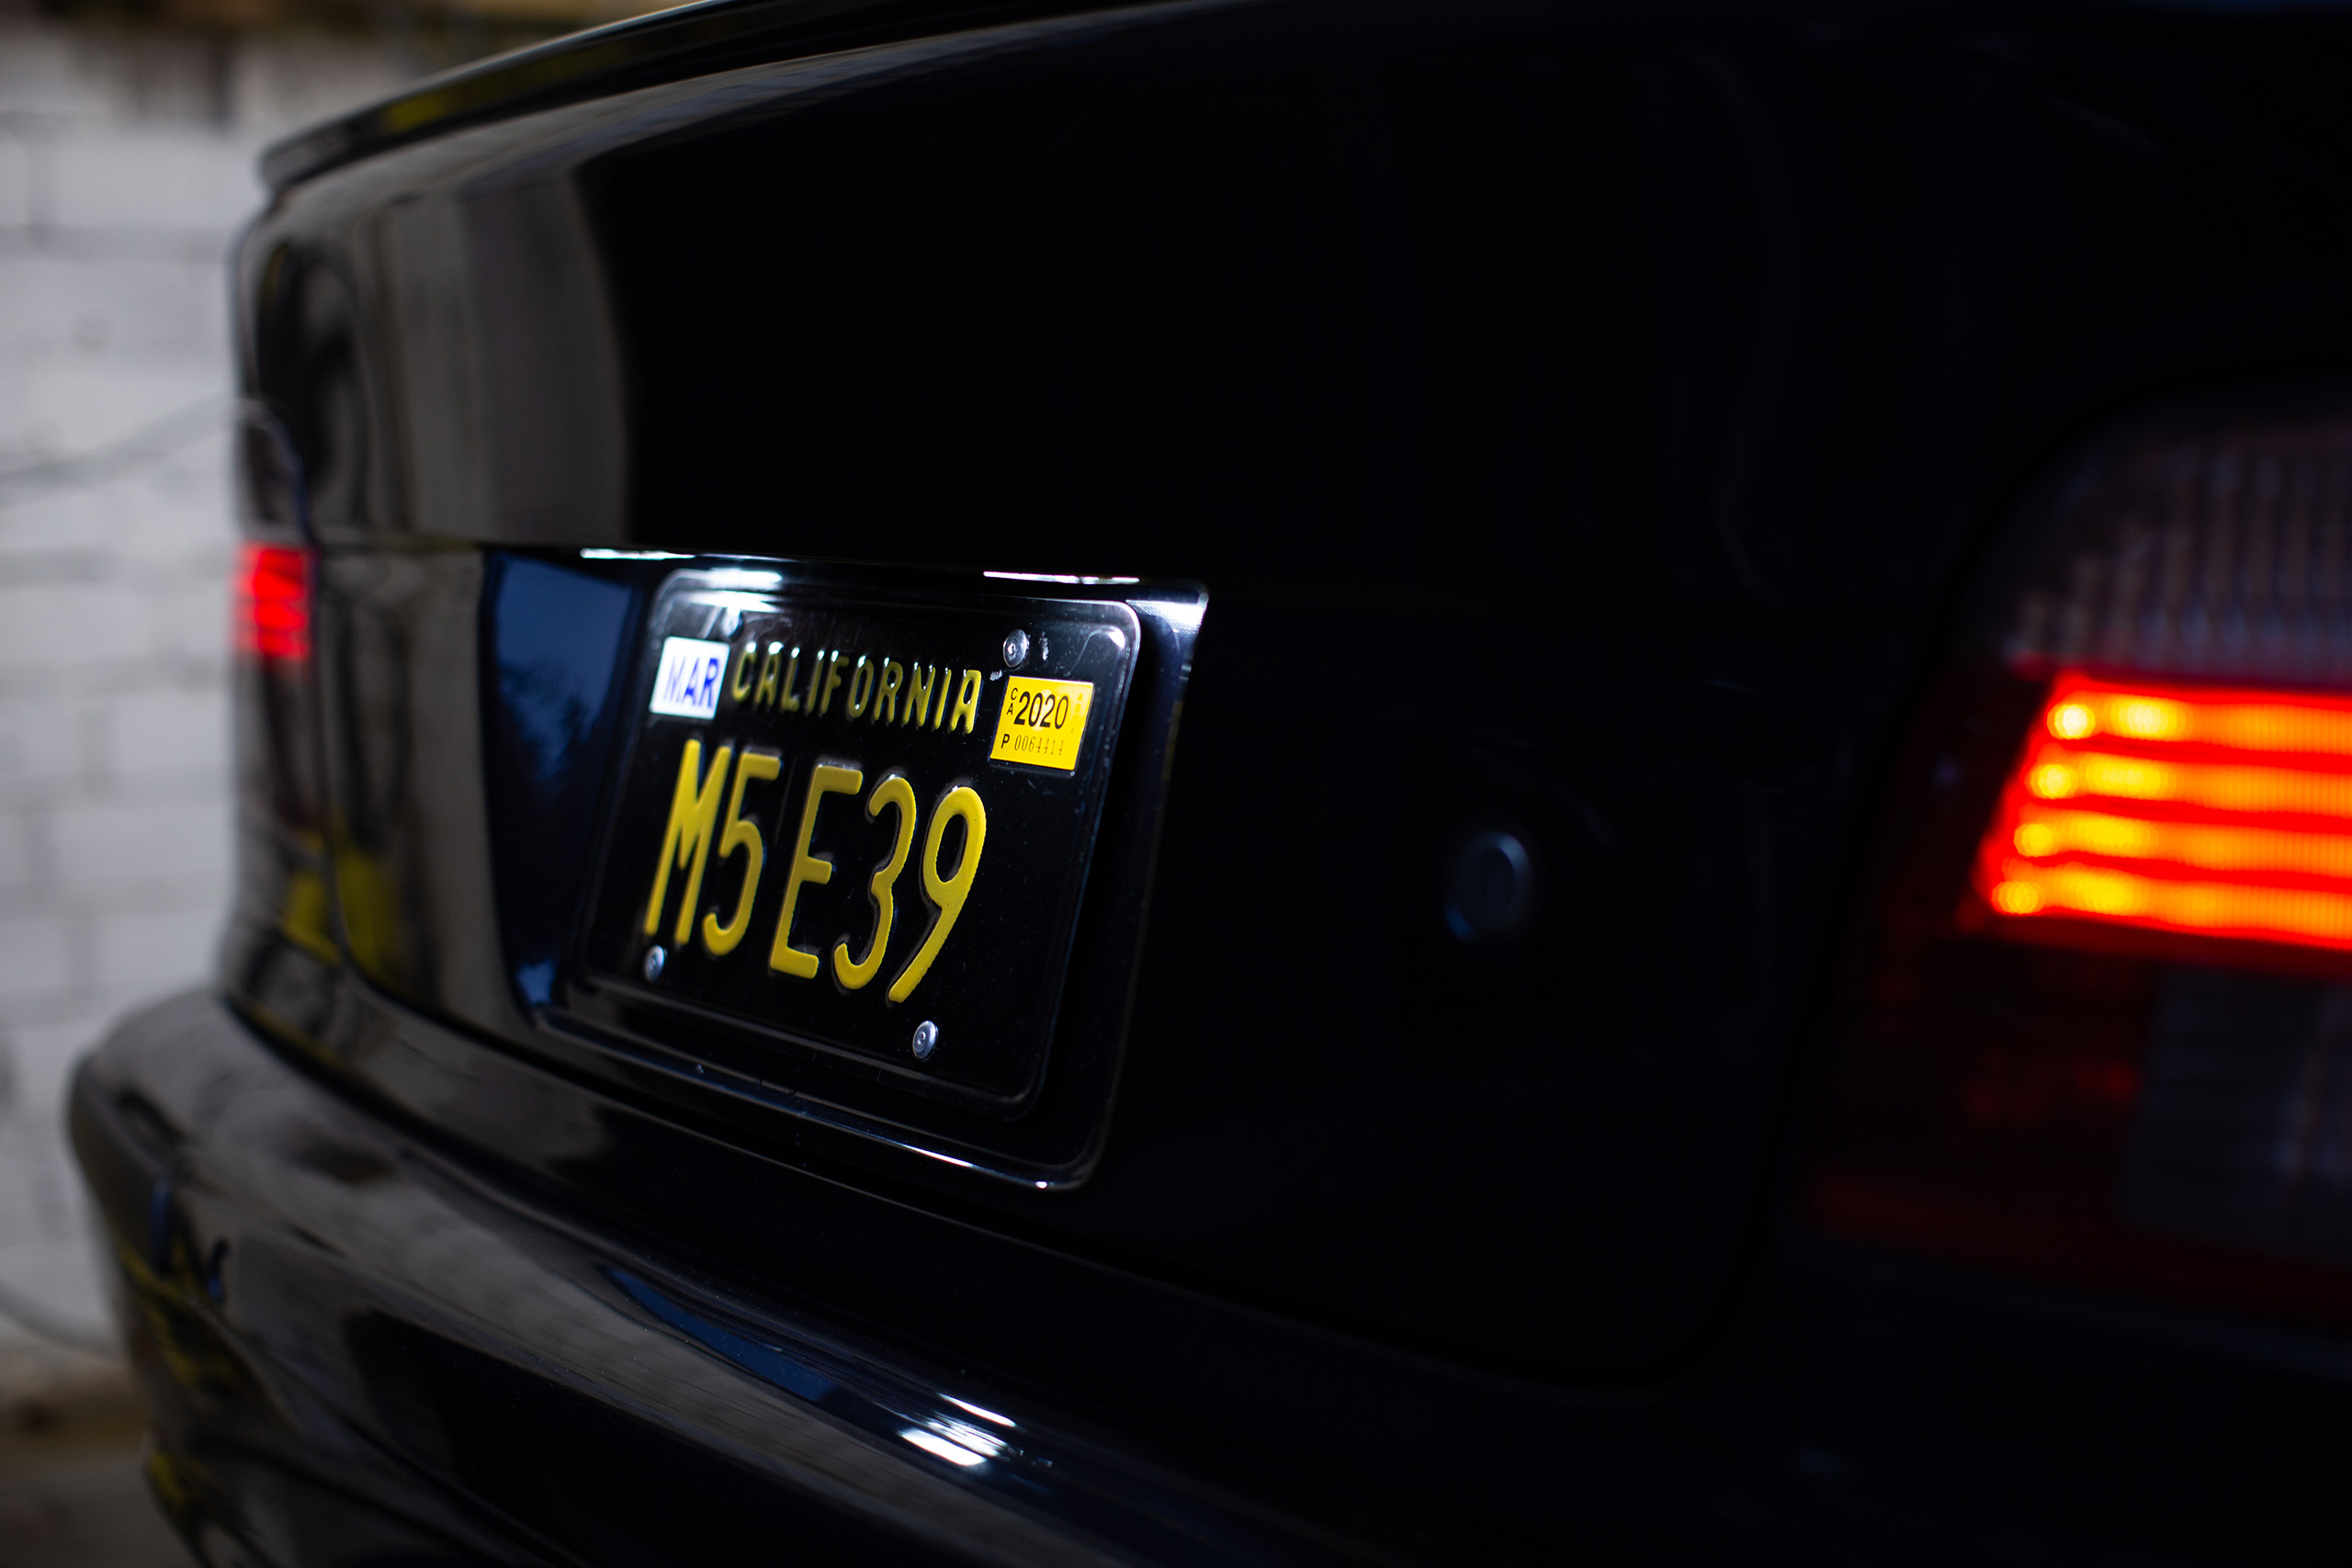
Over the winter, the paint will fully harden, then next plan is to paint the whole car with Autoflex matte black liquid wrap coating, which has been showing some amazing results on YouTube. The idea is that coating will protect the original paint and is peel-able, making scratch repairs easy.